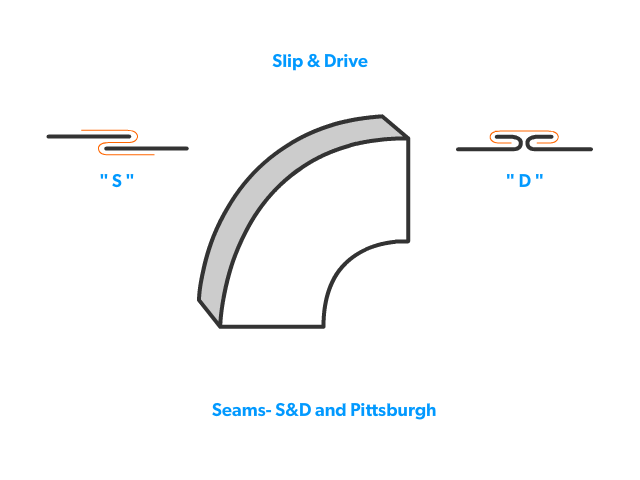
6 Seams- S and D and Pittsburgh
-
Study the shop drawing. In this drawing, we have the addition of Pittsburgh seams and an S&D connection to account for
- Using our shop drawing, we start by subtracting a ½” at each end where the air flows through. This is where our arrow comes in handy. Cross out the original dimensions and replace them with new ones, where required. This will change different dimensions on different fittings, but if we follow the rule, it will always work. Show different fittings, with an arrow, having the ½” removed
- Next, we want to think where any Pittsburgh seams will go. We need to think about how the fitting will be assembled. We have to ask ourselves, where do the seams go? The cheeks will always have a flange and the heel, throat or wrapper will have a pocket. The ends, where the air flows through, are the only spots with no seams required, this is where the S&D allowance will go
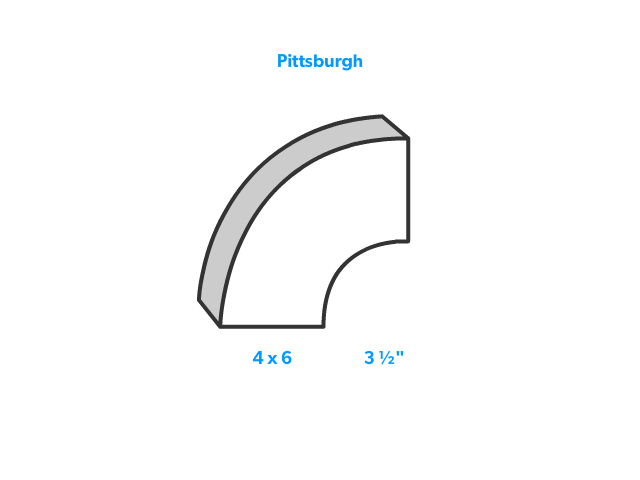
- We can then do our blank size calculations. These are done in the same way, but we NEED to use any shortened dimensions, not the original ones
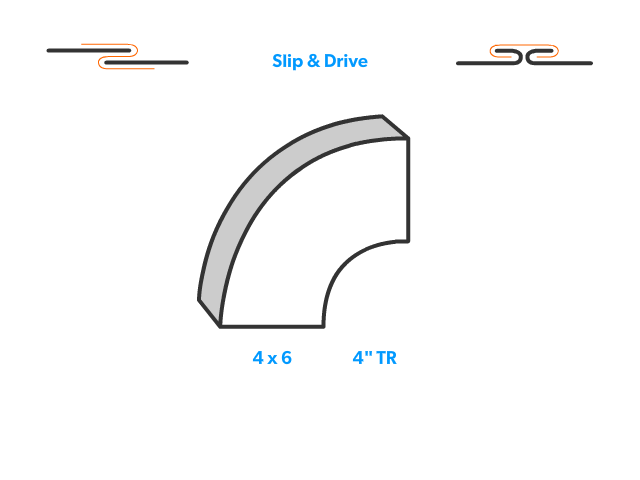
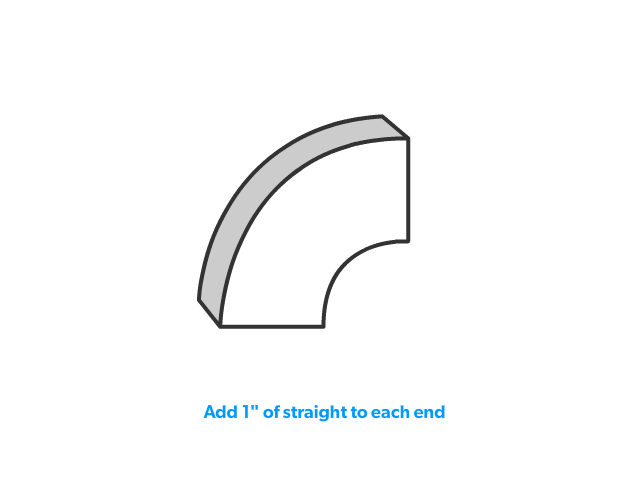
- The last step is to add 1” to each end where the air flows through. The blank size is not complete until the 1” has been added
- Draw the blanks. With S&D, we will need to draw all of them
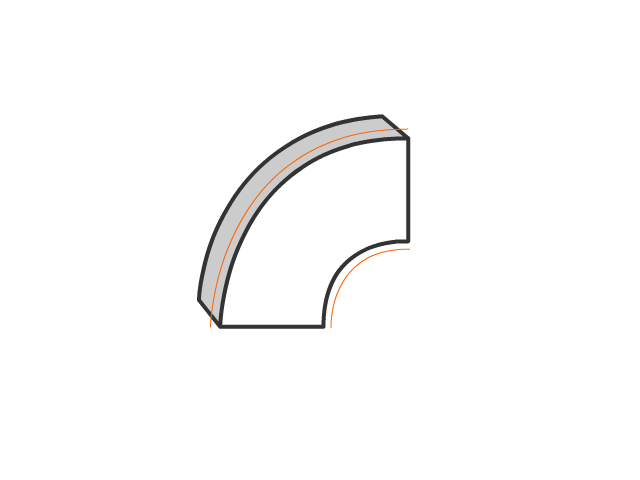
- Draw the arrow to indicate airflow
- Draw a 1” line at each end where the air flows through
- Draw any seam allowances. Flange on the cheeks and a pocket on the heel, throat or wrapper

- We can now revert back to the same process as a welded fitting. Keep in mind that EVERYTHING must be done within the 1” S&D allowance. Any arcs, lines, transitions or radius points must be drawn inside the 1”