Brightspace
Grades
Things to consider
Before setting up your Brightspace grade book, refer to the course's Education Council approved grade allocation. Use the grade allocation to guide your creation of grade categories.
Grading serves a dual purpose: providing feedback and evaluating student work. Through effective grading, you communicate students' performance, highlight their progress, and identify areas needing improvement to achieve course goals. In addition to marks, plan how you will provide feedback on graded items. Consider using rubrics, comments, and other feedback tools to give constructive and meaningful feedback.
Overview of the Grades Tool
The Brightspace Grades tool offers a robust suite of features designed to create and manage grades. With its flexible and powerful capabilities, Brightspace reduces technical barriers and empowers you to teach and assess in a way that aligns with your course learning outcomes.
Setting Up Your Brightspace Gradebook for Student Success
A well-structured gradebook helps students track their progress and understand how individual assessments contribute to their overall grade. To ensure transparency, students should have access to their overall progress at various points throughout the term (e.g., before the withdrawal deadline, after substantial assessments, etc.).
In Brightspace, you can display overall progress in two ways:
Release Final Calculated Grade
This option displays overall progress to students which automatically updates as students complete assessments throughout the term.
Pros: provides real-time view of overall progress when released.
Cons: requires ungraded items to be treated as 0* in order for accurate display of overall progress. This means overall grade is additive as assessments are completed. Students will need a clear explanation on the gradebook set up.
Milestone Grade Calculations
This approach requires you to manually set up grade calculations at key points in the term, helping students understand their performance at designated checkpoints.
Pros: allows ungraded items to be dropped* so it will display student progress in relation to the number of assessments completed.
Cons: each milestone grade calculation needs to be manually set up.
*Refer to cautionary notes regarding Grade Calculations
Essential Steps to Setting Up Your Grade Book
Before you Begin
- Complete the Grades Setup Wizard.
- Create grades categories.
- Create grade items.
- Associate activities with grade items.
Complete the Setup Wizard
You can configure the setup of your gradebook by clicking My Tools > Grades.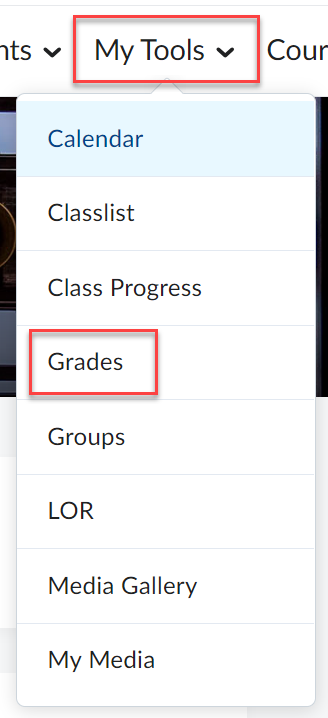
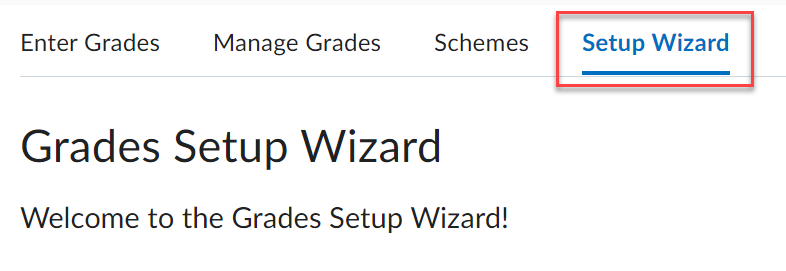
The Setup Wizard is the first step in creating your gradebook. If this is your first-time accessing Grades in your sandbox or course, you will automatically be directed to the seven-step Setup Wizard. You can return to the Setup Wizard at any time through the Setup Wizard tab. Under the Setup Wizard tab, scroll down and click Start to begin setup.
The Setup Wizard allows you to:
- Establish a grading system
- Determine your final calculation method
- Identify what to do with ungraded items
- Choose grade scheme
- Set Display settings
Read through the Understanding the Grades Setup Wizard page for our recommended settings and additional information on how each option impacts the student experience.
To set up your gradebook and release final calculated grade:
- In the Grades Setup Wizard, choose:
- Weighted grading system
- Release Calculated Final Grade
- Treat ungraded items as 0 and automatically keep final grade updated
- Follow instructions to manually release Final Calculated Grades.
To set up your gradebook and create milestone grade items:
- In the Grade Setup Wizard, choose:
- Weighted grading system
- Release Adjusted Final Grade
- Automatically keep final grade updated
- Follow instructions to manually create milestone grade items at specific intervals throughout your course.
Gradebook Categories and Items
Under the Manage Grades tab, you can create Grade Book Categories and Items.
Using Categories in your grade book allows you to organize your items under category headings. For example, you can create category headings to organize Assignments, Quizzes, Case Studies, Participation, and Discussions.
A category can consist of one or more grade items. When graded items are grouped together in a category, you can distribute the category weight equally across all grade items and drop the highest or lowest item in the group. If you decide to manually distribute the category weight toward each grade item, you will need to determine the portion of the category grade that will go towards each item. Use the formula below to help you determine this:
If a grade item is worth 5% of the overall course grade and the category weight is 20% of the overall grade, the manually weighted item is worth:
5/20 x 100 = 25% of the category weight
For a weighted grade book system, categories are required and used to identify weighted areas.
To create grade categories:
From the Manage Grades tab,
- Click on New and select Category.
- Give your category a name and select the options that are relevant for the category.
- Click Save and Close.
Watch the following video to learn how to create grade categories.
Warning: Do not create a category to organize bonus items. Brightspace calculates subtotals for categories, in the case of a bonus item category the subtotal denominator would be 0 and division by 0 is an arbitrary math violation.
See EdTech's Bonus Marks resource to learn how to assign bonus marks and create a bonus grade item.
To create grade items:
From the Manage Grades tab,
- Click on New and select Category.
- On the New Item page, choose a Grade Item Type from the following:
- Numeric: Grade users by assigning a value out of a specified total number of points.
- Selectbox: Grade users by selecting the grade scheme level that best matches their achievement. Selectbox type grade items cannot be created until at least one org unit grade scheme has been created.
Note: Numeric and Selectbox are the only grade items that will support associations for grading and actively contribute to grade book calculations. - Pass/Fail: Grade users using a simple pass or fail grade scheme.
- Formula: Automatically grade users using a custom formula based on their achievement for other grade items.
- Calculated: Calculate users' cumulative achievement across multiple grade items.
- Text: Provide comments in the grade book that are not calculated in the final grade.
- In the Properties tab, enter the details for your grade item.
Note: The fields in Properties will vary based on your chosen Grade Item Type. To learn more about a particular field in Properties, click the Get help on (? icon) beside the field. - In the Restrictions tab, enter the following information:
- Hide from users: Hide restrictions from learners.
- Has Start Date: Set a Start Date for the grade category.
- Has End Date: Set an End Date for the grade category.
- Display In Calendar: Display Start and End Dates in the course Calendar.
- Release Conditions: You can Attach Existing conditions or Create and Attach conditions.
- Click Save and Close.
Associate Activities with Grade Items
The final stage in setting up your grade book and having it populate with student marks is to associate graded activities with the grade items in your grade book. The following videos shows you how its done.
More About Grades
Learn how to
- Adjust and release final grades
- Drop lowest item score from a grade category
- Add bonus grades
- Delete a grade item and grade category
Next Steps
- Enter and preview grades
- Grade assignments and provide feedback
- Grade quizzes
- Adjust final grades
![]()
Contact edtech@langara.ca for more information.
![]()
