Getting Started With Twine
The very first step is to find Twine online! Go to https://twinery.org/ This is where your Twine adventure begins, you have the option to download Twine to your computer but for today we are going to use it online. Once you are at Twinery.org click the blue text “Use it online” located in the Post-it note.
You are welcome to skip the tips as we will go through this together!
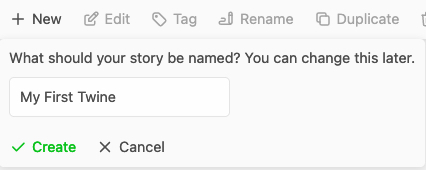
To create a new Story click the green +New button, you will be prompted to give the Story a name.

Once you have filled in the name field click Create
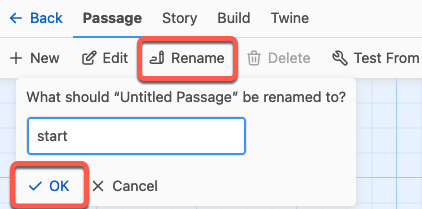
Twine games are made up of passages. You will be taken to the map for your new story. If you click on the untitled passage you will have the option to edit it or rename it. Click on the top row menu items to view more options. After you are done exploring click Rename to title the passage, I suggest calling the first passage “start.” Click OK.
When you click Edit you will see that your page has two main areas, the title and the content area of the passage. You will notice a rename button in the editor so you can rename the passage from this screen as well, remember the title is for you so title your passage something short but meaningful.
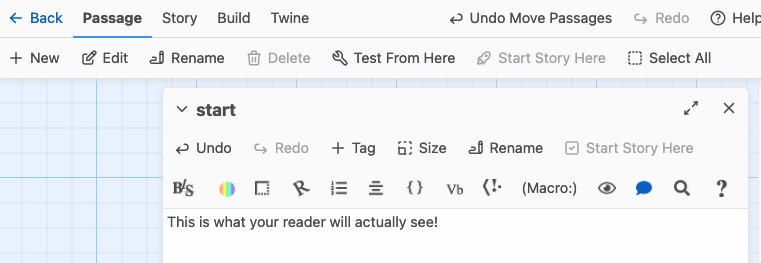
To make your game all you need to know is how to make links between the passages. This is pretty easy, while you are editing a passage place double square brakets around text.

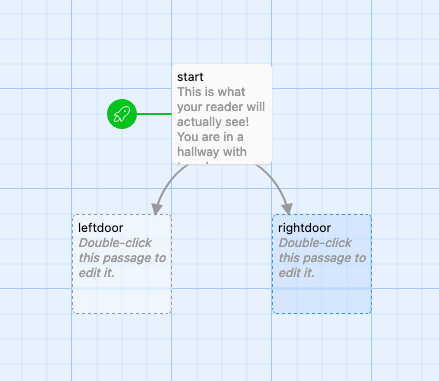
The text before the | is what the reader sees and the text after the | is the name of the passage you are linking to! Twine will create links to passages called leftdoor and rightdoor, which are easier to work with than the longer names.
Now you have a Story map!
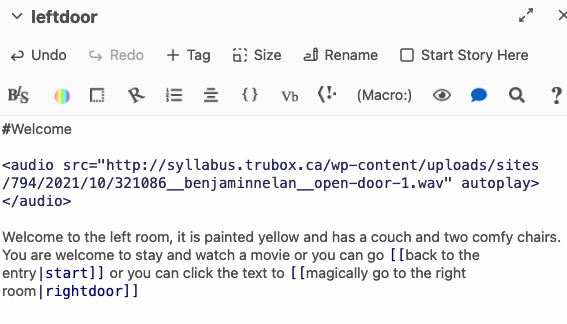
Now let’s add a passage to the leftdoor so we can describe the Left Room. Click on the leftroom and click Edit in the menu or double-click the passage to edit the leftroom passage. To link back to the entry or the rightdoor place double square brackets around text!
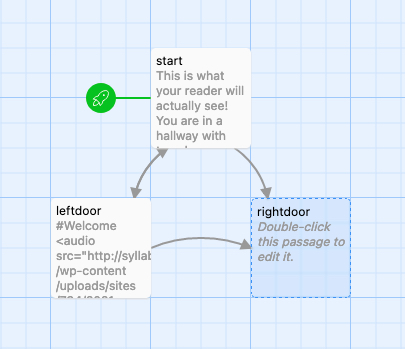
Now your story map looks more connected!
At this point it is important to note that Twine does not automatically hyperlink URLs so you need to use the HTML <a> element with the href attribute.
<a href="https://www.w3schools.com/html/html_links.asp">https://www.w3schools.com/html/html_links.asp</a>
This code will hyperlink a URL
https://www.w3schools.com/html/html_links.asp
You can also use the HTML `<`a`>` element with the href attribute to hyperlink to text.
<a href="https://www.w3schools.com/html/html_links.asp">Learn more about HTML links</a>
This code hyperlinks the text Learn more about HTML links
—
What would you like to do next?

