Media, webconferencing, and lecture recording
Assigning video submissions as assignments
Both Instructors and Students have access to Kaltura Capture within LEARN. With Kaltura Capture students and Instructors can create easy video, audio & powerpoint presentation recordings, video introductions, screen-capture demonstrations, etc. Students may alternatively choose to create a video with their phone or other camera but these video files should be uploaded into their MyMedia area within LEARN.
***Do not attach or upload videos directly to an assignment dropbox. ALL Video files must be uploaded to your MyMedia area before embedding into an Assignment Dropbox or Discussion post.***
If you want all students in the course to be able to view classmates videos, students should post the videos within a Discussion Forum. If the videos are only to be seen by the author and the Instructor, then students should submit videos to an Assignment Dropbox.
As Instructor: You will first have to create an Assignment Dropbox or Discussion Forum for students to submit their videos to.
Part 1: Recording the Video in Kultura
***Please do not upload/attach huge video files into LEARN directly. Record them using Kaltura or Upload Phone Videos into your MyMedia section first, then embed them in a Discussion Post or Assignment Submission.***
To create an intro video of yourself, or to create a recording of you talking while presenting a powerpoint presentation, follow the steps below:
1. When you first login to Learn.Selkirk.ca click on your MyMedia link

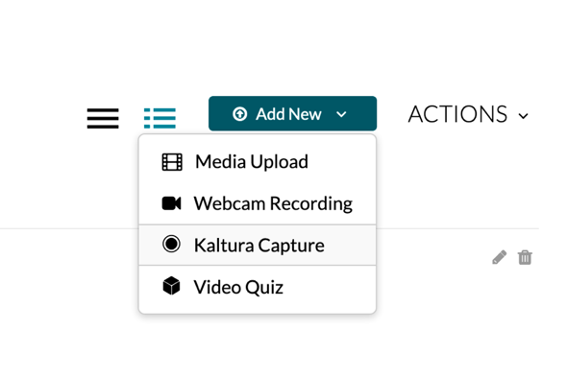
2. On the next screen, Click on teal coloured “Add New” button & Select “Kaltura Capture”.
3. The very first time you do this, it will show a screen prompting you to download the Kaltura recorder software to your computer – click the corresponding one for Mac or PC/Windows computers.
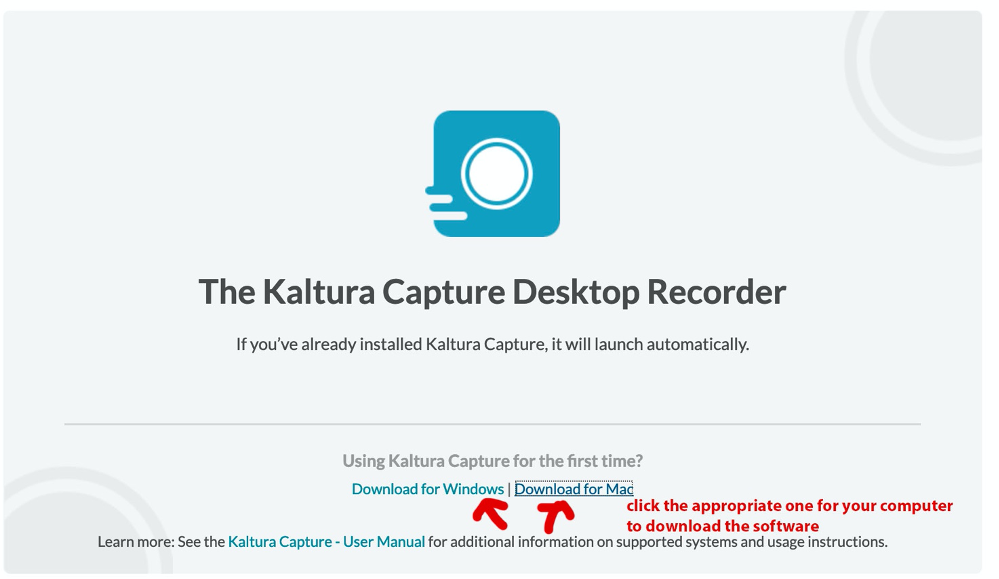
5. Save the File to your computer. Double-click on the file to Install and follow the instructions.
6. Once installed, go back to the Learn.selkirk.ca tab in your web-browser. Navigate to the My Media section and click on My Media.
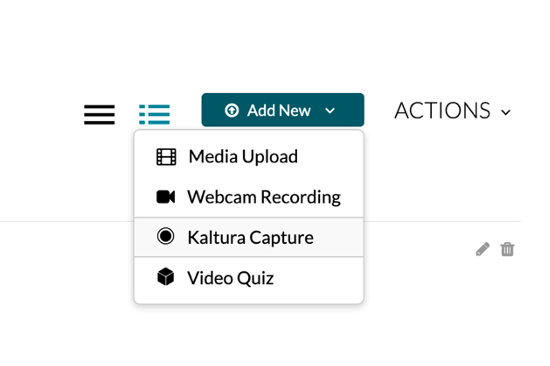
7. On the next screen, Click on teal coloured “Add New”button & Select “Kaltura Capture”.
8. Kaltura will open.
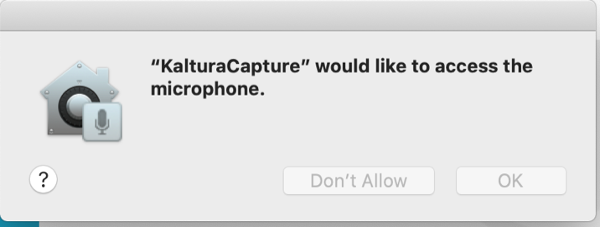
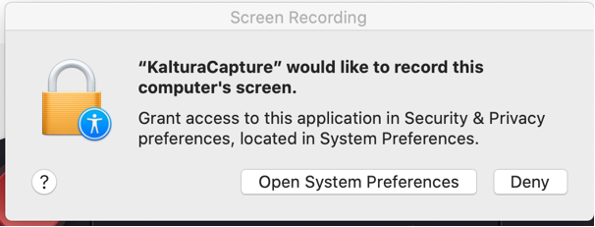
9. It may ask you if you want to give Kaltura permission to access your screen, mic and camera, click Yes/OK/Allow to all.
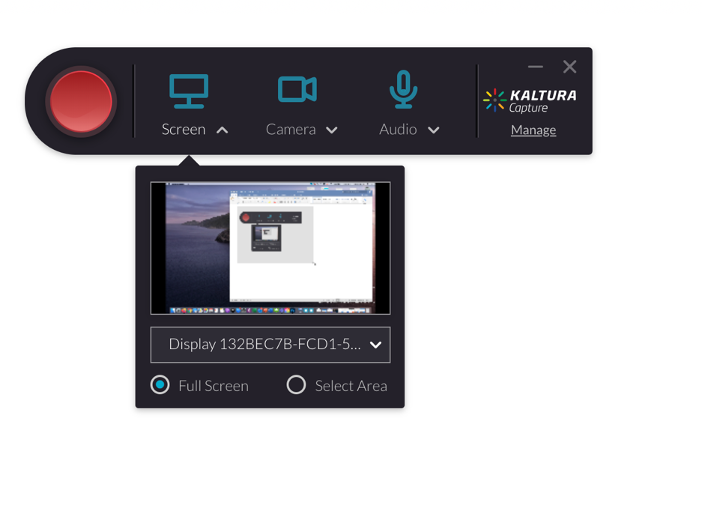
10. The tool bar will appear on your screen. In the Screen section, you can select to record your entire screen or a select area.
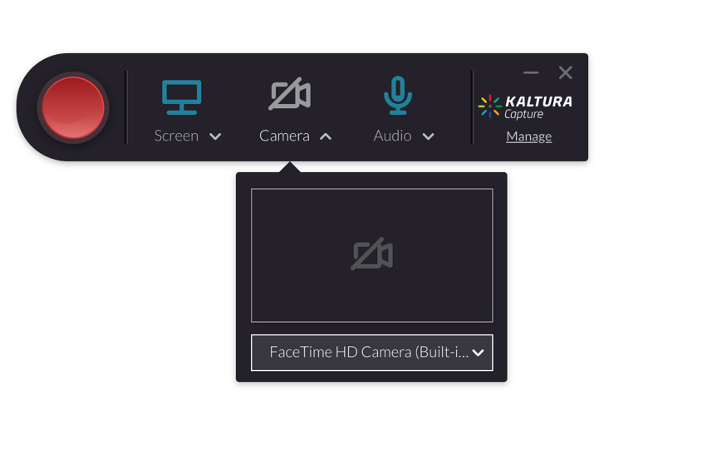
In the Camera section, you can choose to enable your camera, or not.
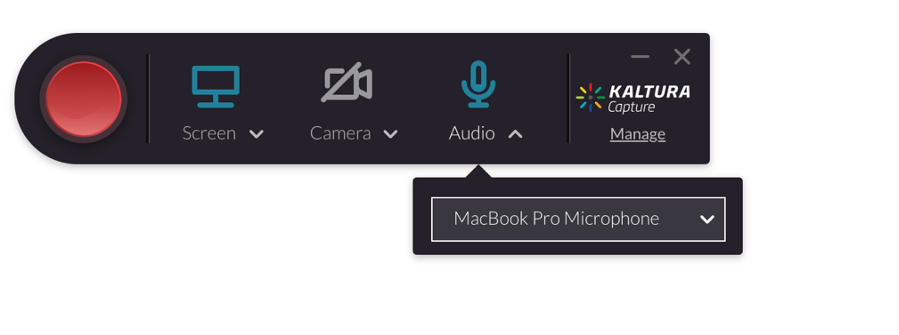
In the Audio section, if the Mic icon is blue, it means it is enabled. It is best if you record your audio in a quiet place with a usb headset, or earphones with a mic.
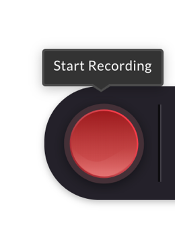
To start recording, hit the big red record button. It will give you a 3 second countdown before starting. Make sure you have your materials all set up (such as powerpoint or camera) on the screen before starting).
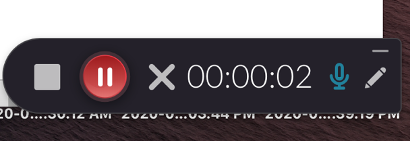
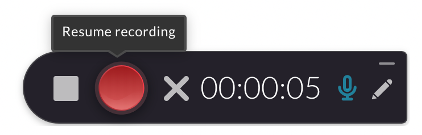
You can hit the Pause Button to pause the recording & press the red circle record button to resume recording.
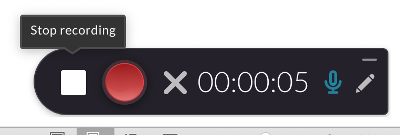
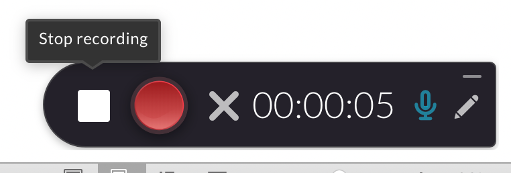
To stop the recording, hit the grey square Stop button.
If you need to start over again, click the cancel X button.

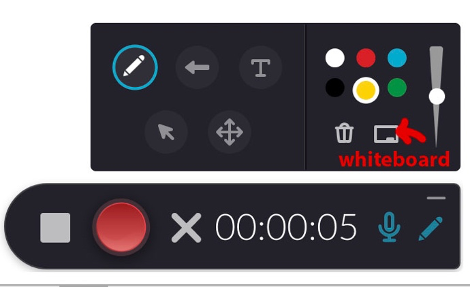
While recording you have some annotation tools available. Click the Pencil icon at the far right to show these tools. Click the pencil in the tools bar and you can write directly on your screen. To erase, click the trash can icon.
Click the Whiteboard icon to create a plain whiteboard you can draw on.
When your recording is finished, press Stop.
It will prompt you to Save & Upload your recording. The video may take some time to upload, depending on your internet connection and the length of the video.
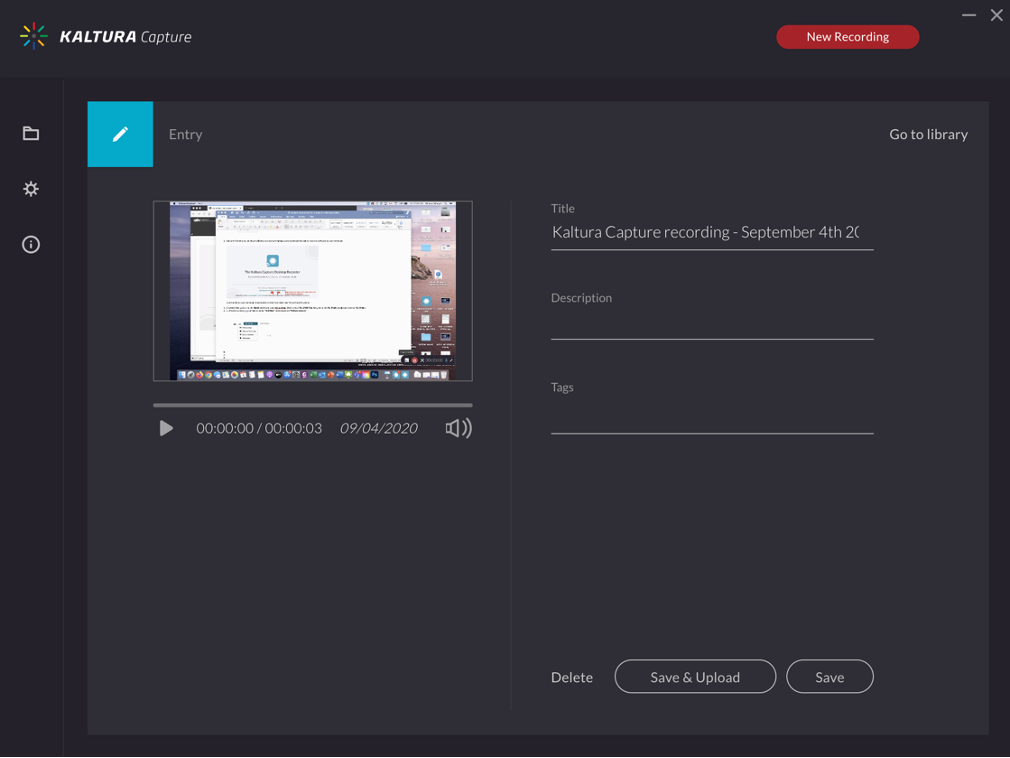
Click “Save & Upload”. It will start uploading & have a blue upload progress bar at the right hand side.

Once it is done uploading, you can find it in your learn.selkirk.ca MyMedia area.
