Appendix: GNS3 Basics
In this chapter, we will be going through the basics in GNS3. Try to play with and familiarize yourself with this environment as this is a good tool for network simulations.
Adding a FortiGate Firewall to GNS3
- Start by adding a new template.
Figure A.1: Create a New template - We want to install it from the GNS3 Server, so keep the option default and then press next.
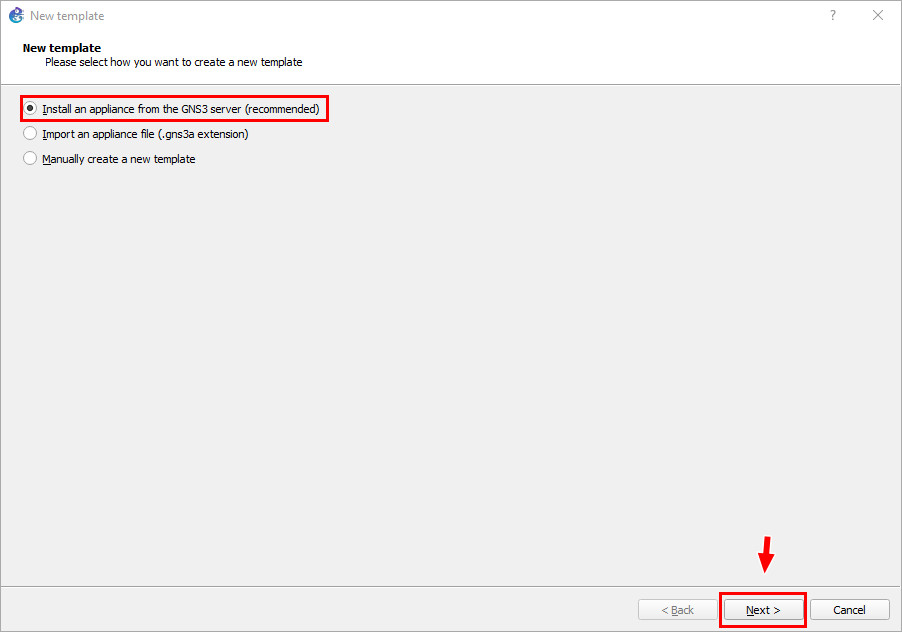
Figure A.2: Select Install an appliance from the GNS3 server - On the next window, search for “FortiGate”, and select the option under “Firewalls”, then click “Install.”
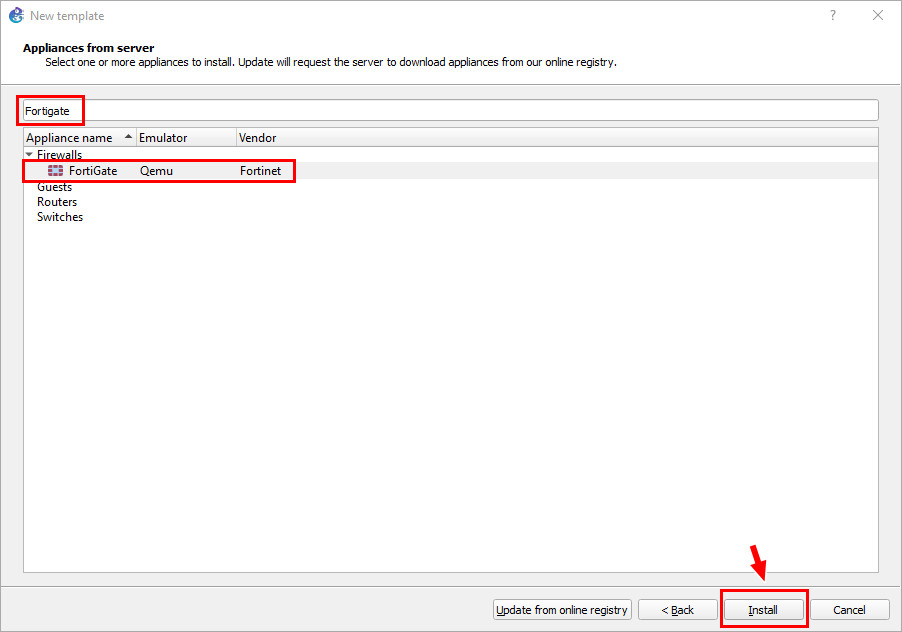
Figure A.3: Search for “FortiGate” - Press “Next” on this screen:
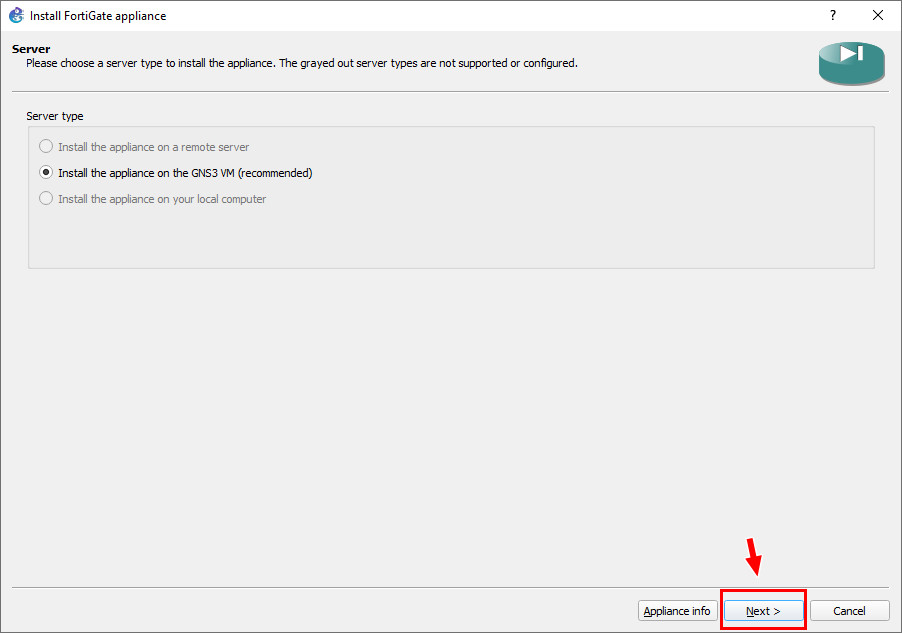
Figure A.4: Install the appliance on the GNS3 VM - Press “Next” on this screen:
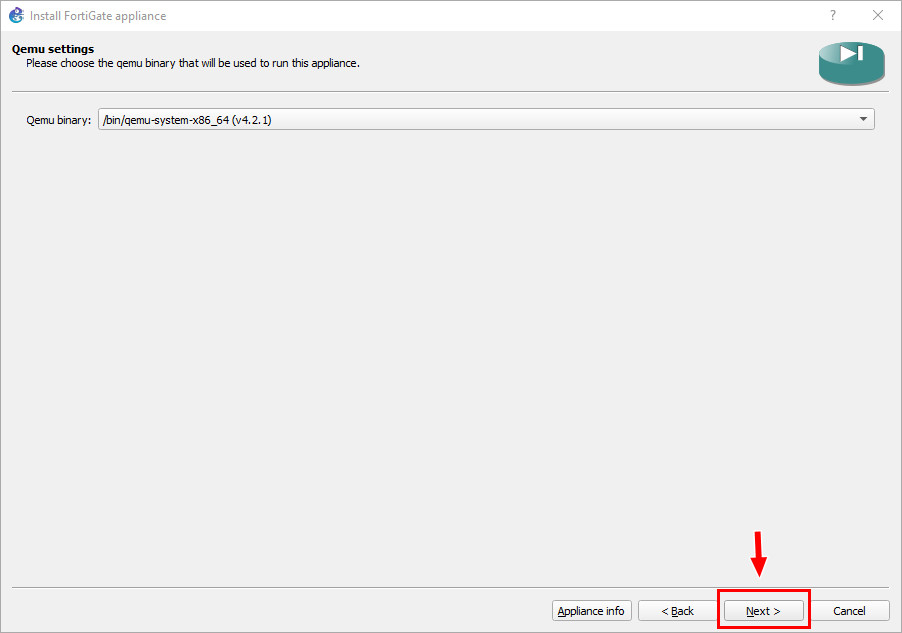
Figure A.5: Qemu settings - Tick the “Allow custom files” box.
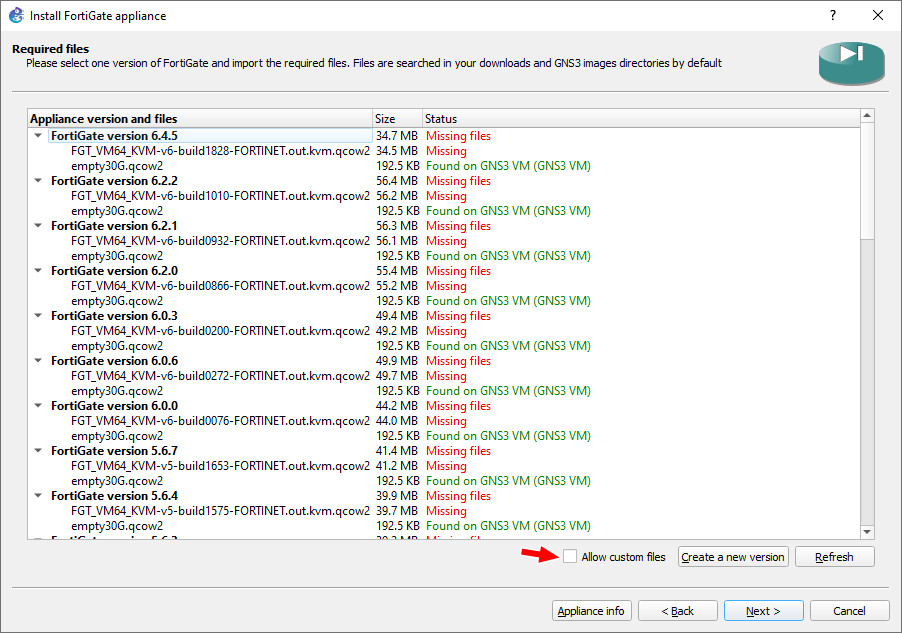
Figure A.6: Tick Allow custom files - Click “Yes” on this screen:

Figure A.7: Click on Yes - Highlight a random version.
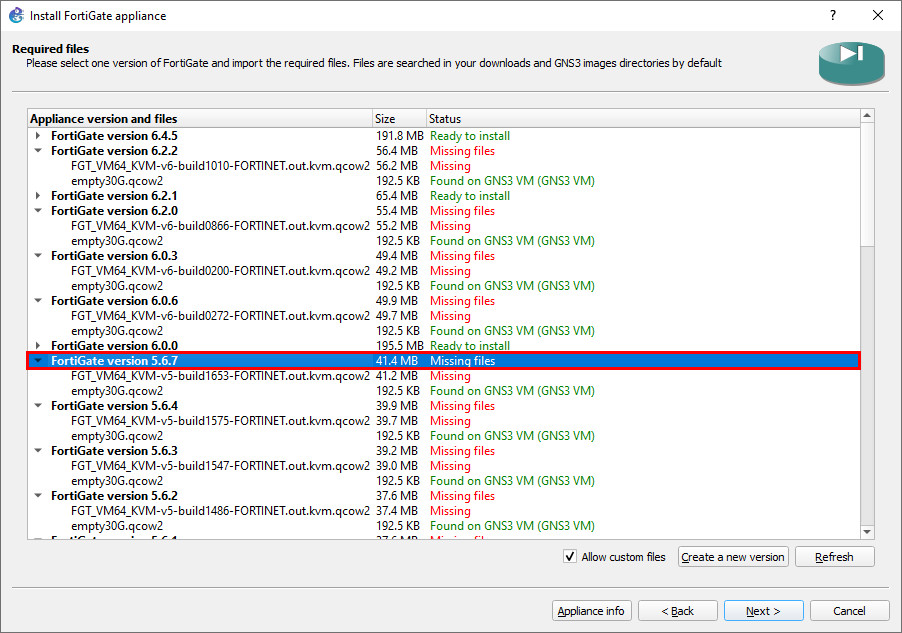
Figure A.8: Highlight a random version - Click “Create a new version.”
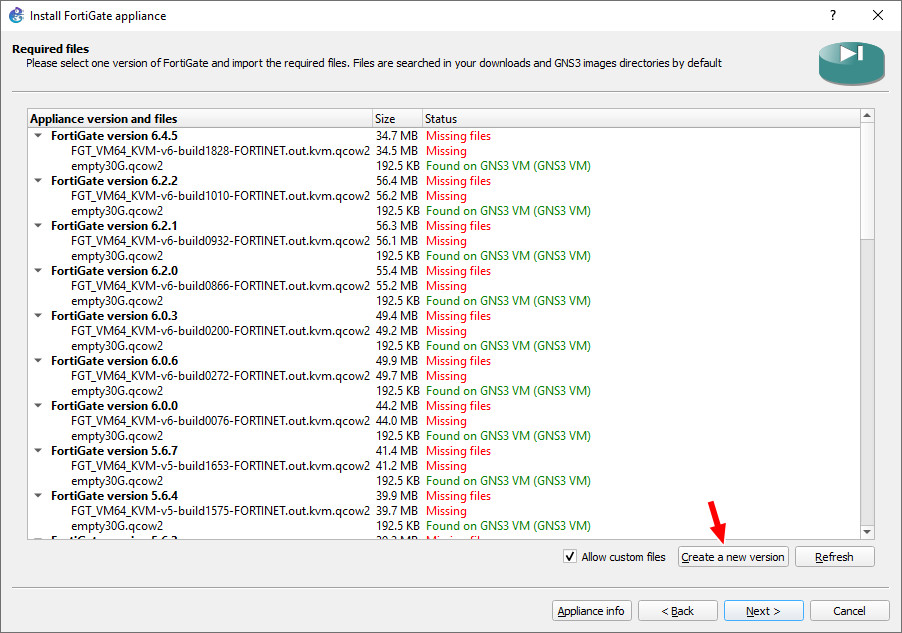
Figure A.9: Create a new version - Create a new custom version and select optional name for it.
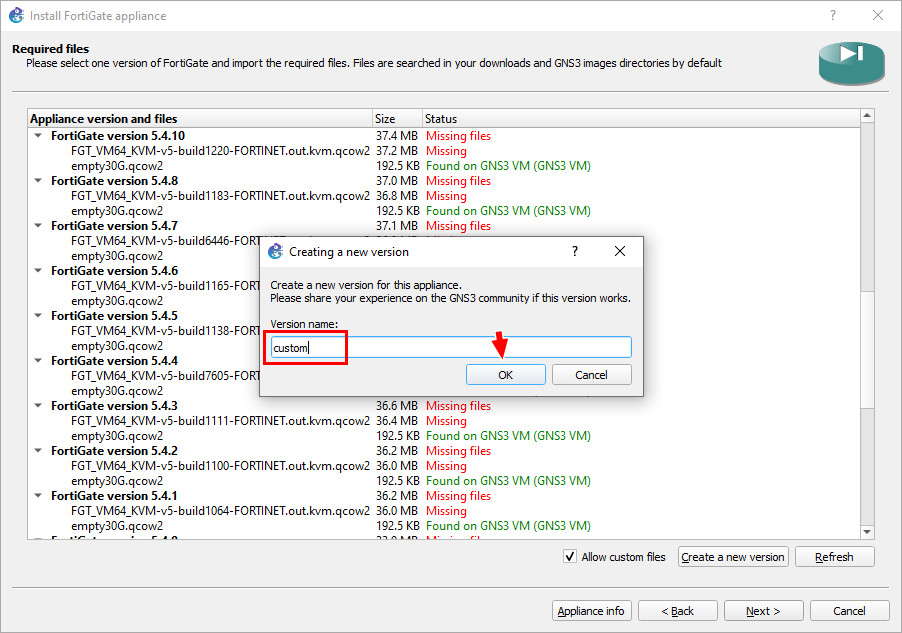
Figure A.10: Create a custom version - Press OK on this one, too:

Figure A.11: Click on OK - Press OK again.
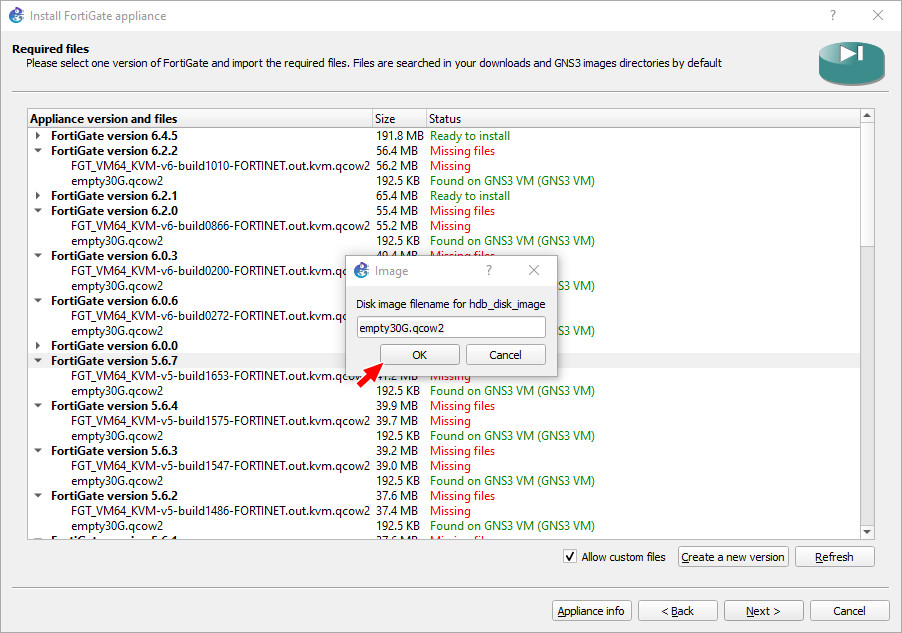
Figure A.12: Click on OK - Click on any empty30G file, and click Download. Save that file to your computer.
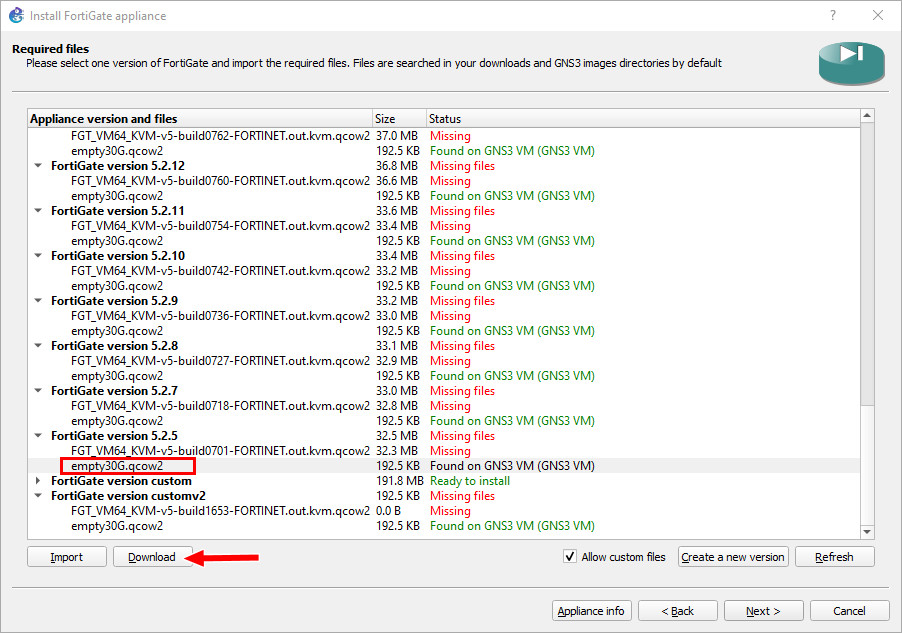
Figure A.13: Download empty30G.qcow2 - Scroll down to your custom version and click the arrow on the left:
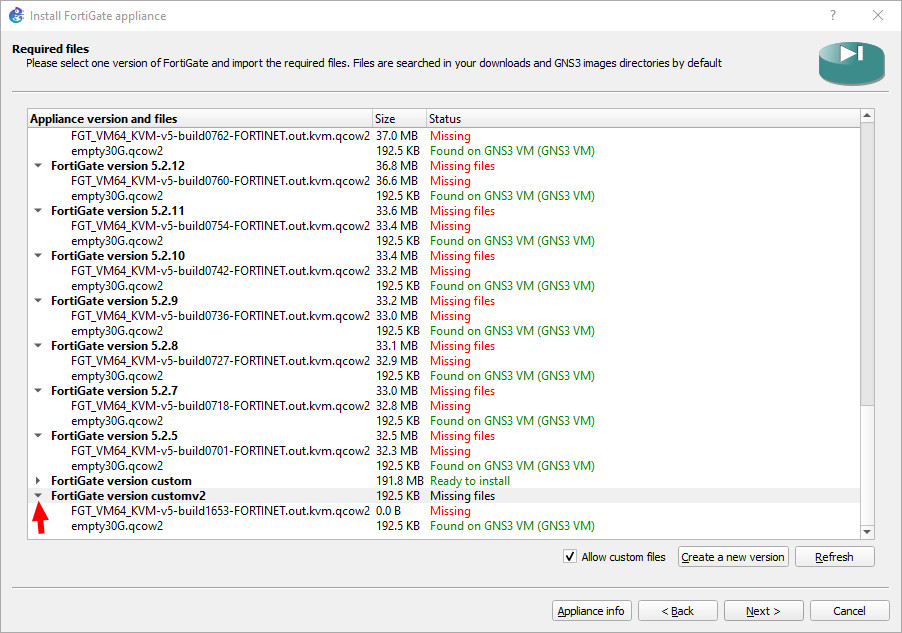
Figure A.14: Select Custom version - Click the FGT filename under your custom version and click “Import.”
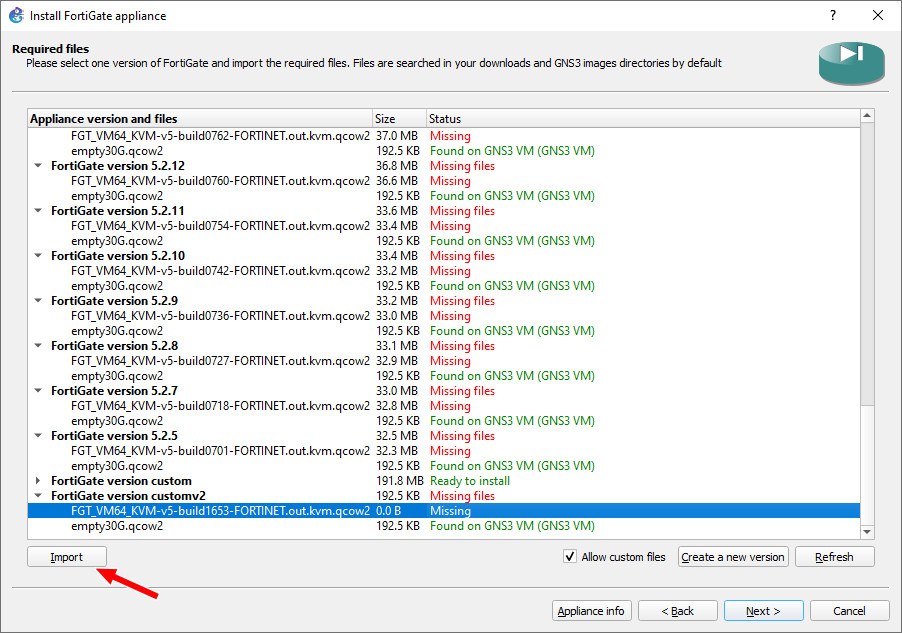
Figure A.15: Import FortiGate Image - Navigate to your downloaded FortiGate Firewall image and click “Open.”
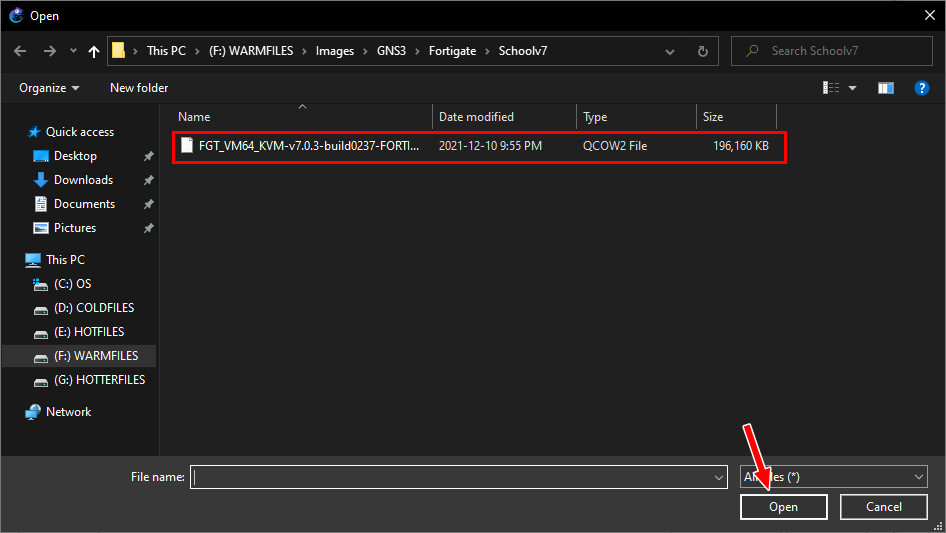
Figure A.16: Select FortiGate Image - Still under your custom version, click “Import” on the empty30G file.
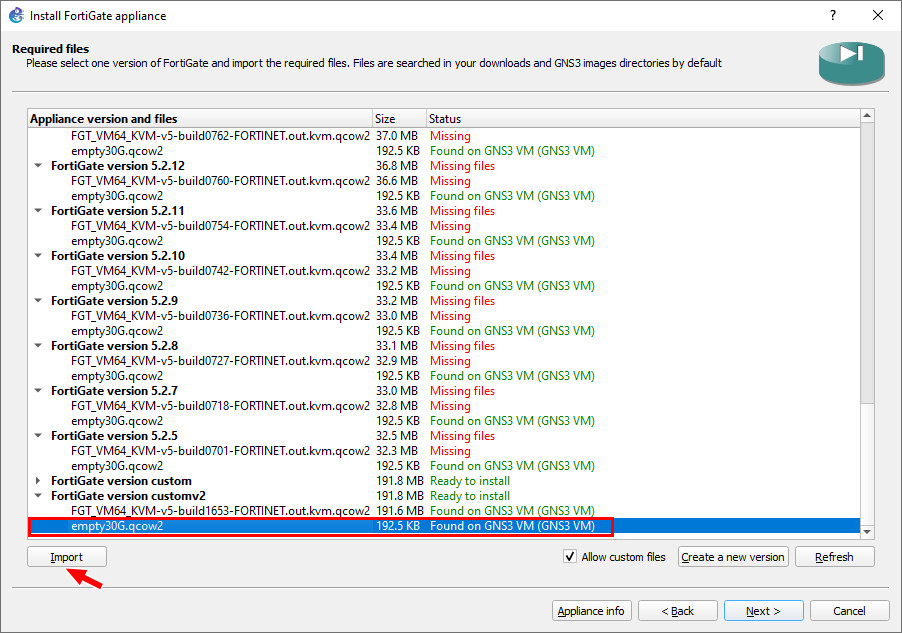
Figure A.17: Select empty30G.qcow2 - Navigate to your downloaded empty30G file and click “Open.”
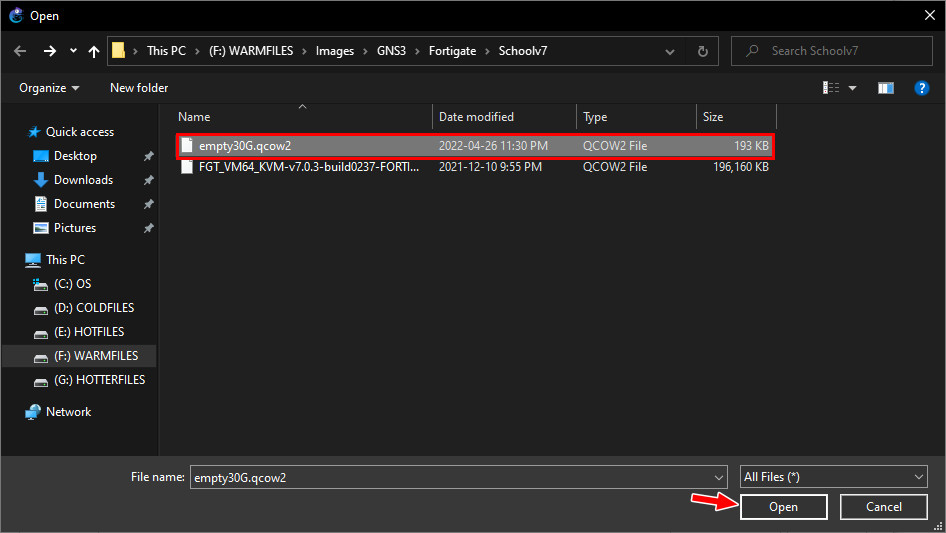
Figure A.18: Import empty30G.qcow2 file - After that, highlight the custom version again and click “Next.”
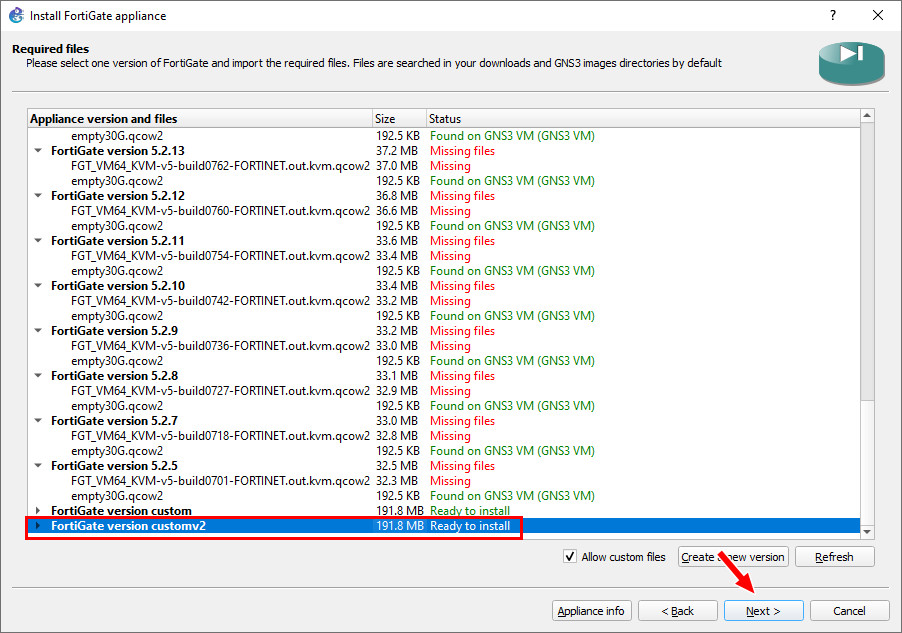
Figure A.19: Select custom version and then click on Next - Click “Yes” on this window:
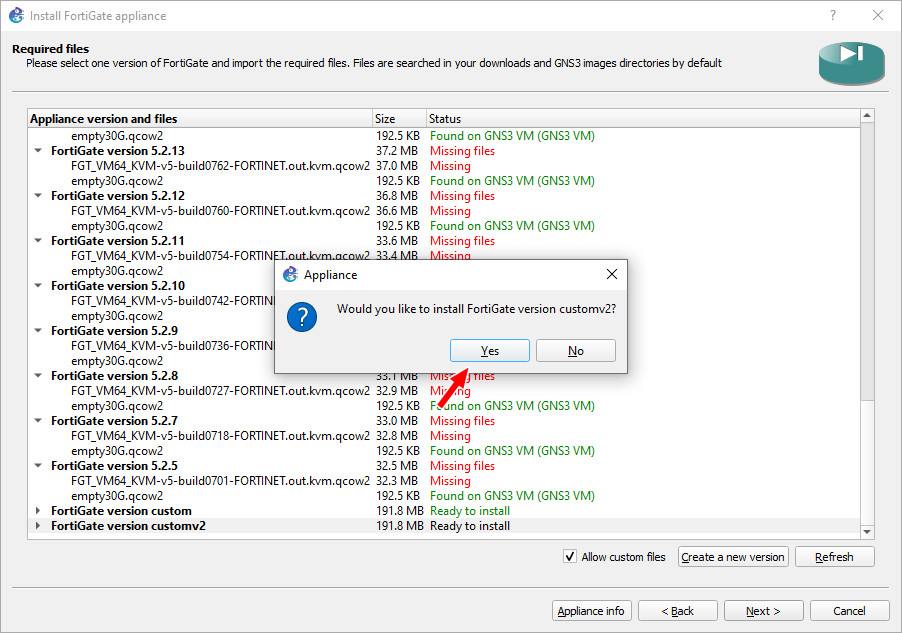
Figure A.20: Click on “Yes” - Then click “Finish.”
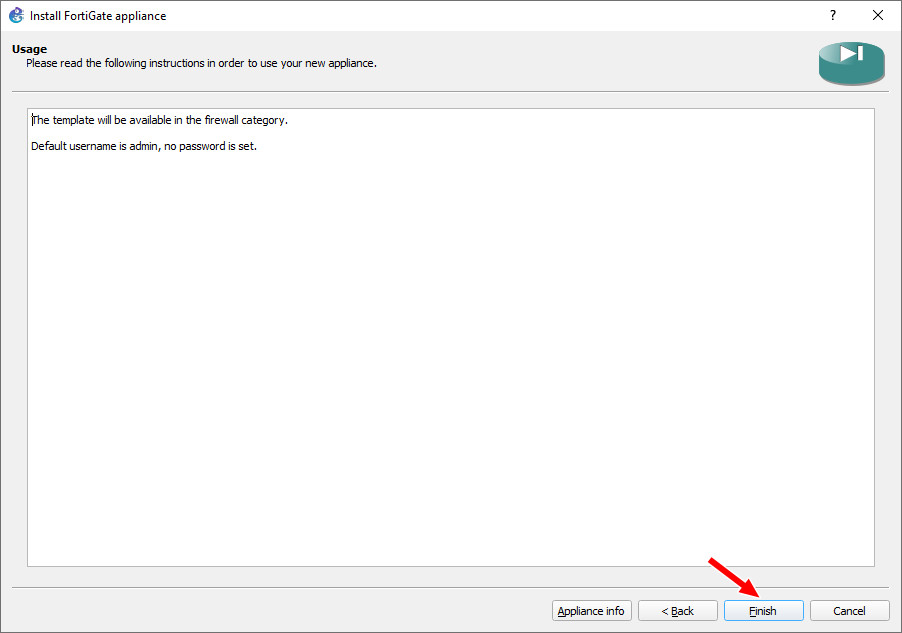
Figure A.21: Click on “Finish”
Configuring Your Palo Alto Firewall Template and Adding the Device
- Let’s start by modifying the GNS3 template of the Palo Alto firewall by right clicking the existing template, and clicking on “Configure template.”
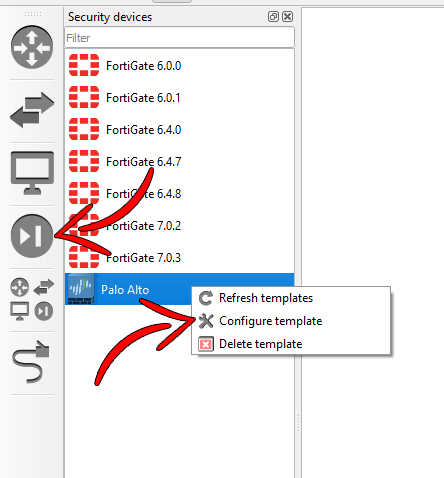
Figure A.22: Configure Palo Alto template - Make sure the max amount of RAM is set to at least 4096MB, and the amount of vCPUs are at least 2.
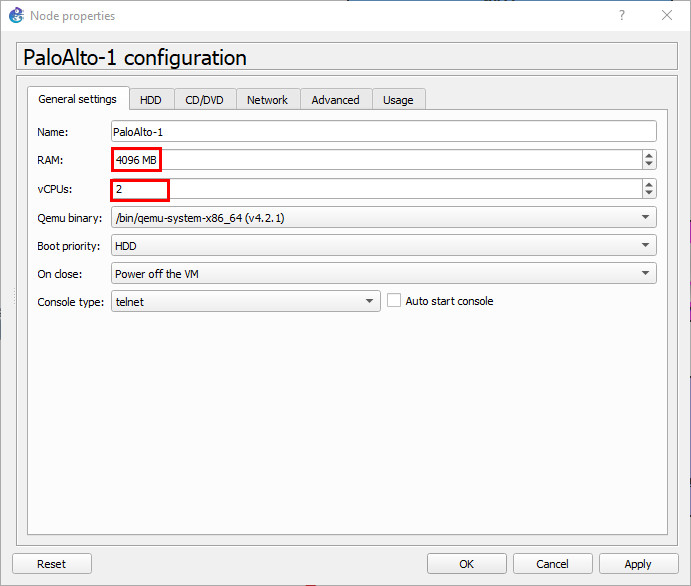
Figure A.23: Configure template - Now close the window, and drag in the Palo Alto device from the left hand pane.
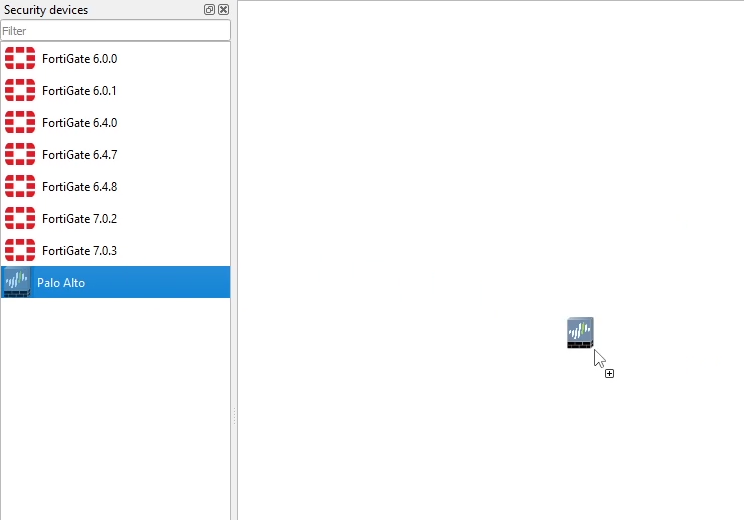
Figure A.24: Drag a Palo Alto in the workspace - Once you’ve dragged in the Palo Alto device, right click it, then click “Start.”
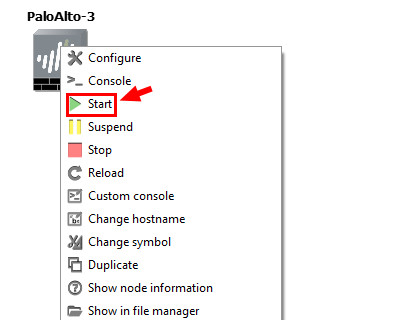
Figure A.25: Start Palo Alto Keep in mind that this device takes a while to start.
Webterm Installation
-
- Let’s begin by clicking “New template” on the bottom left hand of GNS3.
Figure A.26: Create a new template - We want to install this into the GNS3 VM. Click on the option to “Install an appliance from the GNS3 Server,” then click next.
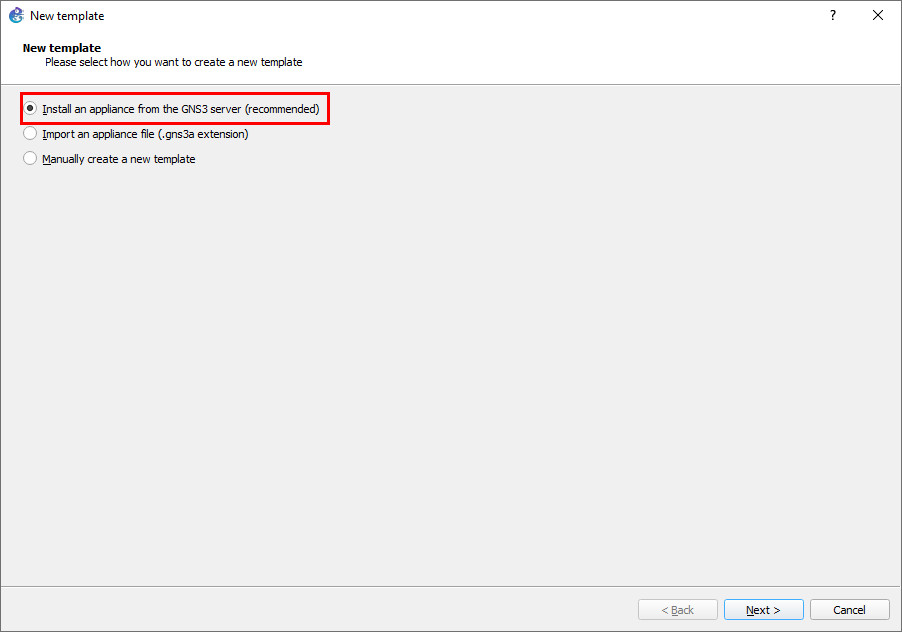
Figure A.27: Install an appliance from the GNS3 server - On the next window, search for “webterm,” select the option under “guests,” then click “Install.”

Figure A.28: Search for “webterm” - On the next screen, ensure that “Install the appliance on the GNS3 VM” is already selected, then click “Next.”
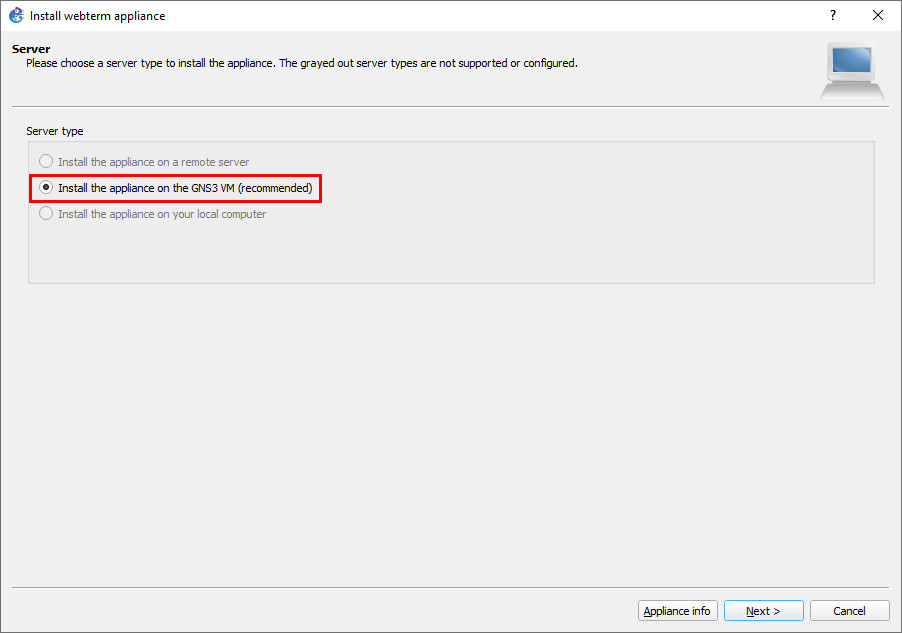
Figure A.29: Select “Install the appliance on the GNS3 VM” - On the next screen, click “Finish.”

Figure A.30: Click on Finish After that, it should appear under all devices in GNS3
- Let’s begin by clicking “New template” on the bottom left hand of GNS3.
Configuring Your Webterm Device with a Static IP
- Drag in the webterm device from the left pane. Then once it finishes downloading the docker file, right click it and select “Edit config.”
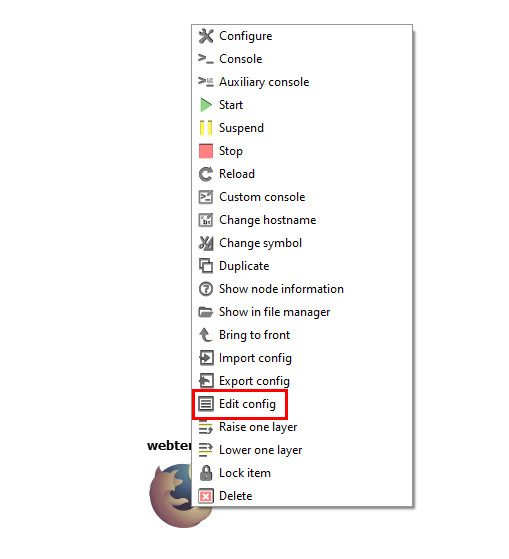
Figure A.31: Edit config - A window will pop up containing the device’s network configuration. We want to modify this file to match the specified IP address. The final modification should look like a little like this:
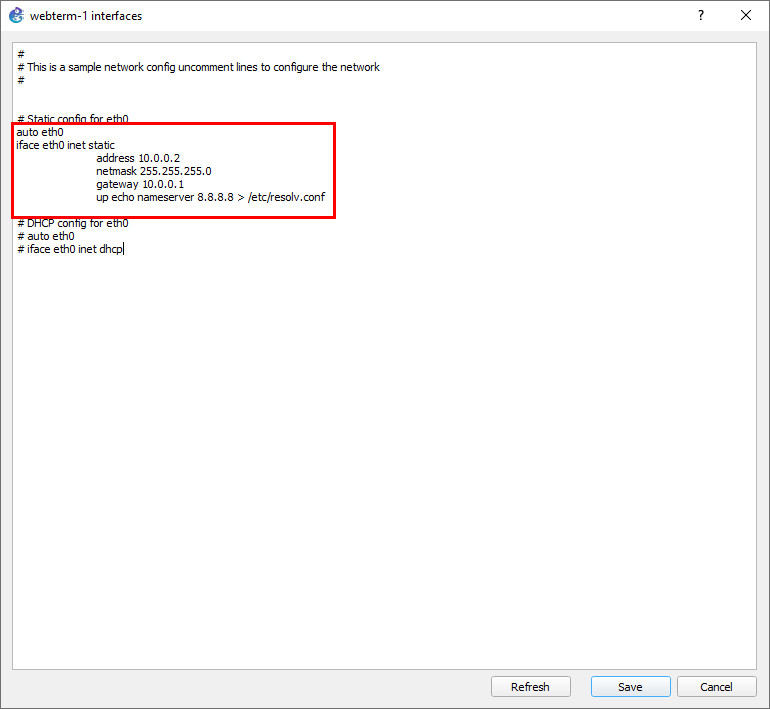
Figure A.32: Static IP address configuration After these modifications, click on the save button on the bottom right of the window.
Configuring a Webterm DHCP Client
We just need to uncomment these 2 lines to enable DHCP. Click on save and we are done.
Connecting Devices in GNS3
Please see the example below:[1]

Using NAT in GNS3
The NAT device in GNS3 will allow devices in our virtual topology to communicate with the internet. This device is under the all devices section of GNS3.
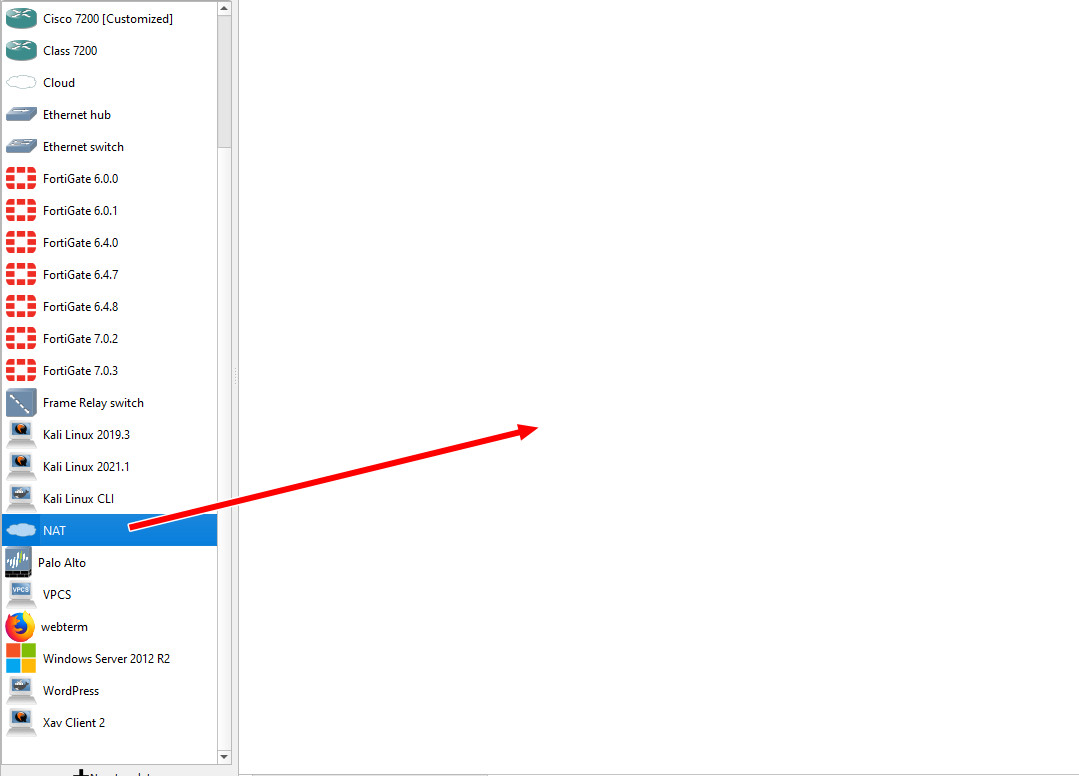
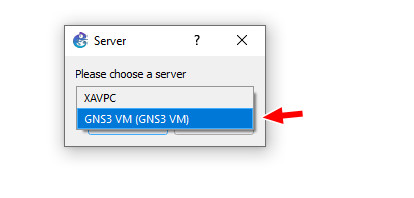
Make sure you select the GNS3 VM as the option whenever you see this window (applies for all devices)
Using Kali in GNS3
Sometimes we need to use Kali to demonstrate an attack. Please keep in mind that Kali is used strictly for testing purposes, and should not be used as a daily driver, to hack your friends, or to pretend to look cool.
- Let’s begin by clicking “New template” on the bottom left hand of GNS3.
Figure A.37: Create a new template - We want to install this into the GNS3 VM. Click on the option to “Install an appliance from the GNS3 Server,” then click “Next.”
Figure A.38: Select “Install an appliance from the GNS3 Server” - On the next window, search for “kali”, and select the non “CLI” option.
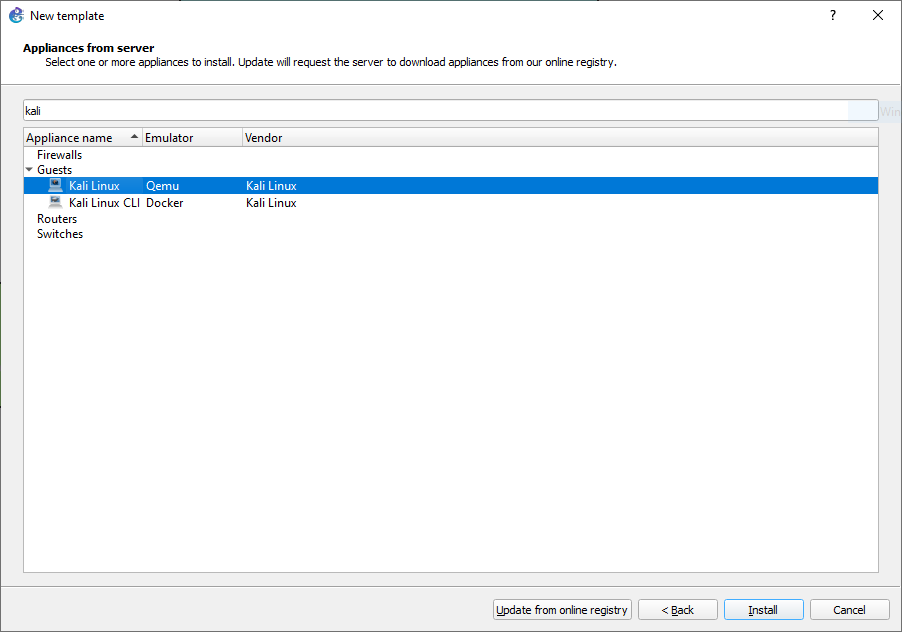
Figure A.39: Select Kali Linux - On the next screen, ensure that “Install the appliance on the GNS3 VM” is already selected, then click “Next.”
Figure A.40: Install the appliance on the GNS3 VM - “Next” again:
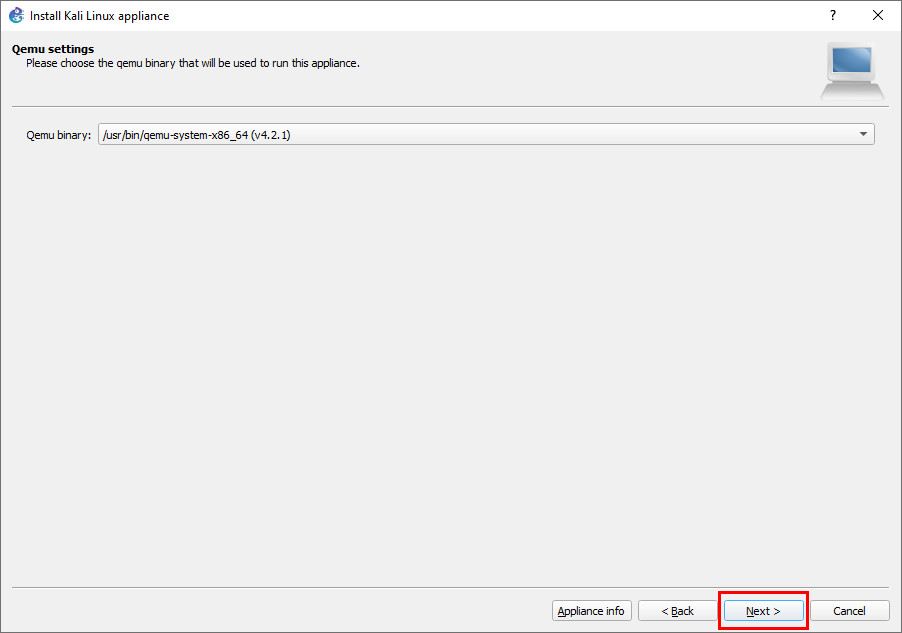
Figure A.41: Qemu binary - Expand the “2019” option, and download both missing files.

Figure A.42: Select the Kali-Linux version and then Download - After that, import the downloaded file to the specified 2019 selection.
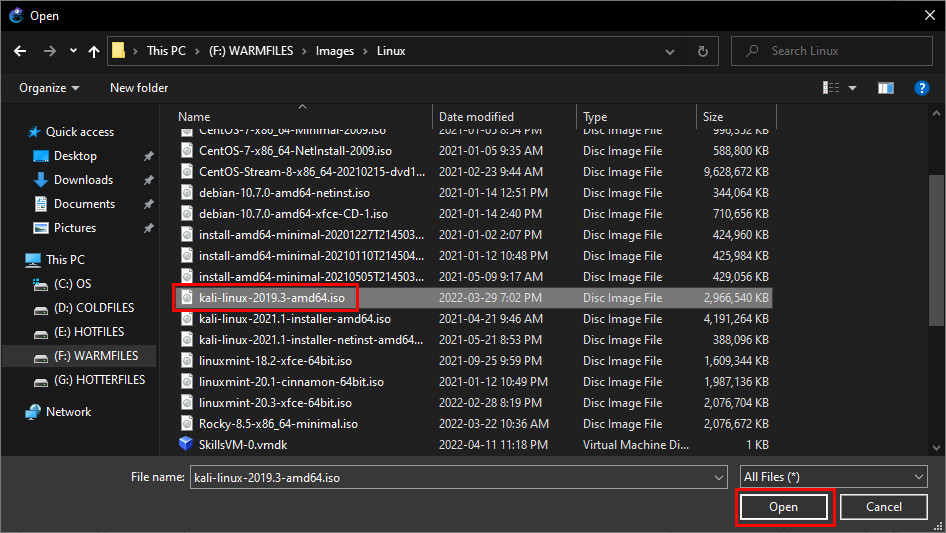
Figure A.43: Select the Kali-Linux downloaded file - It should take a second, but GNS3 will start to load up the ISO into the GNS3 VM.
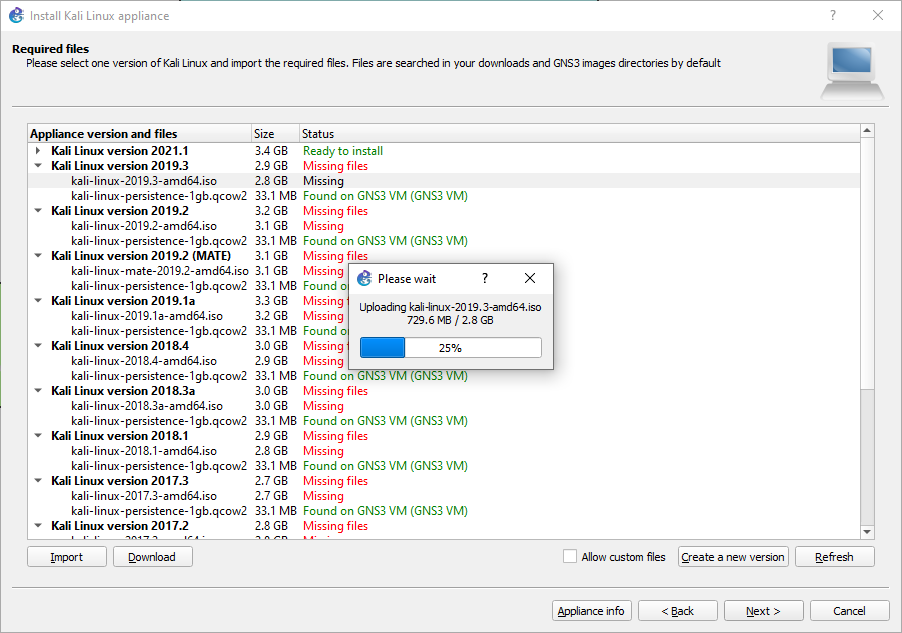
Figure A.44: Load the image - After that, click the 2019 version again, then click “Next.”
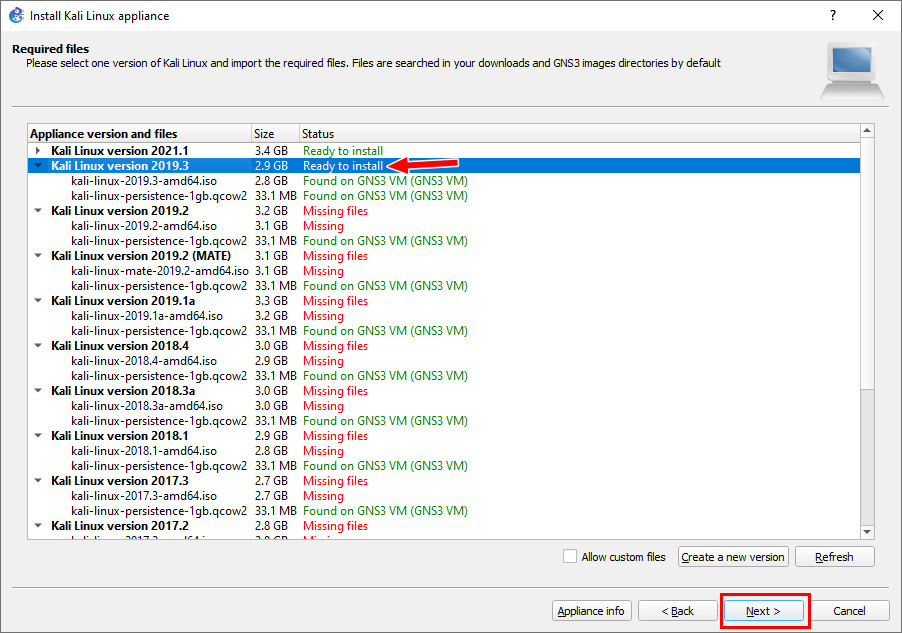
Figure A.45: Ready to install Kali 2019.3 - Then click “Finish.”
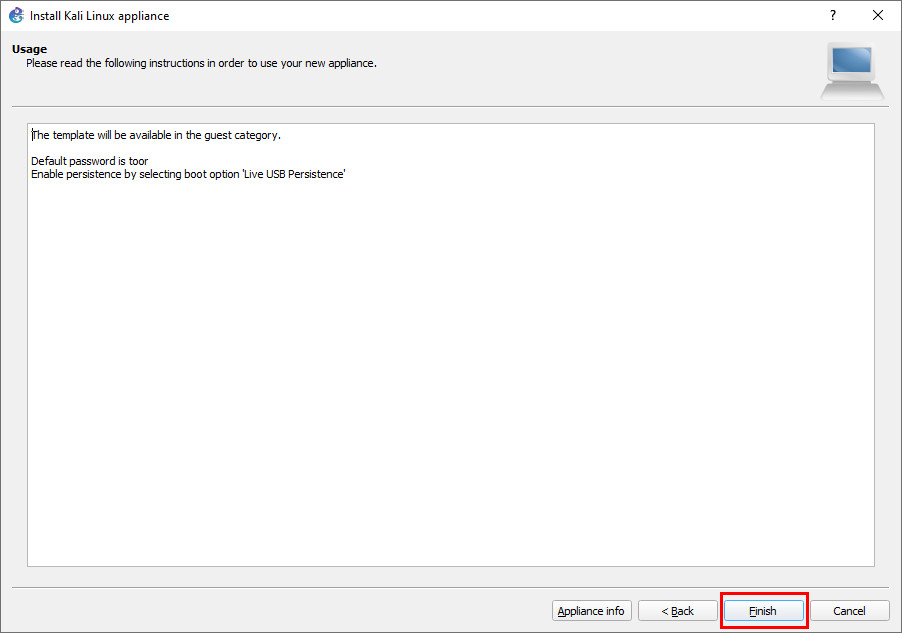
Figure A.46: Click on “Finish”
Using WordPress in GNS3
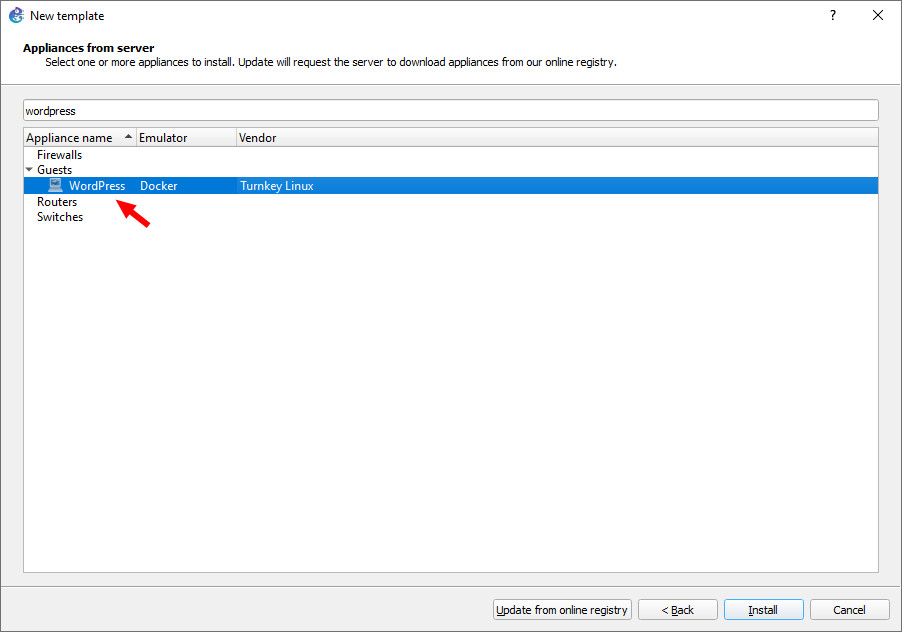
Sometimes we need a basic webserver to demonstrate website functionality. This can be accomplished using the WordPress appliance in GNS3. Start by clicking the new template button on the bottom of the page.
We want to install an appliance from the GNS3 server.
Look up “WordPress,” then click “Install.”
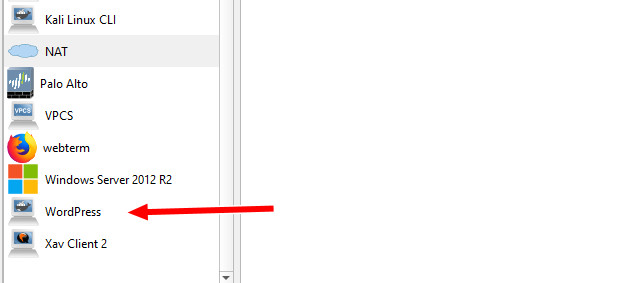
Just press next for the following dialogue boxes, and you should now have WordPress!
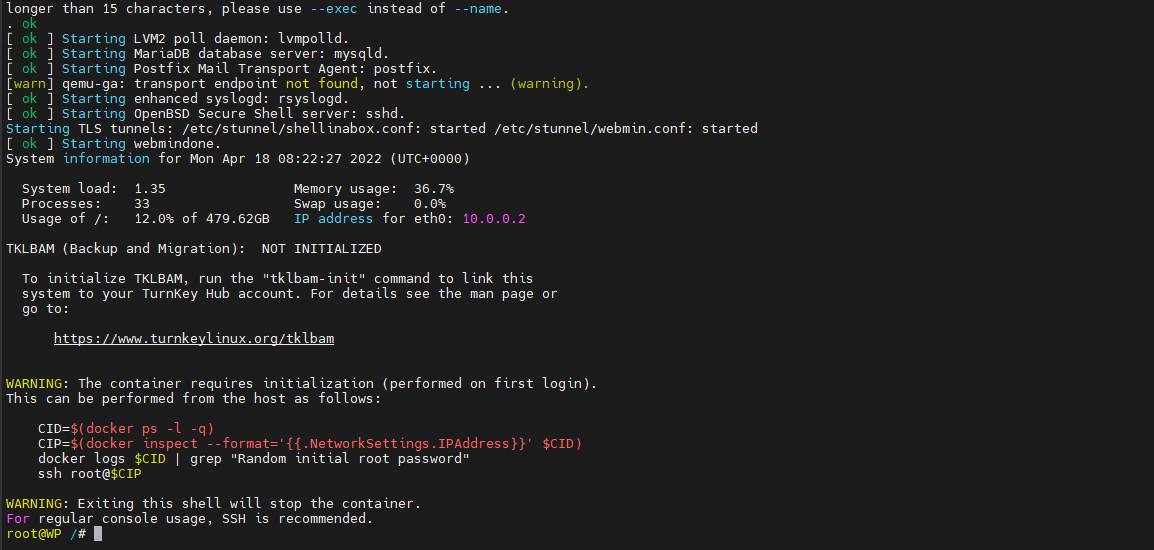
Running WordPress
After changing the interface configuration, start the machine. You will see a dialogue box:
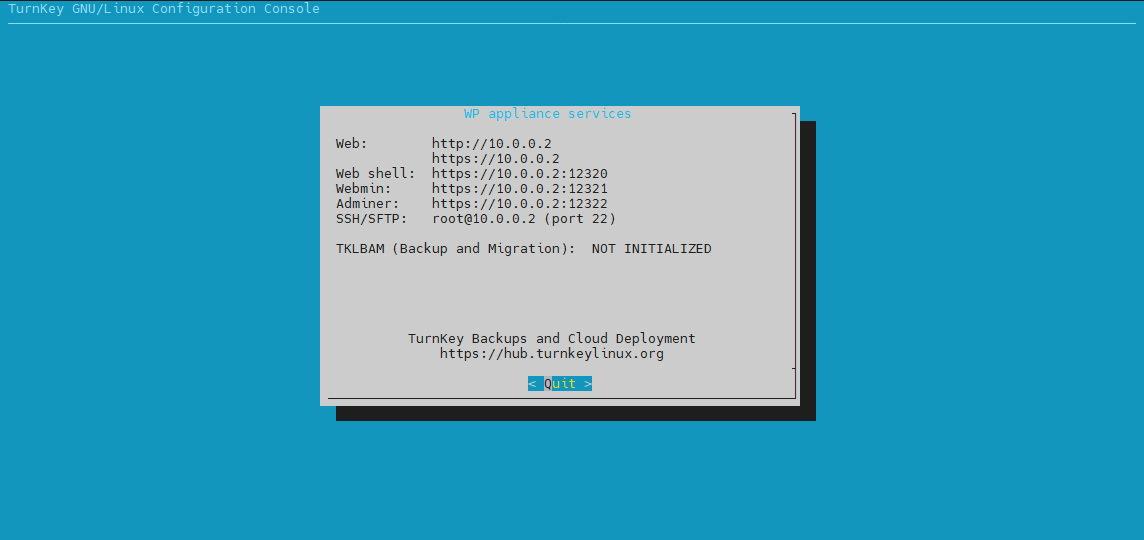
Press enter and you’ll see the device under some basic configuration. Once you get to the prompt, you can exit that window, and you will have WordPress ready!
Using Switches in GNS3
Usually we just use switches to connect multiple devices together in GNS3. However, it can also be used for VLANs. Start by dragging one in and double clicking it.
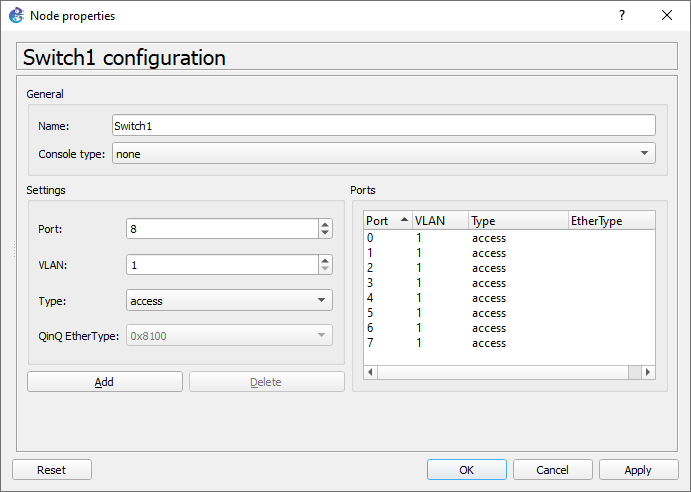
Here you can see that they are all basically untagged. To configure a specific port, simply double click your desired port
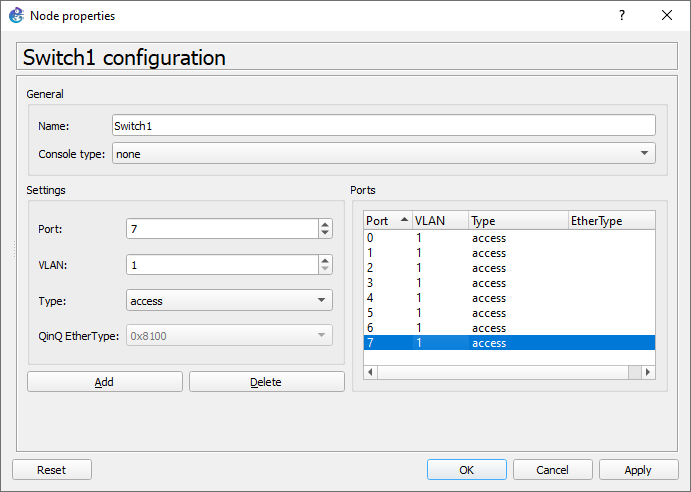
Configure the necessary settings for them (access is for tagging, dot1q is for trunking).
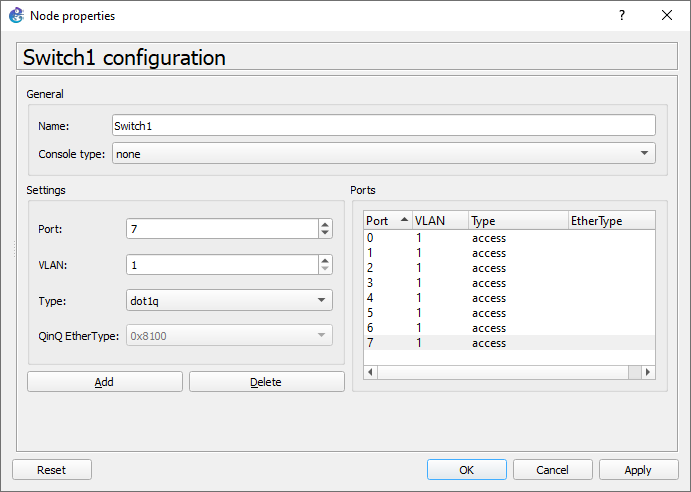
Click on add to Apply the changes.
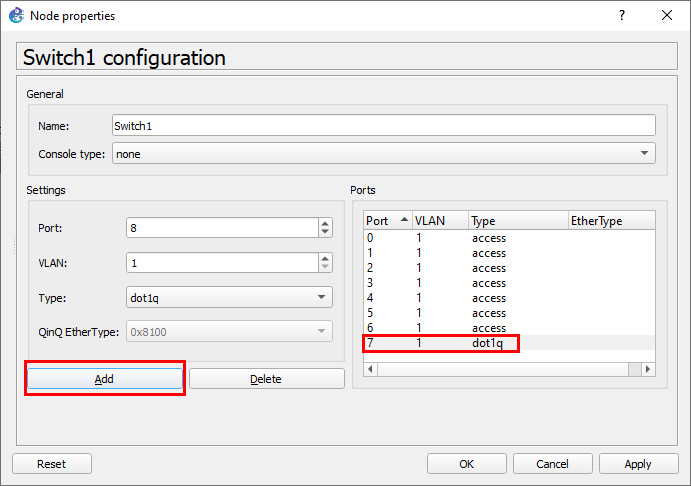
Then click Apply and OK.
- If using an offline version of the book, navigate to https://pressbooks.bccampus.ca/fortigatefirewall/back-matter/appendix/ in order to see this animated example. ↵
