10.1 Exercise 1: Replace part of one image using the Clone Stamp Tool
xtine burrough and Michael Mandiberg
In this exercise, we will use two images in the public domain from the US government. The first all-female C-130 crew, and a historic image of Amelia Earhart.
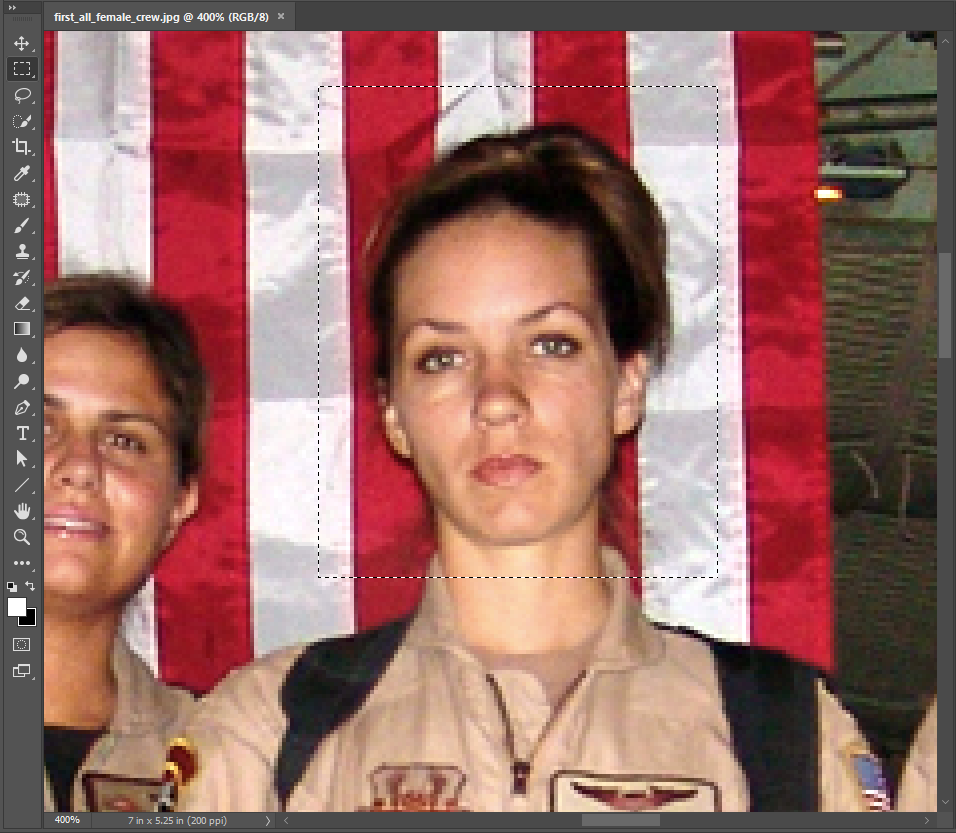
- Open the file first_all_female_crew.jpg in Photoshop®. Zoom in on the central figure of the crew, Capt. Carol J. Mitchell. We will start by replacing her head with a sample of the flag and will do this using a non-destructive approach. By non-destructive, we mean that the original pixels in the photo will not be permanently changed by our edits. Start by using the Rectangular Marquee Tool to create a rectangular selection around Capt. Mitchell’s head.
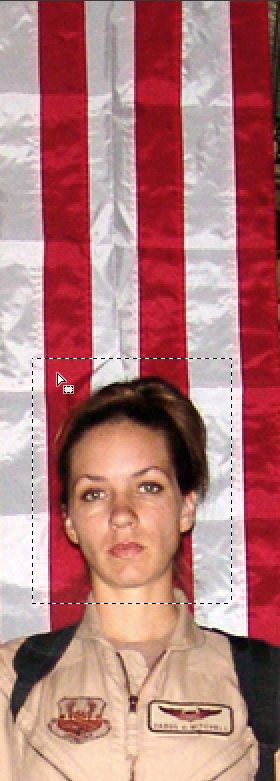
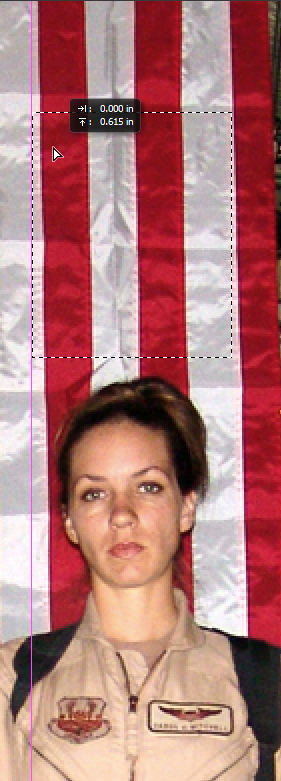
- Zoom out so you can see more of the flag above her head. Place your cursor inside the selected area and notice that as long as any selection tool is active (and specifically, the Move Tool is not active), the the cursor changes into a white arrow with a small rectangular selection icon. When you see this cursor, click and drag the rectangular selection up straight above the figure’s head – you are only moving the selection itself. No pixels in the image are being moved.
- Copy the flag from the background layer and paste it. Edit > Copy followed by Edit > Paste will create a new layer (CMD+C followed by CMD+V will do the same). Name the new layer, “flag.” Then, using the Move Tool (press V on your keyboard), click and drag in the canvas to move the “flag” layer so that it is positioned over Capt. Mitchell’s face as shown below. Once you have the copied section of flag roughly in position, you can use the arrow keys on your keyboard to nudge it pixel-by-pixel into place. See if you can get the stripes of the “flag” layer to match up with the original image behind it.
Save your work as a PSD named ch10-yourlastname-amelia-crew.psd before continuing.Hotkey: CMD+J is the hot key for “float,” which will copy and paste part of a layer onto a new layer directly on top of the selection.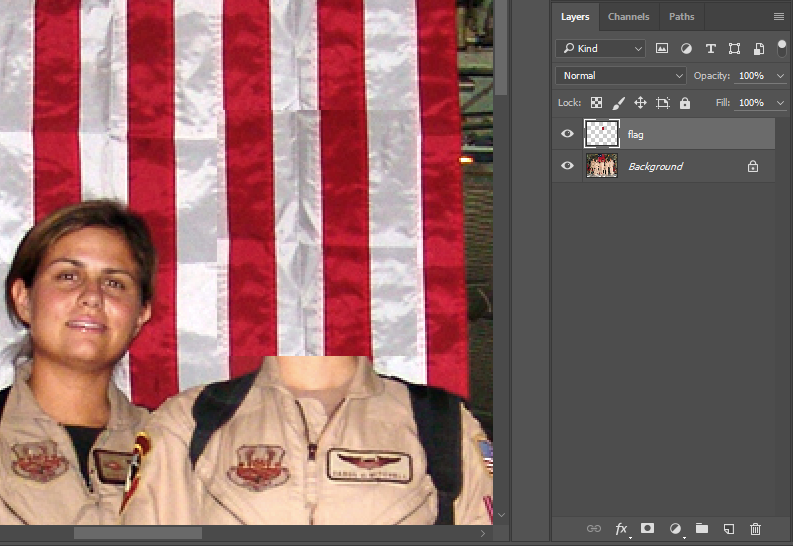
- You’ll likely notice that the pixels on your “flag” layer stand out from the rest of the flag. We’ll use the Clone Stamp Tool to clean that up and help everything blend together more seamlessly. The Clone Stamp Tool is a special brush that replaces small areas of a layer with a sample from another area of the canvas or a separate image.
Activate the Clone Stamp Tool in the Tool Panel (or press S on your keyboard) and then use the Options Bar to set the brush Size to about 20px and the Hardness to about 10% (access these controls by pressing the brush settings down-arrow button in the Options Bar as shown in the screen capture below). Using a soft brush will help the cloned sample appear to blend into the original image, even though we will do all of our cloning on a new layer.Also, make sure that the “Aligned” button is checked and that the Sample pull-down menu is set to “Current & Below” (this last setting will allow us to clone into an empty layer with samples from the other visible layers).
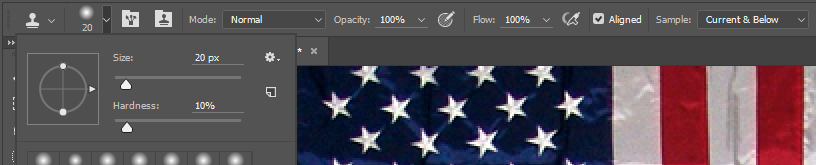
Compare your Clone Stamp Tool Options to those in this screen capture. Tip: The open and close bracket keys on the keyboard (usually just to the right of the P key) are the hotkeys used to increase and decrease the brush size without using any menus or dialog boxes. Holding down Shift while pressing the brackets will adjust the brush hardness/softness. - Now for the most important part of this exercise – sample parts of the flag in order to blend the areas around the edges where the copy and pasted image is an obvious manipulation.
First, create a new layer and name it “clone”. We’ll be brushing our sampled pixels into this layer in order to maintain a non-destructive approach.
Before you can paint with the Clone Stamp Tool, you must define a sample source point. For best results, you want to choose a source point that is similar to the area that you want to clone into. For example, the upper left corner of our “flag” layer doesn’t quite match the flag image around it. We’ll want to find a portion of the image that is similar to that area and use it as our sample point, such as a bit above that top left corner of our “flag” layer’s pixels.
To define the sample point, place your cursor over part of the original flag image, then press and hold the ALT/OPT key. You’ll see the cursor change to a crosshair cursor. Position the crosshair right over the edge of the flag’s red stripe, a bit above the top corner of your “flag” layer’s pixels. Click your mouse once to define that point as the clone source.
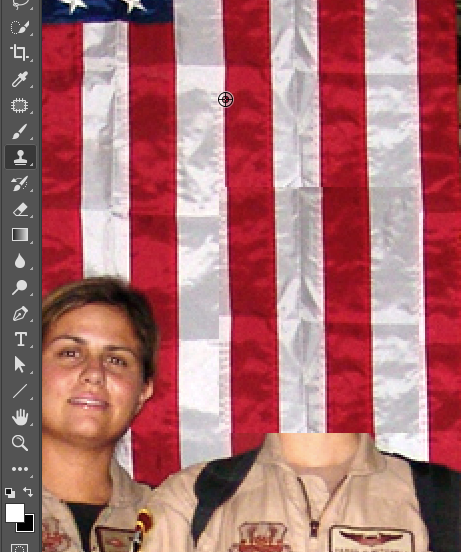
With the Clone Stamp Tool active, hold down the ALT/OPT key and click the crosshairs at a point above your pasted flag pixels, right along the edge of the red flag stripe. Next, position the mouse on top of the corner where the pasted flag needs to be blended and click once to cover it with a soft, brushed sample. Pay close attention to the brush work. Determine if the first click is blended or not by looking at the surrounding values. Decide if your new sample is blending in. If it does, move on to the next area. You’ll get best results by ALT/OPT+clicking to create a new sample before brushing into each area. If the first click did not blend perfectly (it probably didn’t – this takes some practice), use CMD+Z to undo the last step and try it again.
Tip: Notice that once you have defined a sample source point, the Clone Stamp Tool brush shows a preview of the cloned pixels inside its cursor circle. You can use this to match up your cloned pixels precisely before clicking to paint them in. If you don’t have a good match, ALT/OPT+click to re-define your sample source point.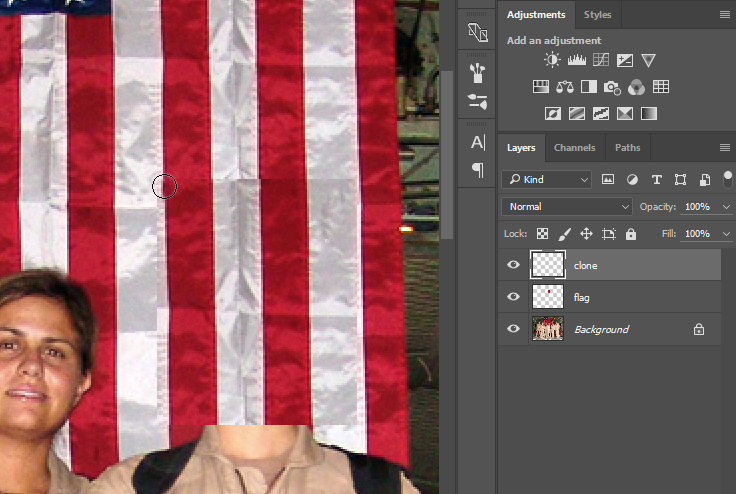
Line up the Clone Stamp Tool’s clone preview with the spot on your image you want to clone into. Click once to stamp the clone into place. In some areas you may be able to click and drag to clone a nice blend, other areas will require re-defining the sample point. Be careful with your application of the Clone Stamp Tool. The soft brush creates a little bit of a blur on the image. A small amount of blur is necessary in order for the sample to blend in, but clicking with the soft brush repeatedly will result in a blurry area in your image. Remember, the purpose of our cloning is to create a seamless and unidentifiable image hoax. Creating a blurry area on the image will be draw attention to that area. In order to achieve the hoax, the clone must be made in such a way that the viewer is deceived! You may find that some areas require making your brush smaller to get the sample stamp just right.
Work around all of the edges by creating a new ALT/OPT+click to sample the flag and then click with the brush to apply the clone. CMD+Z will be used often in this process! We finished the clone in about 25-30 precise mouse clicks.
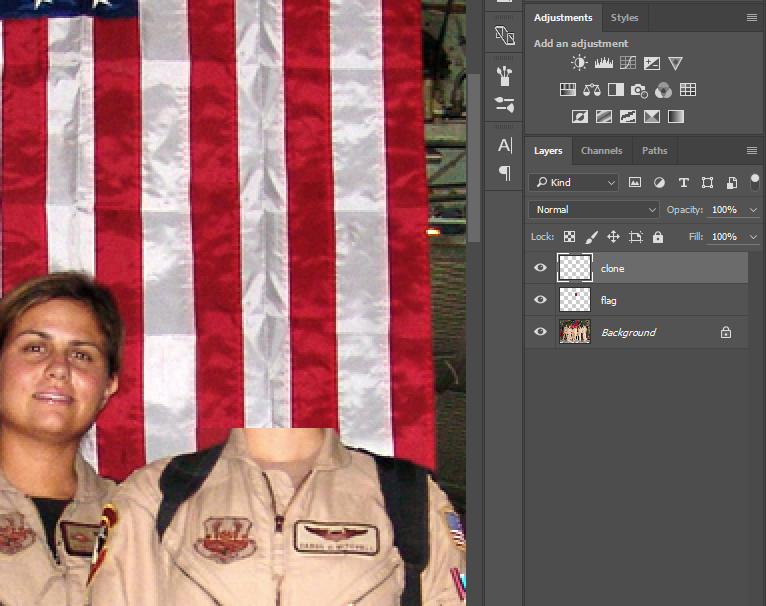
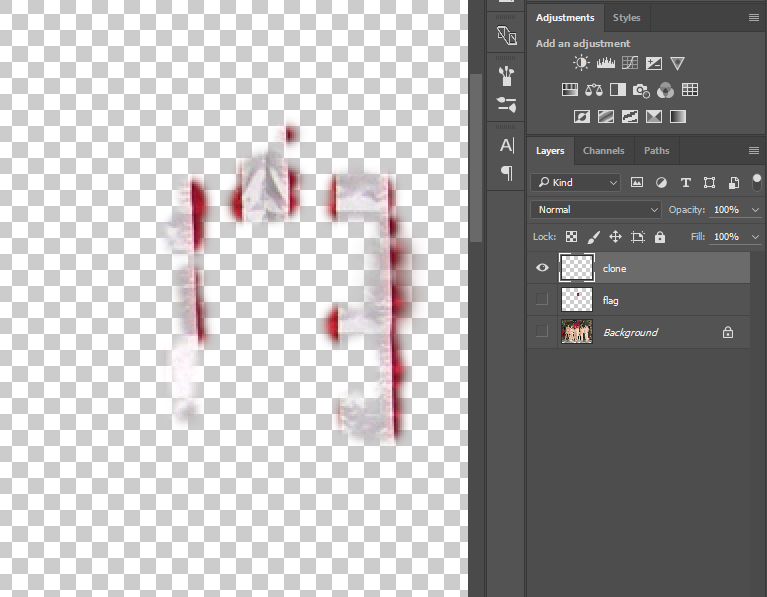
Our result after cloning. The pasted patch of flag now blends in much better! - View the clone layer by turning the eyeball icons off of all of the other layers. Here is what ours looked like when we were finished:
Turn the other layer’s eyeball icons back on and Save your work.
