10.2 Exercise 2: Add Amelia Earhart to the image of the crew
xtine burrough and Michael Mandiberg
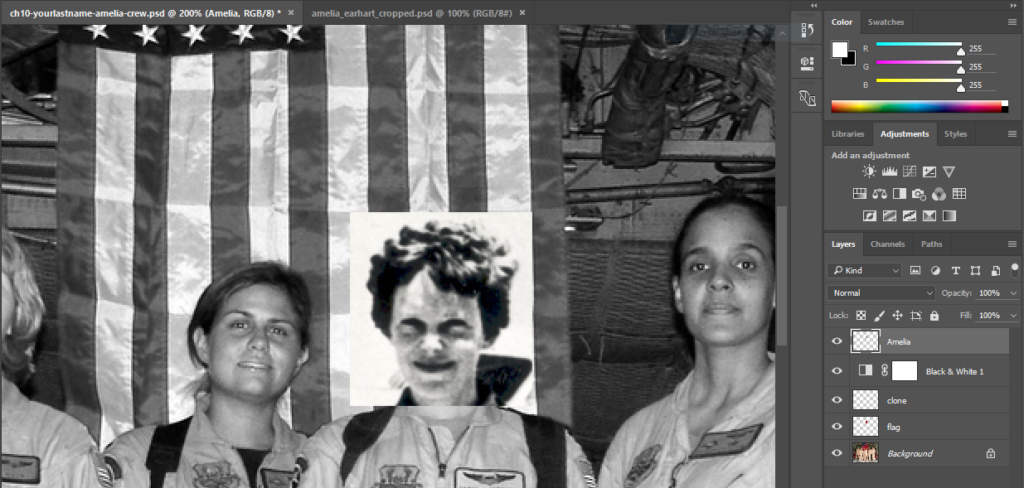
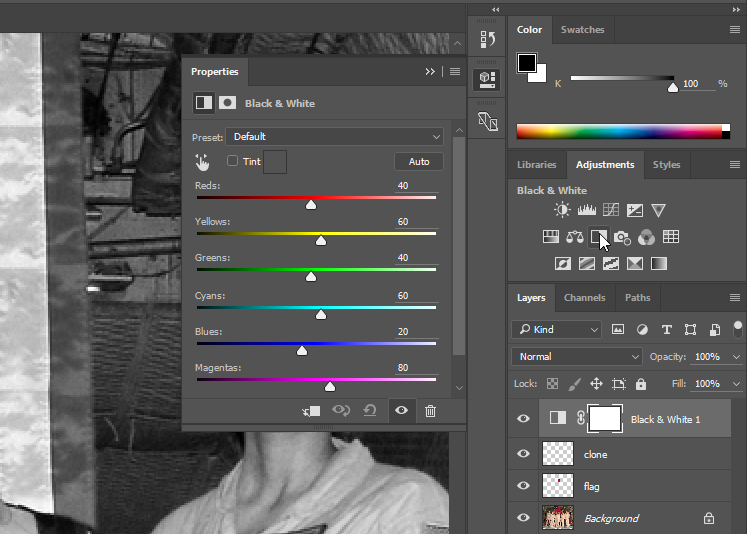
- Since the image of Amelia Earhart was originally a black and white photograph, we should change the image of the Air Force crew into grayscale. In keeping with our non-destructive approach, we’ll do this by adding a Black and White Adjustment Layer on top of the clone layer. Apply the adjustment by clicking the Black & White Adjustment icon in the Adjustments panel (if you don’t see the Adjustments panel, use the menu Window > Adjustments to show it). The default settings for the Black & White Adjustment Layer will be sufficient for our needs, so you don’t need to change any settings after adding the Adjustment Layer.
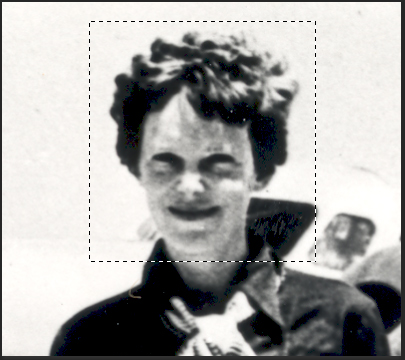
- Open the image of Amelia Earhart, select her head and neck with the Rectangular Marquee tool and choose Edit > Copy. Toggle back to the Photoshop® document and choose Edit > Paste. Use Edit > Free Transform (Command+T) and hold Shift while scaling Amelia Earhart’s head down so it is in proportion with the body. Finalize your transformation by pressing the Enter key or clicking the checkmark button in the Options Bar. Name the new layer “Amelia”.