9.2 Exercise 2: Cropping and adjusting the hue
xtine burrough and Michael Mandiberg
- Click on the Crop Tool in the Tool Panel (or press the C key on your keyboard) and notice the options for this tool in the Options Panel beneath the Photoshop® menu items. You’ll see a pull-down menu with some crop presets, and boxes for numeric entry to the right of the pull-down menu. Set the pull-down to the W x H x Resolution preset, then enter 6 in into the crop Width box, 9 in into the Height box, and 72 into the Resolution box.

Upon entering values into the Width, Height, and Resolution boxes you will see a crop box appear over the canvas. Click and drag the crop box control handles to resize it so that you are cropping around the area of the document where the two layers overlap, similar to what is shown in the image below.
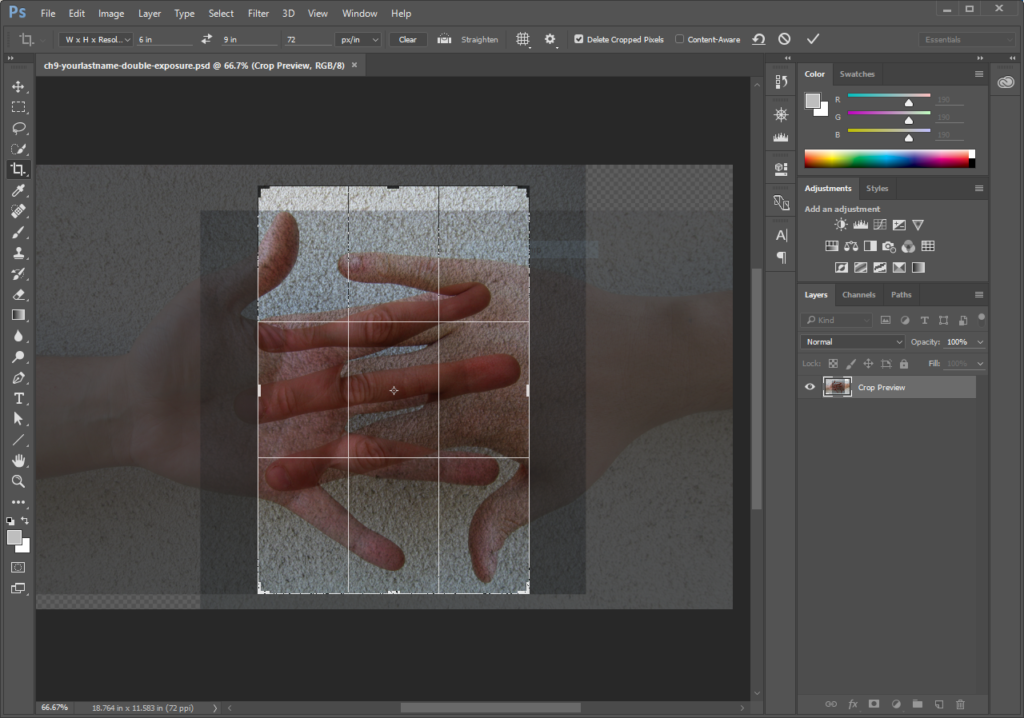
Notice that the crop tool will only create a rectangular shape in the aspect ratio of 6:9 as you are dragging. Finalize the crop by pressing Return or Enter on your keypad or by clicking the checkmark icon in the top right area of the Options Panel.
- Now we’ll make some Hue/Saturation adjustments to the color of our double exposure, but we’ll do this using what is known as a “non-destructive” editing technique. Remember when we made adjustments to Levels, Curves, and Hue/Saturation on the flower image in chapter 8? The changes we made with those adjustments permanently changed the pixels in that image. If we wanted to change them back or re-adjust, we’d have to start over with the original image.Non-destructive editing techniques use special features in Photoshop® that preserve the original image’s pixel data while allowing changes to be made. Adjustment Layers are one such technique and can be added to a Photoshop® document by clicking on the Add Adjustment Layer button at the bottom of the Layers Panel (or by using Layer > New Adjustment Layer in the menu bar).
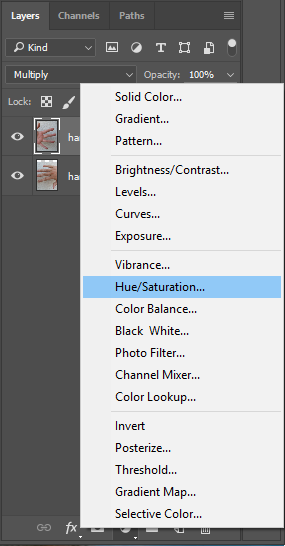
Click the Add Adjustment Layer button at the bottom of the Layers Panel and notice that many of the adjustments available through the Image > Adjustments menu are available as Adjustment Layers. Choose Hue/Saturation… from the New Adjustment Layer menu in the Layers Panel to add a Hue/Saturation Adjustment Layer.
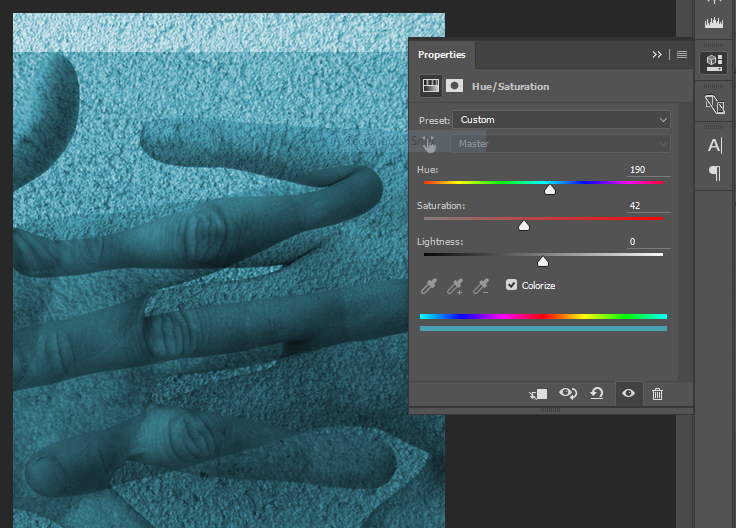
- When you add this Adjustment Layer you will notice the Properties Panel will open displaying controls like those you used before when making a Hue/Saturation adjustment. In the Properties Panel, check the “Colorize” button and then use the Hue slider to create a cyan wash over the image. Click OK when you are satisfied with the colorization.
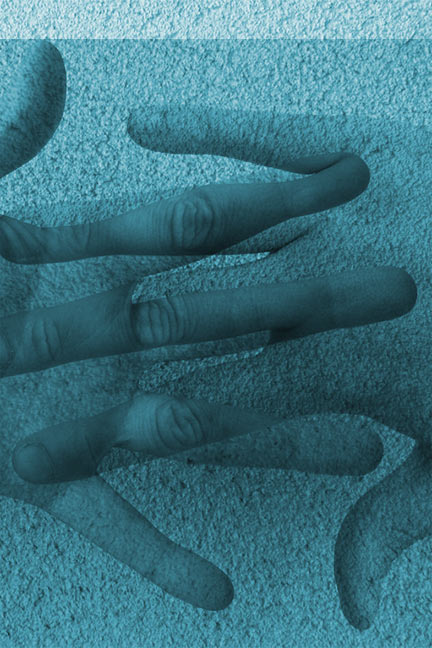
Remember that you can always double-click on the Adjustment Layer’s icon in the Layers Panel to access the Properties Panel and modify the adjustment settings. Be sure the adjustment layer is in position as the topmost layer so that it affects all visible layers beneath. Make sure to save your work when you are finished with this step.
Tool Tip: Adjustment Layers can also be added using the Adjustments Panel. This panel has an icon for each of the different types of Adjustment Layers that can be added to an image. Hover your mouse pointer over each icon and you will see text describing the adjustment it represents. Simply click the icon for the adjustment you want and a new Adjustment Layer will be added into your document just above the active layer.
Exercises 3 and 4: Exquisite Corpse (in two parts)
The next two exercises in this chapter will take you through the process of creating an Exquisite Corpse image in two parts.
“Exquisite corpse” (in French, cadaver exquis) is a parlor game that the Surrealists developed in 1925 (Wikipedia). In this game, each player submits images (drawings, paintings, photographs) of heads, torsos and legs which are combined to produce surprising bodily results. I have played this game with students using images of each other that we captured in class on a digital camera as well as by using images from pop culture, found on the web. In the past, we have placed Lindsay Lohan’s head on John Goodman’s body, George W. Bush’s head on Paris Hilton’s body (with the dog), and so on. Images of my students included in this chapter’s downloaded Work Files, but it’s more fun to try this with pictures of your friends or family!
