8 Pinning
Pinning
Once the insect has thawed (this may take ~10-15 minutes, depending on the size of the insect, the temperature of the room, and how cold your freezer is), consider what size pin to use. You have three sizes of insect pin in your kit: 0, 1, and 2. Size 0 is the smallest, and size 2 is the largest. These are coated pins, specifically designed not to rust under normal storage conditions, even though they contact insect body fluids. You will want to use the largest pin you can without damaging the specimen. It may take a few attempts for you to learn how to judge what pin size to use – so do not start with your best/favourite/most unique specimen!
1. Pin Placement
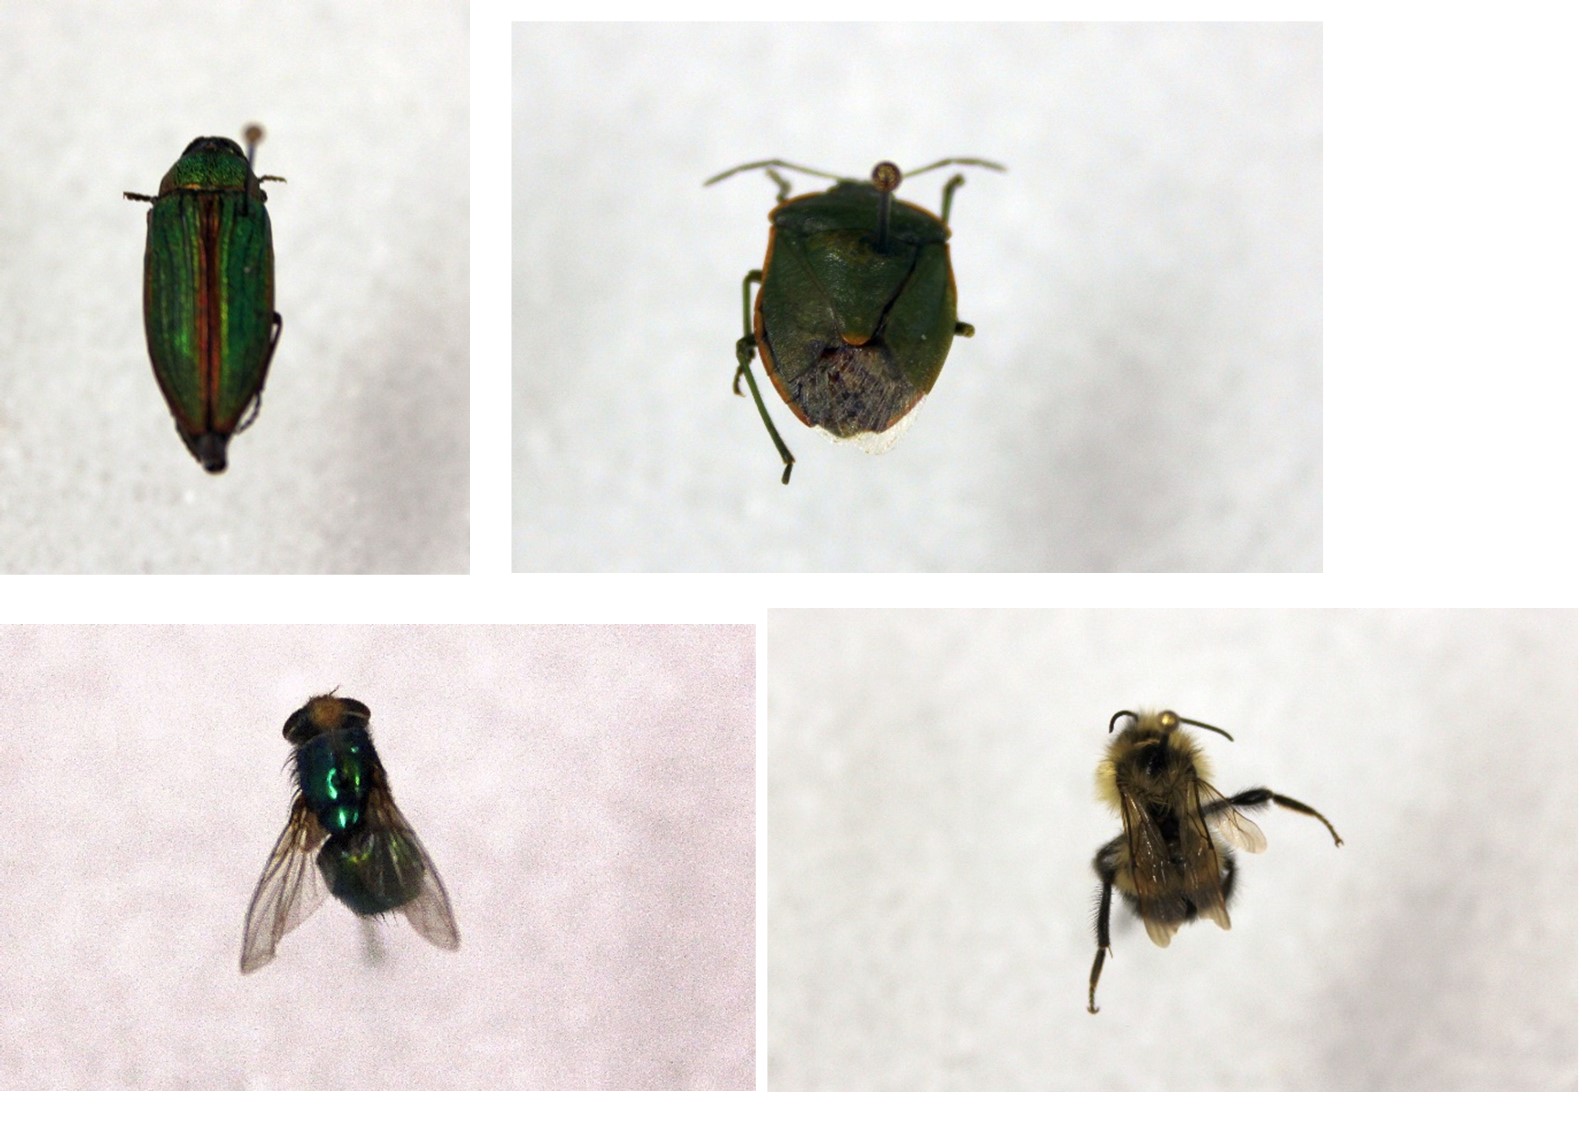
Next, you need to decide where the pin should be placed. Pin placement varies with the order and shape of insect. The goal is to keep at least one side (by convention, the left side) of the insect intact and undamaged, and not to obscure any feature that may be important for later identification. First, then, you’re going to decide what order the insect belongs to – if you aren’t quite sure, please ASK FIRST! The last page of this summary has a table that should help you decide where to place the pin, and there some examples below – again, if you are unsure or nervous about this step, please feel free to ask me for help.
2. Inserting the Pin
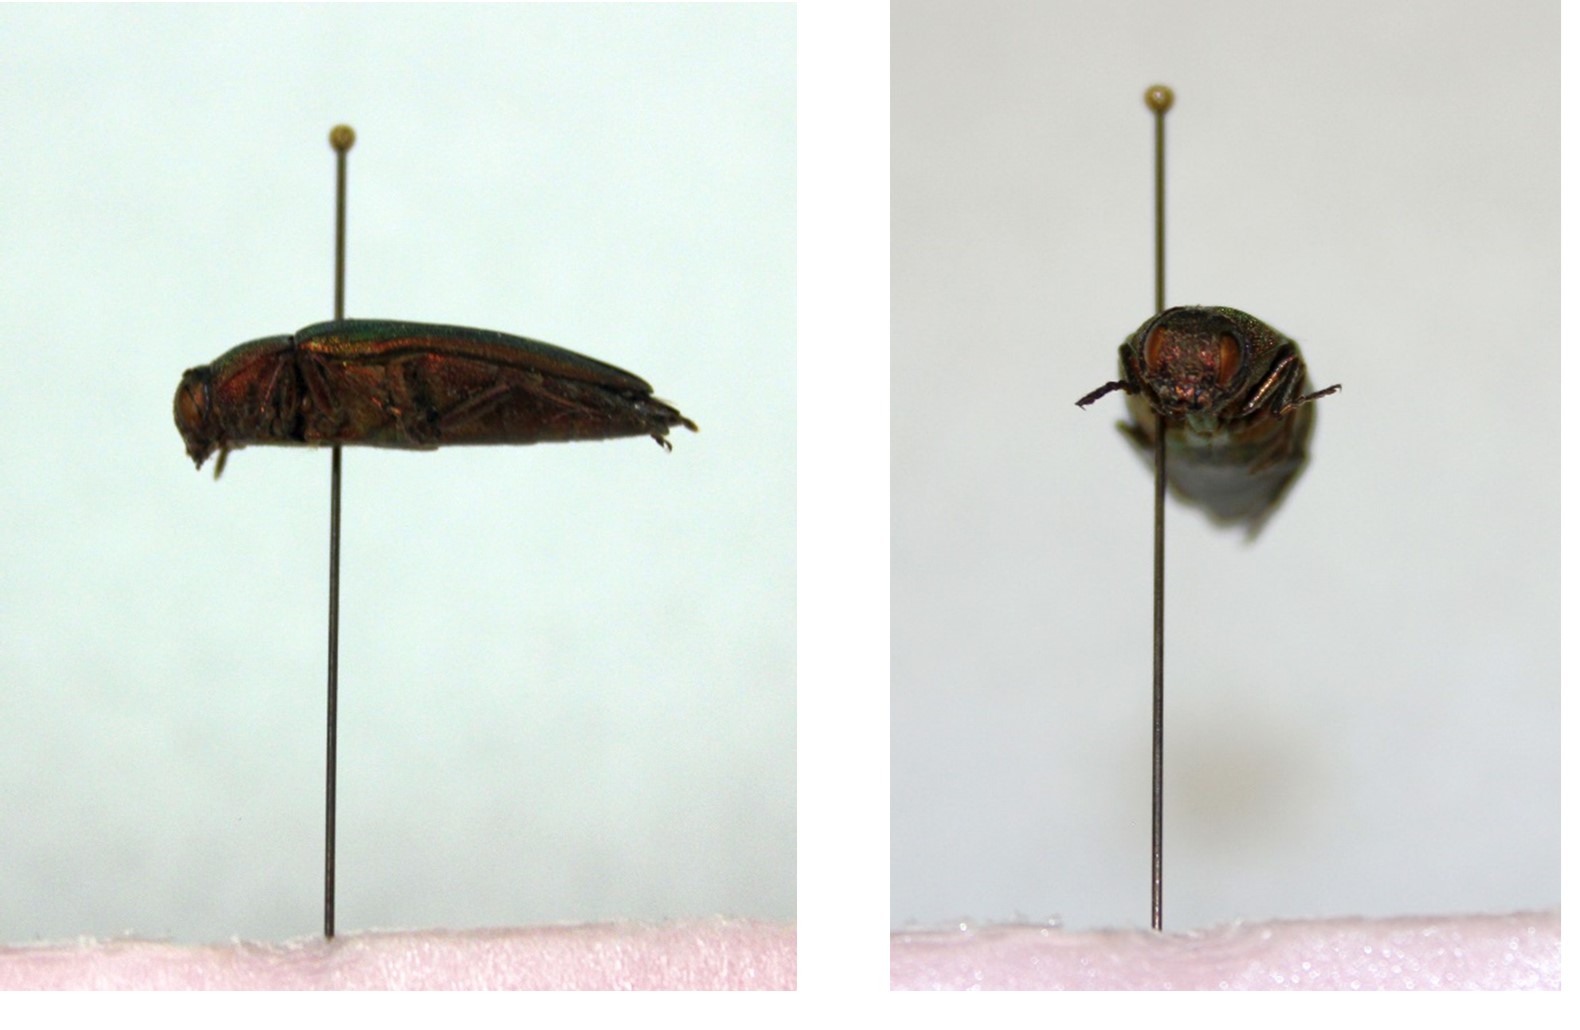
The pin should go into the dorsal side of the insect at the correct location, and pass straight through to the ventral side. Once the pin is through (don’t push it all the way through, just enough so the tip of the pin is coming through the ventral side!), the insect should be straight on the pin: it should not look like an aircraft on takeoff, nor should it be doing a nosedive! It should also not be tilted to one side or another. Remember that pinning is an acquired skill – it takes time and practice to learn how to do this well. It may take more force than you expect to push the pin through the insect … sclerotized chitin is tough stuff. Also, mind your fingers! As you push the pin through the insect, you will be pushing it through many different muscles. The insect will move (often in the most awkward way possible, that makes it crooked…), and the legs and wings may even move a little. This does not mean that the insect is still alive; it means that you are pushing on/through muscle.
3. Setting the Insect’s Height on the Pin
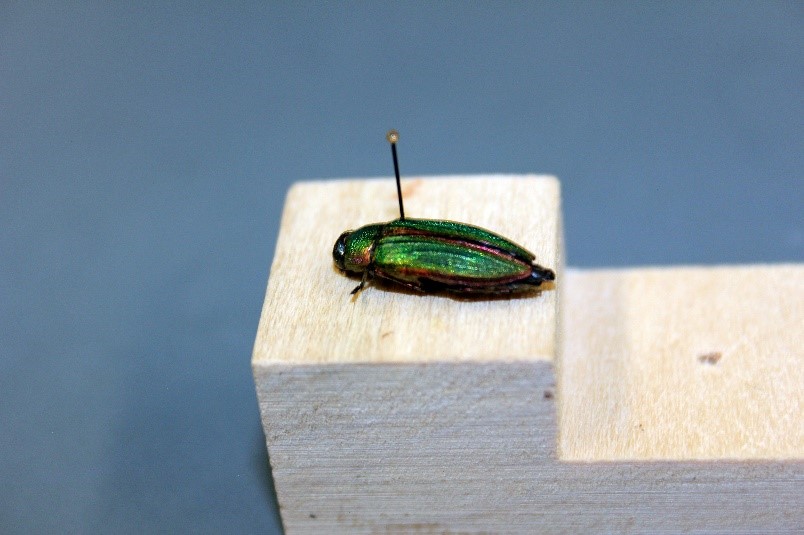
Once you have the insect on the pin, you should now be able to use the pin to handle the specimen. That minimizes (though it won’t eliminate) the chances of knocking off legs, wings, or the head. Now you need your pinning block. Place the block on a hard, flat surface. Hold on to the pin by the head, and put the point of the pin into the hole on the top level of the block. Push down on the head of the pin until it contacts the hard surface beneath. This will set the insect at the correct height on the pin. There should still be enough pin showing above the insect to allow you to hold on to the pin: if you have a very stout insect, e.g. a bumble bee, you may need to push the insect down a little further on the pin. (This is quite acceptable – it is very important to be able to pick up the dry specimen by the pin only, without touching the insect).
4. Adjusting Body Parts
Once the insect is set at the correct height on the pin, you may find that various body parts are droopy, in the wrong position, could look neater, etc. My preferred solution is to use other pins (try to keep track of pin sizes that you use – they’re hard to tell apart!), pieces of paper, bits of paper/card on pins, etc. to support various body parts in the position that I want them. You can also push the pin into the small piece of Styrofoam that came with your kit – be careful not to move the insect further up on the pin! – and then use another pin to move the legs/antennae around. There is a tradeoff to this exercise: the more you fiddle with the specimen, the more likely you are to break something or have one of the specimen’s body parts fall off. The table at the end of this summary lists the structures you will likely need to identify your specimen properly.
5. Specimen Repair
** “AAAHHH!!! I fiddled too much – can I glue a leg/wing/head back on!!??”
You can, but be very careful!! Make sure the leg/wing/head actually belongs to the specimen … and make sure you glue it back on right side up! Use a tiny amount of white glue to reattach the broken piece. If it becomes a glue-blob with legs sticking out – it’s a write-off!
6. Specimen Drying
When you are satisfied, let the specimen air dry for about 7-10 days. It can then be moved – handling only the pin – and relocated into the display box.
One last note: once you have pinned insects in it, NEVER, EVER put anything else in the box, especially anything that can slide or roll (this is the voice of experience speaking)!

Feedback/Errata