Groupwork in Teams
Meeting with Your Group in Microsoft Teams
Whether you’re working on a group project, preparing for a presentation, or just want to connect with classmates to study together, you can easily schedule and host meetings using Microsoft Teams—even if there’s no official course “Team” or shared space.
You have 3 easy options to create a Teams meeting:
You can use:
- The Teams app (desktop or web version)
- The Outlook Calendar (web or desktop)
✅ Option 1: Schedule a Meeting in Microsoft Teams (Desktop or Web)
- Open Microsoft Teams (via the app or at teams.microsoft.com). Sign in with your UNBC account.
- In the left-hand menu, click on Calendar.
- Click + New Event in the top right corner.
- Fill in the details:
- Title: Give your meeting a name (e.g., “Group Presentation Planning”).
- Date & Time: Choose when the meeting will take place.
- Add required attendees: Type the email addresses of your group members (use UNBC emails).
- Click Save (or Send to email invitations).
✔️ Everyone will receive an invite with a Join link they can click when it’s time to meet.
✅ Option 2: Start an Instant Meeting in Microsoft Teams
- If you have Microsoft Teams desktop version downloaded to your computer, Open Microsoft Teams.
- Go to Calendar > click Meet now (top right hand side of Teams window – next to New Event button).
- Name your meeting and click Start meeting.
- Once in the meeting, click Copy meeting link.
- Send that link to your group members using email, chat, or Moodle messaging.
💡 This is a good option for quick, informal meetings.
✅ Option 3: Schedule a Meeting Using Outlook Calendar (Web or Desktop)
- Open Outlook (desktop app or go to outlook.office.com).
- Click on the Calendar icon.
- Select New Event.
- Fill in the event details:
- Title, date/time, and attendees’ UNBC email addresses.
- Make sure Teams Meeting switch is selected or toggled on.
- Click Send.
📨 Your group members will receive a calendar invite with the Teams meeting link included automatically.
🎓 Tips for Successful Group Meetings
- Log in a few minutes early to test your mic and camera.
- Share your screen to present slides or documents.
- Use the chat to drop links or take quick notes.
- Record the meeting (if everyone agrees) so group members can review it later.
Collaborating in Word, Excel, and PowerPoint Using Microsoft 365
With your UNBC Microsoft 365 account, you and your classmates can work together in real time on shared documents using OneDrive and online versions of Word, Excel, and PowerPoint. No need to email files back and forth!
Here’s how to create, share, and collaborate in real-time:
🔗 Step 1: Open Microsoft 365
Go to https://www.office.com and sign in with your UNBC email and password.
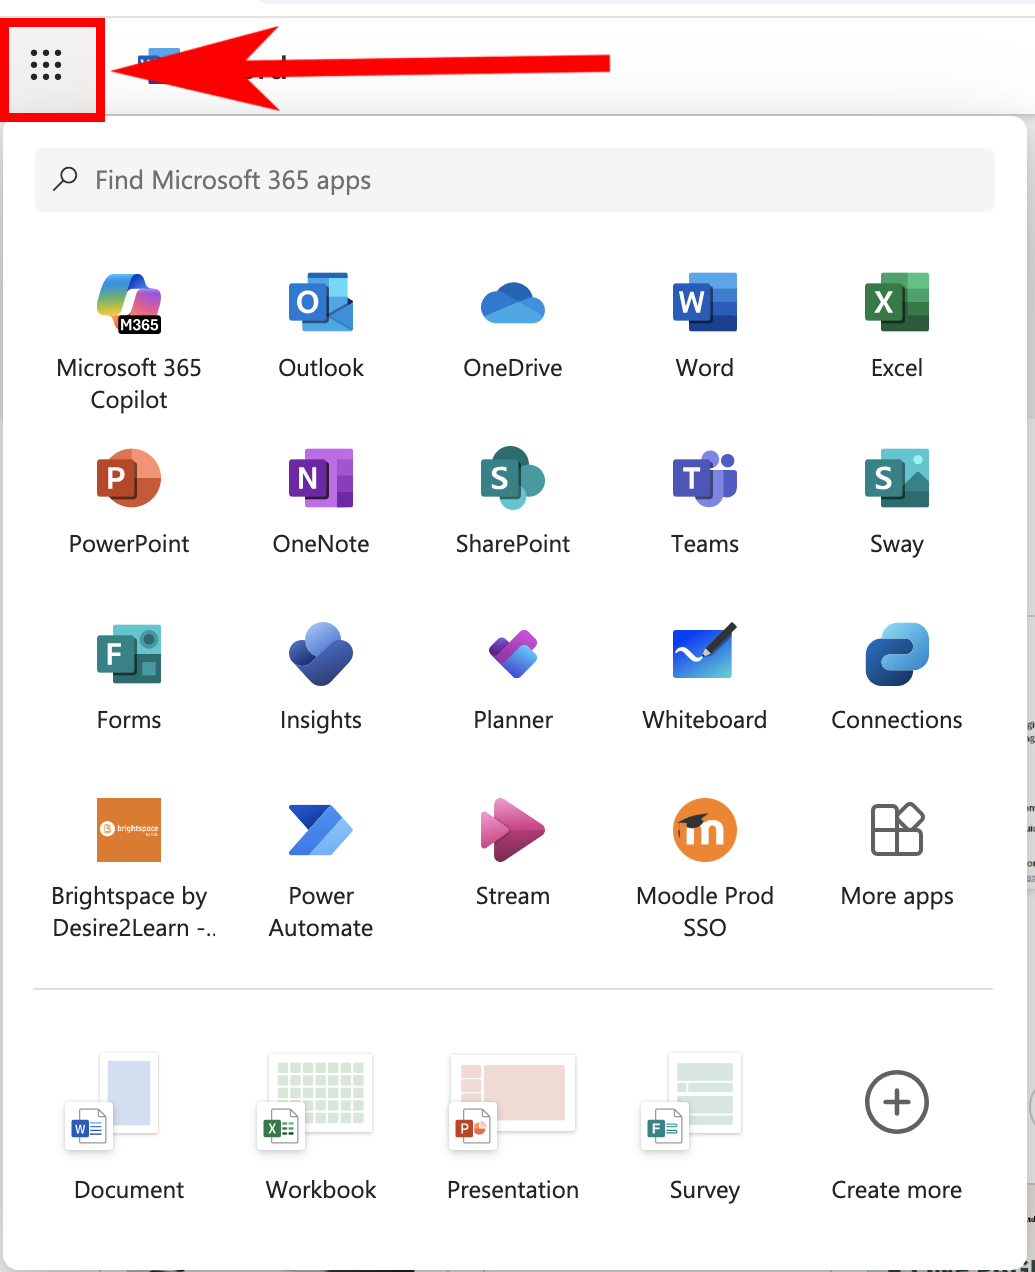
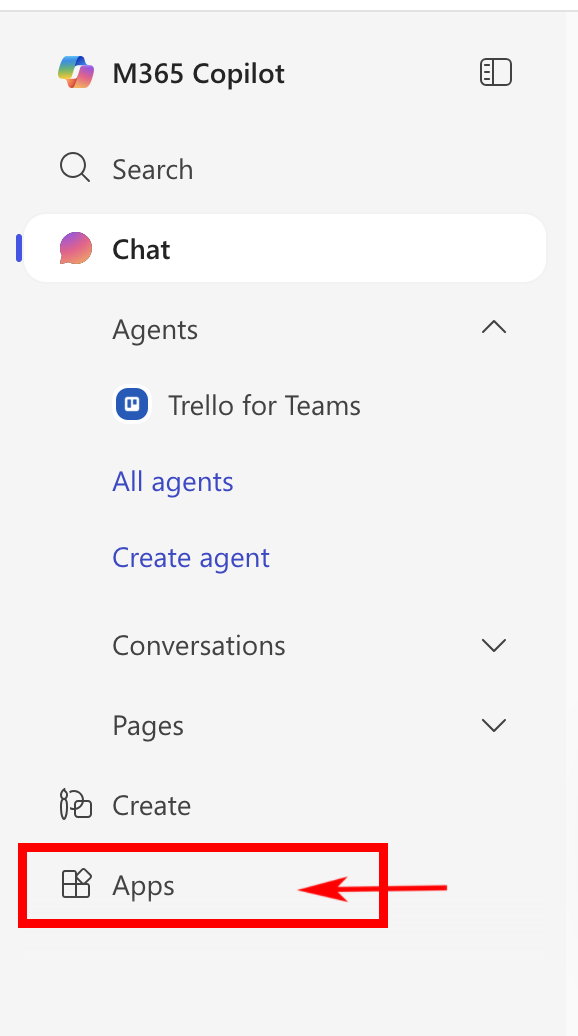
Click on the Apps button (left hand side menu)
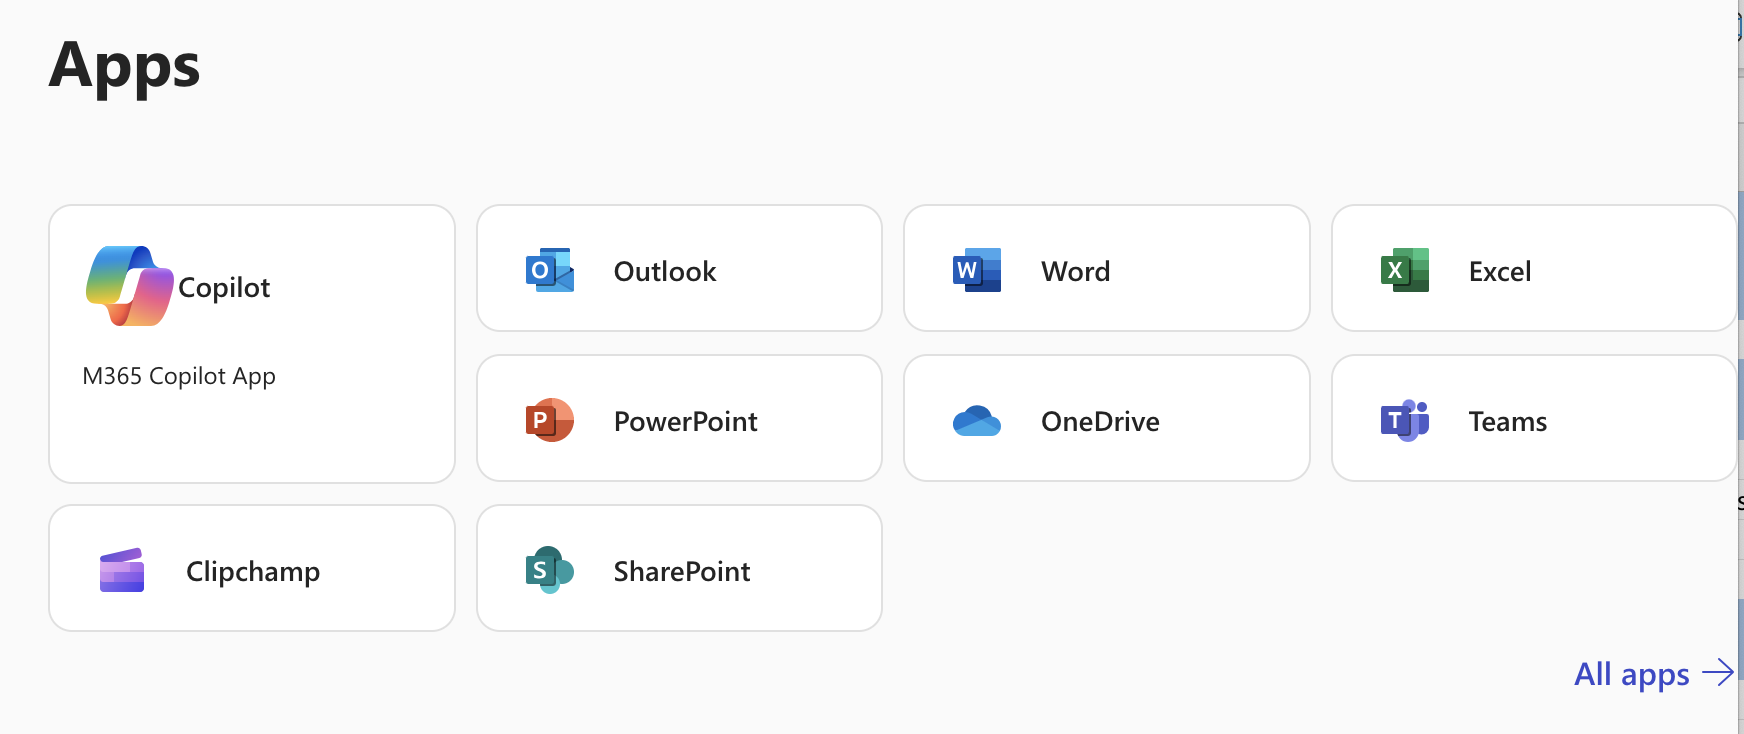
From the homepage, you can:
- Create a new document using Word, Excel, or PowerPoint
- Or open your OneDrive to upload or find existing files
📄 Step 2: Create or Upload a File
- To create a new file, click on the app you want (e.g., Word) and choose New > blank document.
- To upload a file you already started, go to OneDrive then click Upload > Files, and select your file.
👥 Step 3: Share the File with Your Group
- With the file open (in Word, Excel, or PowerPoint online), click the Share button in the top right.
- Choose “People you specify can view” and switch to “People you choose can edit”.
- Enter your group members’ UNBC email addresses.
- Add a message (optional), and click Send.
💡 You can also copy the edit link and send it via Moodle messaging, Teams chat, or email.
🧑🤝🧑 Step 4: Collaborate in Real Time
Once your group members open the file:
- You’ll see their names or initials appear in the top-right.
- You can all type at the same time—changes are saved automatically.
- Use comments (Insert > Comment) to leave suggestions or ask questions.
🔄 Bonus Tips for Collaboration
| Task | How to Do It |
|---|---|
| Leave comments | Highlight text > Right-click > “New comment” |
| Track changes | In Word Online: Review tab > Track Changes |
| See version history | File > Info > Version History |
| Chat while editing | Use the built-in chat if you’re all in the document at the same time |
| Assign tasks | In comments, type @Name to assign something to a person |
✅ Why Use Shared Docs?
- No version confusion—everyone edits the same file
- Automatically saved to the cloud
- Accessible from any device, anytime
- Great for group projects, shared notes, peer review, and presentations
To return to the Apps menu, click on the square at the top left.