Chapter 2. Security Tuneup
2.2 Deal with Bad Actors
Learning Objectives
- Restrict certain websites
- Deal with DoS floods
Prerequisites:
- SNAT for the Internet
- Security policy for Inside to Outside
- Interface configuration
- Knowledge of previous labs
Scenario: In this lab, we will learn how to block a specific website and how to prevent script kiddies from succeeding with the infinite ping tool they downloaded from the sketchiest site you’ve ever seen. Kali acts like an attacker machine and we are going to attack the firewall through port Ethernet1/2. Then, we’ll enable DoS Prevention in the firewall to prevent attacks.
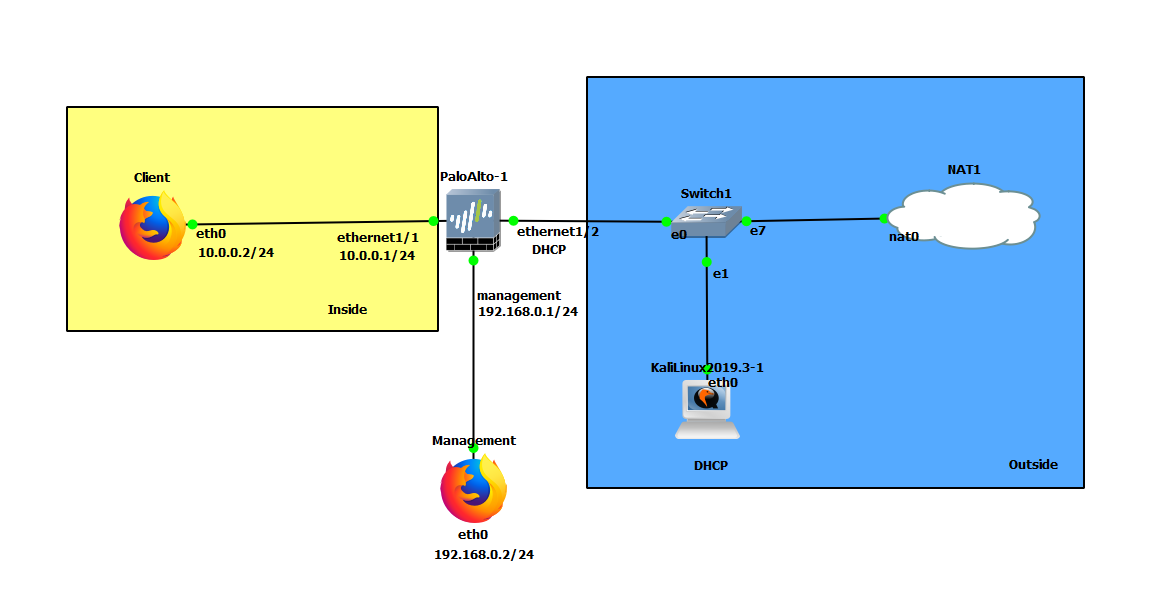
| Device | Configuration |
|---|---|
| PaloAlto-1 | management: 192.168.0.1/24 Ethernet1/1: 10.0.0.1/24 Ethernet1/2: DHCP |
| Client (webterm) | eth0: 10.0.0.2/24 GW: 10.0.0.1 DNS: 8.8.8.8 |
| Management (webterm) | eth0: 192.168.0.2/24 |
| KaliLinux2019-3-1 | eth0: DHCP |
| Zone | Interfaces |
|---|---|
| Inside | Ethernet1/1 |
| Outside | Ethernet1/2 |
Create a URL Category
Under object > custom objects > URL category, click Add. Click cancel on the pop-up.
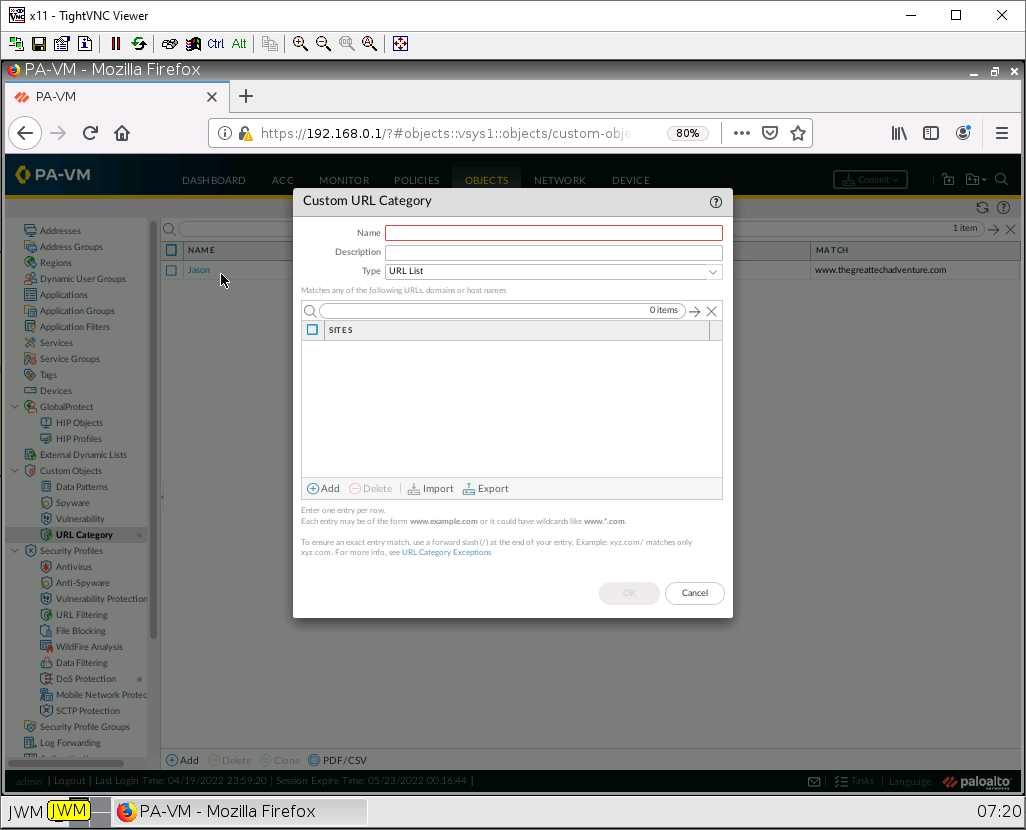
Here we can block 5, 6, or multiple sites. But here we will use just 1. Give it a name, then click Add.
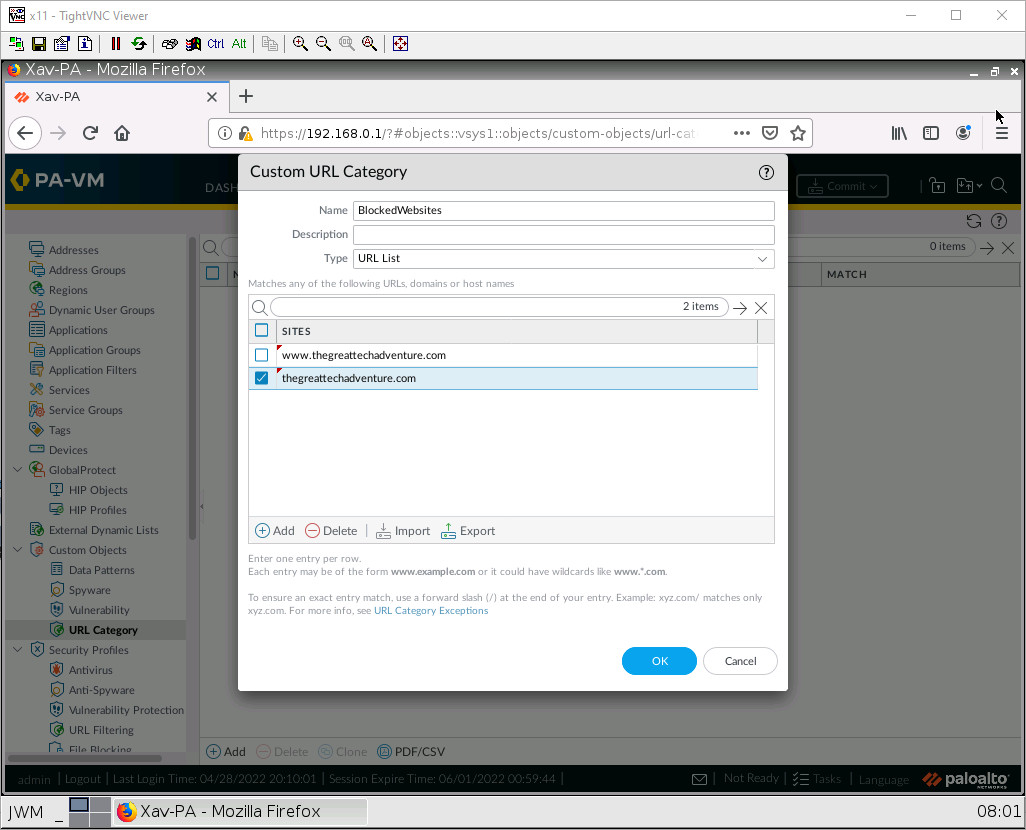
Enter some websites you would like to block. Here I have added a sample website (www.thegreattechadventure.com) you can also use wildcards if you want.
After you’re done. Click OK.
Block a Website
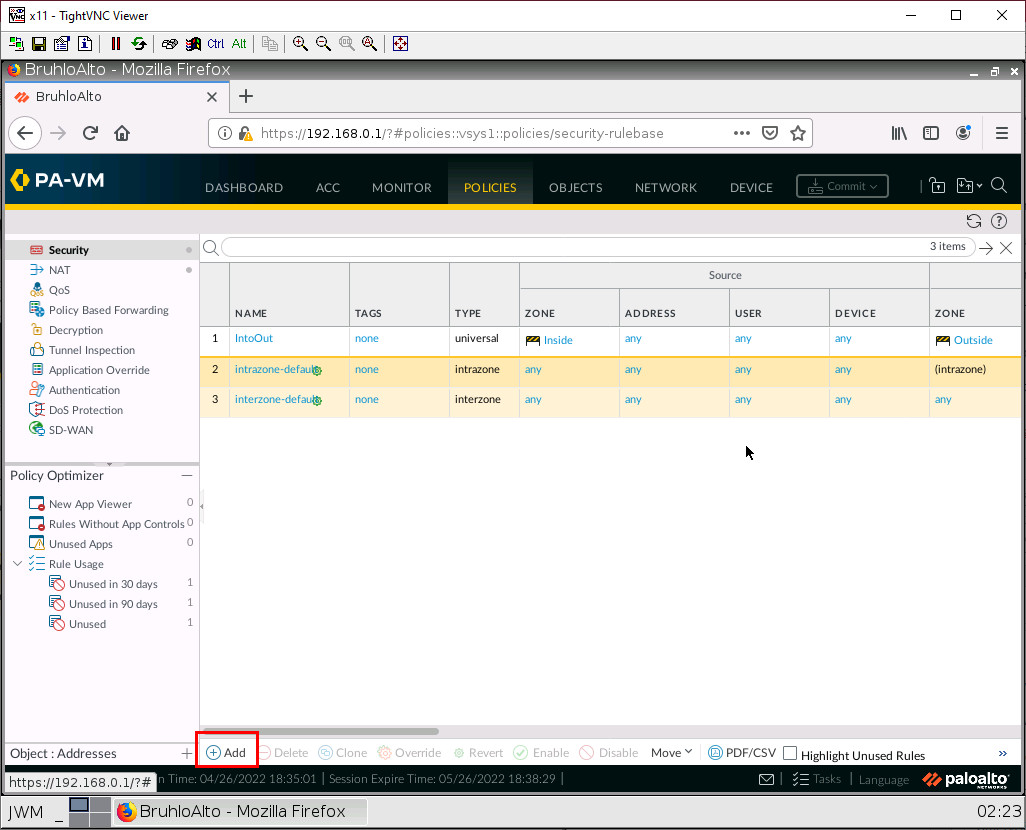
Under Policies > Security. Click Add:
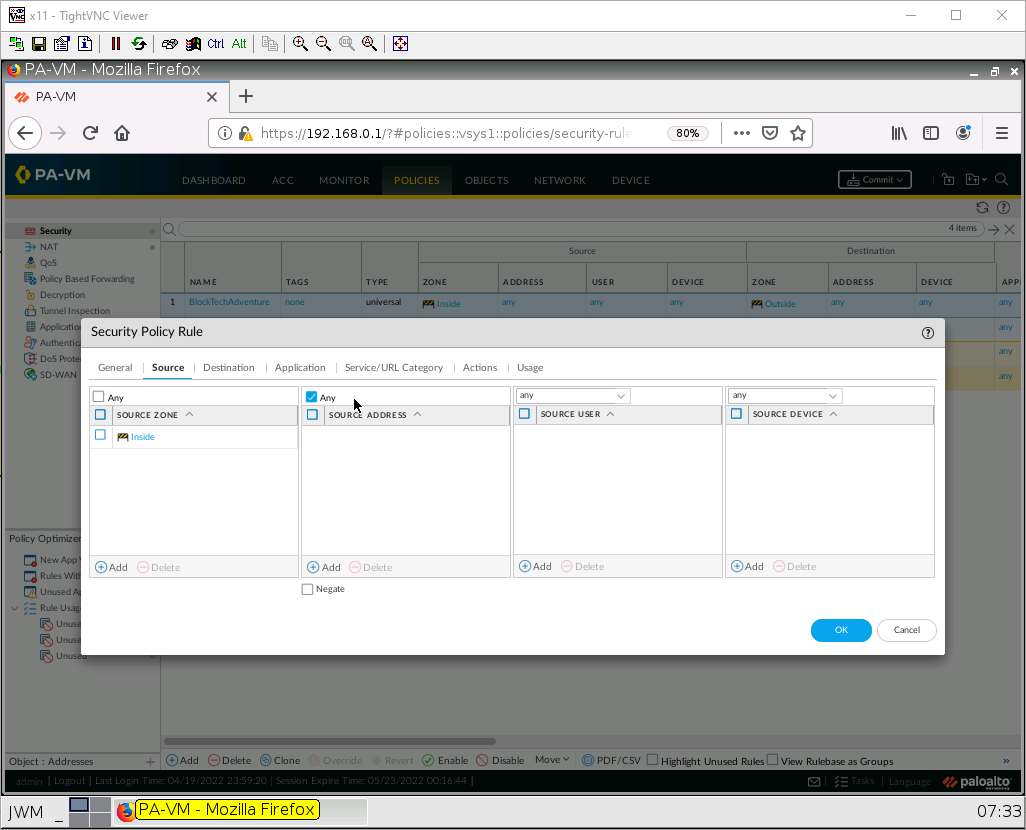
Under the source tab, add the Inside zone under the source zone:
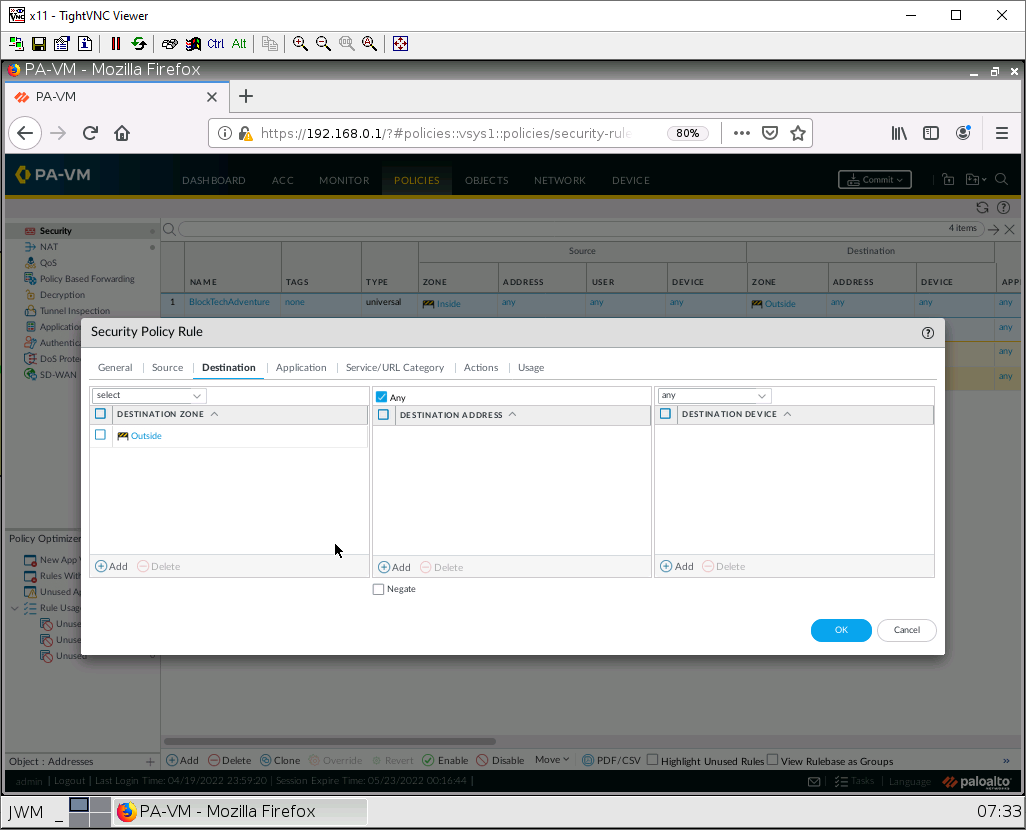
Under the destination tab, add the Outside zone under the destination zone:
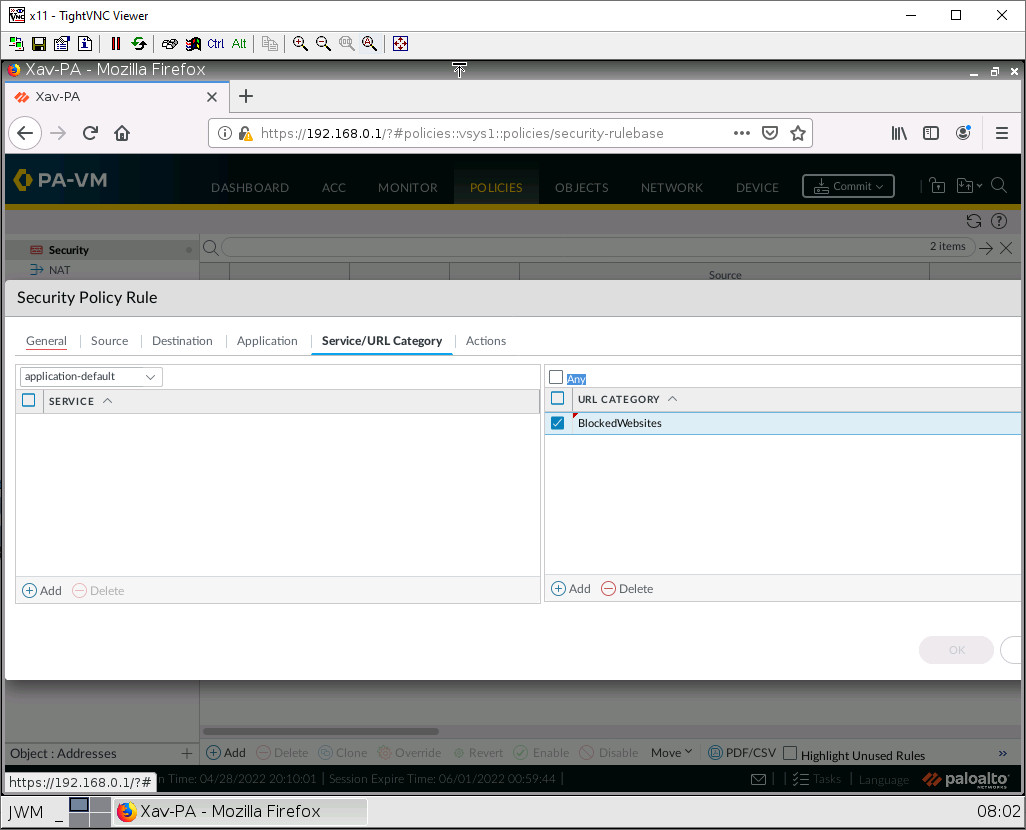
Under the Service/URL Category tab, add the created URL category you created in the previous step.
Under the actions page, set the action to deny.
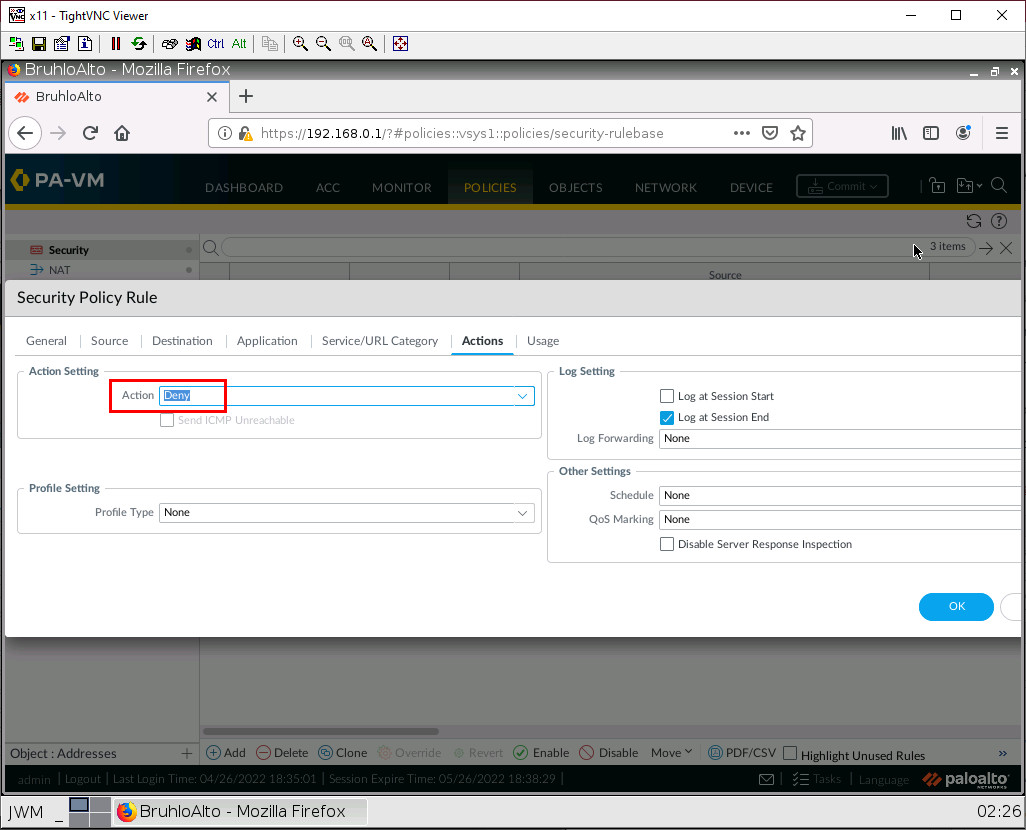
Then click OK.
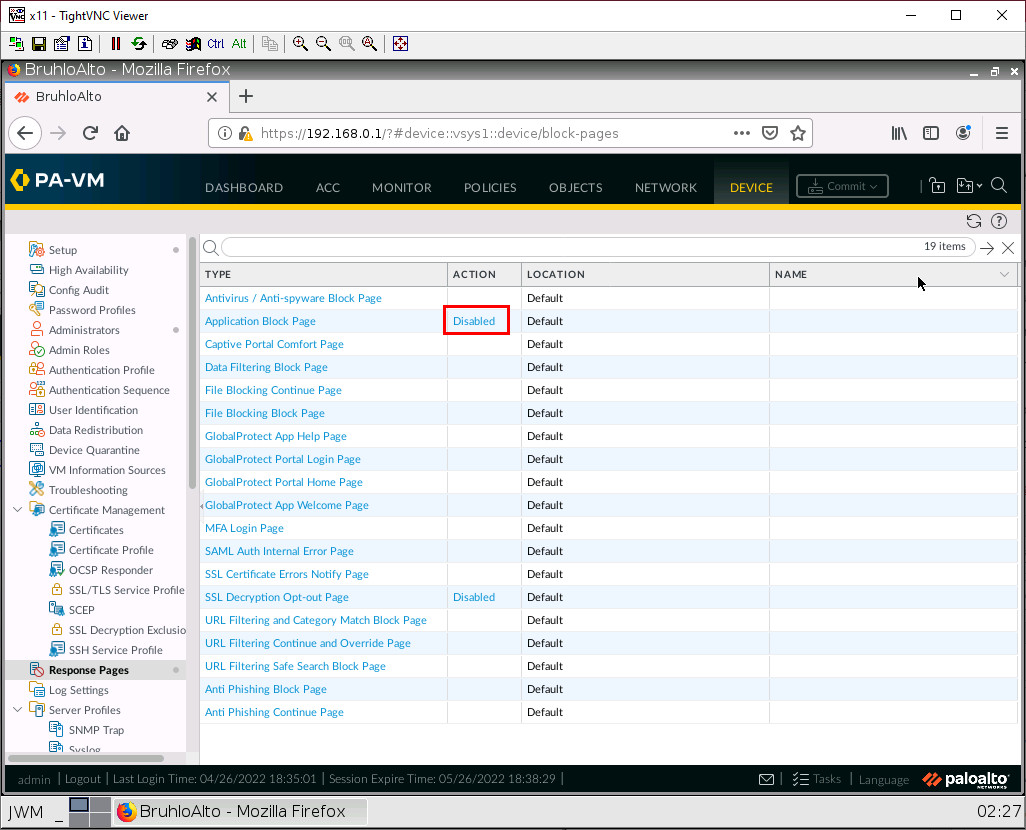
Enable Block Pages
Under Device > Response pages. Click on Disabled beside Application Block Page.
Enable the checkbox, then press OK.
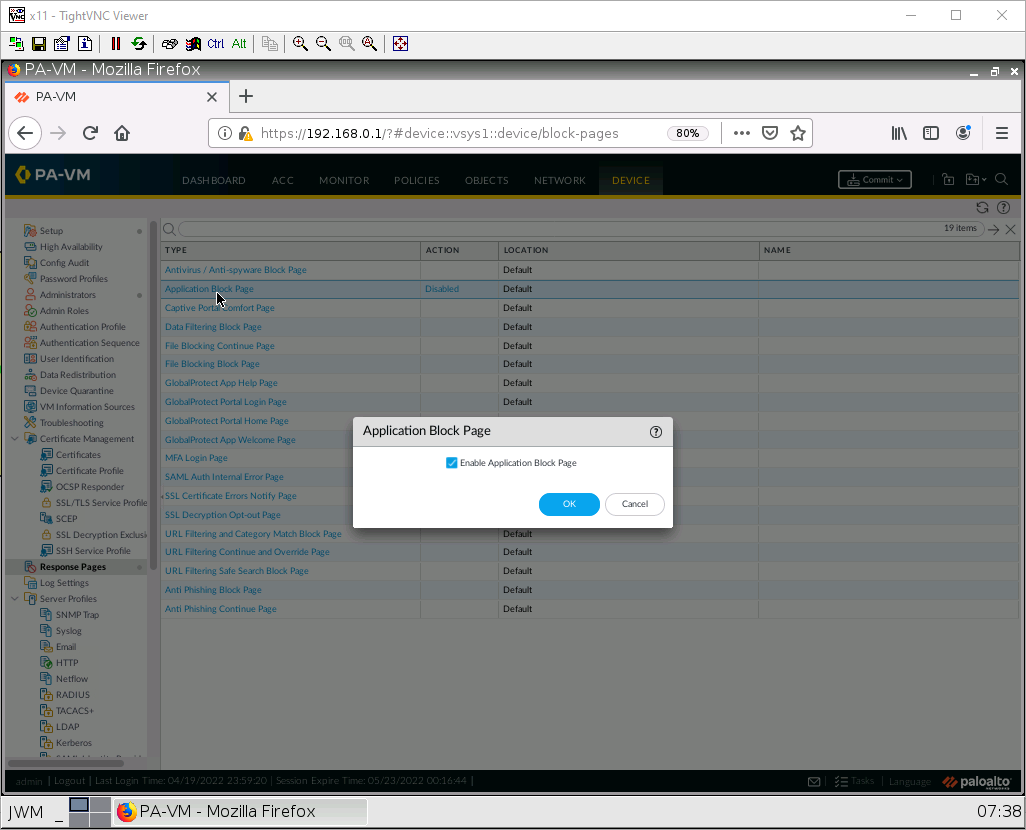
Make sure to commit your changes!
Test the Blocked URL
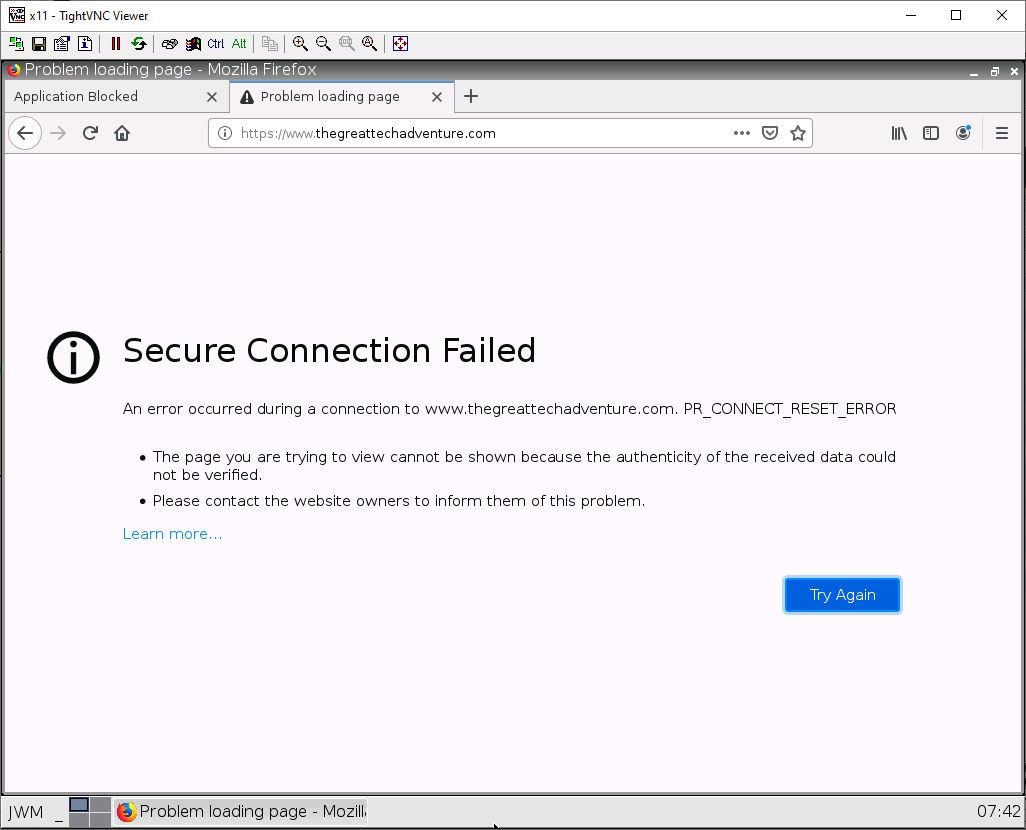
Open up Firefox on the Client machine, and try to connect to the URL you blocked. If all is right, you should see a blocked page.
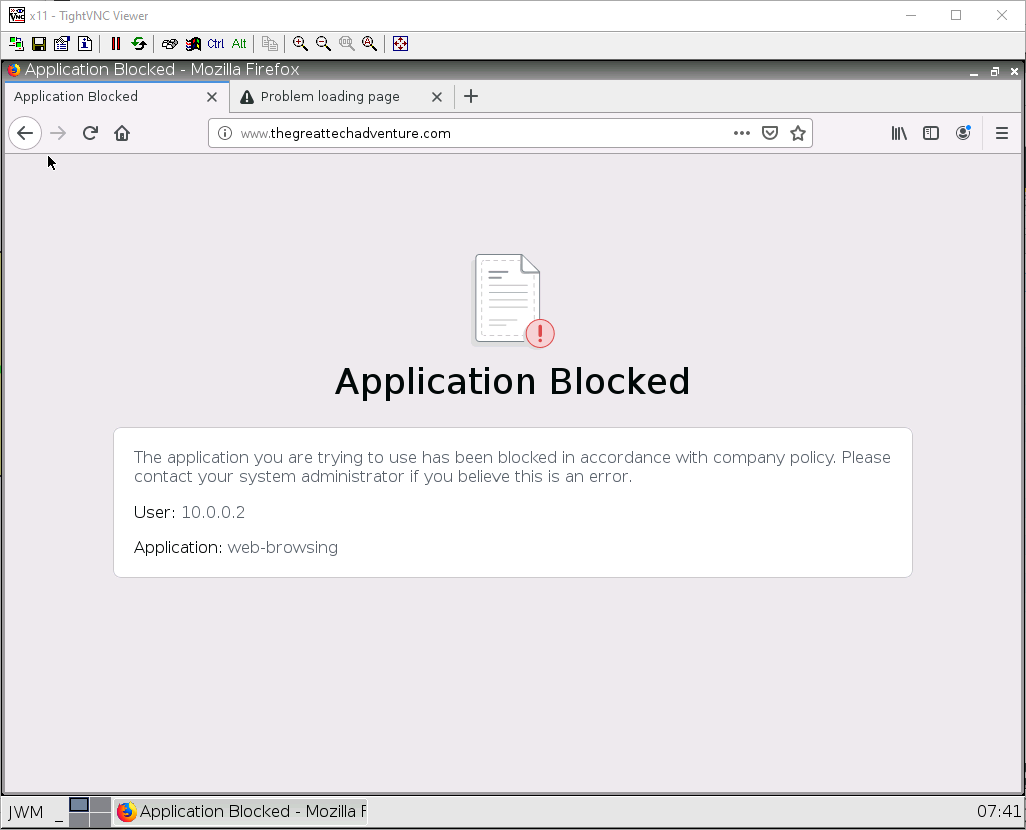
If you see this page, that is alright too!
Set Up Kali to Be a Bad Actor
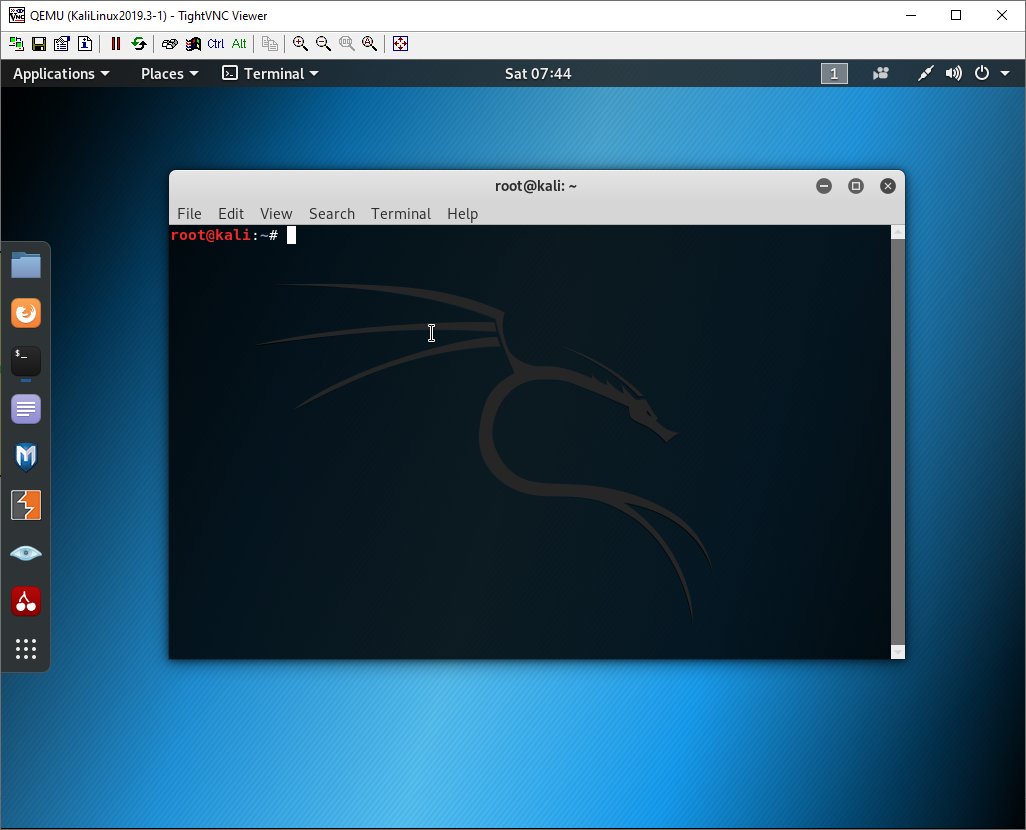
After entering into the live graphical environment and testing for internet connection. Open up the terminal.
We will be using Pentmenu by GinjaChris to demonstrate a flood. Run these commands to download and run the application:
#git clone https://github.com/GinjaChris/pentmenu#cd pentmenu#chmod +x pentmenu#./pentmenu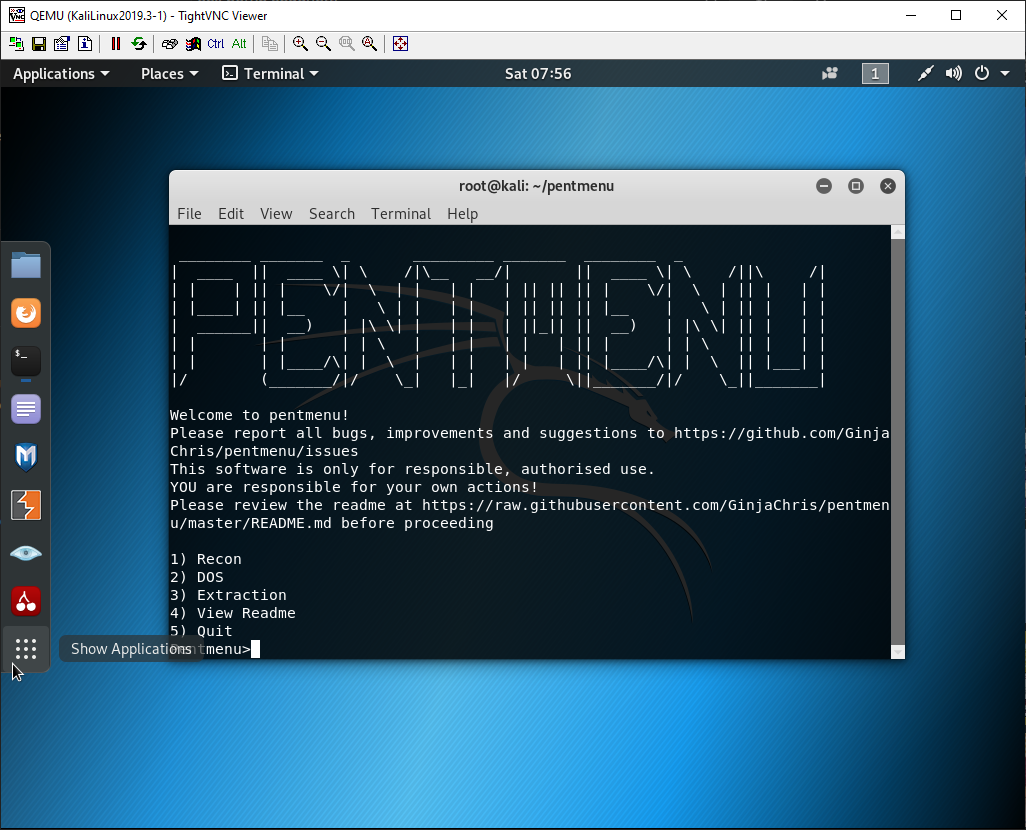
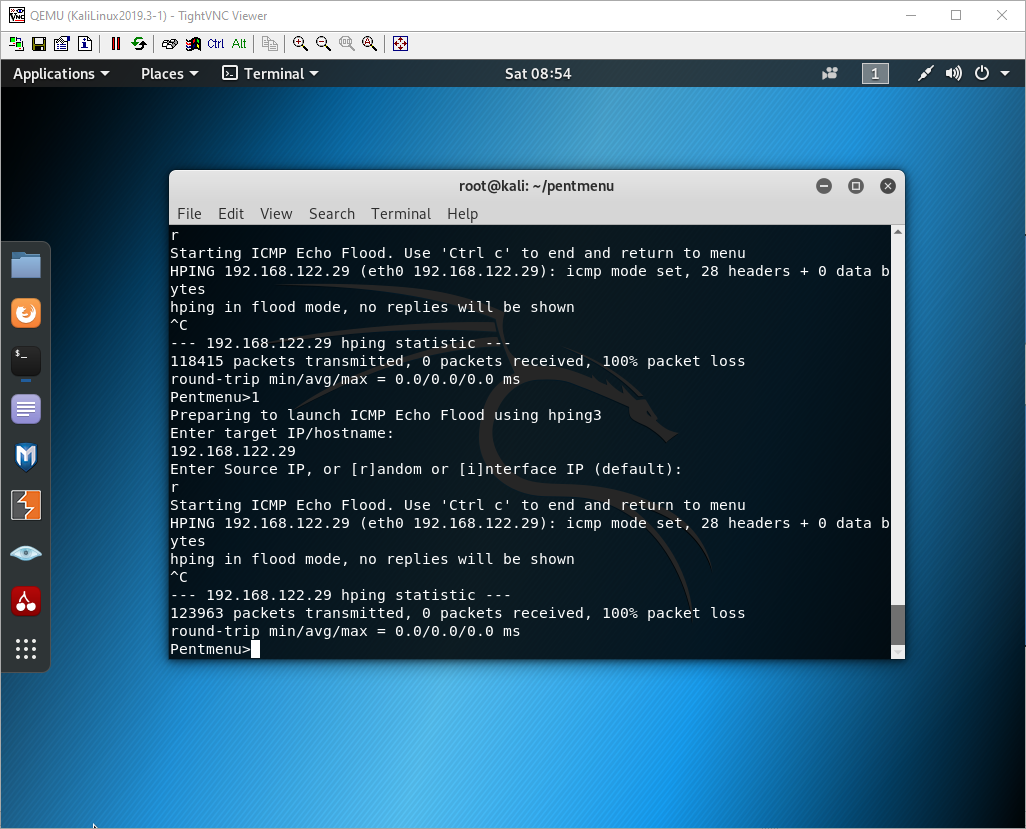
Select option 2 for DoS attack.
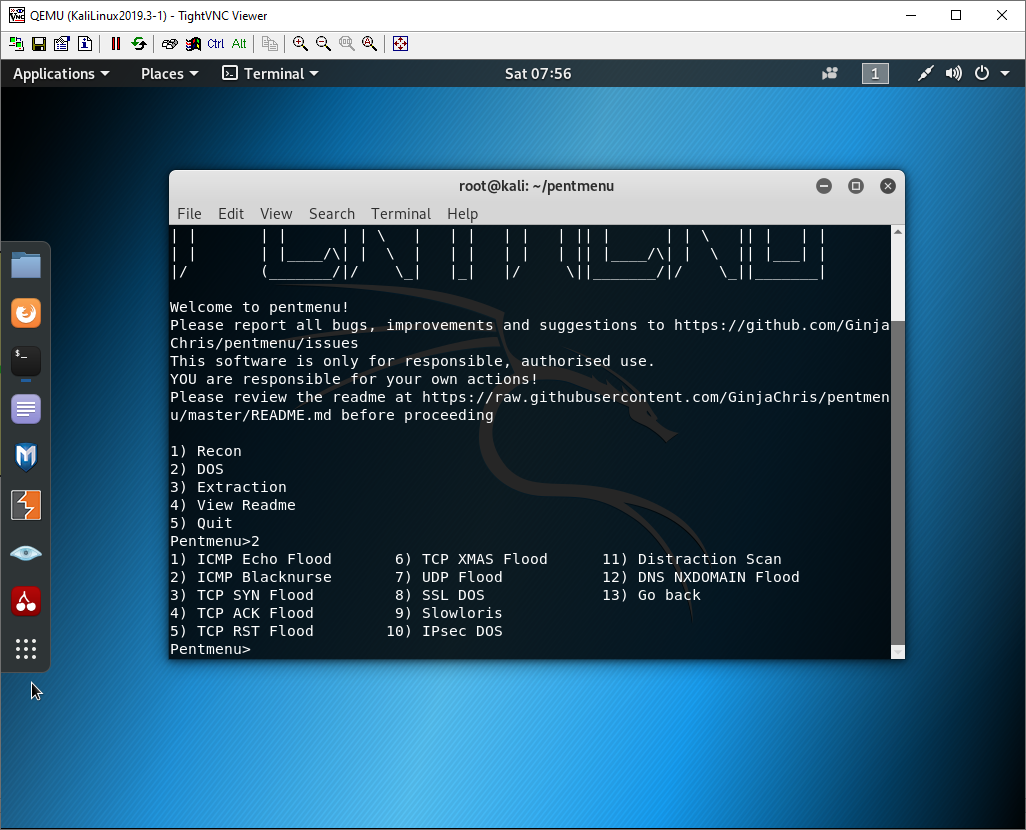
Select option 1 for ICMP Echo Flood.
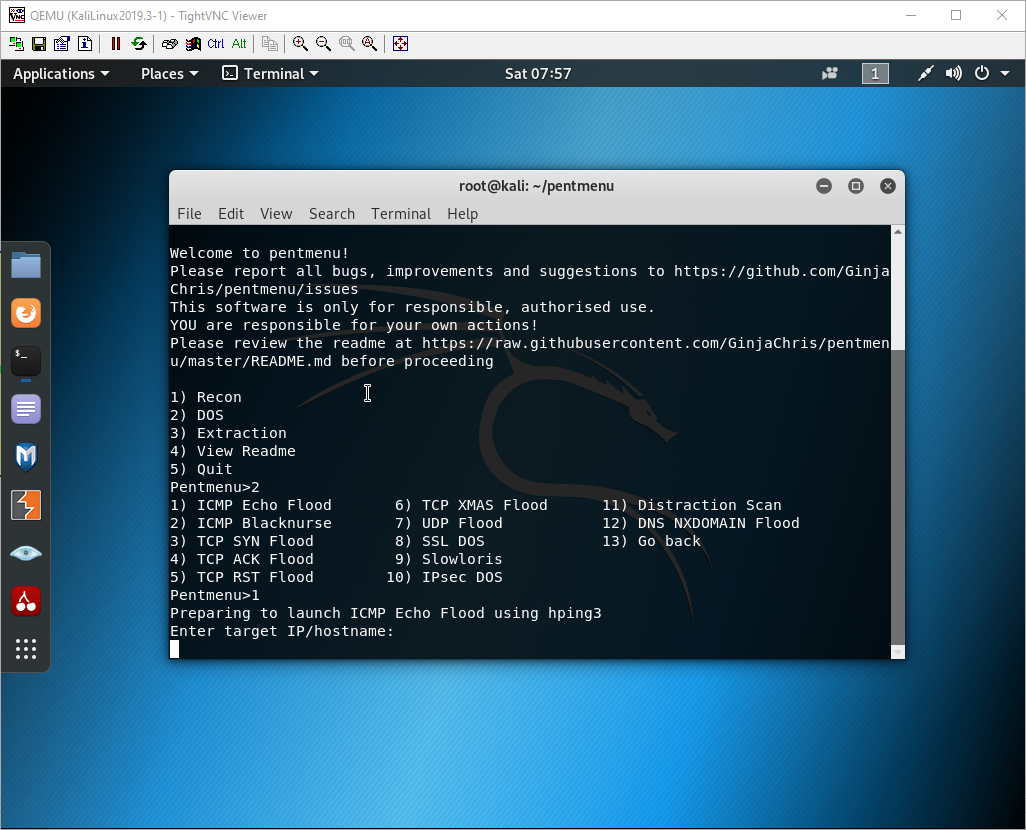
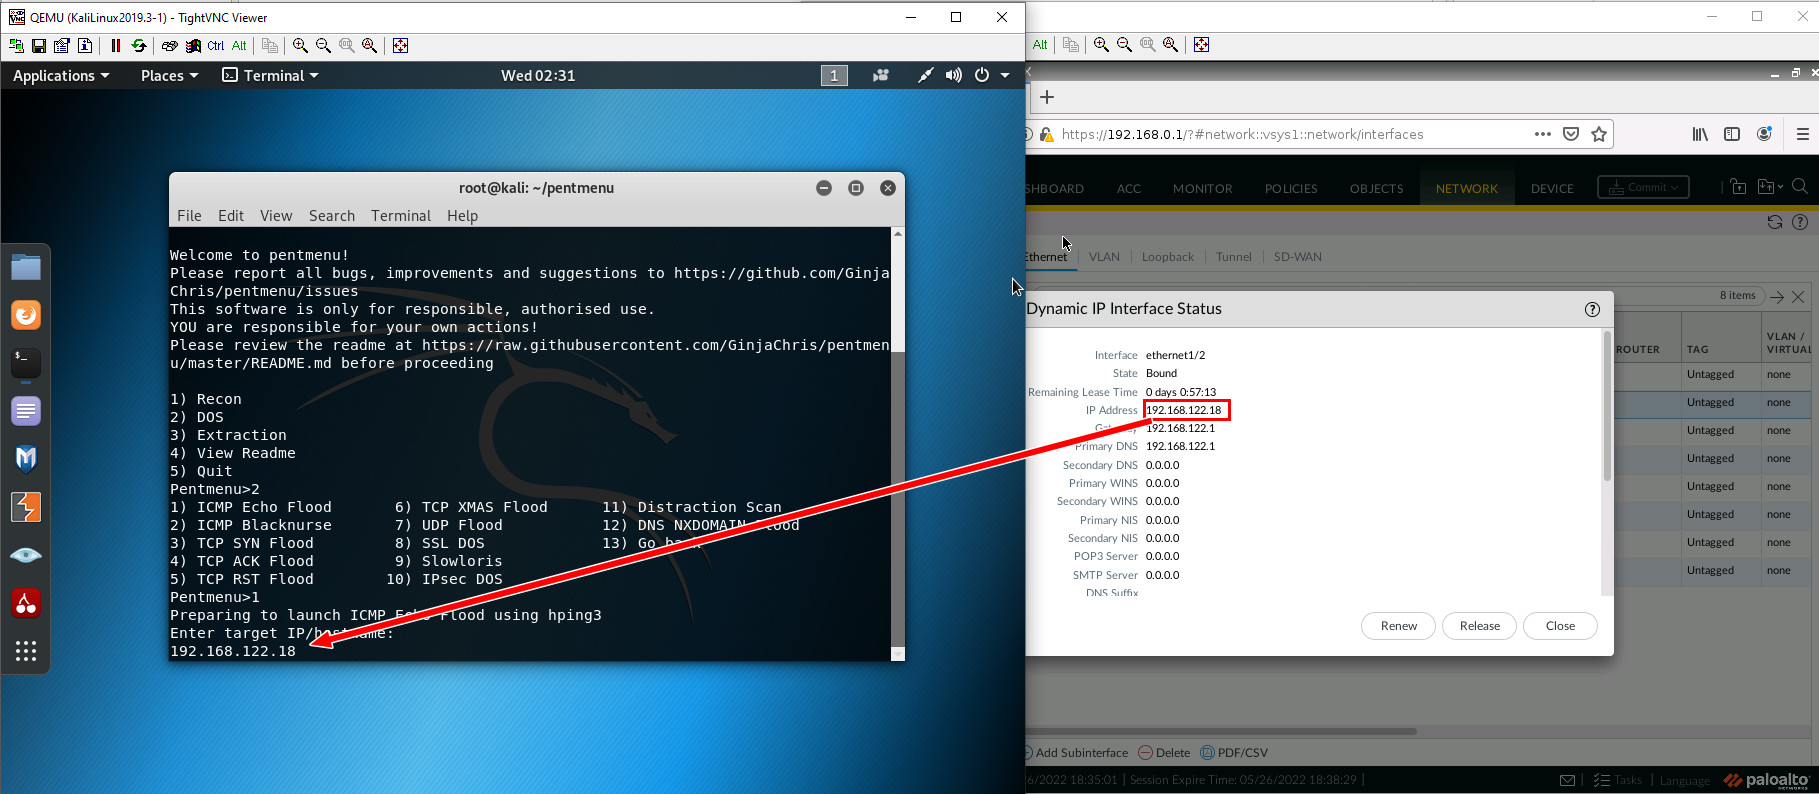
For the IP, use the IP of the interface in the outside zone. It should be in the 192.168.122.0/24 range.
Select r for random IP address.
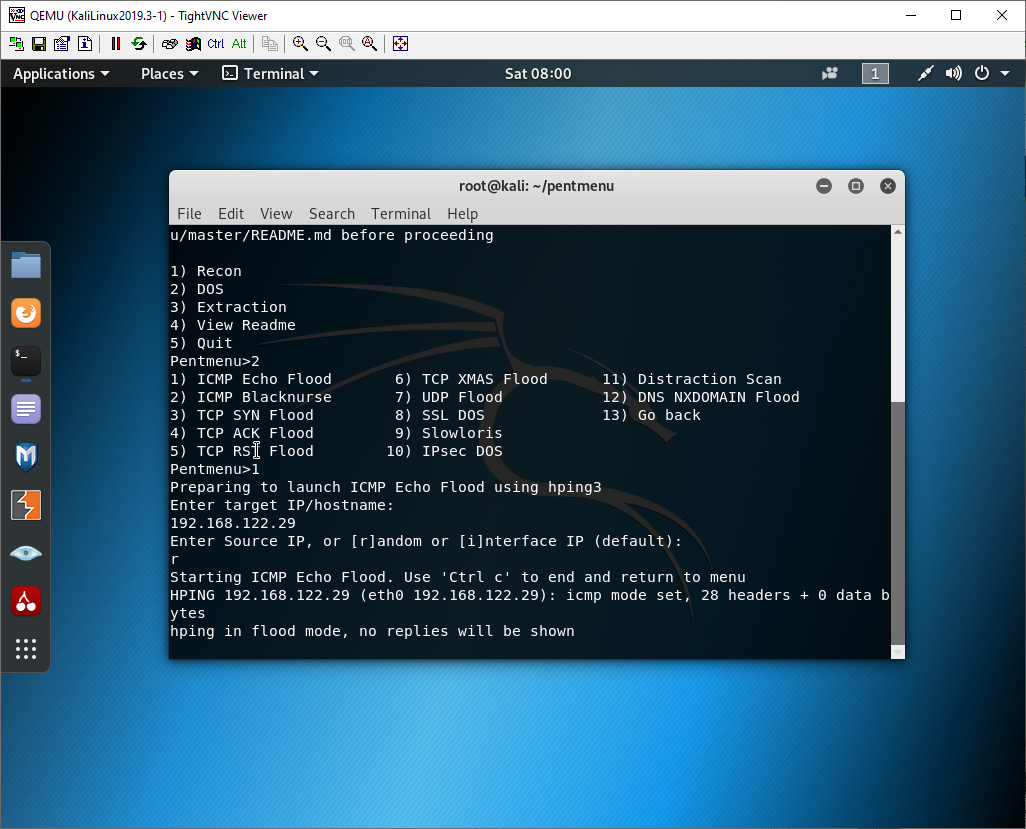
After about 2 seconds, press Ctrl+C.
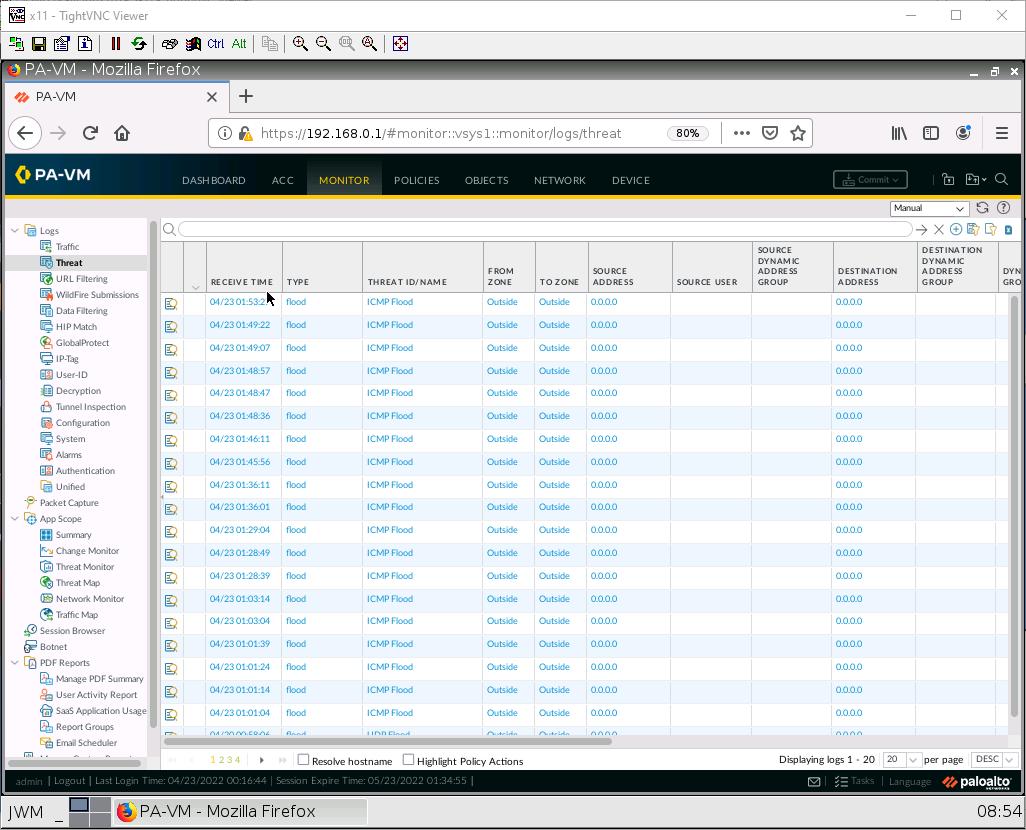
Analyze the ICMP Flood
Back on the Management machine, go under Monitor > Session browser.
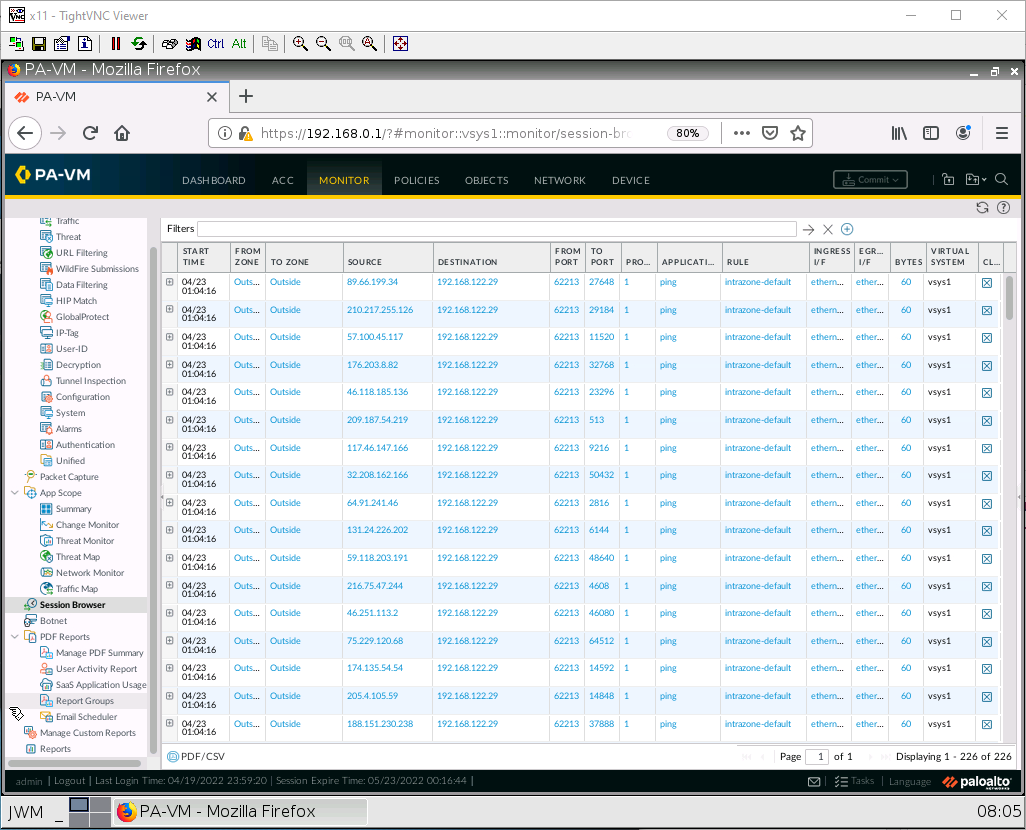
As you can see, there are many entries here for ping. We want to prevent floods like these.
Create a DoS Protection Profile
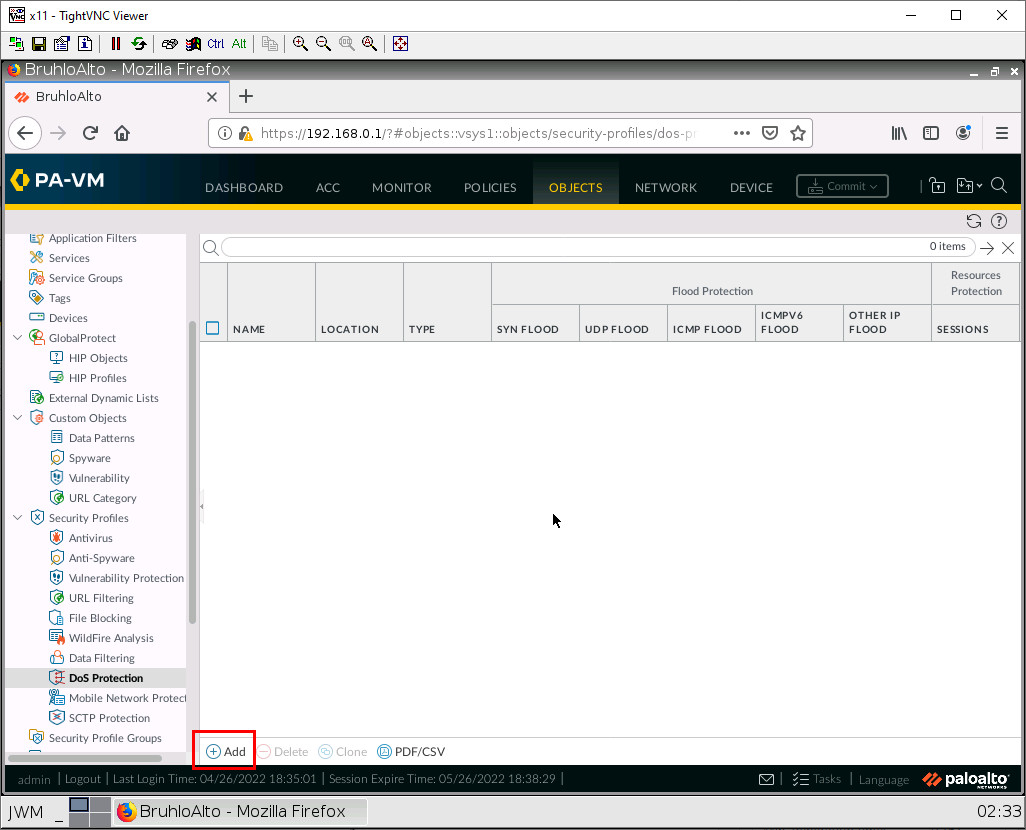
Under Objects > Security Profiles > DoS Protection. Click Add.
Set the type to Classified and under Flood protection, click the checkbox on the SYN Flood, UDP Flood, and ICMP Flood tabs.
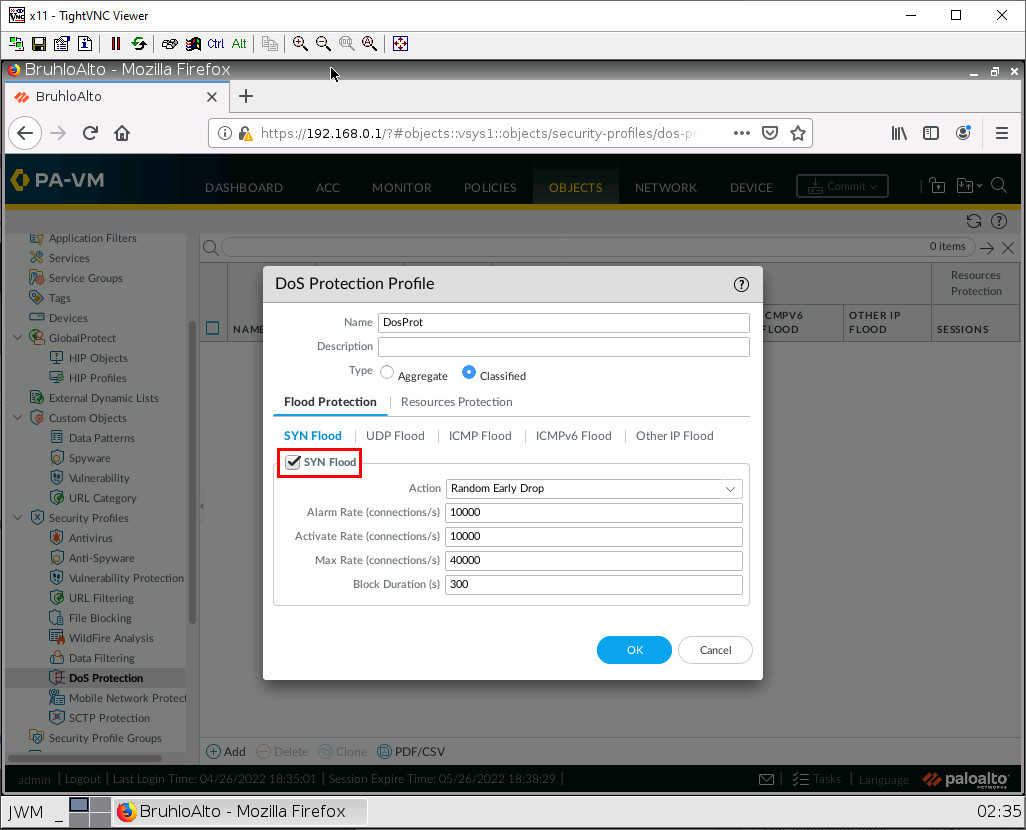
After that, click OK.
Apply the DoS Protection Profile
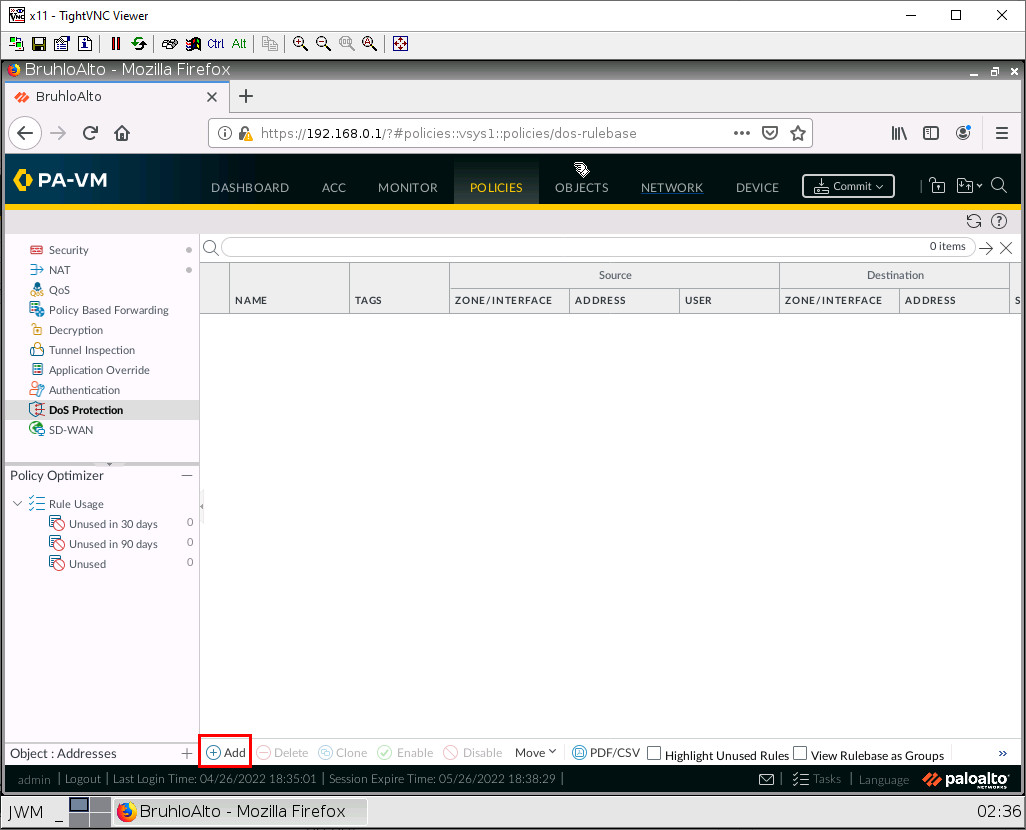
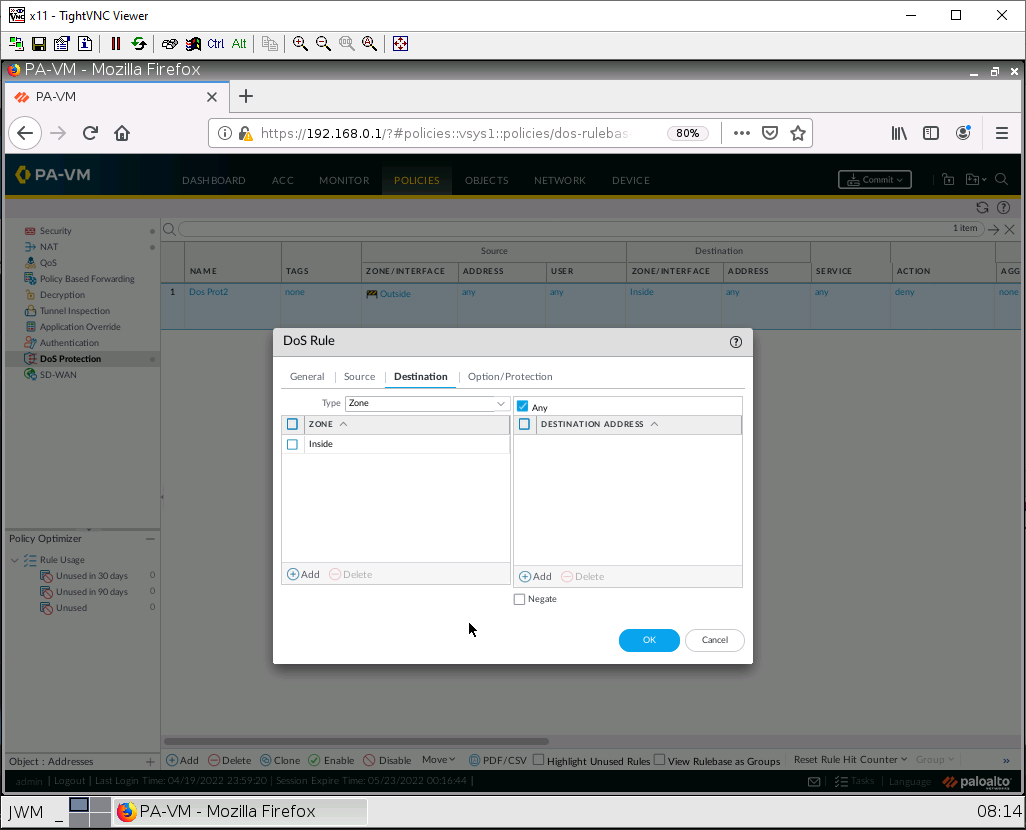
Under Policies > Dos Protection. Click Add.
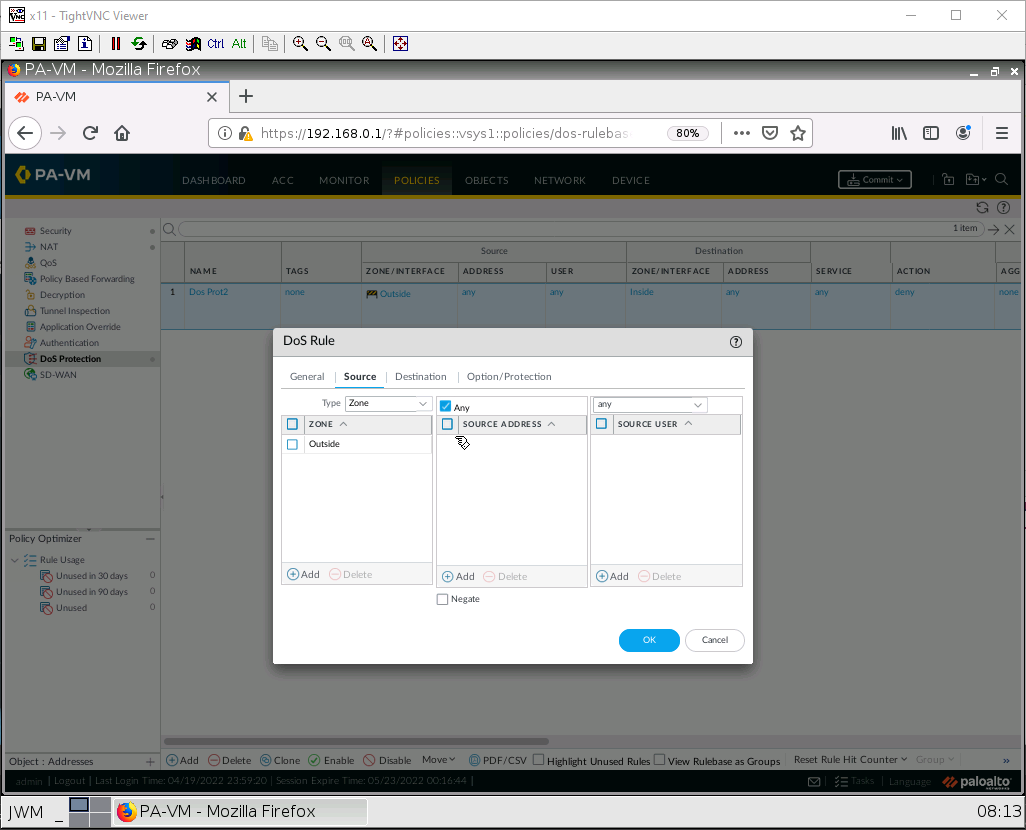
Under the Source tab, add the Outside zone.
Under the Destination tab, add the Inside zone.
Under the Option/Protection tab, configure these settings:
| Parameter | Value |
|---|---|
| Action | Protect |
| Schedule | None |
| Log Forwarding | None |
| Aggregate | None |
| Classified | Tick this box |
| Profile | The name of the one you created |
| Address | source-IP-only |
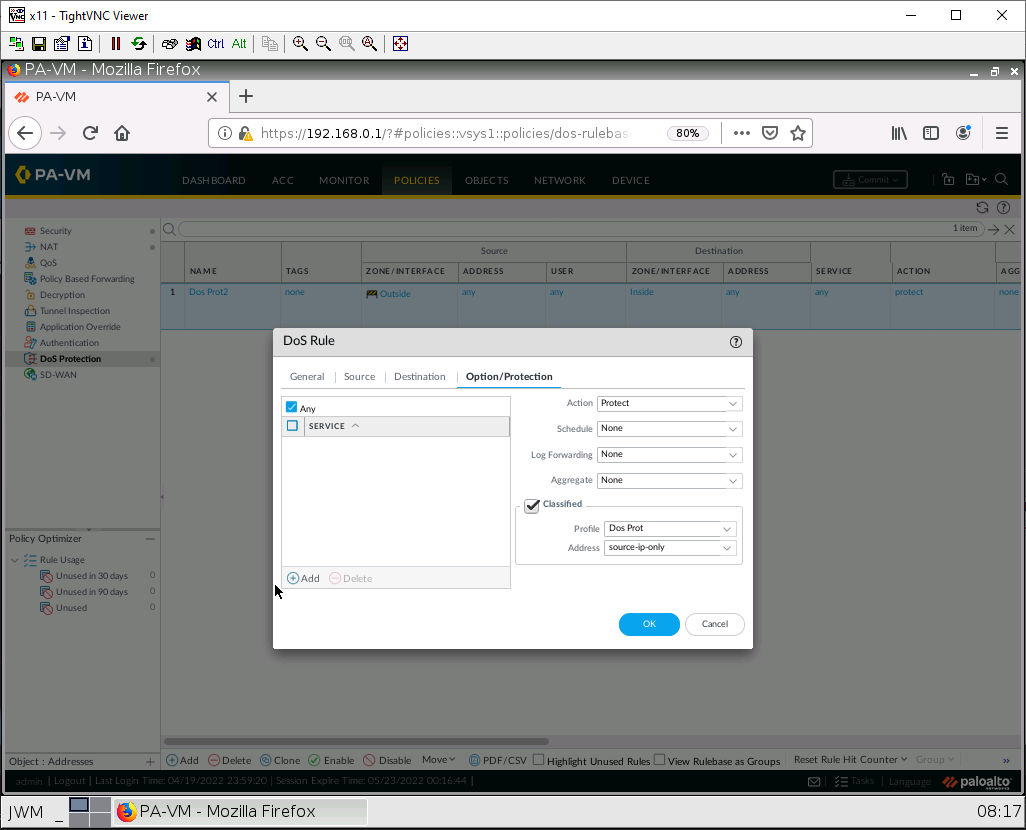
Then click OK.
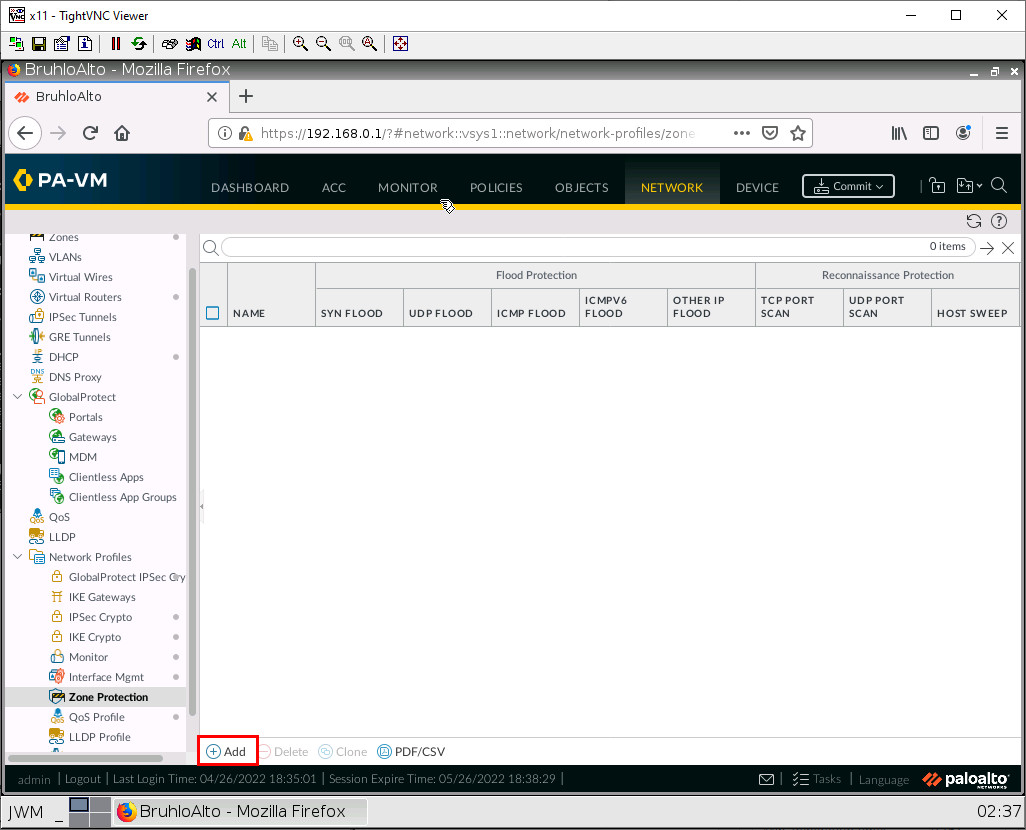
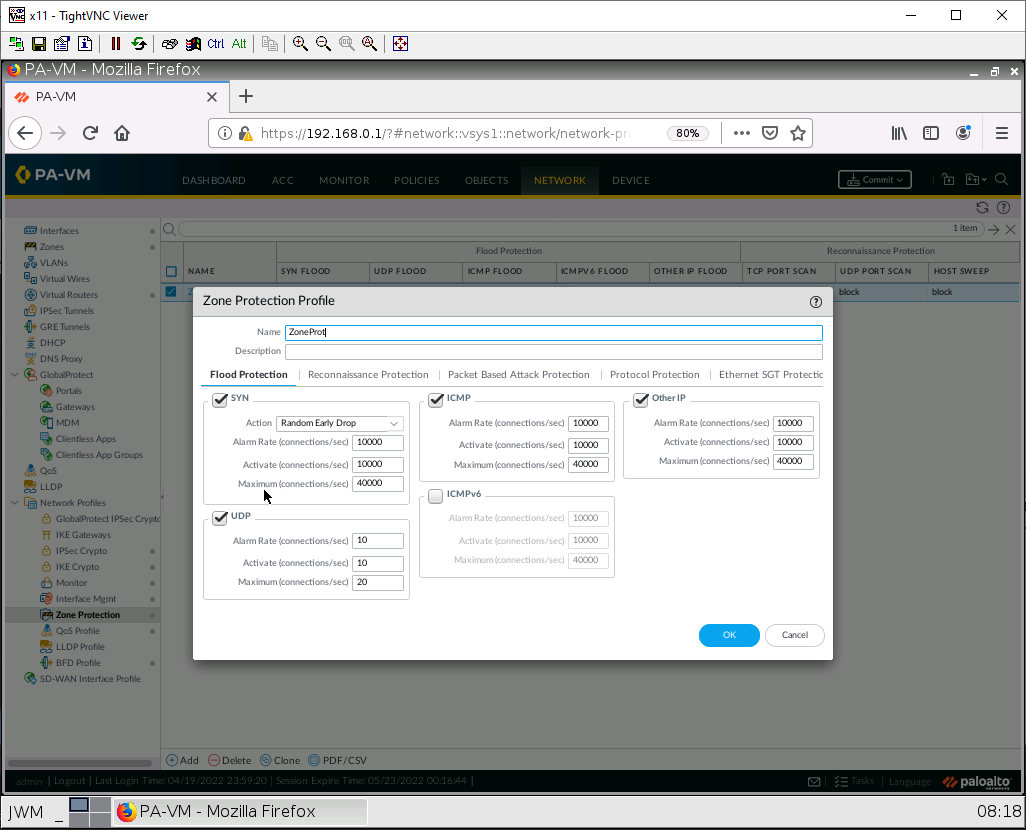
Create a Zone Protection Profile
Under Network > Network Profiles > Zone Protection. Click Add.
Under the flood protection tab, tick SYN, ICMP, and UDP.
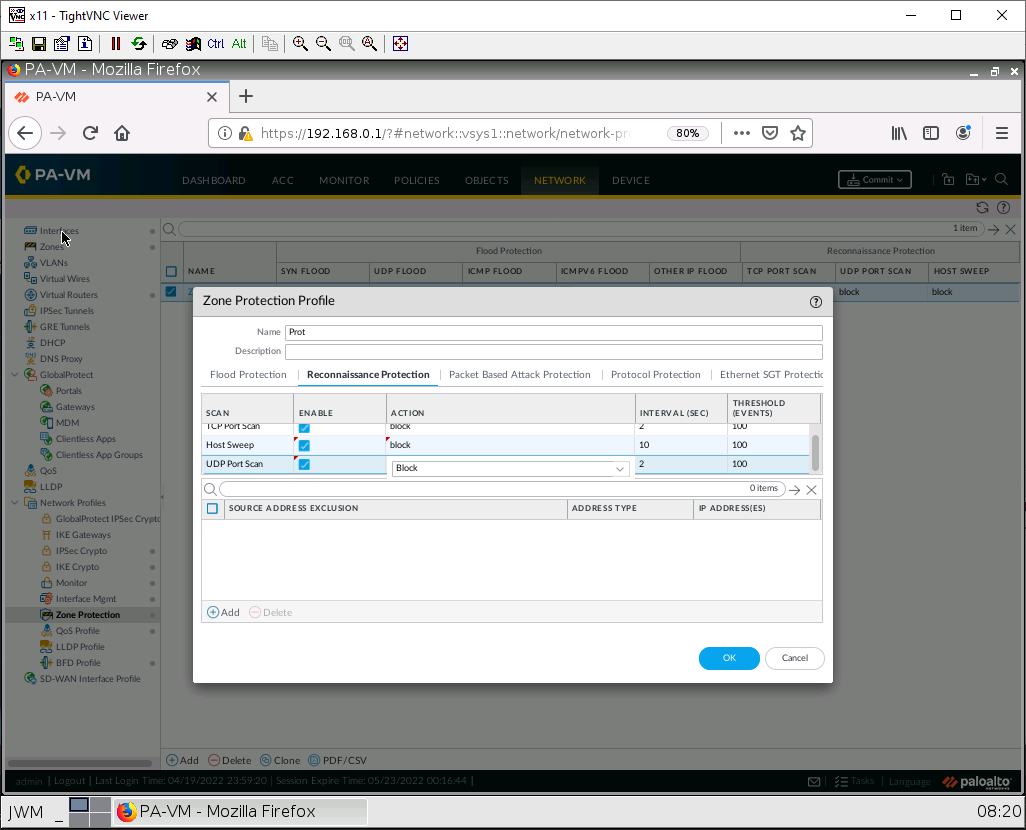
Under the Reconnaissance Protection tab, tick enables on all boxes, and change the action to block.
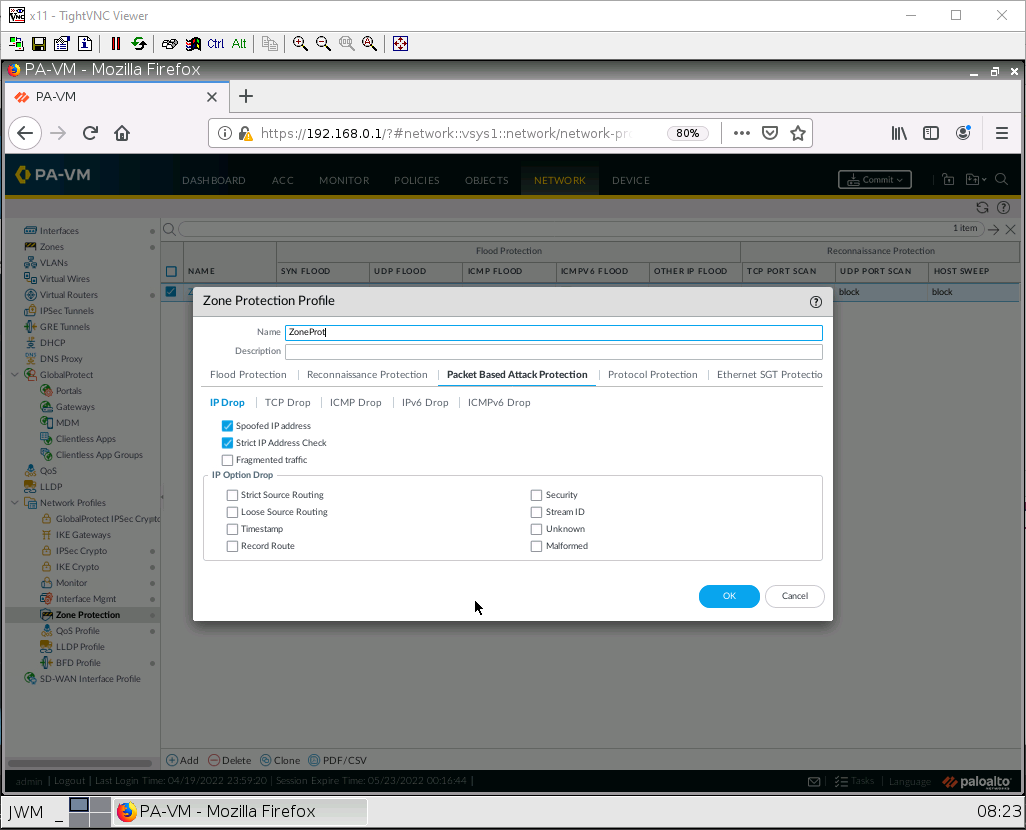
Under the Packet Based Attack Protection tab, under the IP drop subtab, tick on Spoofed IP address and Strict IP Address Check.
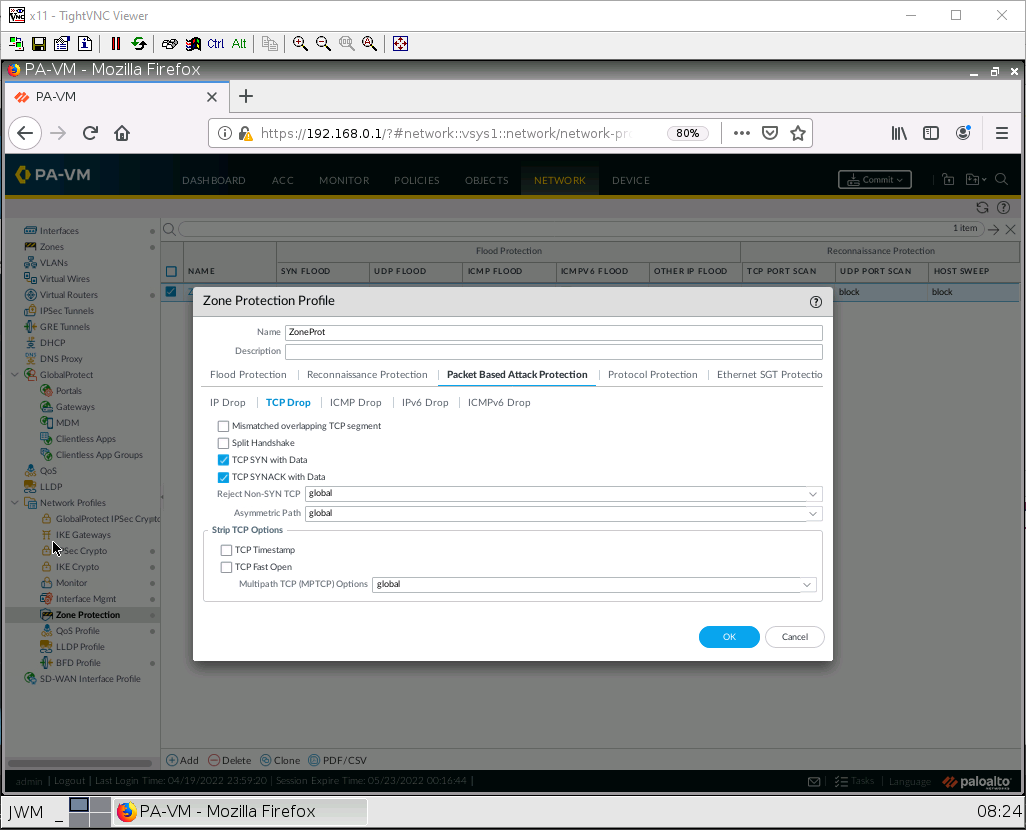
Under the Packet Based Attack Protection tab, under the TCP drop subtab, tick on TCP SYN with Data and TCP SYNACK with Data.
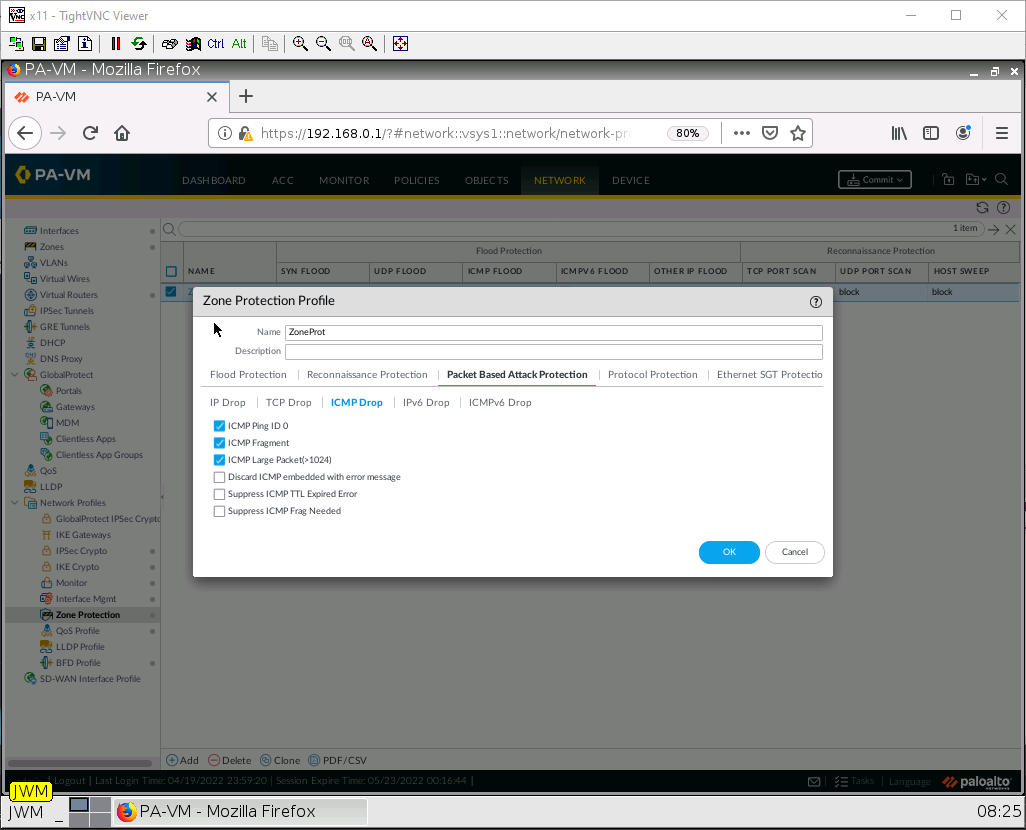
Under the Packet Based Attack Protection tab, under the ICMP drop subtab, tick on ICMP Ping ID 0, ICMP Fragment, and ICMP Large Packet(>1024).
Then click OK.
Apply a Zone Protection Profile
Under Network > Zones. Click on the Outside Zone.
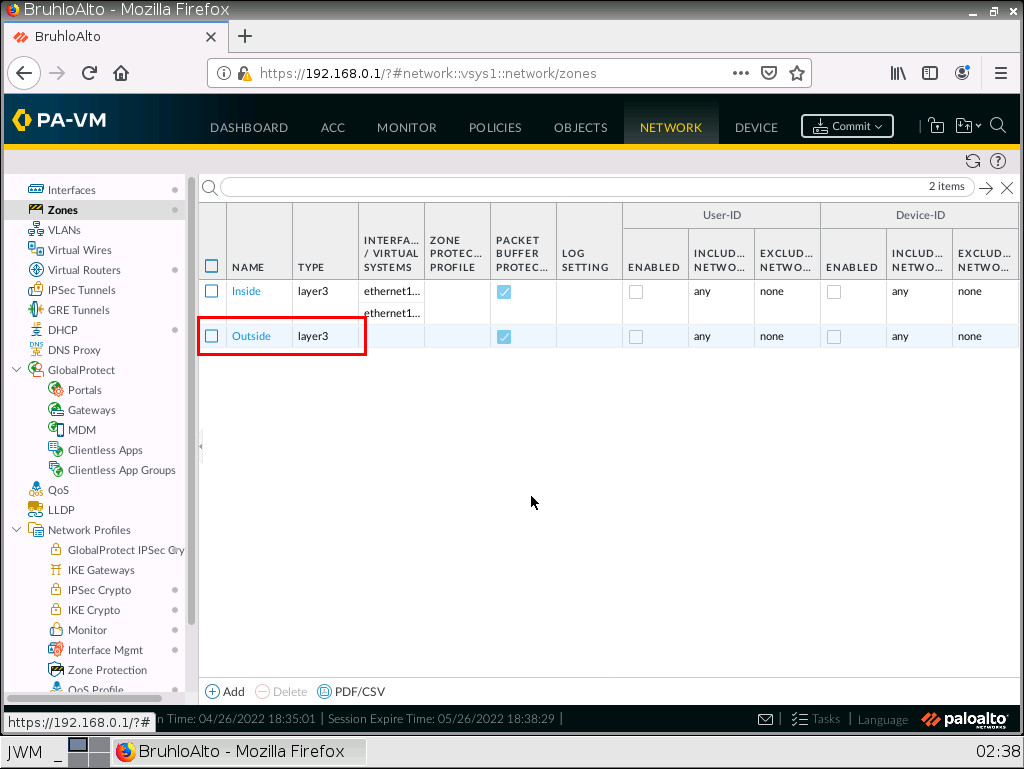
Under the Zone Protection category, select the profile you just created.
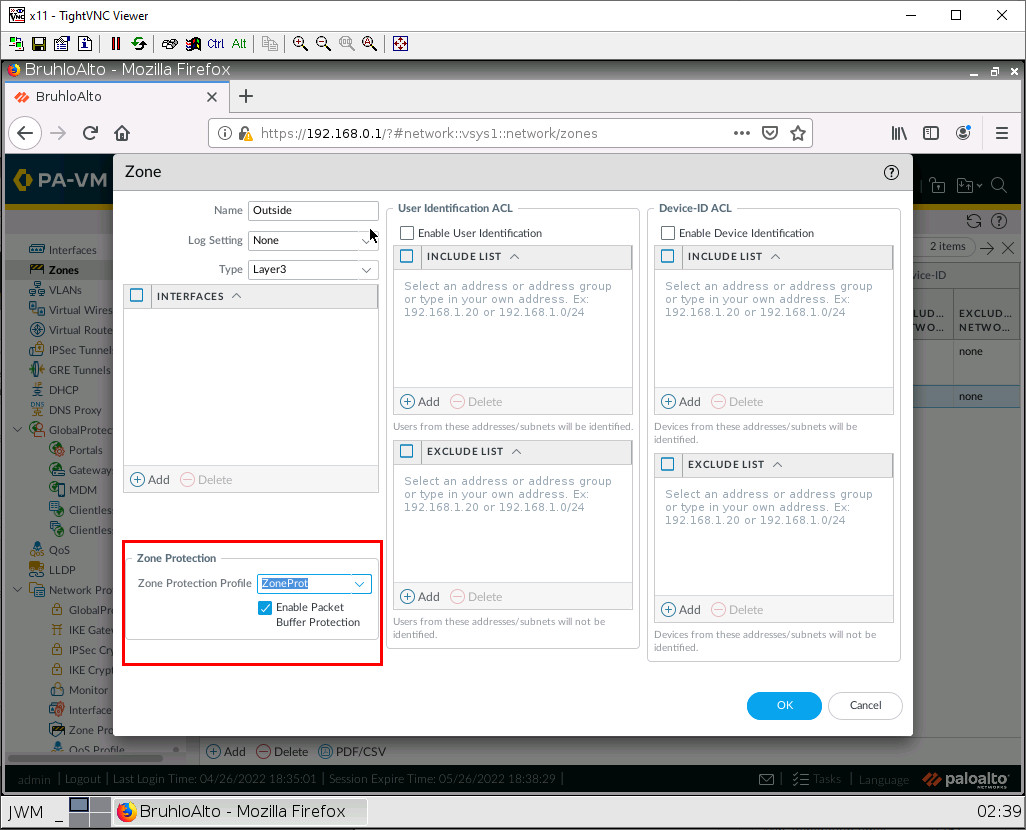
Click OK.
Don’t forget to commit your changes!
Test the DoS Protection
Run Pentmenu again using the previous options, then Ctrl+C after 3 seconds.
Under Monitor > Logs > Threat. You should see an entry for an ICMP flood.