Chapter 1. Basics
1.1 GNS3 and Palo Alto
Learning Objectives
- Configure a static IP for the management port on the firewall
- Change general settings of the firewall using the web interface
Scenario: In this lab, we’re only going to start with the basics. Connecting to and configuring basic settings on Palo Alto. There will be a little console usage, but don’t fret. The rest of these will involve some sort of GUI based option
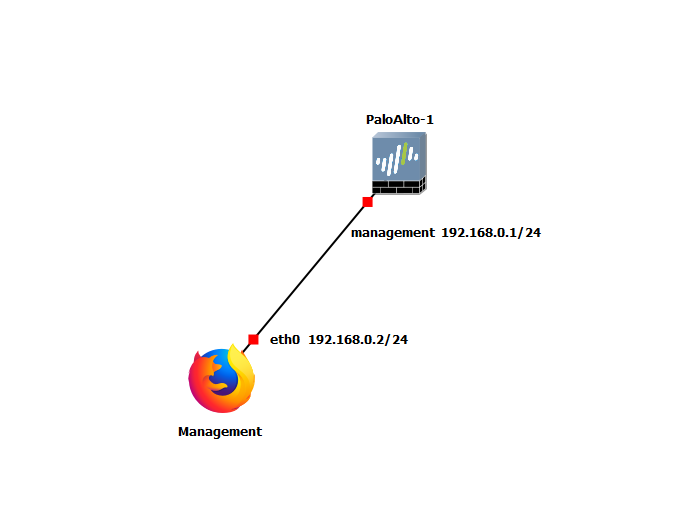
| Device | Configuration |
|---|---|
| PaloAlto-1 | Management: 192.168.0.1/24 |
| WebTerm1-Management | eth0: 192.168.0.2/24 |
Console into the Palo Alto Device
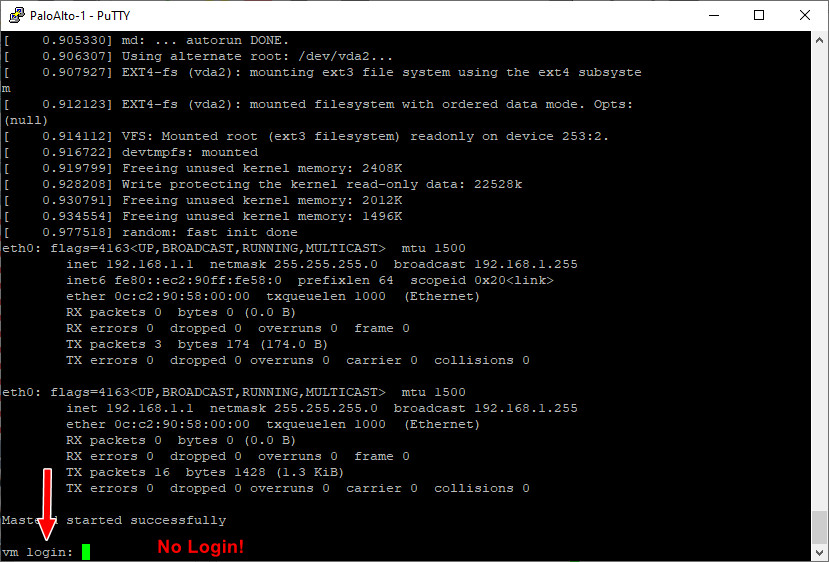
Make sure to start all your devices, then double click the Palo Alto device. You should see a console window pop up. We need to wait till the prompt changes to “PA-VM”. Otherwise, we cannot login.
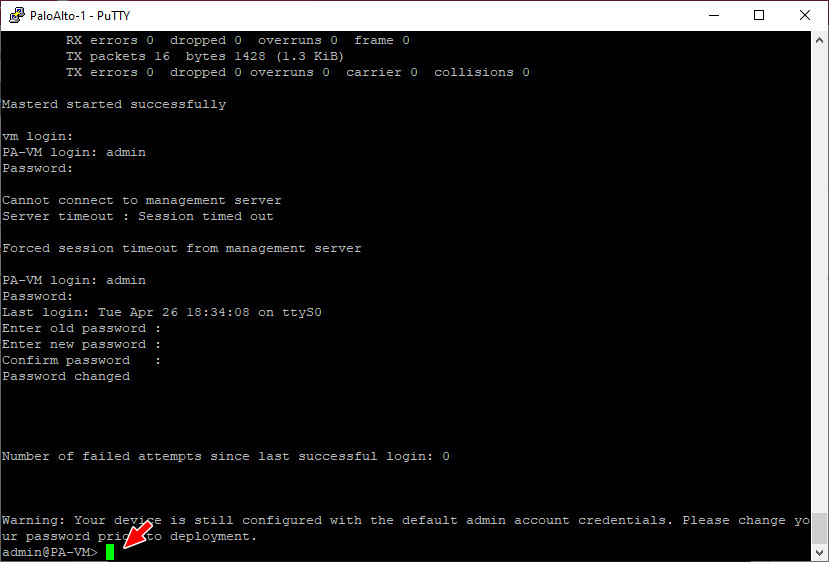
After about 5 mins, hit enter, and the prompt should change. Login with the following credentials:
Username: admin
Password: admin
It will prompt you to change your password. Once you’re finished changing your password, you will see the prompt change to this:
Configure a Static IP on the Palo Alto Device
I promise you that this is one of the only times we will be interfacing with the command line. But this is necessary for setting up a static IP. Type these commands into the now open console:
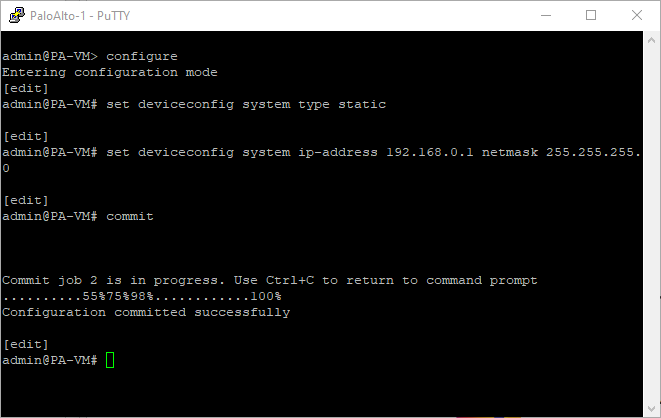
1) configure2) set deviceconfig system type static 3) set deviceconfig system ip-address 192.168.0.1 netmask 255.255.255.0 4) commitLine 1: Gets you into configuration mode.
Line 2: Configuration mode command to set the management interface to a static address.
Line 3: Sets IP of the management interface.
Line 4: Every time you make any change in Palo Alto, you must commit the changes for it to take effect.
It should look like this if all commands were successful:
Access the Web Interface from Webterm
Double click on the webterm device. A Firefox window should immediately pop up:
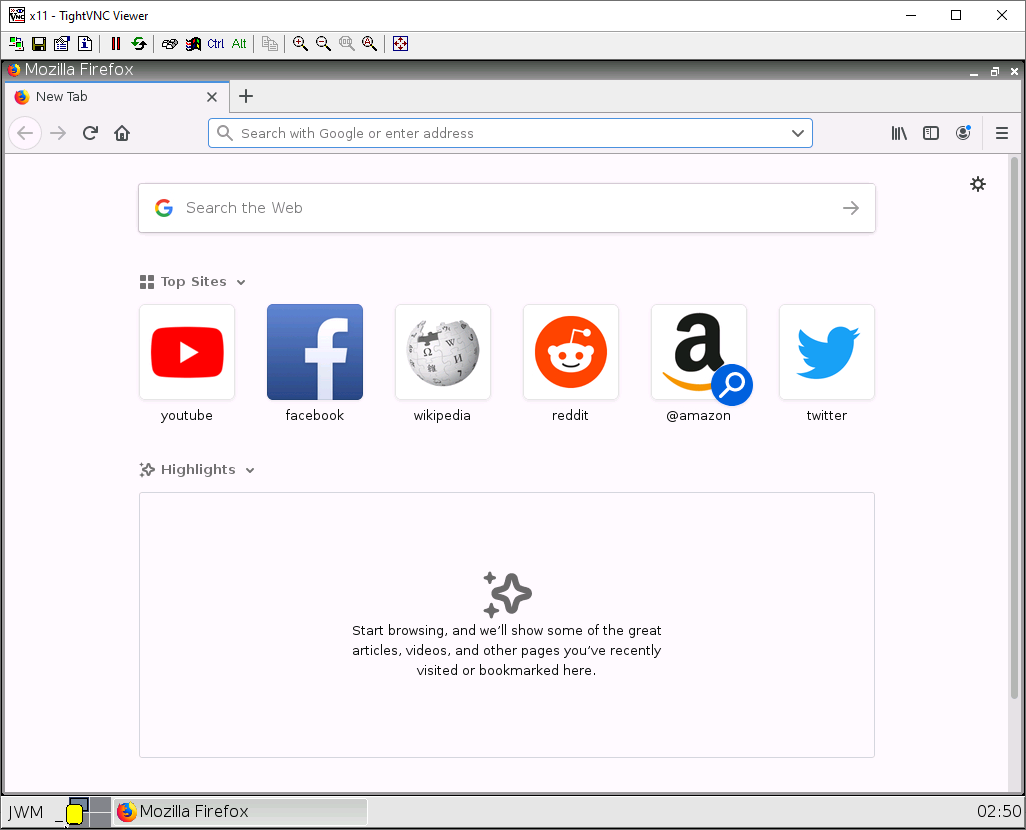
On the top address bar, type in “https://192.168.0.1” (without quotes) then hit enter.
After typing that in, you should see a block page:
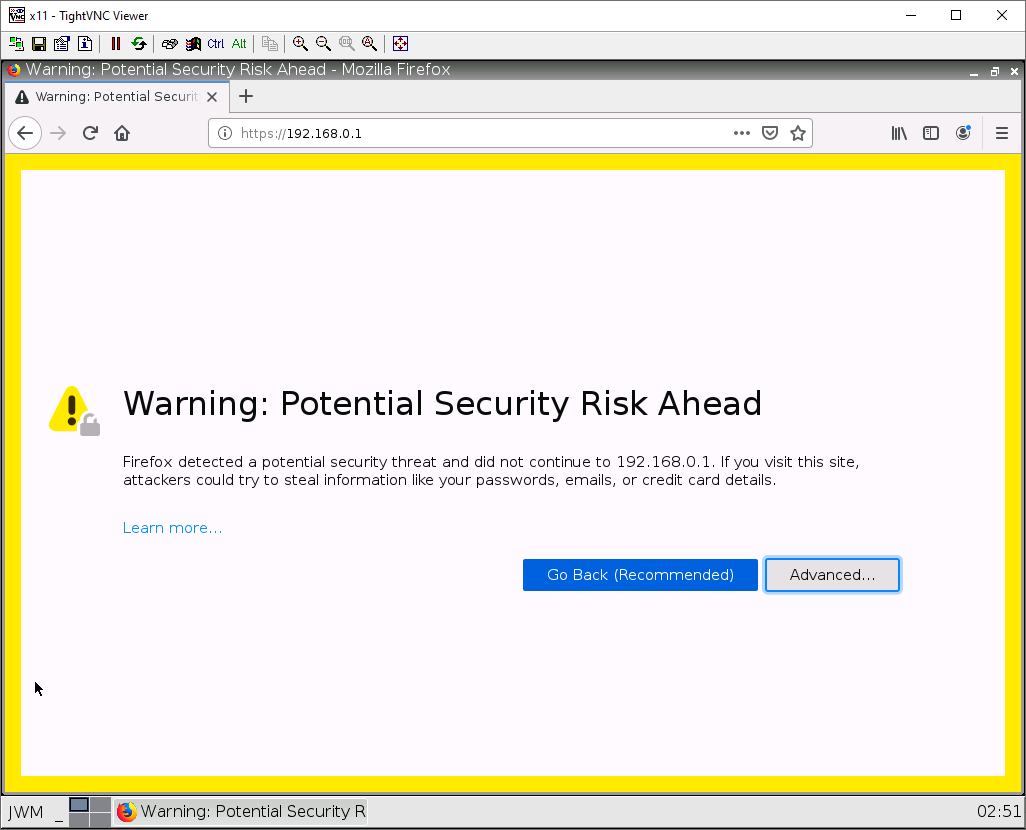
To get past this, click advanced, then click “Accept the Risk”.
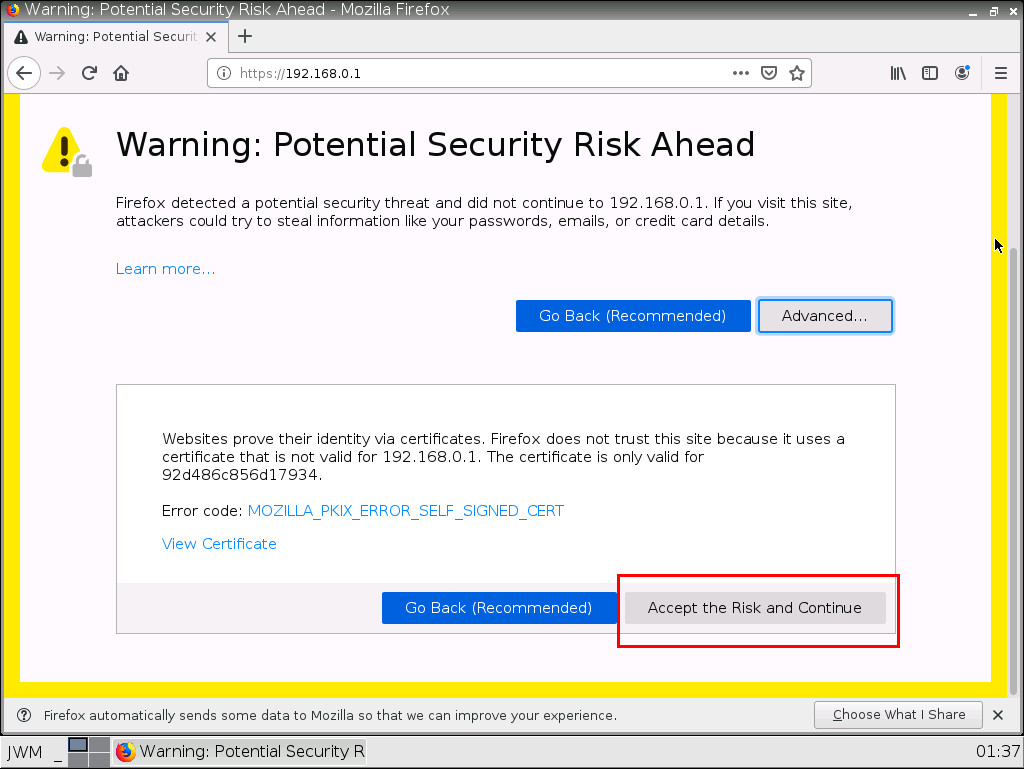
Now that we’re past the scary-looking warning screen, type in the credentials to the user: admin. The password should be the password you set after initially logging in through the command line.
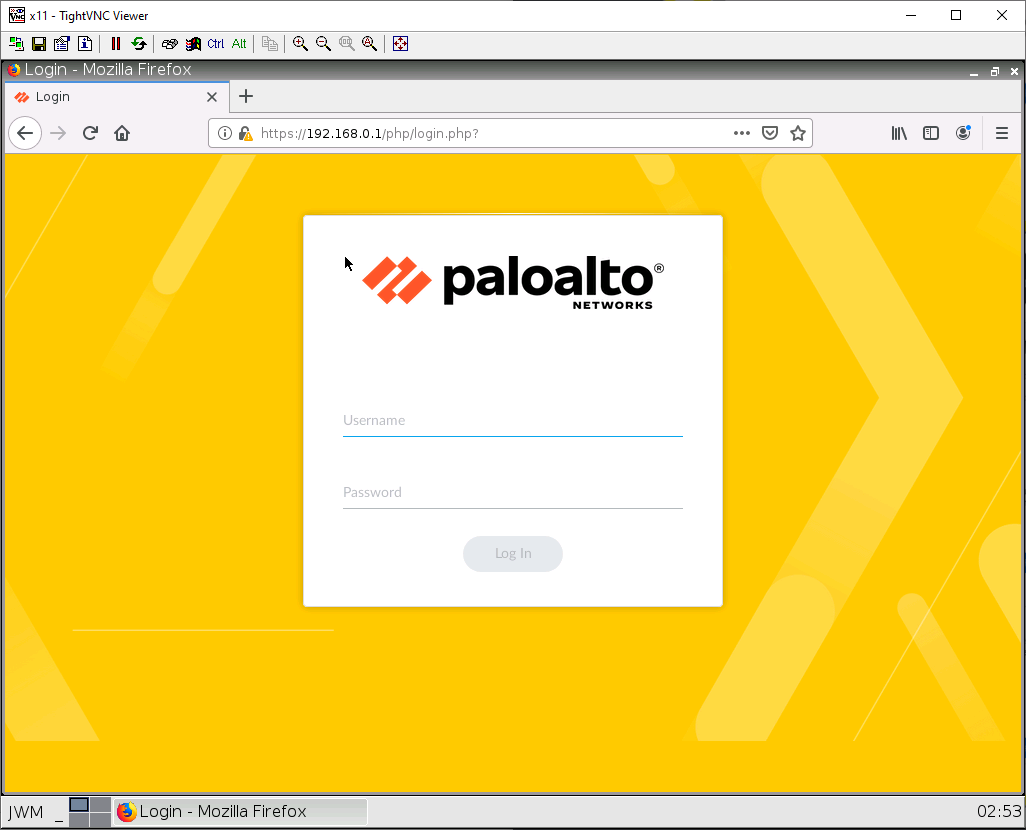
Now, we’re in the web interface for the Palo Alto device!
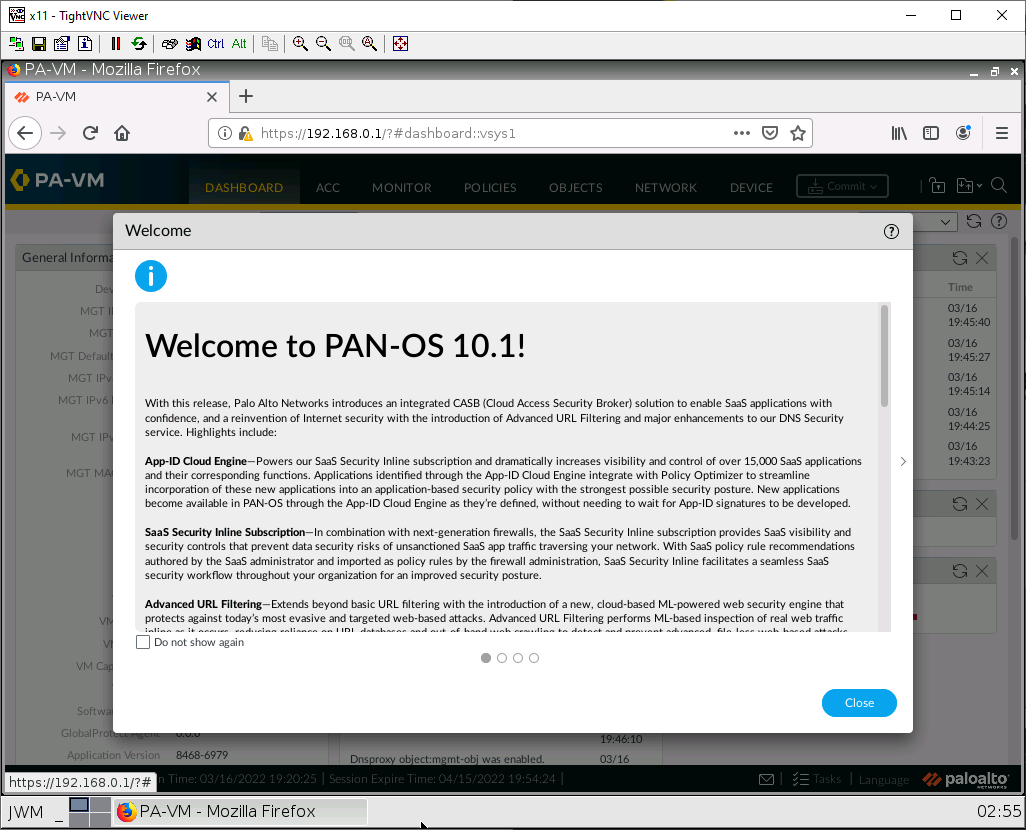
Explore the Web Interface
Let’s focus on what we’ll actually be used as these labs progress.
In device settings, we can change the hostname, create users, generate certs, etc. The bottom line is that it is used for general system administration. We will be delving more into this as the chapters progress.
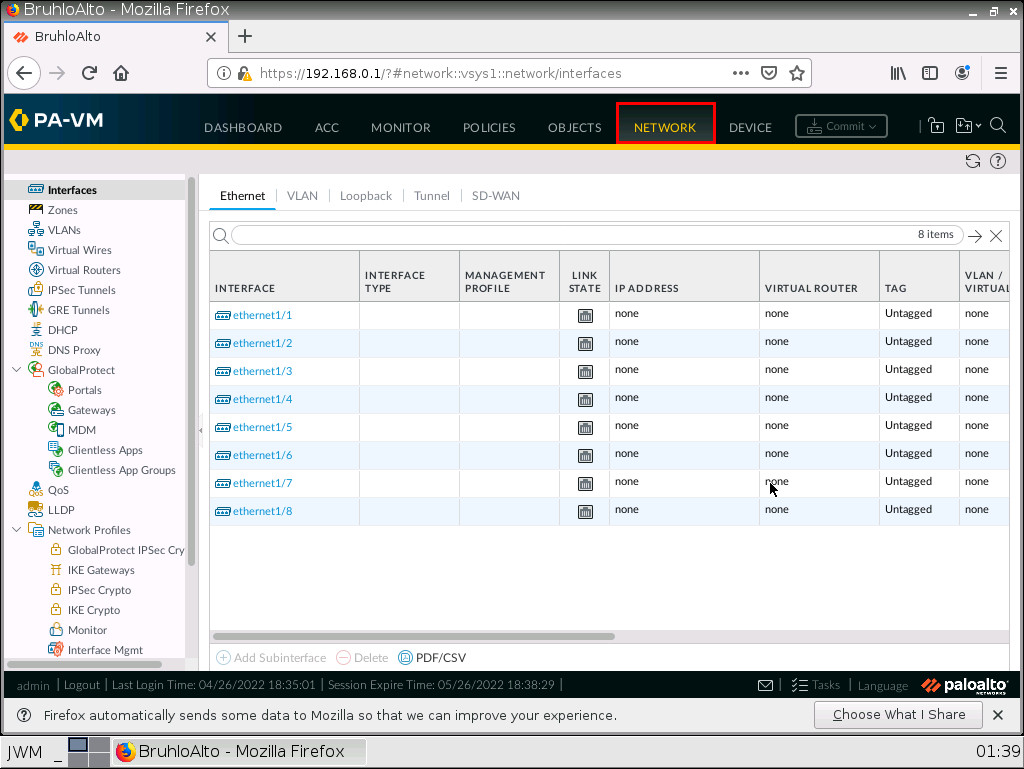
In network settings, we can change interface IP addresses, create tunnels, and setup routing.
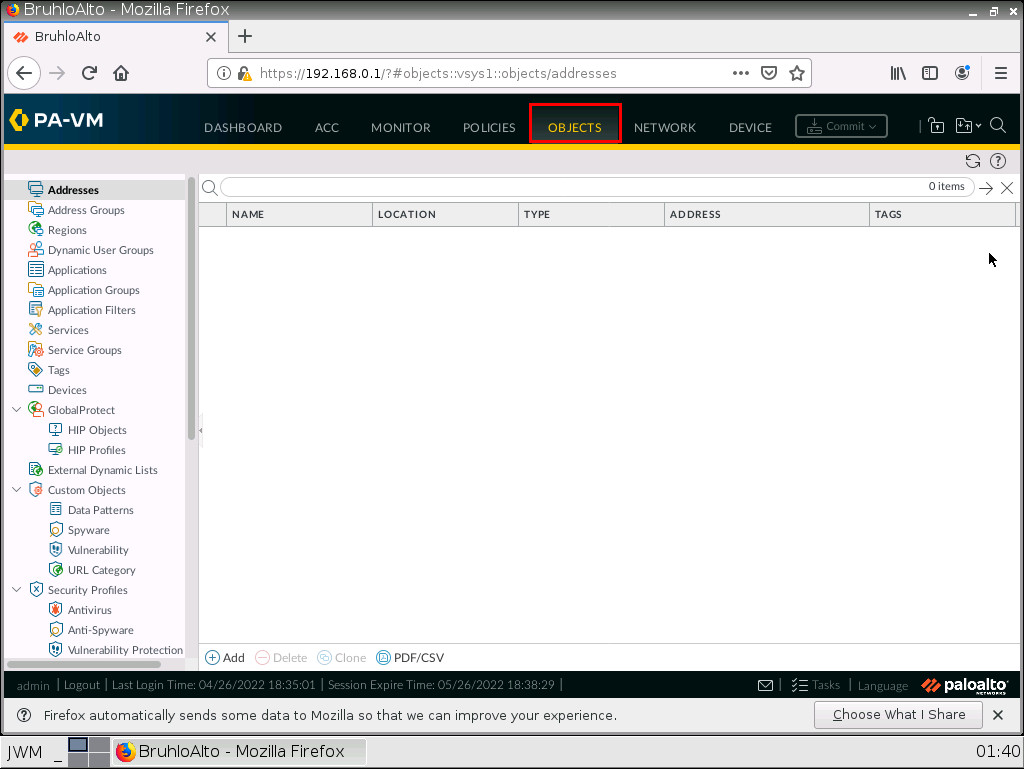
We won’t be using the objects tab very much, however, it is important to know about it. Here, we can create pre-defined address objects, define ports, and create security policy templates.
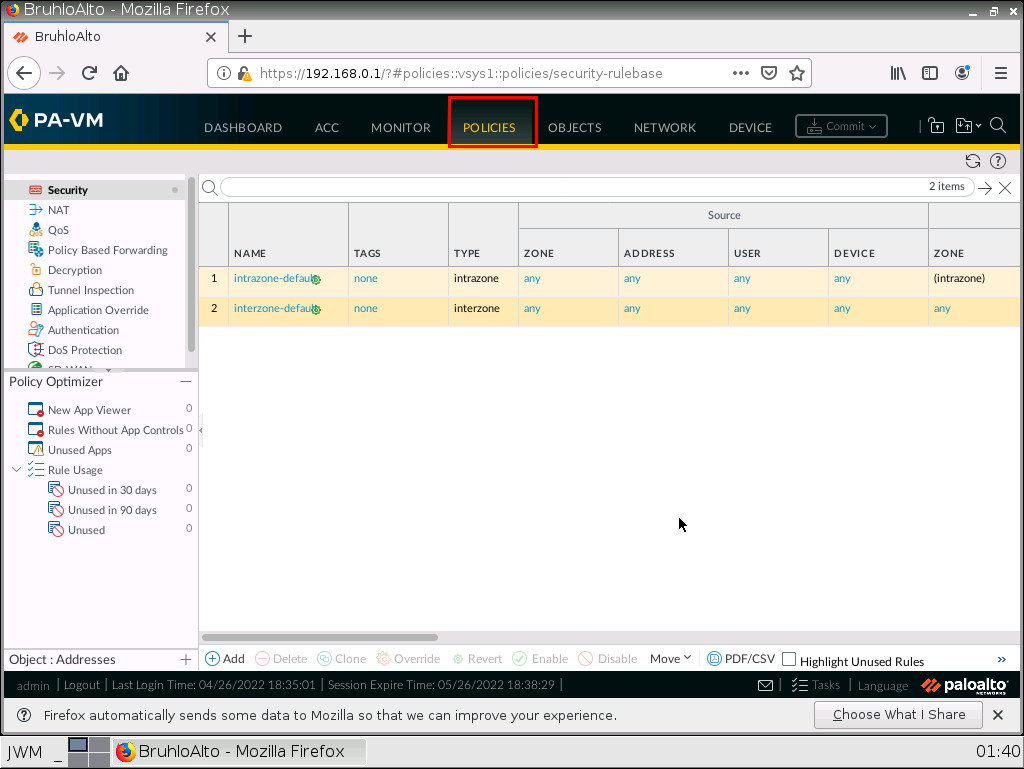
The policies tab is arguably the most important tab of the firewall. Here we will configure security policies and define NAT rules. An important thing to note is these pre-existing security policies. Everything within a zone is allowed, whereas a zone to another zone is not allowed.
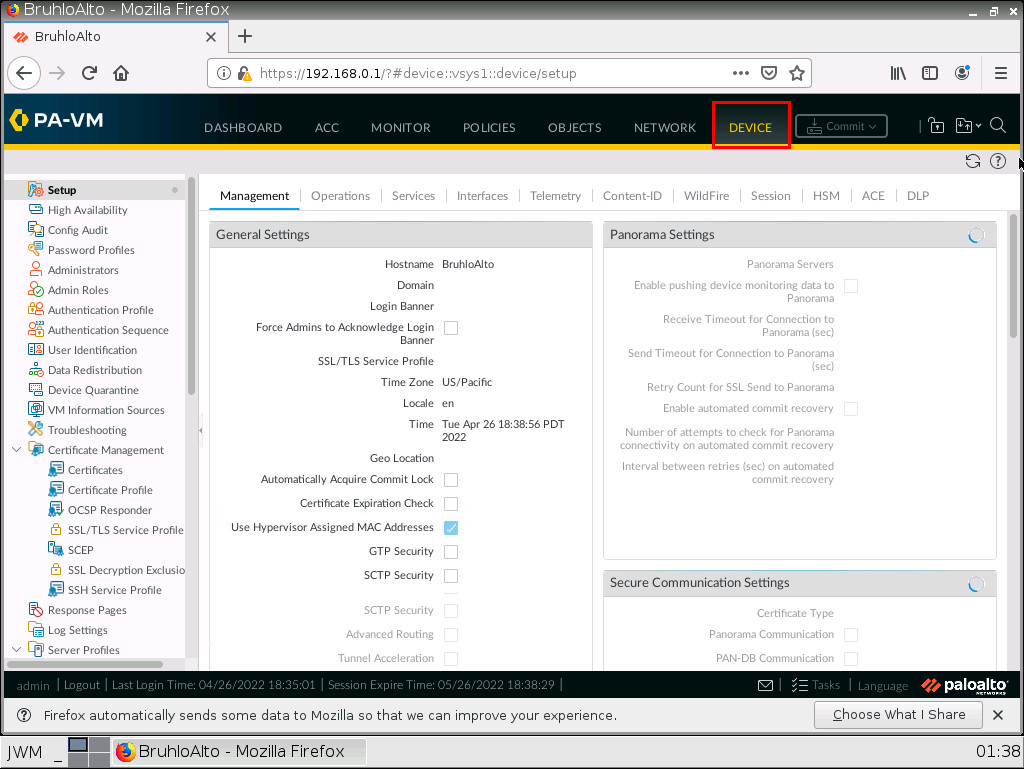
Change the Hostname of Palo Alto
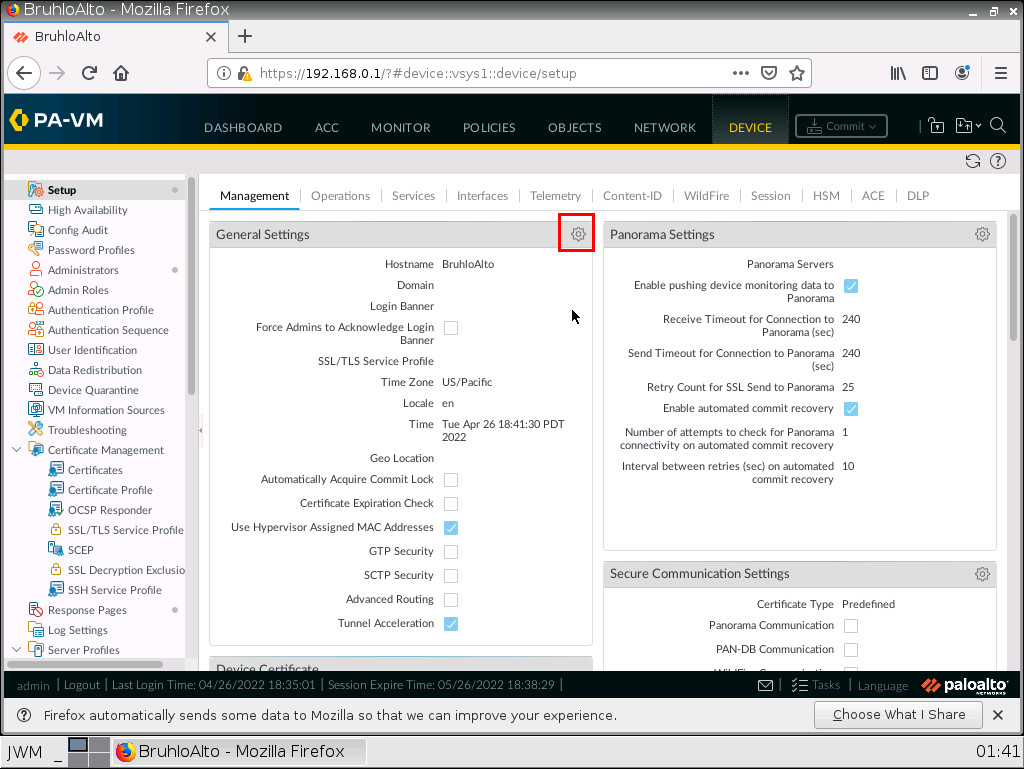
Head over to the device tab, and click the cog icon to the right of device settings.
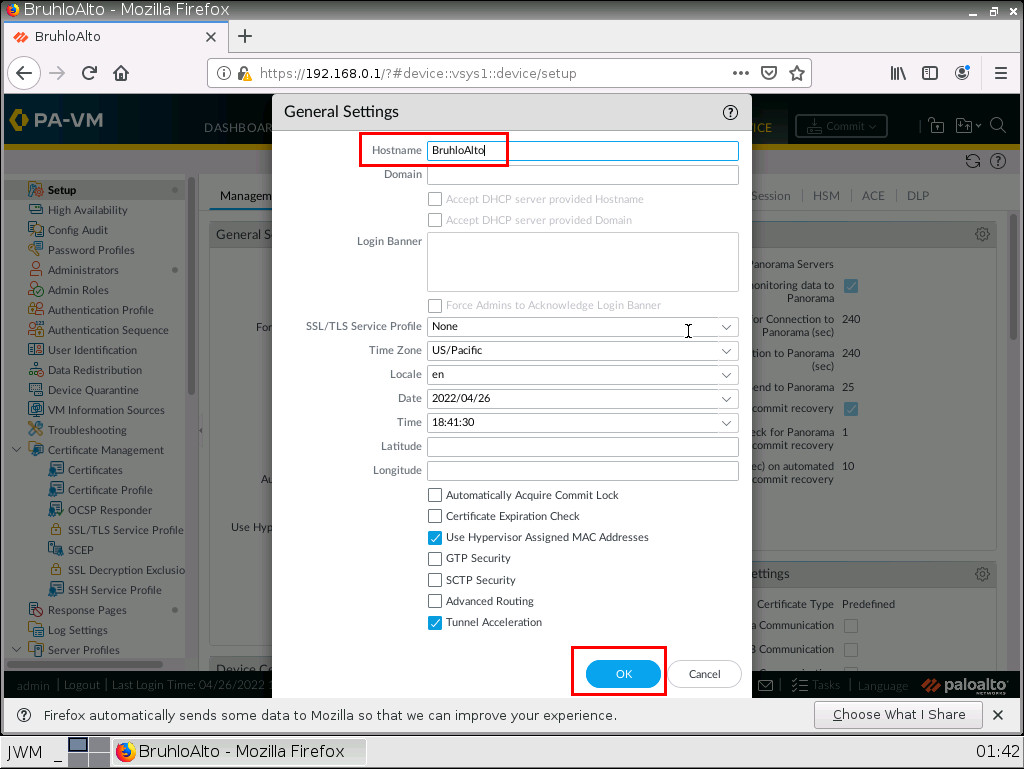
Change the hostname to anything but PA-VM. I will change mine to “BruhloAlto”.
After changing the hostname to anything you desire, click on OK at the bottom right of the screen.
After any change in Palo Alto, you will have to commit the changes. When you make changes in Palo Alto, it is put into what we call a “candidate configuration.” This means that changes do not take effect immediately. After we change some settings, we need to press the commit button on the top right.
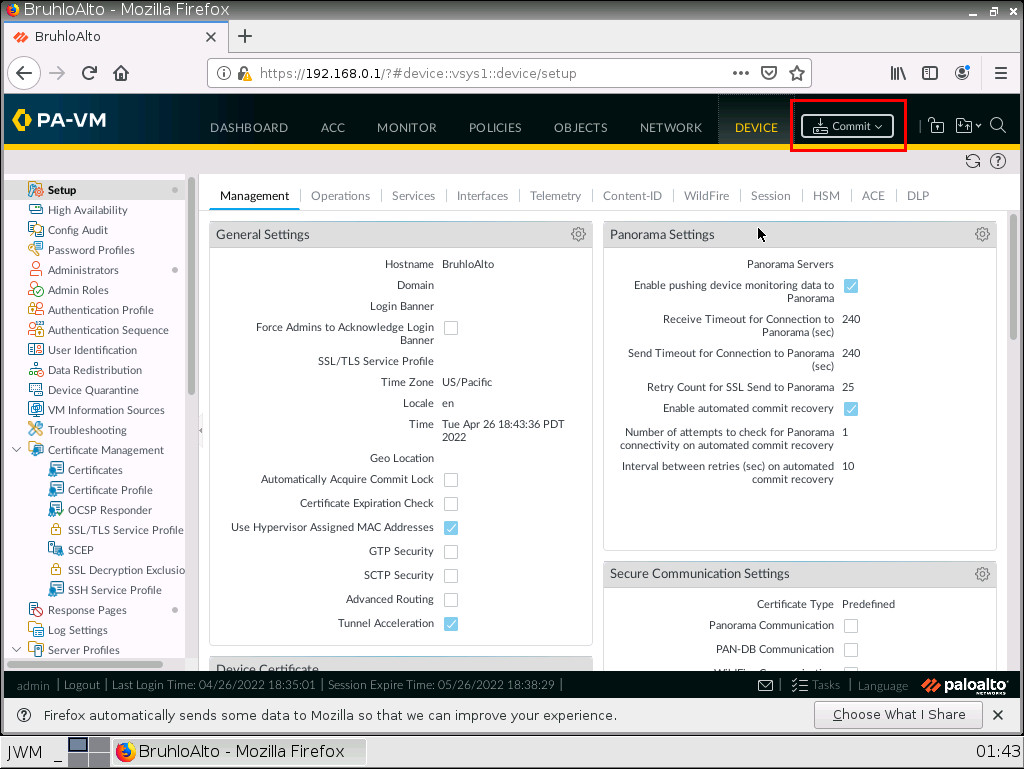
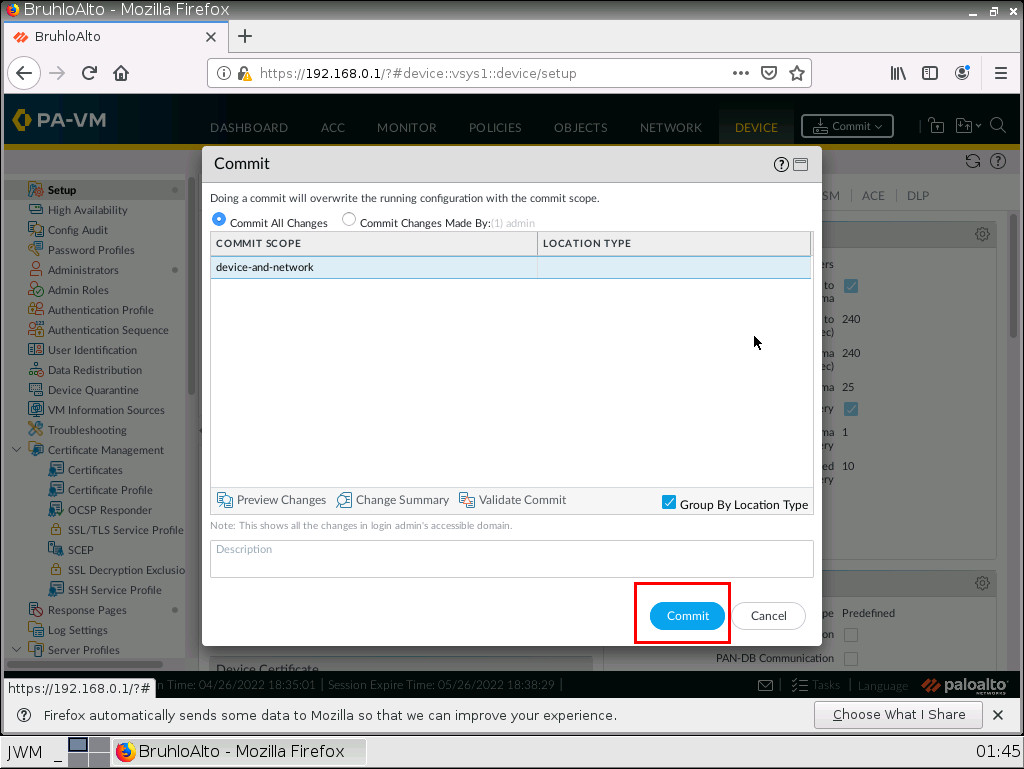
Pressing commit will push the candidate configuration to the running configuration. This is helpful because the Palo Alto device is smart enough to tell you if a configuration won’t work without affecting your active network settings. Let’s commit these changes by clicking commit again.
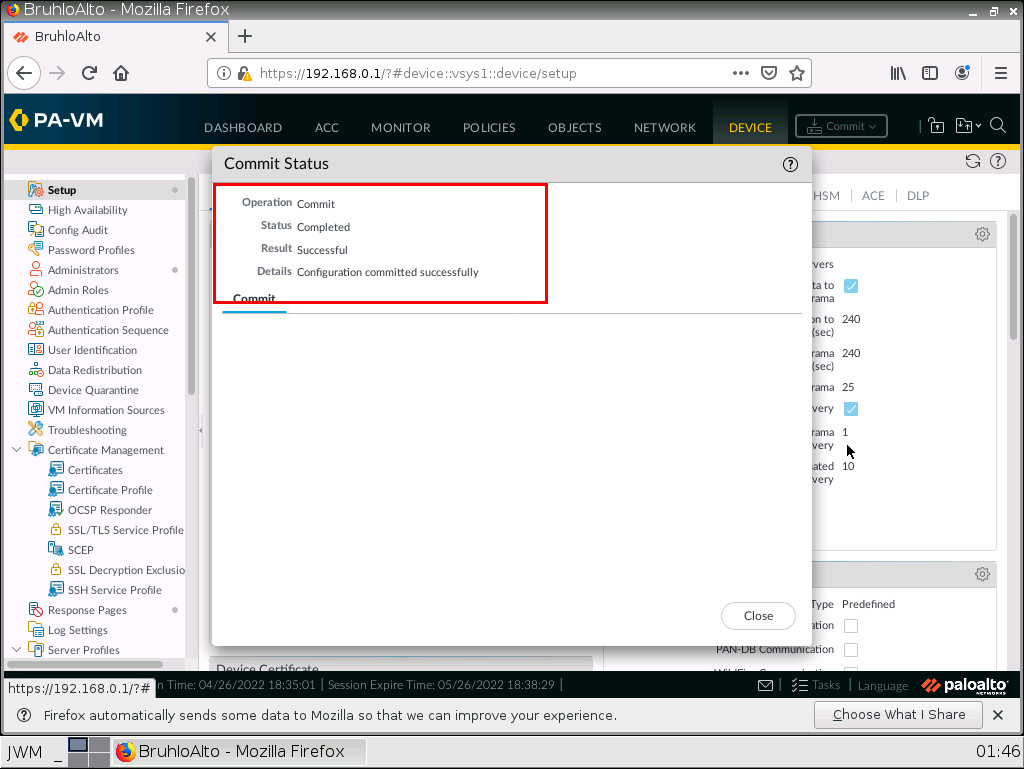
If all is well, after a while you should see something similar to this. It means everything worked!
Verify the Changes
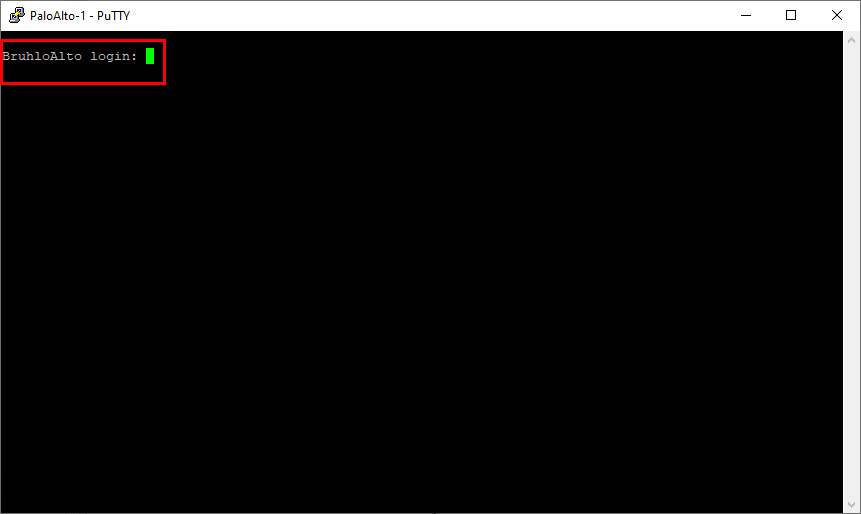
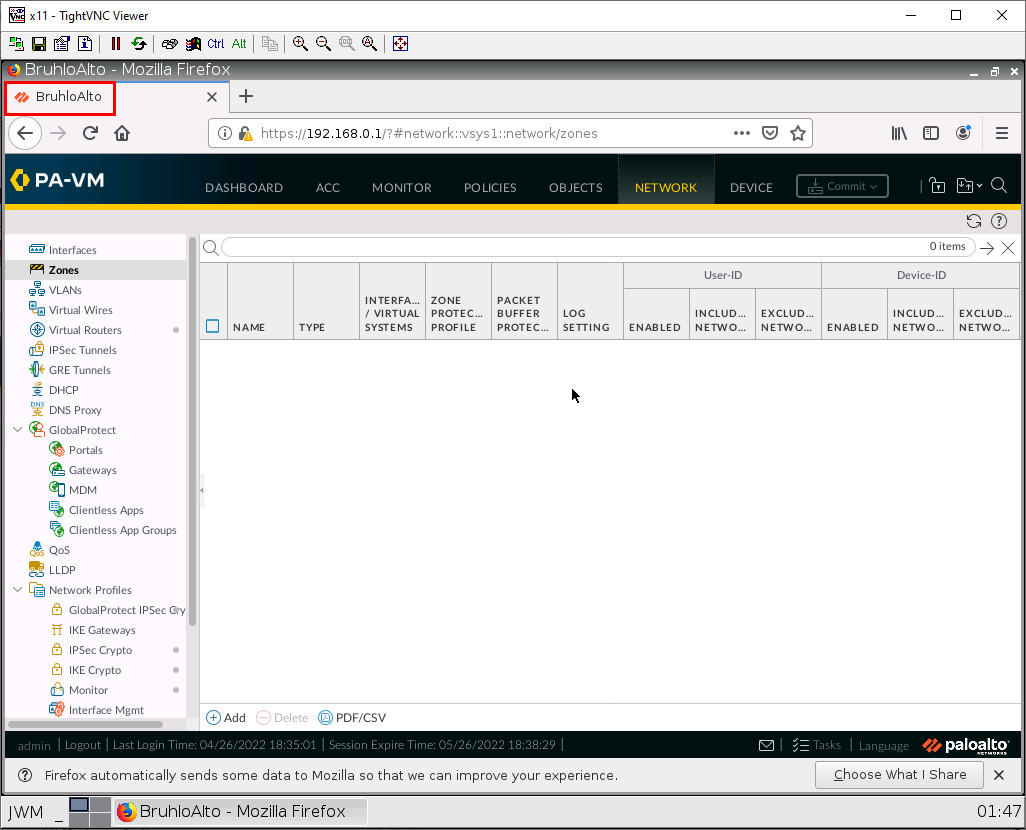
Refresh the page by pressing the F5 key (or clicking on the refresh button) on the webterm web browser. If the hostname changed, the tab will change to the hostname you set.
You can also see the changes being reflected on the console interface if you press enter.