Chapter 1. Basics
1.4 DNAT
Learning Objectives
- Configure Destination NAT (DNAT)
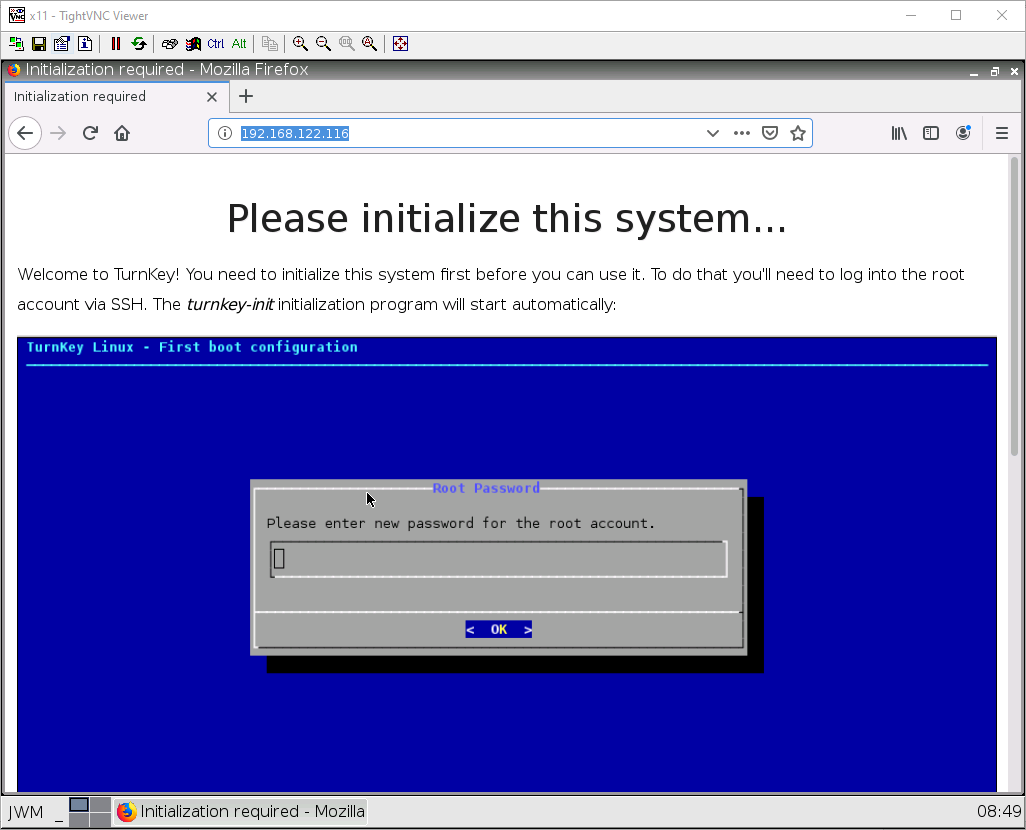
- Configure WordPress
Prerequisites:
- SNAT for the Internet
- Security policy for Inside to Outside
- Interface configuration
- Knowledge of previous labs
| Device | Configuration |
|---|---|
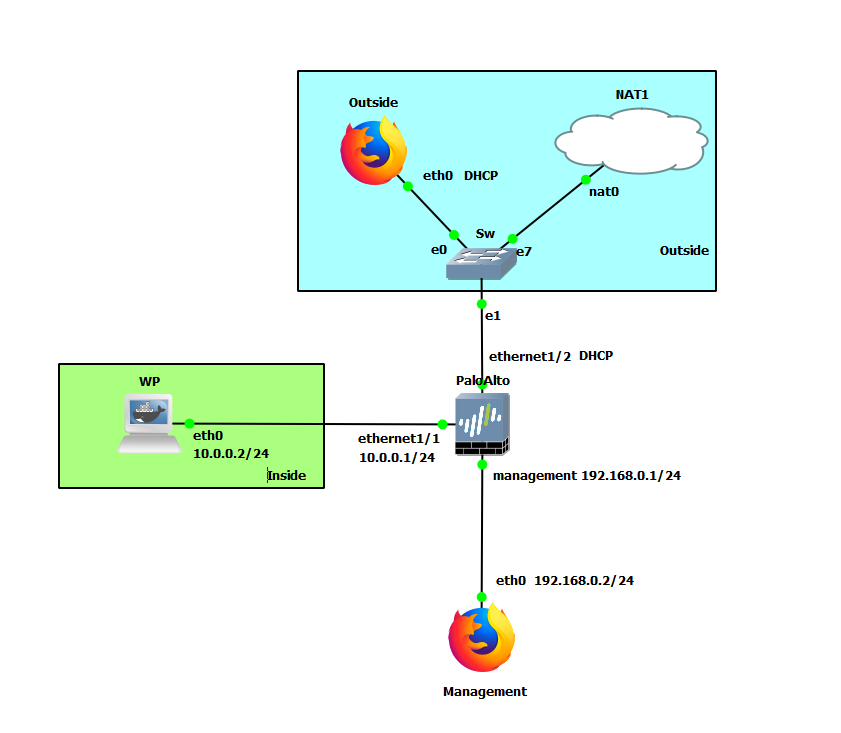
| WP (WordPress) | eth0: 10.0.0.2/24 GW: 10.0.0.1 |
| PaloAlto | Ethernet1/1: 10.0.0.1/24 Ethernet1/2: DHCP Management: 192.168.0.1/24 |
| Management (WebTerm) | eth0: 192.168.0.2/24 |
| Outside (WebTerm) | eth0: DHCP |
| Zone | Interface |
|---|---|
| Inside | Ethernet1/1 |
| Outside | Ethernet1/2 |
Create Reference Addresses
Under Objects > Addresses, click Add.
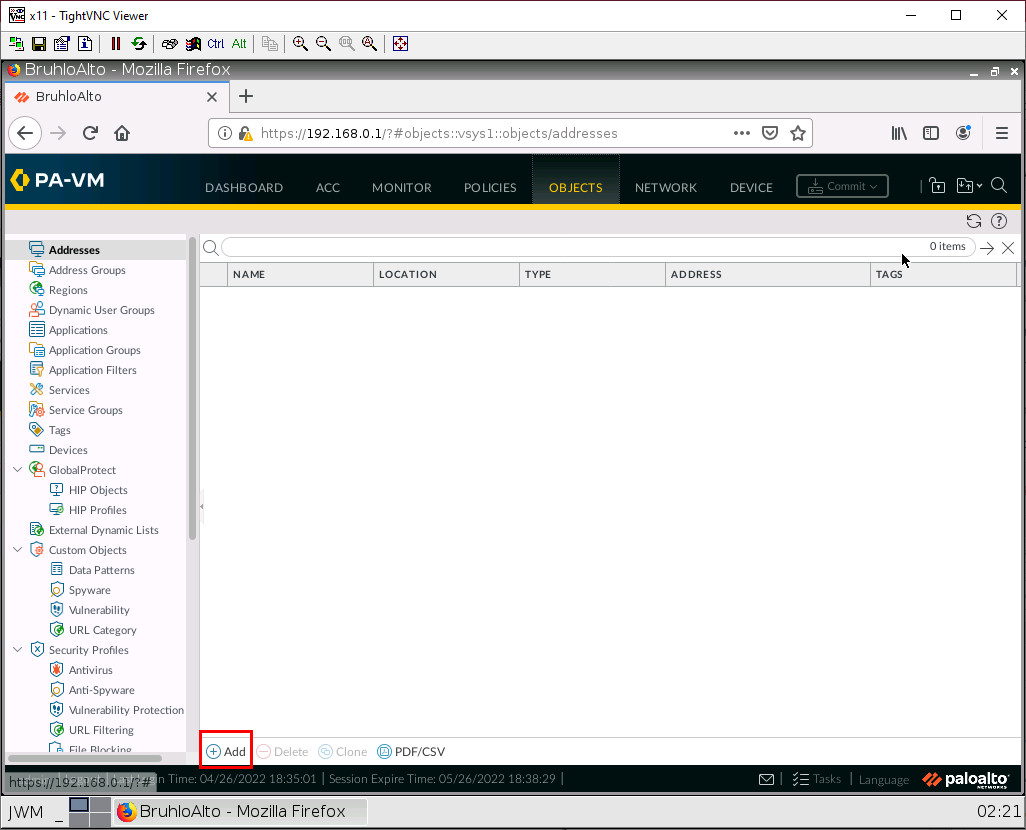
In this window, we will add the IP of the WordPress server to reference it easier.
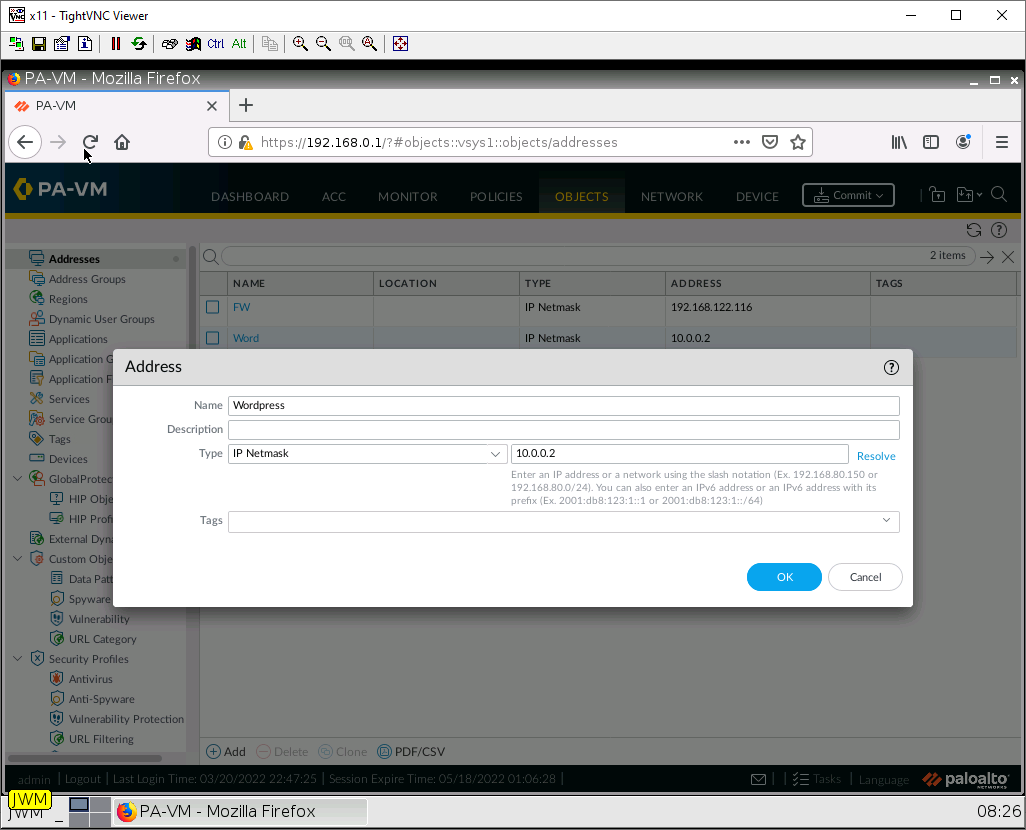
We also want to put our firewall’s “public” IP (the interface facing the NAT cloud) here too. You can find the firewall’s DHCP address under network > interfaces. Then click the hyperlink under IP address:
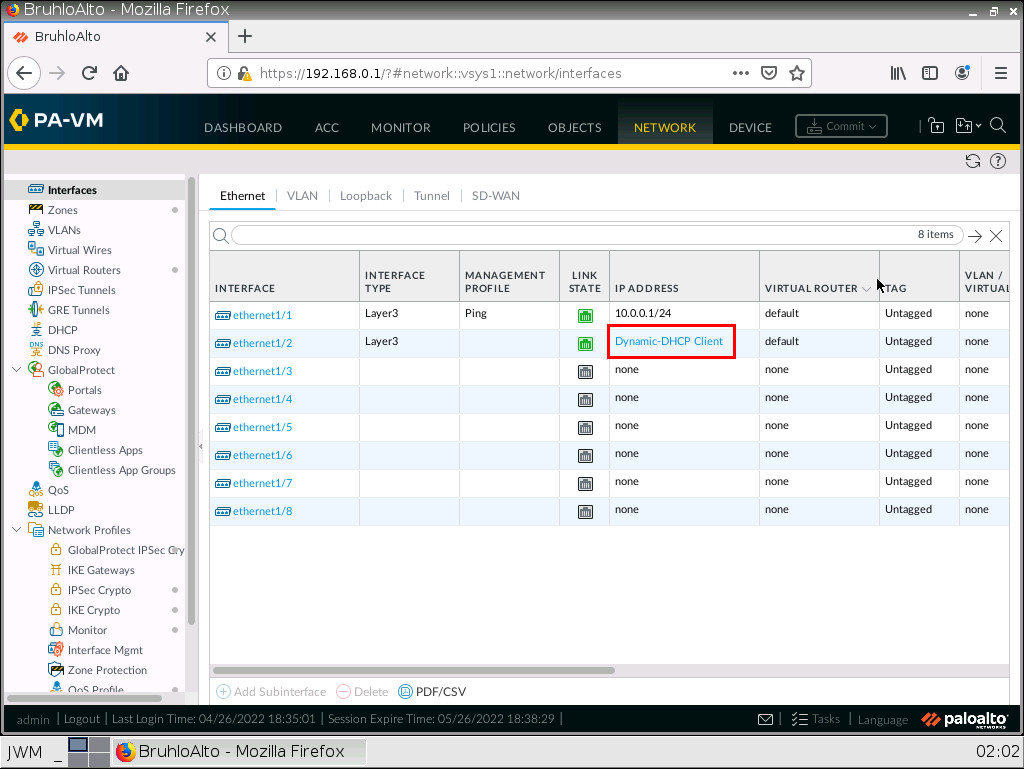
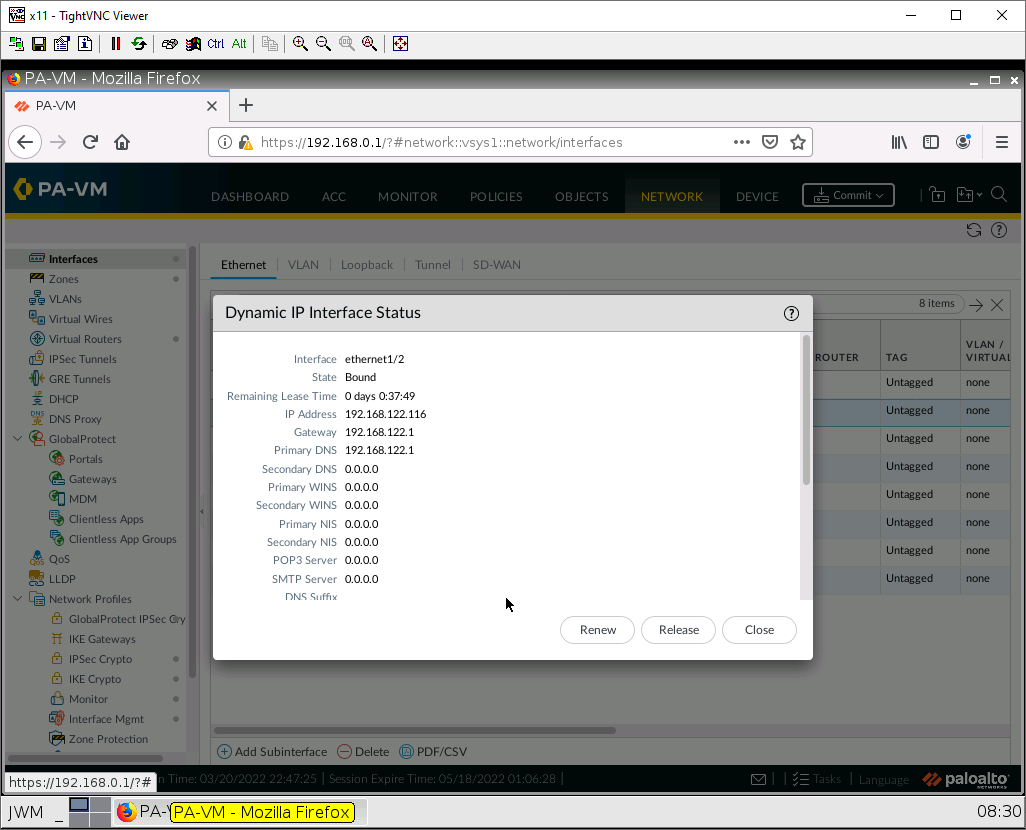
From there you will find the IP address of the firewall:
Create a DNAT Policy
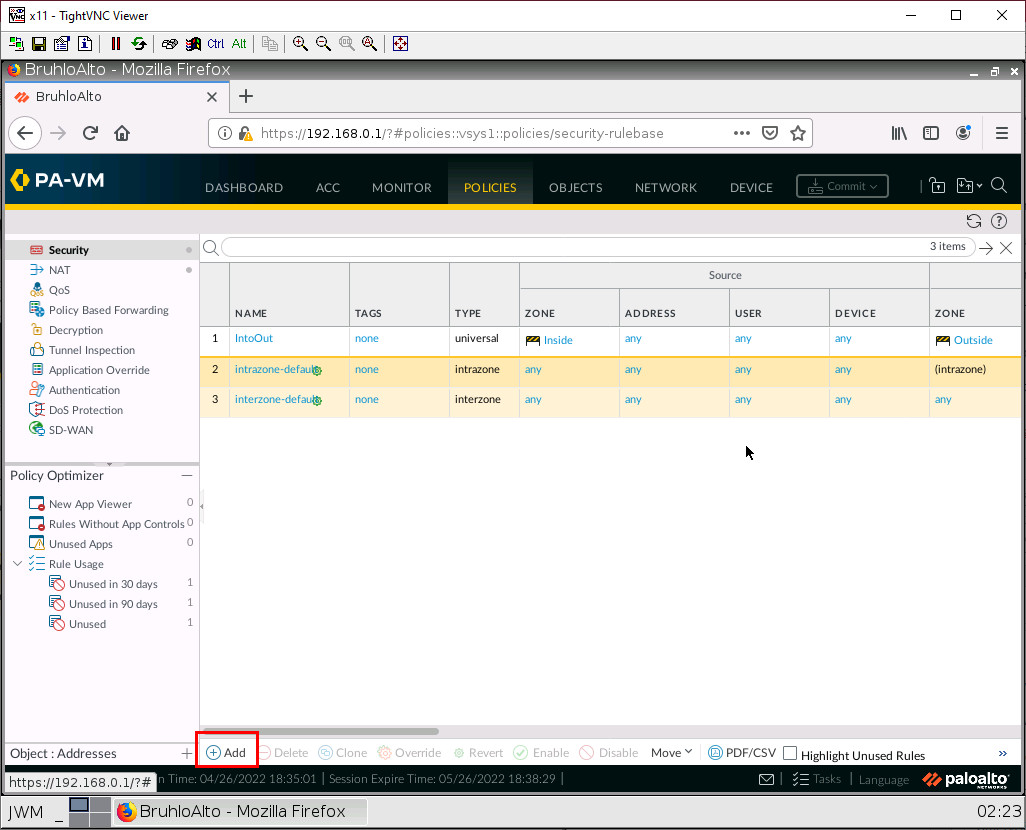
Under Policies > NAT, click the Add button on the bottom.
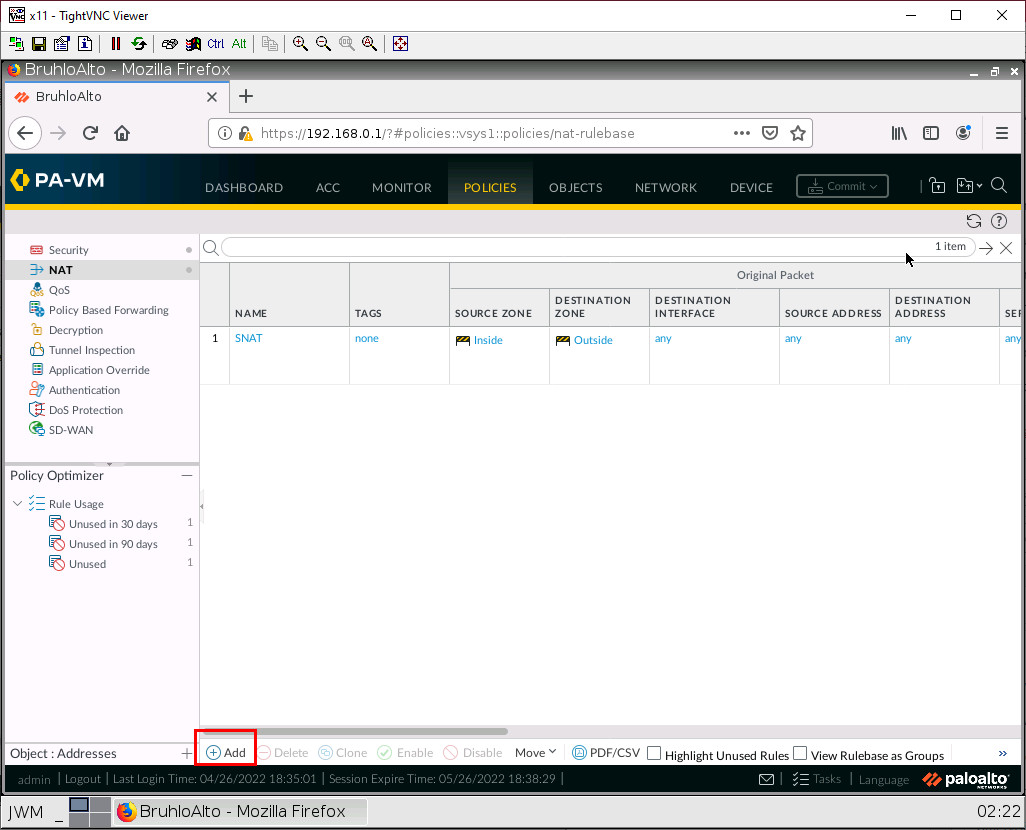
Under the Original Packet tab, configure these settings:
| Parameters | Value |
|---|---|
| Source Zone | Outside |
| Destination Zone | Outside |
| Destination Interface | any |
| Service | service-http |
| Destination Address | (Firewall Public Address Here) |

Under the translated packet tab, Destination Address Translation. Configure these:
| Parameters | Value |
|---|---|
| Translation Type | Static IP |
| Translated Address | (IP of WordPress here) |
| Translated Port | 80 |
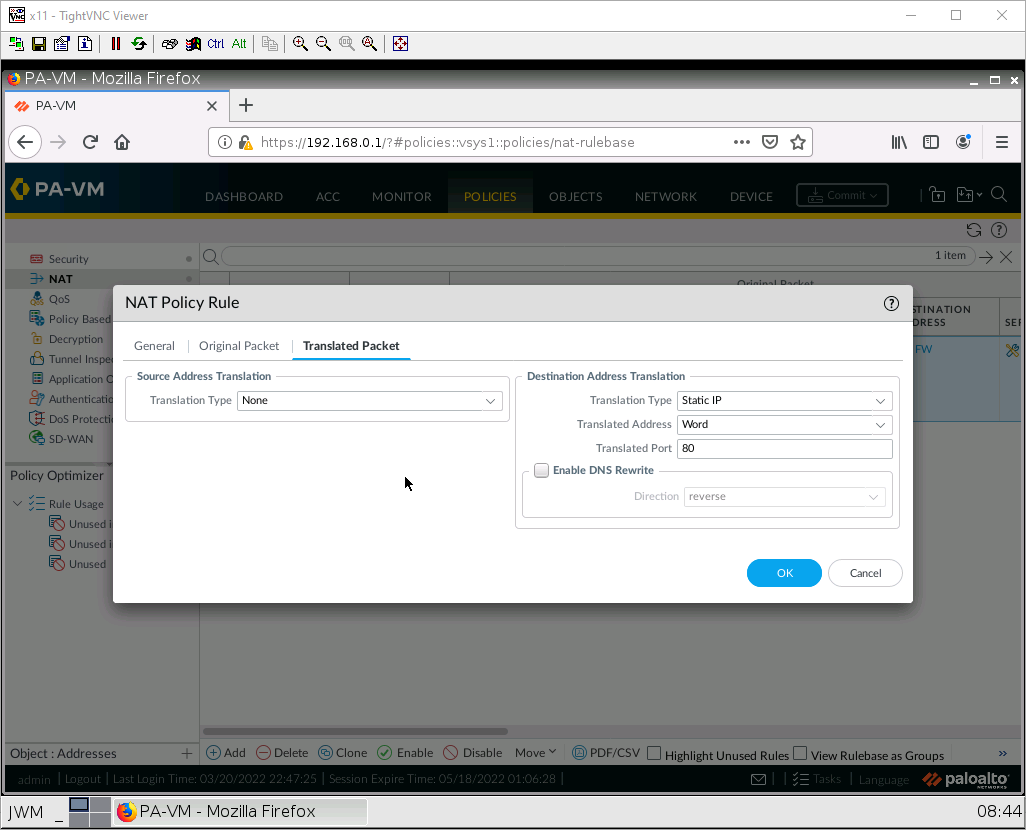
Then, press OK.
Security Policy for DNAT
Under Policies > Security. Click Add at the bottom.
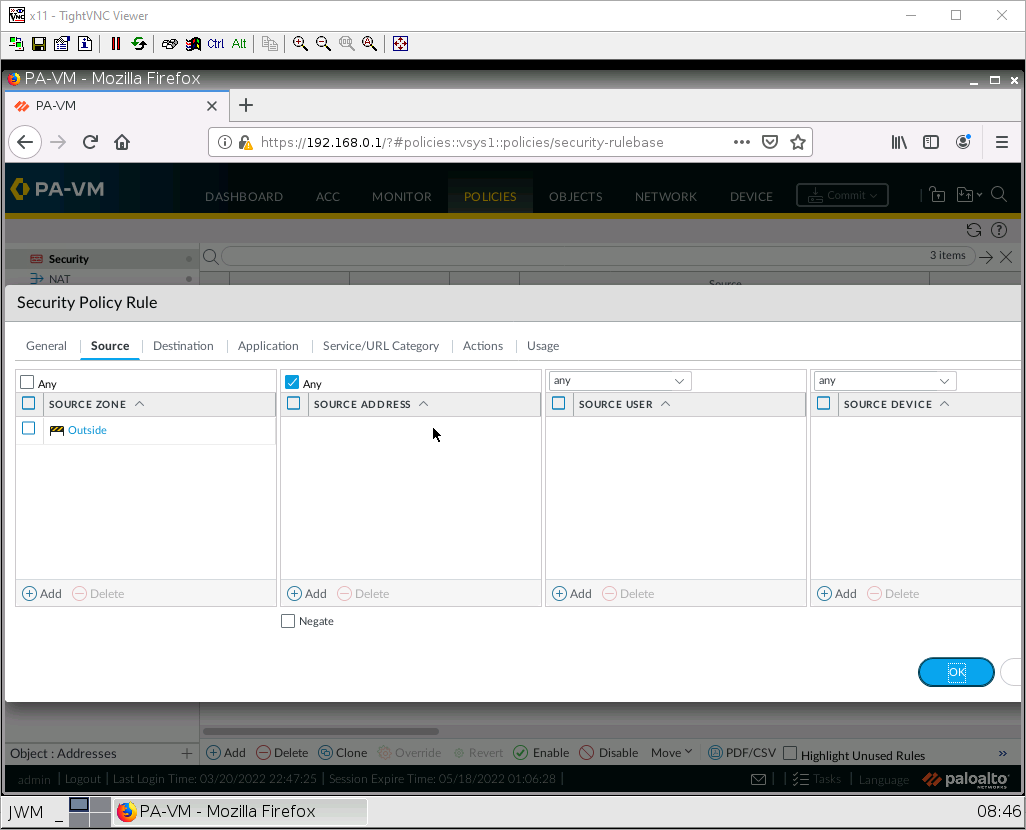
Under the source tab, add the outside zone under the source zone:
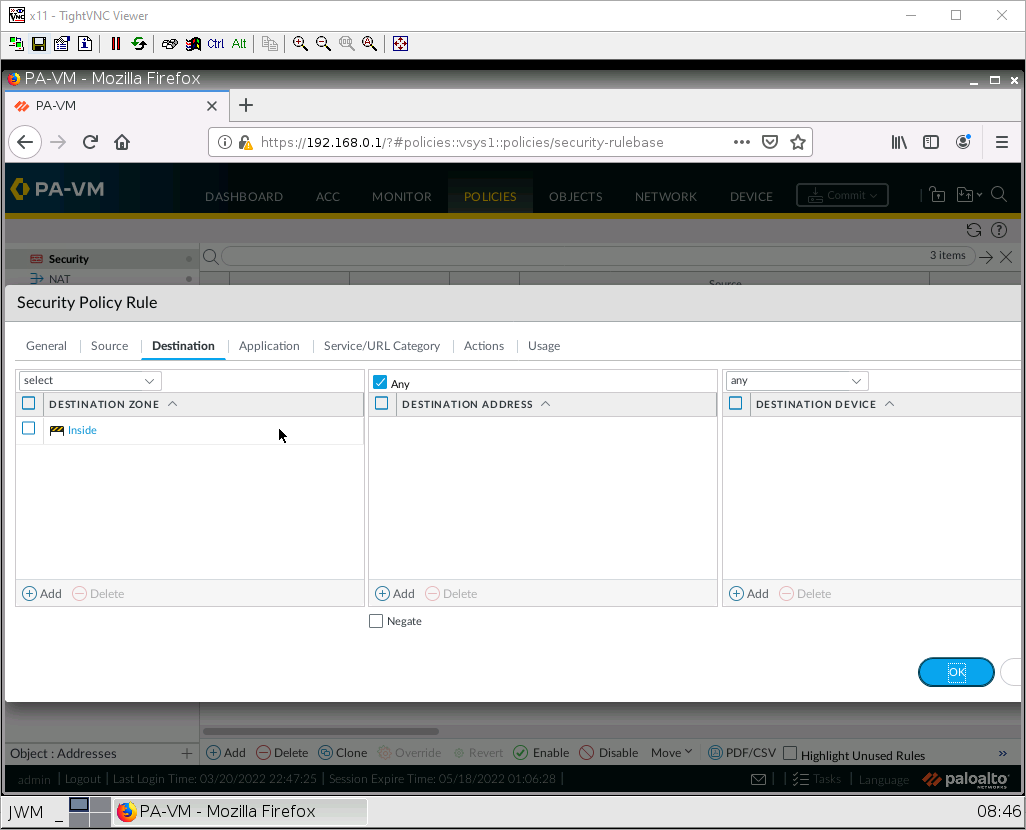
Under the destination tab, add the inside zone as the destination zone:
After that press OK, then Commit.
Test DNAT
Using the Outside webterm. Navigate to the public IP address of your firewall. If any webpage shows up, whether it’s the WordPress site or the one below. You got DNAT working!