Maximizing Media: Sharing, Assigning, and Lecture Recording
Lecture Capture
Overview
Kaltura Capture is an application integrated with https://moodle.unbc.ca providing lecture capture functions. It has a simple user interface, requiring only one click to record, without complex setup or a lengthy learning curve. The application is supported both on Windows and Mac. The application automatically uploads new videos into your MyMedia area in https://moodle.unbc.ca. Once uploaded to your MyMedia area you can easily share recordings in your courses.
Important Note: There is a 2-hour limit to each recording. You can record and share as many videos as you wish. If creating pre-recorded lectures, it is recommended that you try to record shorter sections of video (15-20 mins) – these will be faster to upload and have less chance of upload error. Smaller sections of video are easier for students to watch and come back to.
Kaltura Personal Capture includes:
- Screen, microphone, and webcam capture in one click
- Seamless uploading and sharing to https://moodle.unbc.ca
- Intuitive user interface
- Video annotation tools
Finding the Capture app
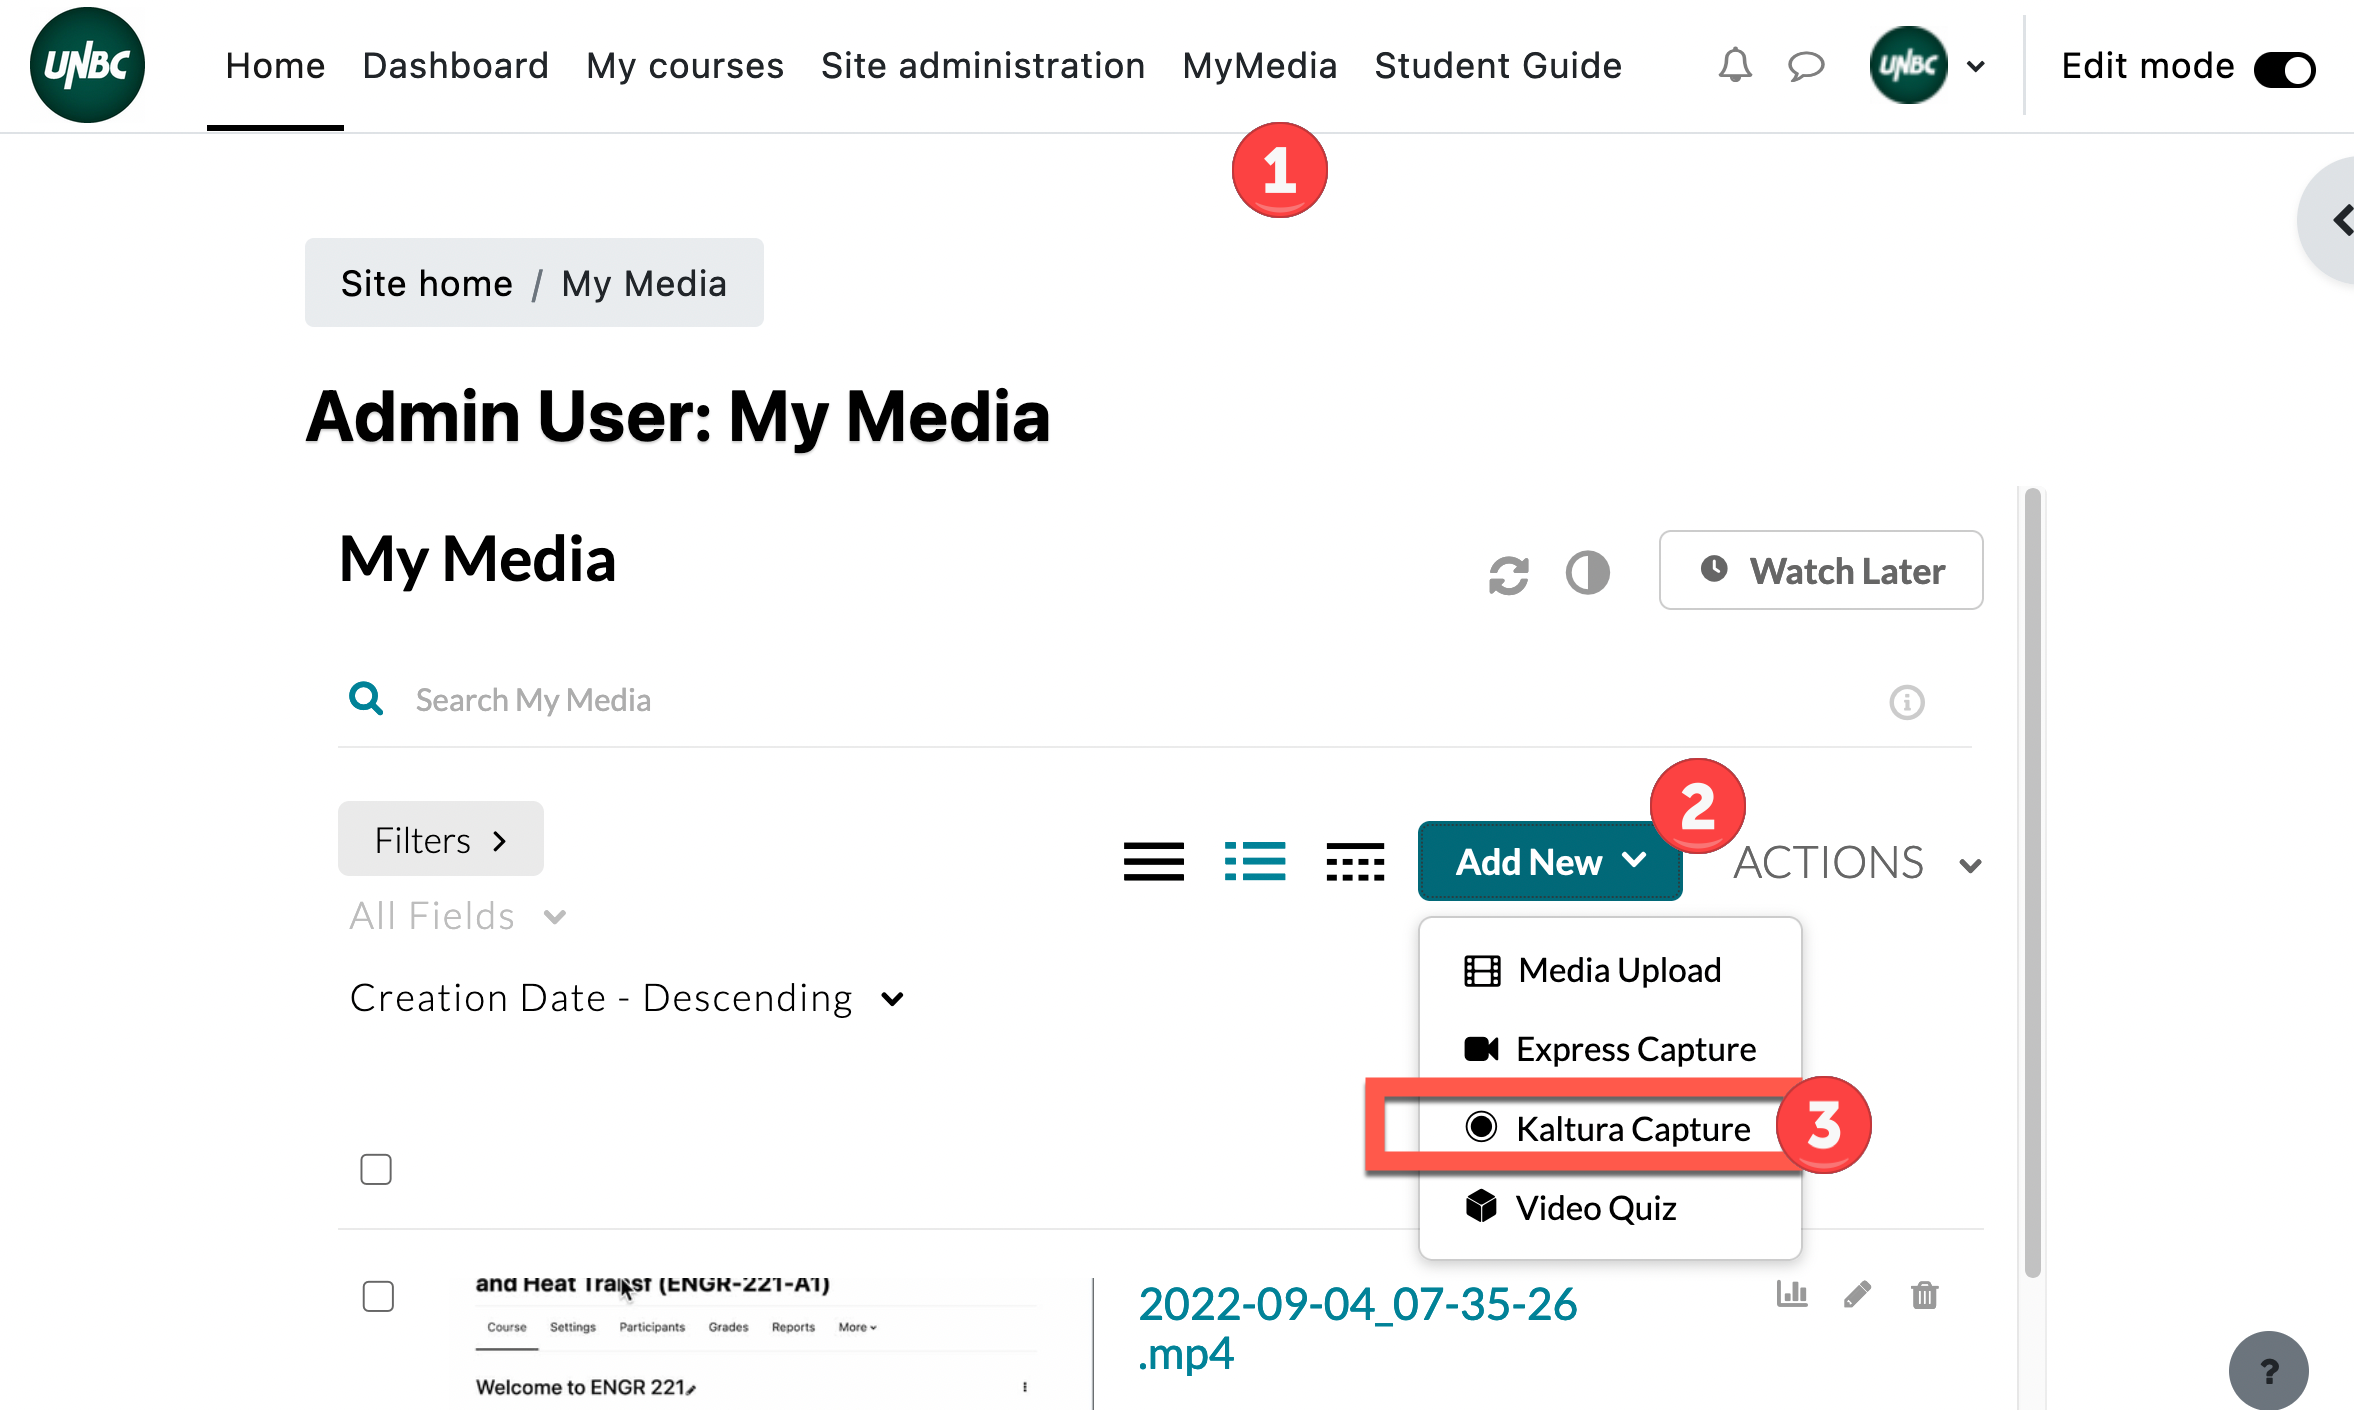
- You can find the MyMedia area at the top of your screen at https://moodle.unbc.ca.
- To find the Kaltura Capture feature, select Add New > Kaltura Capture
You will require a one-time installation of the Kaltura Capture Desktop Recorder. Links to the Windows and Mac applications are available in the screen you are presented with.
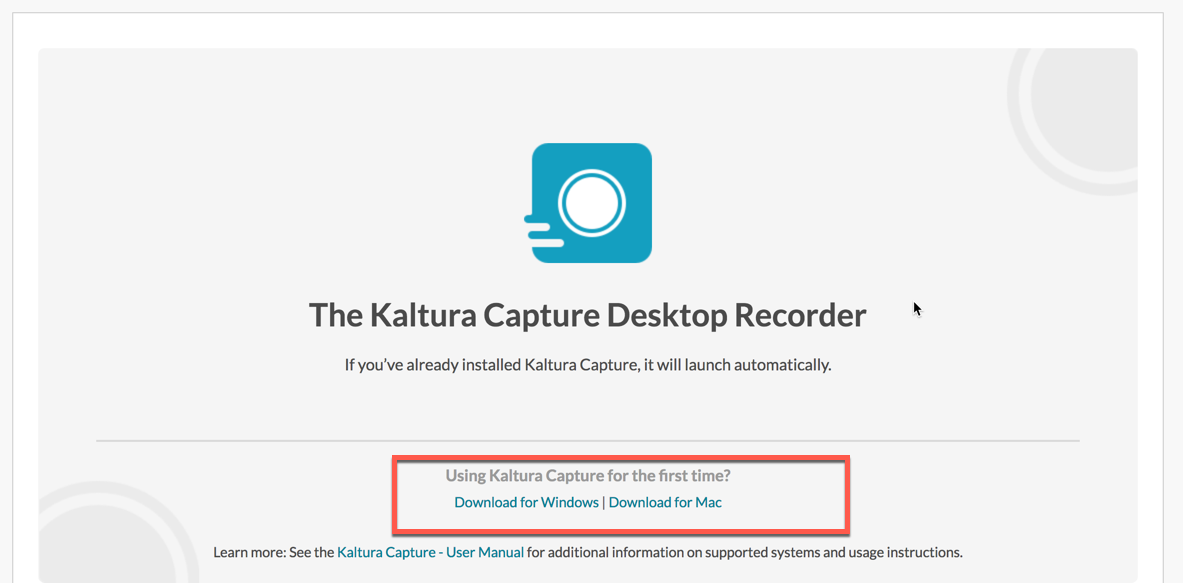
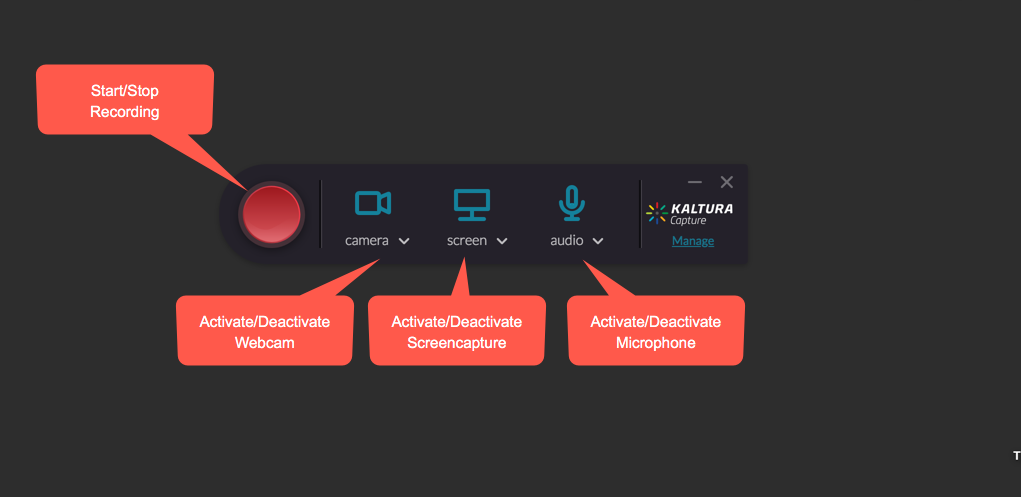
Once installed, revisit your MyMedia area, your browser will detect that you have installed the Kaltura Capture app and automatically open it. The controls for the application are illustrated below.
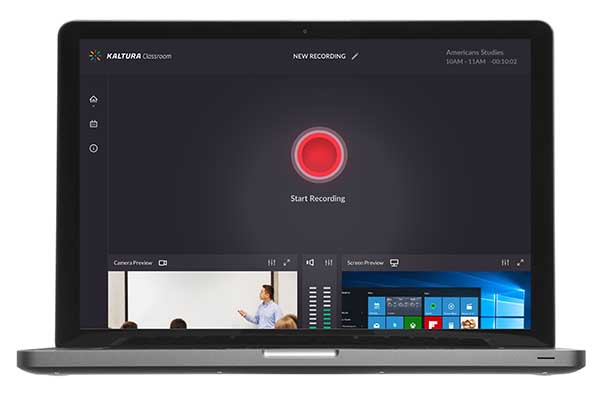
If the camera, screen capture, and mic icons are illuminated blue they are active. If they are greyed and crossed out they are not active. The image below indicates that camera, screen capture, and mic will be active once the record button is pressed.
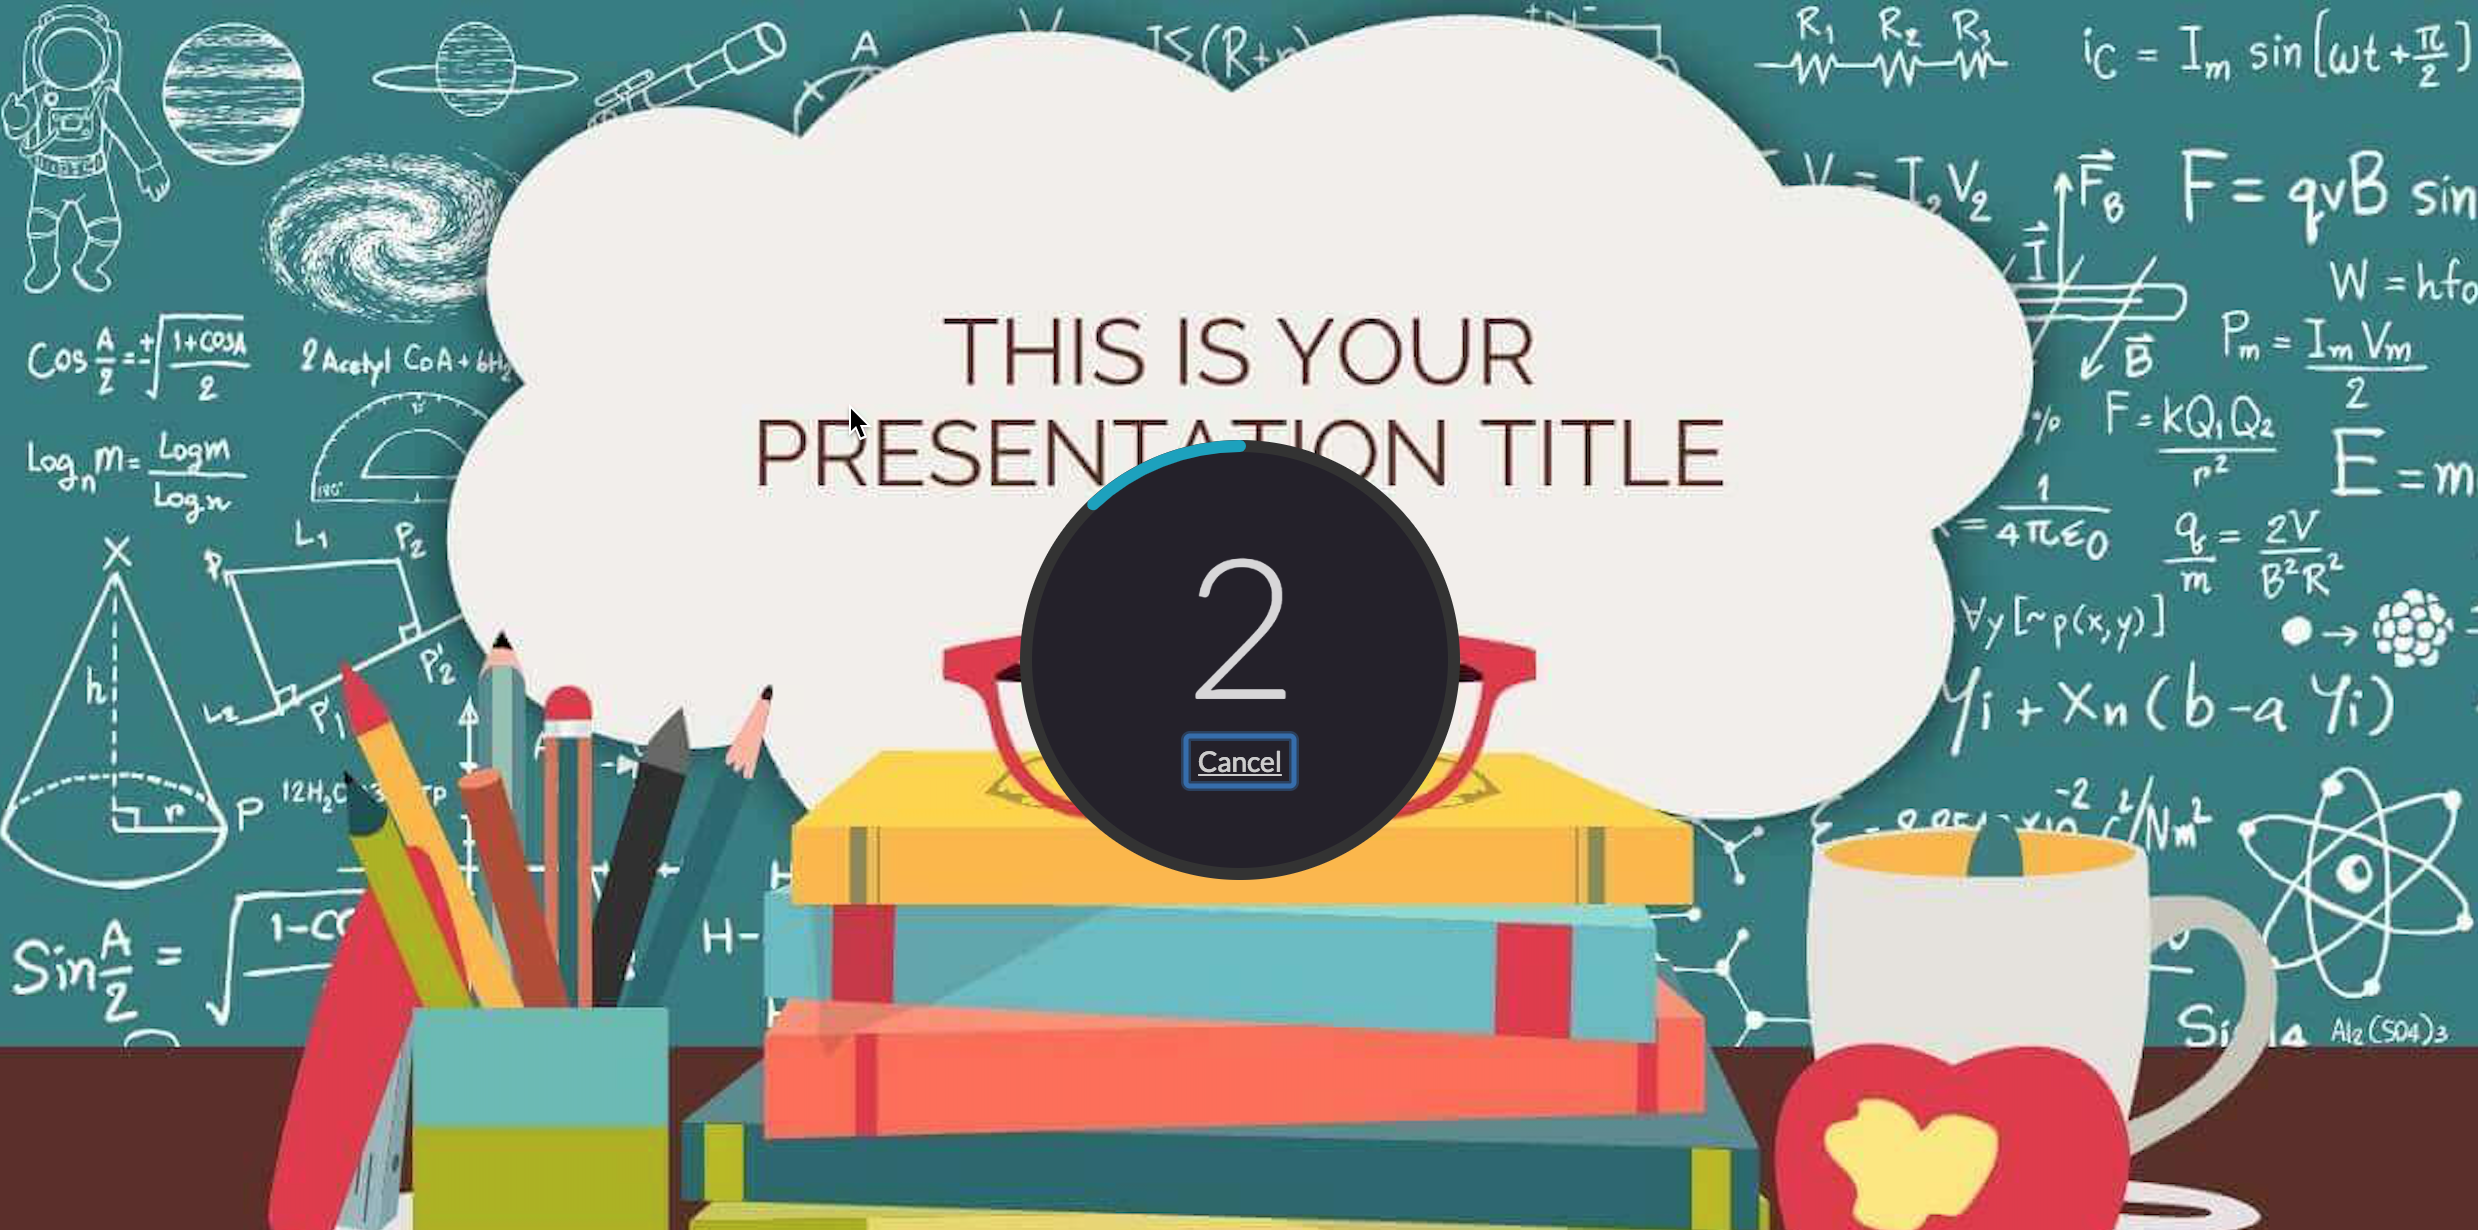
If you have Powerpoint slides you would like to use, open them. Once ready, press the record button. You will receive a 3 second countdown before the recording begins.
You will see the application in the bottom of your screen. You can leave it visible or minimize it. If you minimize the application, remember that it will continue recording until you press the Stop button.
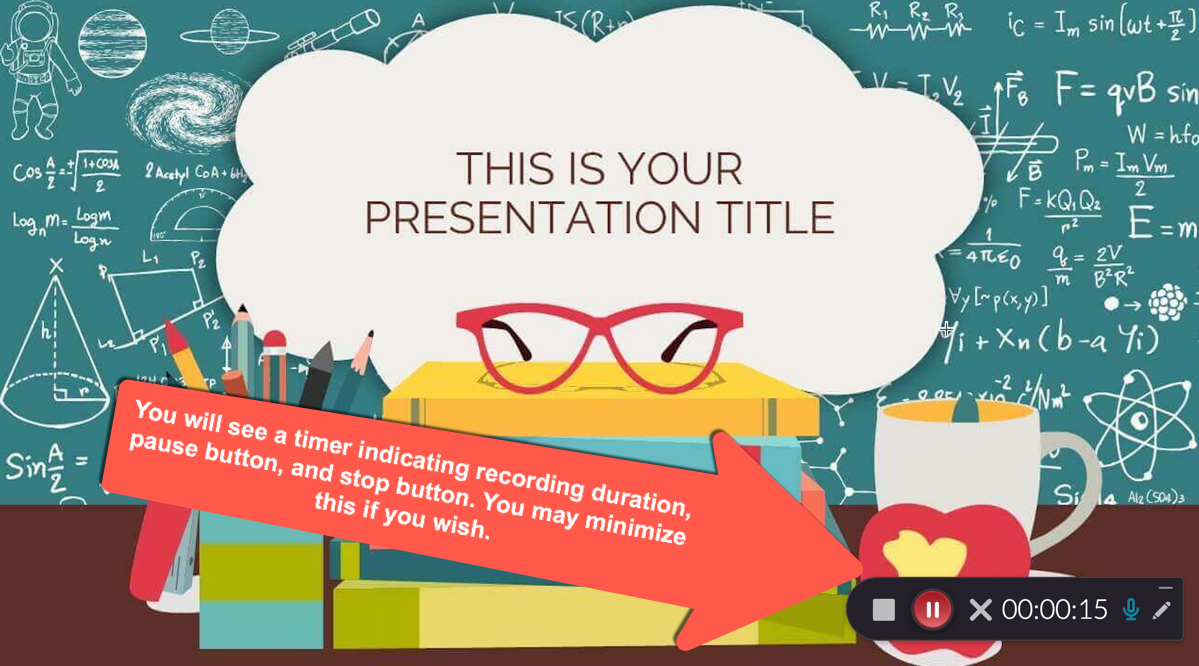
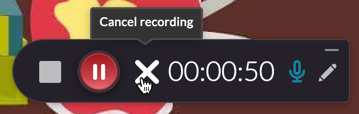
The application controls are basic:
Stop Recording
Pause Recording
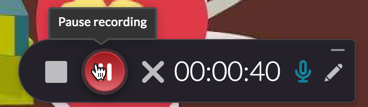
Cancel Recording
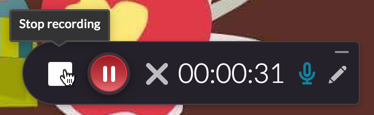
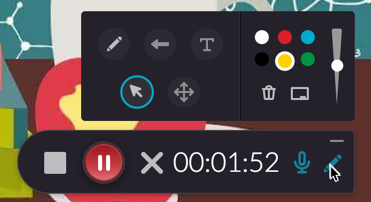
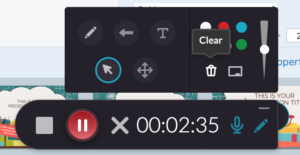
Video annotation is available while you are capturing your presentation. You can turn this on/off with the icon of the pencil. Video annotation works well, but it is suggested that you experiment with it for a few test recordings before beginning to use it to get accustomed to the utility. You can clear all annotations with the garbage pail icon.
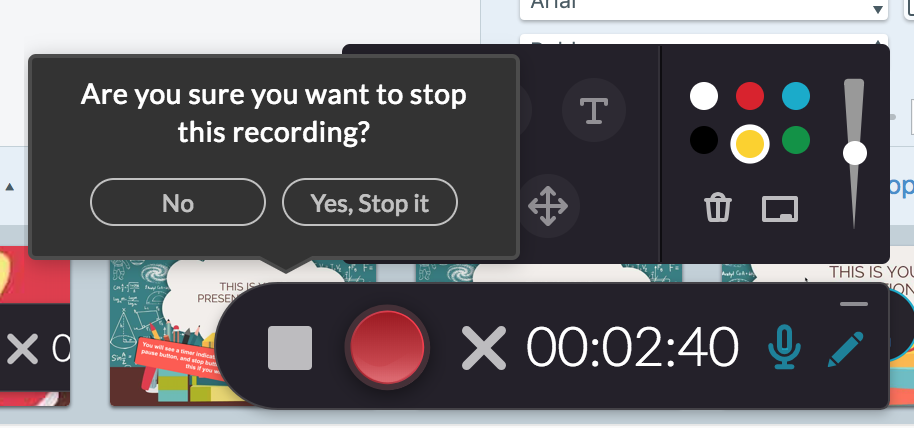
When you press the stop button on the application you will be prompted to confirm.
Once the recording stops your application gallery will display. Think of this space as the holding area for recordings before they are uploaded to your MyMedia area in https://moodle.unbc.ca
You can edit the title and description of the video and upload it to your MyMedia area using the [Save and Upload] button.
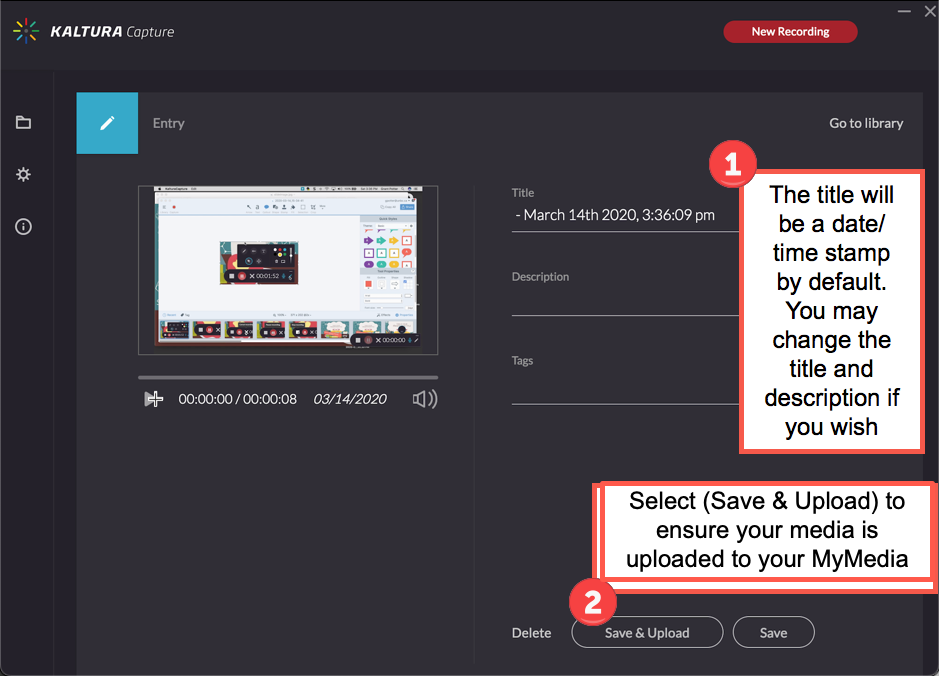
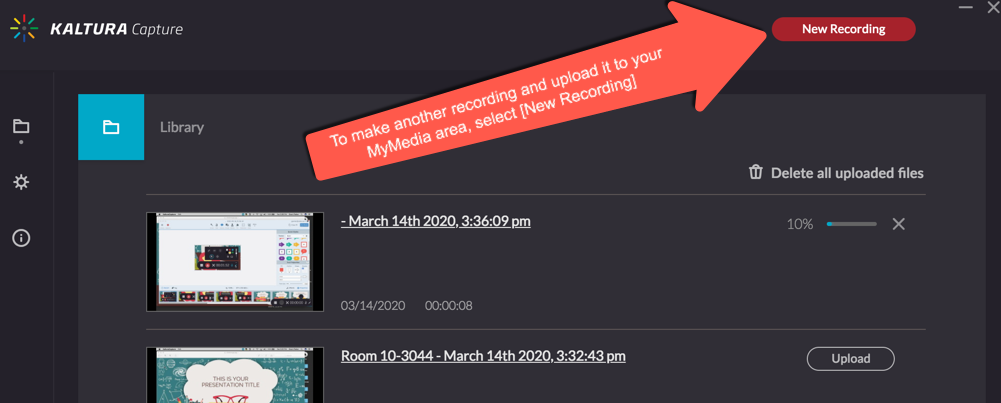
You will see an upload progress indicator beside your video. For example, the indicator beside the March 14 2020 video in the image below displays 10%. Upload is quite fast, but ensure you leave your gallery open until the upload indicator reads 100% to confirm it was successfully uploaded. For a 1 hour recording you can expect your upload may take 5-6 minutes.
To create another recording, select the [New Recording] button at the top of the application.