Assistive Technology User Guides
Mind Mapping
 A mind map is a diagram used to visually organize information in a hierarchy of topics with links between concepts. Mind mapping can help with brainstorming ideas for a paper, organizing notes and research, outlining tasks, and making connections between concepts. Mind maps can be particularly useful to help with organization, focus, and reducing distractions. Mind mapping tools are especially helpful when they can convert mind map diagrams to text-based outlines. An outline is a great way to start an essay or assignment.
On this page:
GitMind
 GitMind is a free mind mapping tool that can be used online or downloaded for Windows, macOS, iOS, and Android. Users can create an account for free and use many useful features. However, some features of GitMind require a paid account.
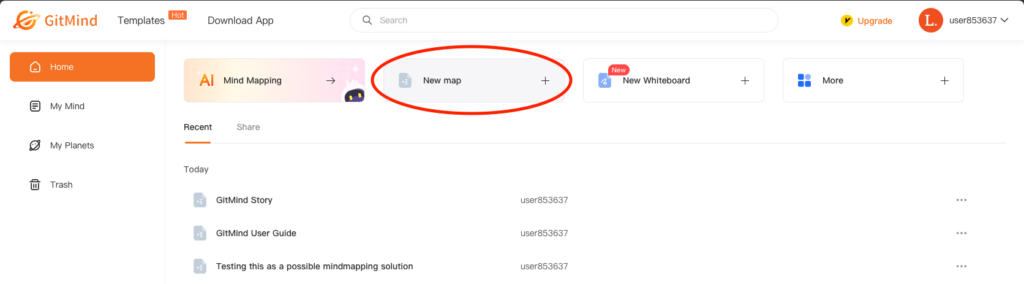
- Create a new map.
- Use the toolbar to add nodes, subnodes, and customize the appearance of content.

- Select a node and click Insert.

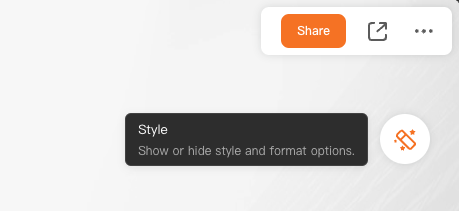
Add images, notes, links, and more. - Select Style to change background, theme, and map style.
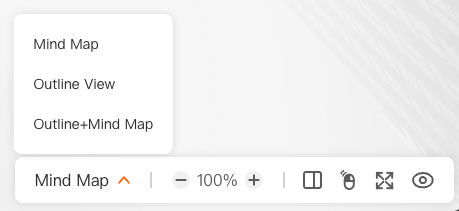
- Select Outline View to see a hierarchical text version of your map.
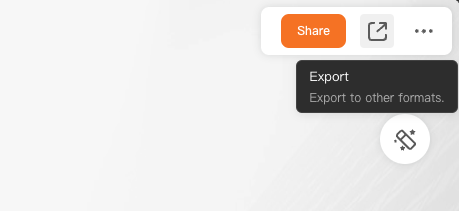
- Export as an image or document.
Note, when exported to a Word document nodes and subnodes appear as different size text but are not coded as hierachical heading levels.
GitMind offers many useful features. One that may be particularly useful is Split Screen.
- Open the More menu and select Split Screen.
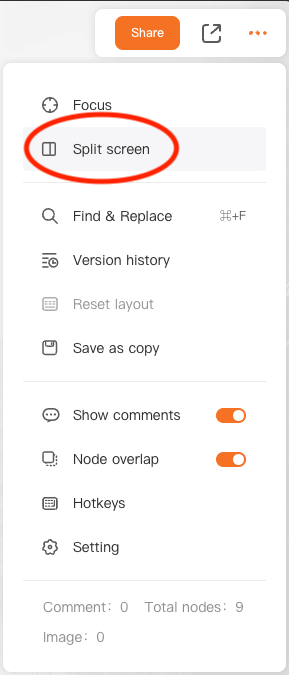
- Open a document, webpage, or whiteboard to use GitMind for project planning, note taking, and research.
To review keyboard shortcuts, select More and click Hotkeys.
Learn more in How to use GitMind.
Mindmeister

MindMeister is an online mind mapping tool. MindMeister is free to use but a paid version has more features. MindMeister is cloud based and can be accessed via web browser. Users need to create an account to use MindMesiter.
To create a mind map:
- Select Mind Map.
- Begin with a title or main topic.
- Press Tab to add subtopic.
- Press Enter to add sibling (equivalent subtopic).
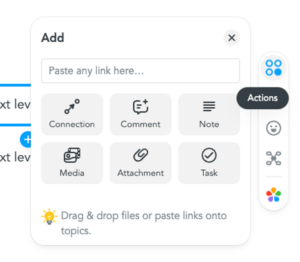
- Select Actions to add comments, notes, connections, and other tools.
To switch to a text outline:
- Click Mind Map in bottom left corner of window.
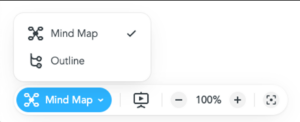
- Select Outline.
- Changes, edits, and additions in Outline view will be reflected in Mind Map.
To export outline:
- Select Export in the top left.

- Choose Export…
- Choose Document Outline.
- Check Include topic styling.
- Click Export…
- Exported document will be in .RFT with hierarchical heading structure.
Learn more about additional Mindmeister features.
MindMup

MindMup is an online mind mapping tool. MindMup is free to use but a paid version has more features. Users need a Google account to use MindMup.
To get started:
- Navigate to MindMup.
- Select CREATE A FREE MAP.
- On the first visit, users will be prompted to sync MindMup with their Google account.
- Build mind map by entering topics, subtopics, and siblings.
- Press Tab to create a subtopic.
- Press Enter to create a sibling topic.
- The toolbar has buttons to create siblings, subtopics, and connections.
- Create connections between nodes by selecting the first node and then clicking Connect to another node on the toolbar and clicking the destination node or holding ALT and clicking to the destination node.
- Press N to add a note to a topic.
- Or, open View > Siderbar > Show Notes
- The sidebar opens to add and edit notes.
To export outline:
- Open File menu.
- Select Download as.
- Choose Outline.
- Ensure MS Word/Google Writer is the selected format.
- Check Include text notes box.
- This is necessary to export a text outline.
- Click Export.
- Click Download.
- MindMup will export as a Word document.
Exported outline uses lists to reflect hierarchy of mind map. However, users can set number of heading levels desired by changing the settings in the Outline type menu before exporting.
How to create document outlines with MindMup 2.0 (video, 1:08)
Mindomo
 Mindomo is an online mind mapping tool. Mindomo is free to use but a paid version has additional features. Mindomo is cloud based and can be accessed via web browser.
How to create a mind map:
- Click Create and choose diagram style.
- Recommend Blank mind map or Blank concept map.
- Click on placeholder and type main topic.
- Press Tab to create a subtopic.
- Repeat as necessary.
- Press Enter to create a sibling topic.
- Click on down arrow for additional options.
- Notes can be used to add detail.
- Hyperlinks and attachments.
- Media such as images, videos, audio recordings, and icons.
- Create relationships between topics with a line.
Open the menu and select Shortcuts to see a list of keyboard shortcuts to add topics, subtopics, and relationships between topics.
To convert a mind map to an outline:
- Expand the menu and select View as Outline to see a bullet point version of the mind map.
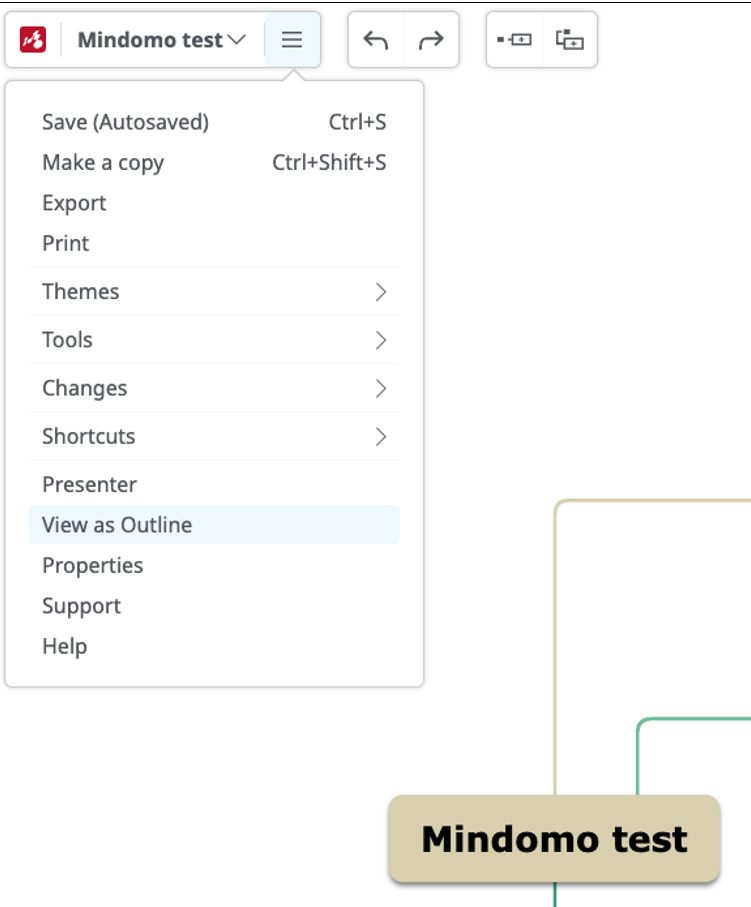
- Changes, edits, and additions in Outline view will be reflected in Mind Map.
To export an outline:
- Open the menu and select Export.
- Choose Text File (.txt) and click Export and select My Computer.
- The exported document includes tab indents to show structure.
Word Outline

Word cannot create a visual mind map but includes useful tools to organize information in an outline. Word Outline view is only available on desktop versions (Windows, macOS) of Word. To install Word navigate to Microsoft 365, sign in, and select Install apps.
To create an outline:
- Navigate to View > Outline.

- Enter your main topic as Level 1.
- Press Tab and enter subtopics. Repeat to create as many levels as needed.
- Or use the promote and demote buttons to set level.
- Enter links, notes, and evidence as body text.
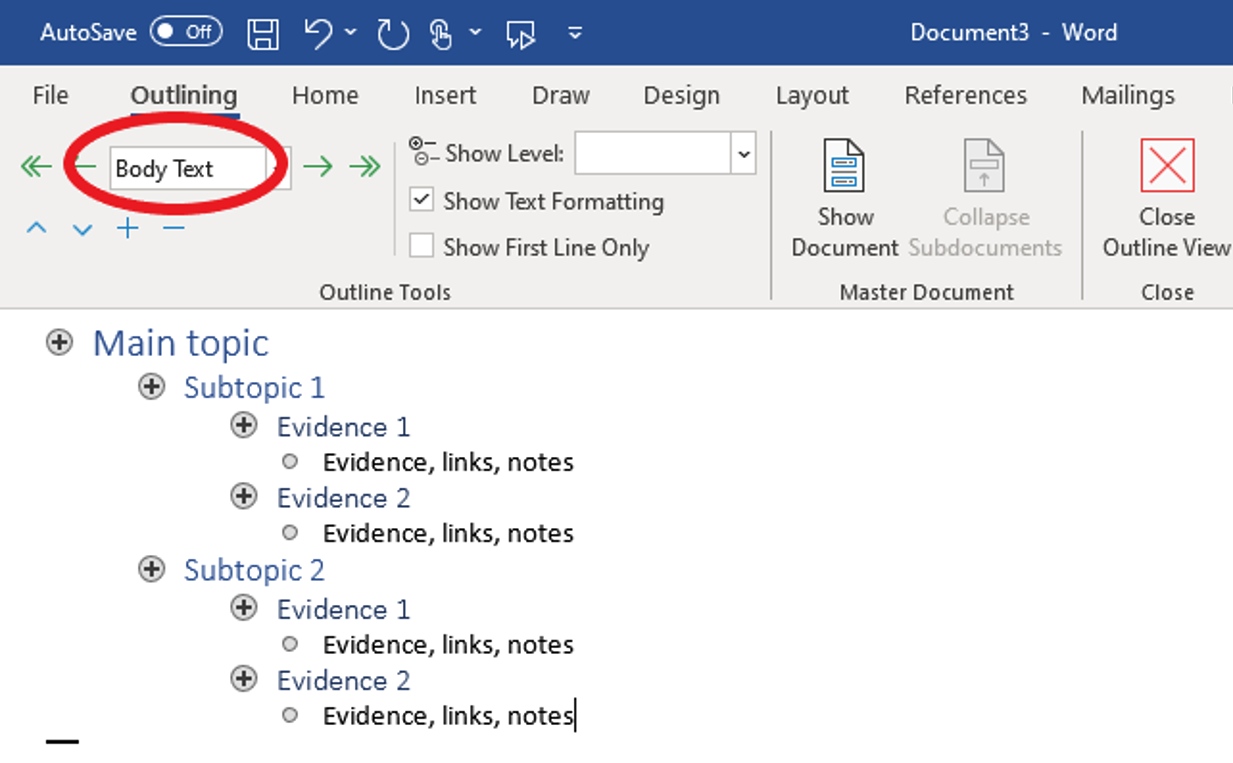
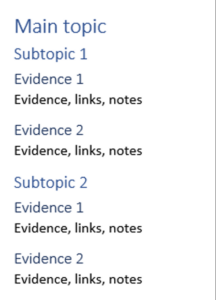
- Click Close Outline View to return to document. Outline will appear as text with heading levels organizing topics, subtopics, and content.
Learn more about creating an outline in Word.
Inspiration
 Inspiration allows users to create diagrams, outlines, and maps. Inspiration includes templates and a built-in tutorial. Inspiration can be downloaded as a 30-day free trial or is available for $144 CAD.
To begin:
- Begin by choosing document type: Diagram, Outline, or Map.
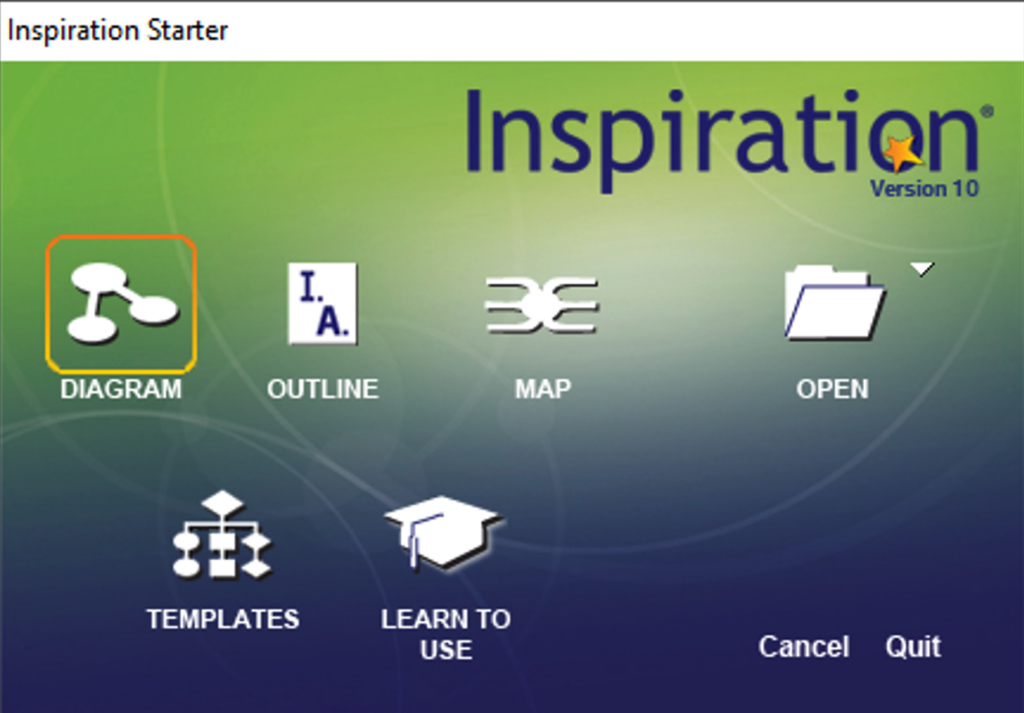
- A diagram allows for creative arrangement of topics, subtopics, and notes.
- Maps follow a more structured process with a central main idea.
- Outline is a text based hierarchical list used to arrange ideas.
- Start with your main topic and add subtopics.
- Use the Relate tool in a Map to create connections.
- Learn more about the Relate tool.
- Adding notes to a map.
- Use the Link tool in a Diagram to create connections.
- Learn about creating links in a diagram.
- Work with notes in a diagram.
- Use the Relate tool in a Map to create connections.
- In either mind map style, select Outline to view a text-based outline.
-
- Or, open the View menu and choose Outline.
-
- Once your Outline is complete, select File > Export.
- Choose Microsoft Word.
- Users can change options for what to include in the export, but default settings are advised.
- Click Save and then open the document in Word to use the outline to complete your project.
For more information:
Inspiration resources and videos
Inspiration Needs Report Justification Guide (this interactive guide is organized by user need and links to Inspiration features that may help).
Kurzweil
 Kurzweil is a full literacy suite with many tools. One of those tools is Brainstorm. Brainstorm is a mind map that can be converted to an outline and used to create a draft document.
Kurzweil is available via ATBC grant funding, or by purchasing a Kurzweil license ($1065).
Visit the Kurzweil download centre for options.
By default Kurzweil will read aloud as users type. To deactivate or change this, navigate to Tools > Options and check or uncheck appropriate features under Speak as Typing.
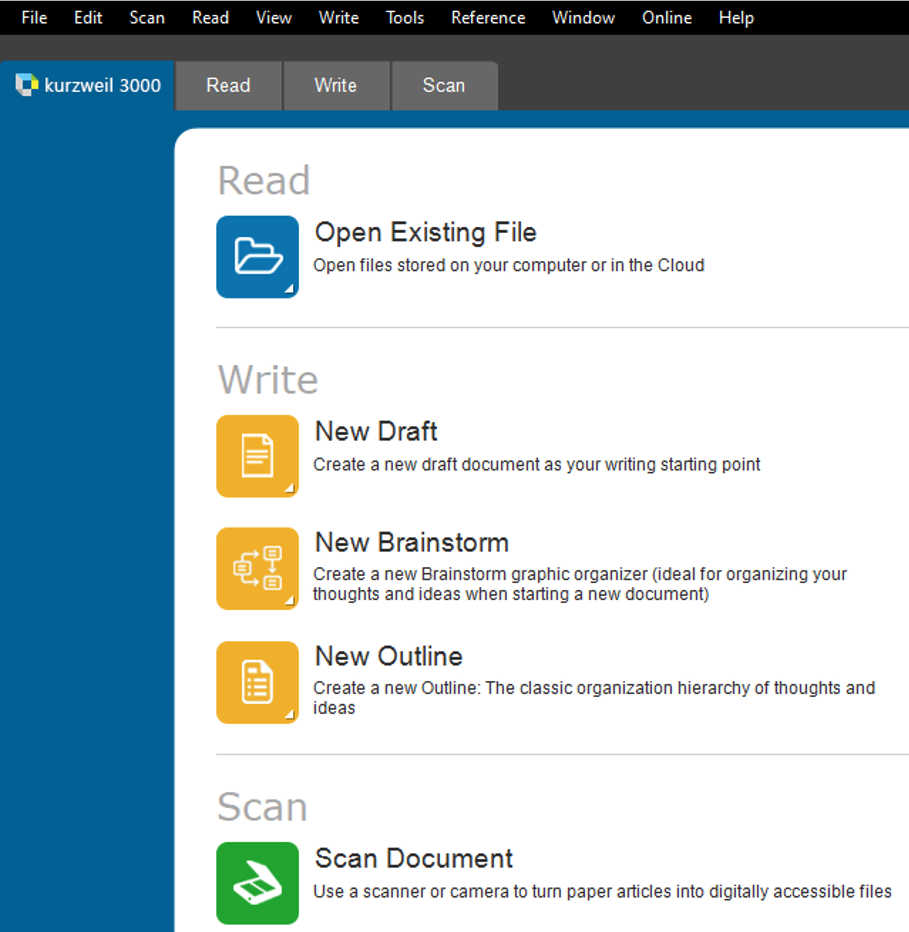
Select File > New > Brainstorm > Blank or From Template. Templates include many different pre-built layouts.
- Enter a main topic.
- Add subtopics by adding an oval, rectangle, or rounded rectangle.
- The use of shapes and colours may be a useful way to organize ideas in addition to the visual structure of the brainstorm.
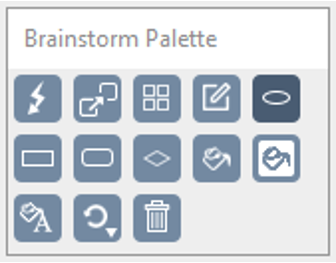
- The Brainstorm Palette holds tools for shapes, link tool, and other options.
- Use Quick Takes to quickly enter subtopics/
- Create Links between ideas
- Select Arrange to clean up diagram.
- This may significantly change the appearance of your diagram. You can revert to the prior view by selecting Edit > Undo.
To convert the diagram to an outline:
- Select Outline View.
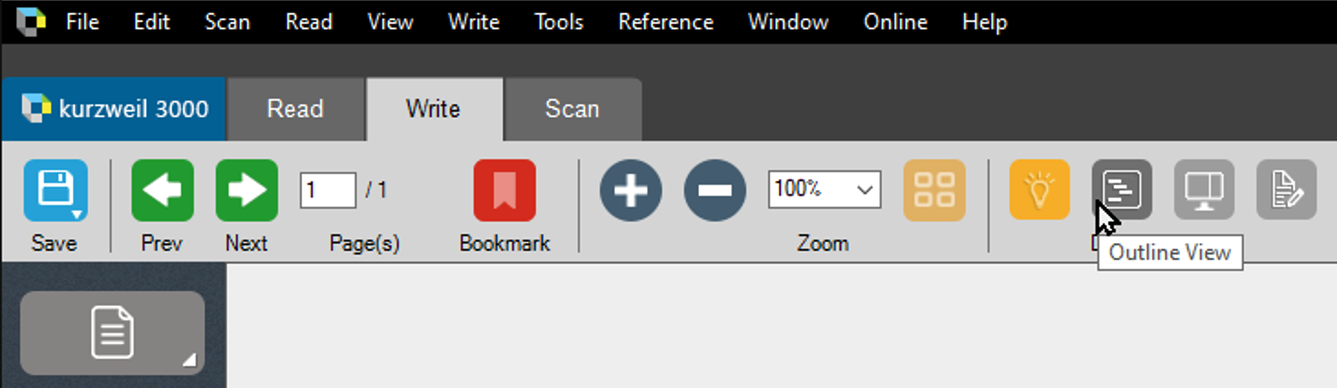
- Outline View converts the diagram to a list of indented bullet points.
- Users can add information, notes, links, or other media to the Outline View.
- Select Split Screen View to open a blank Draft document beside the outline. Use this to begin crafting a document.
- Choose Save As… and select MS Word 2007 (*.DOCX).
- Open the document in Word to complete the project.
