Assistive Technology User Guides
Reading Alternate Format Material
On this page:
When physical material, or inaccessible digital material, is converted there are a number of tools that will be useful to read that material.
TextAid
![]()
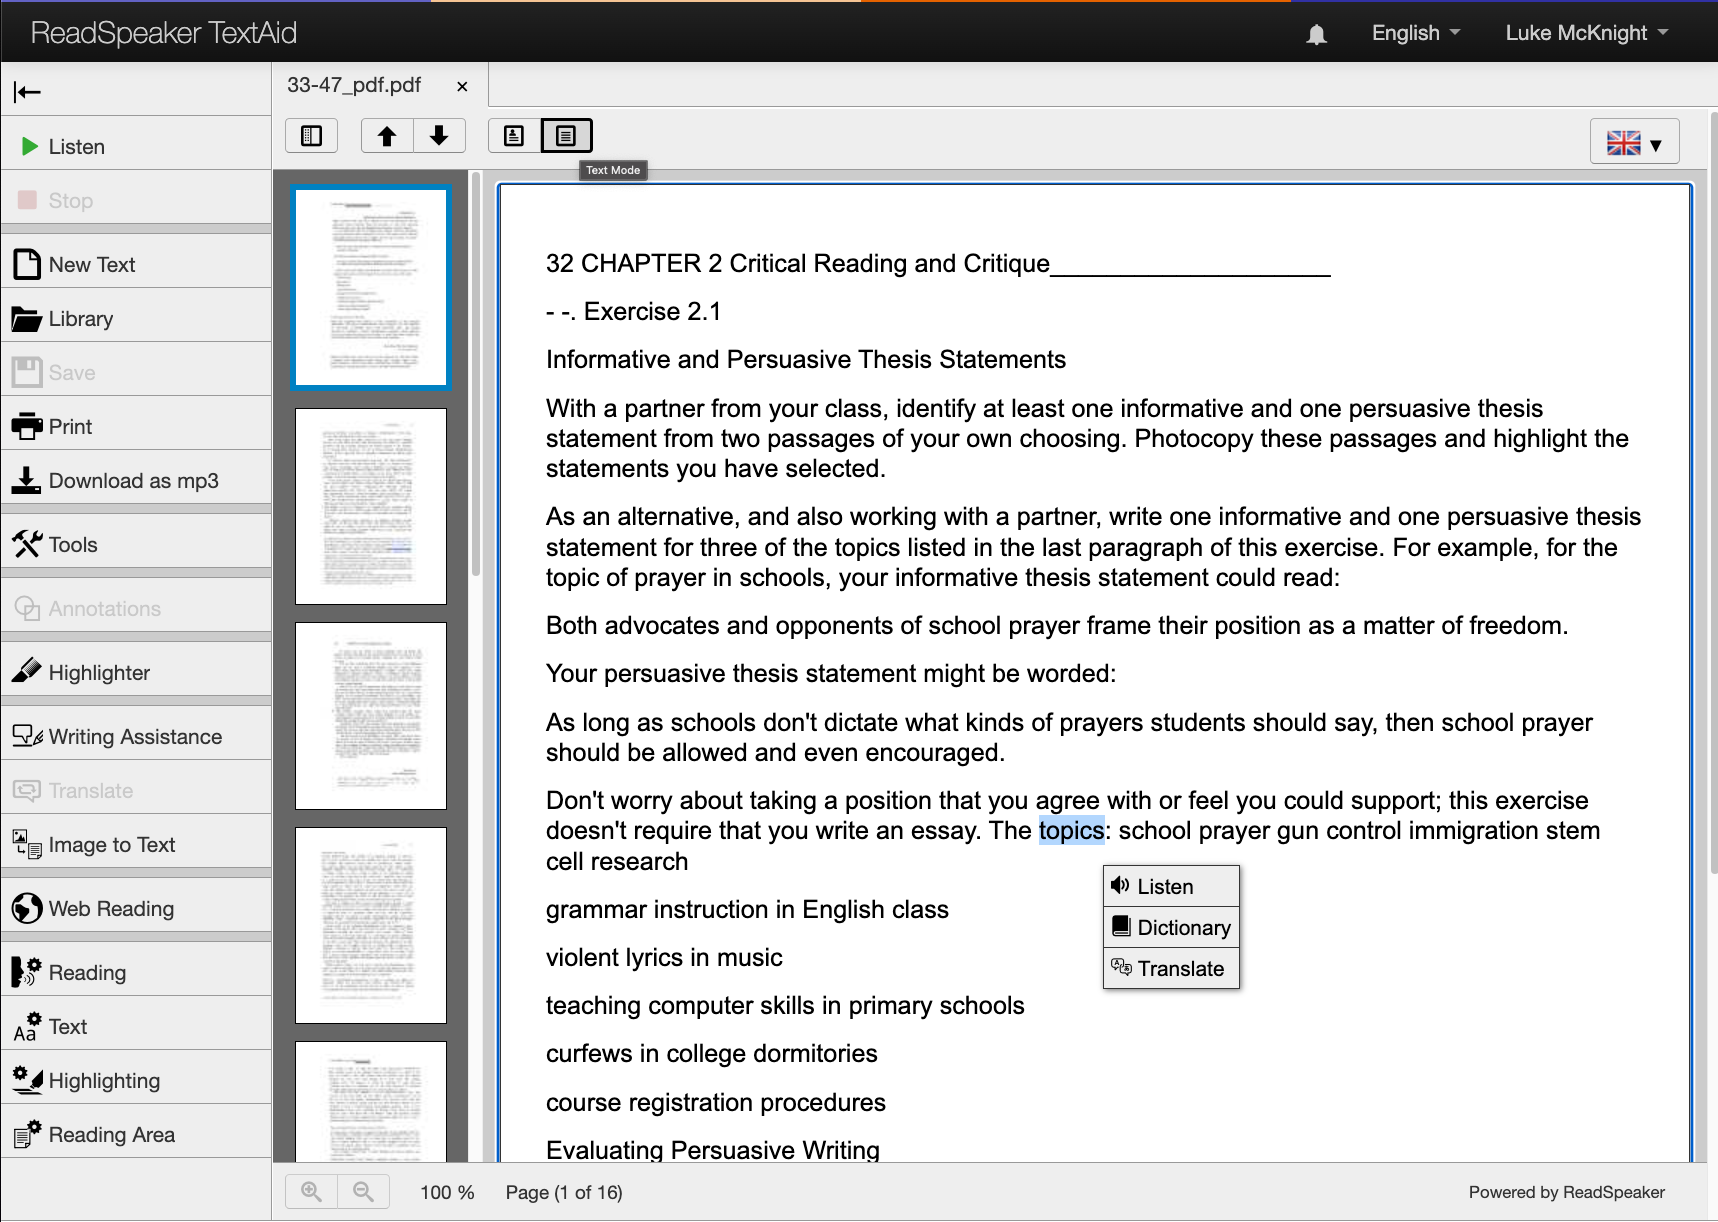
The TextAid web portal offers a number of tools to assist with reading.
New Text
- Select New Text.
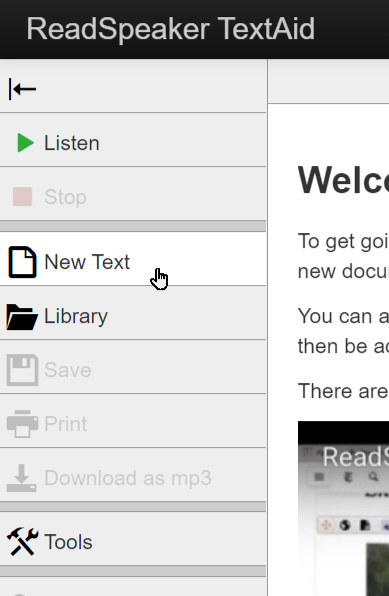
- Type or paste text from another source.
- Create, edit, and read content all in this window.
- Save to your Library for later, Print to paper or PDF, or Download as mp3 for listening.
Library
Library organizes files you have saved, created, or uploaded.
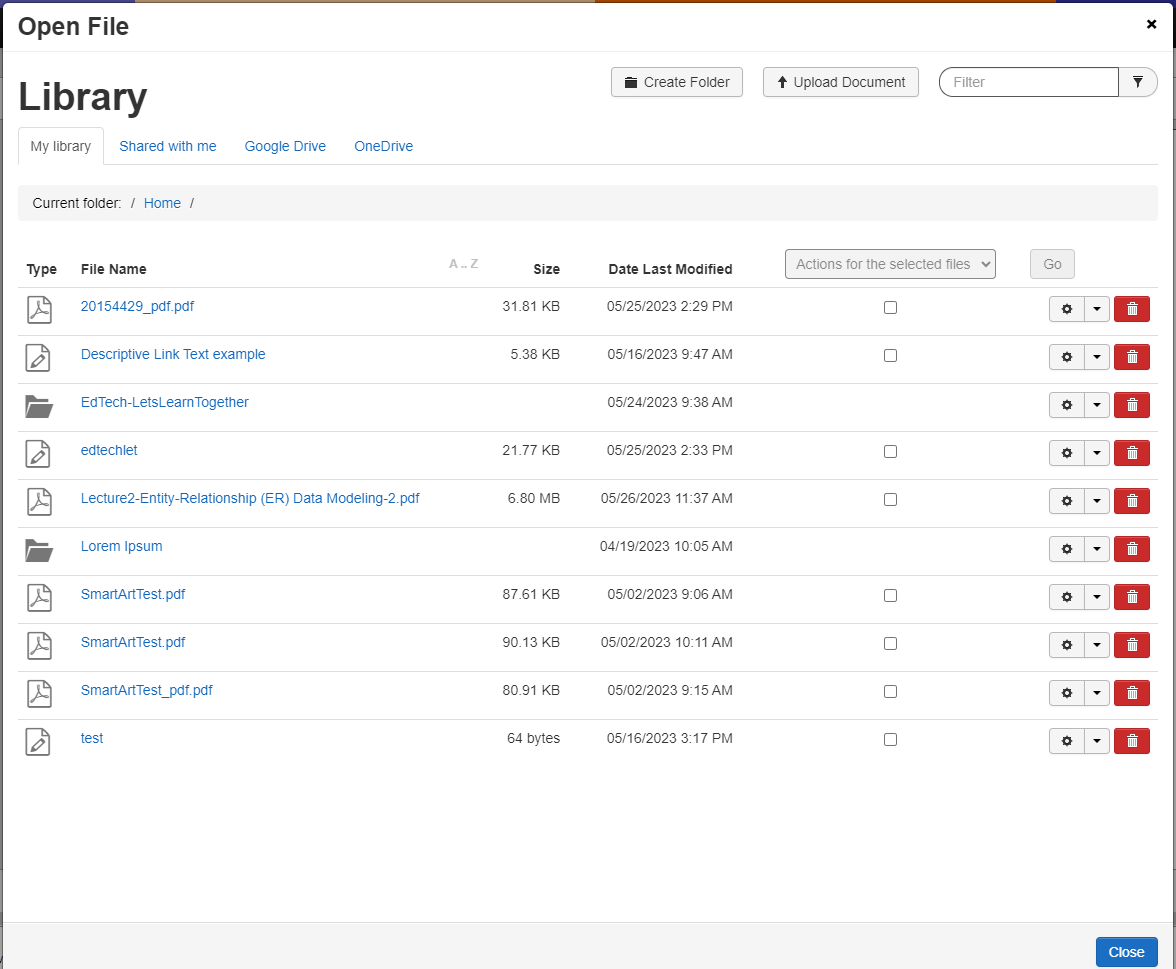
To add a new document to TextAid:
- Open Library from the lefthand toolbar.
- Select Upload Document to add PDFs or other documents you want to read.
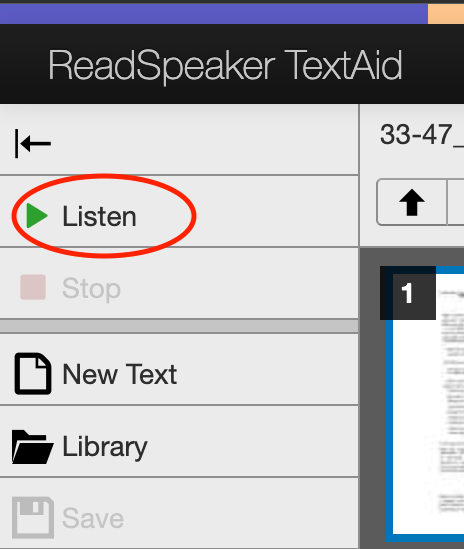
- Once uploaded, click on file in Library window to access and read.
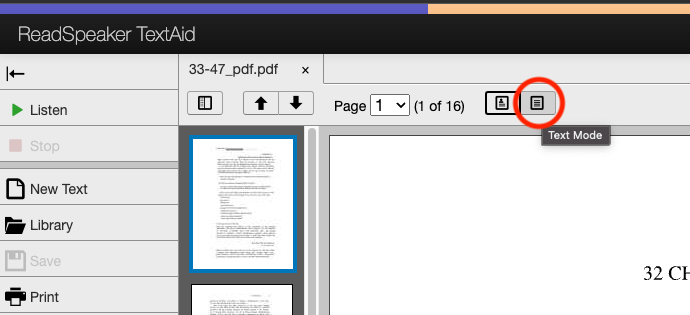
- Click Listen to begin reading.
- Select Text Mode to see a plain text conversion of the content. Note that this may change the layout or formatting of the document.
- Select Text Mode to see a plain text conversion of the content. Note that this may change the layout or formatting of the document.
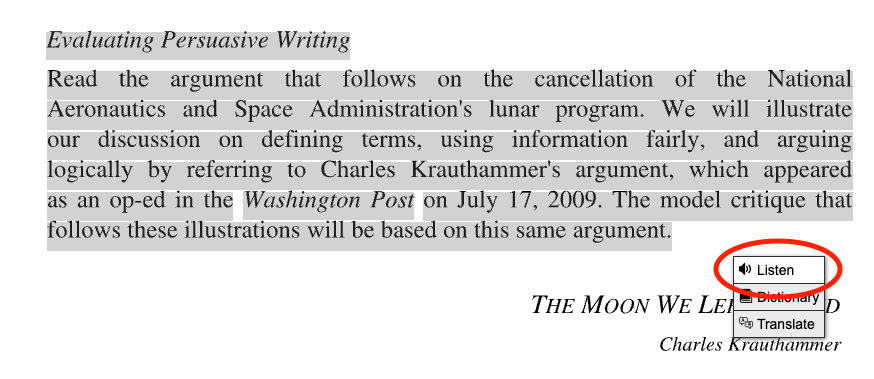
- Select text and click Listen to read only selected passages.
Annotations and Highlighter
- Select Annotations to add notes to a document.
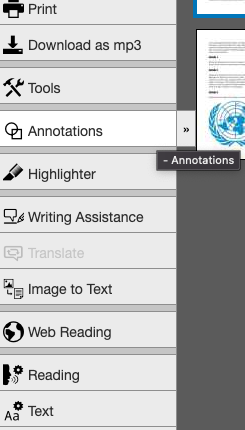
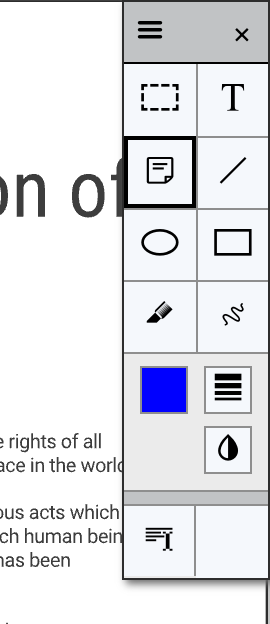
- The Annotations toolbar opens with options for sticky notes, text boxes, shapes, and markers.
- Make notes and other markings and then select Save in the toolbar on the left.
The Highlighter tool allows users to highlight passages of text and then organize and export those highlights.
- Select the Highlighter tool in the lefthand toolbar.
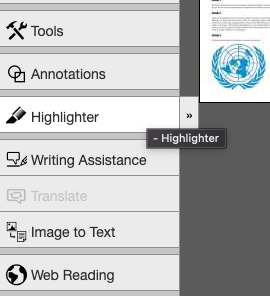
- The Highlighter toolbar will appear with options to select different colours.
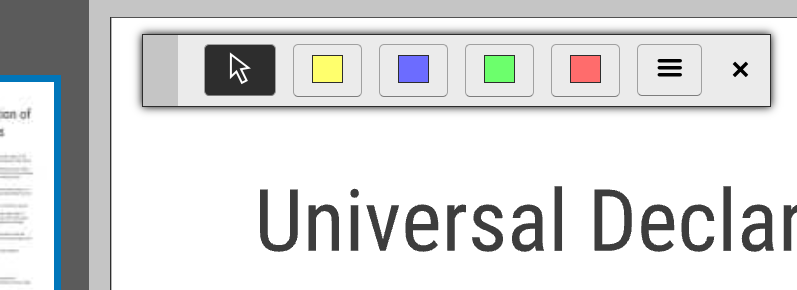
- After highlighting content, select the menu for options.
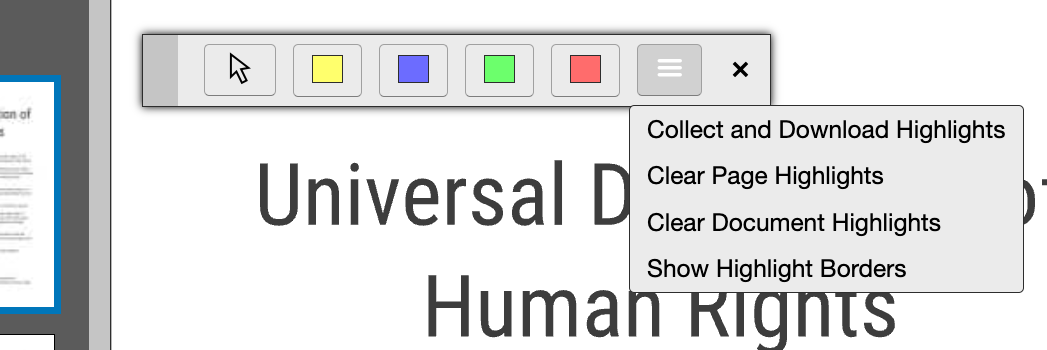
- Select Collect and Download Highlights to organize highlights and open a new TextAid document with your highlights.
- This option includes collection and sorting options.
- A common method is to use different colours for different topics to easily organize notes.
- Clear Page Highlights and Clear Document Highlights will remove highlights from the active page or whole document.
- Show Highlight Borders toggles on or off different borders such as solid lines, dashes, and dots to assist users that have trouble distinguishing highlights by colour.
- Select Collect and Download Highlights to organize highlights and open a new TextAid document with your highlights.
Tools
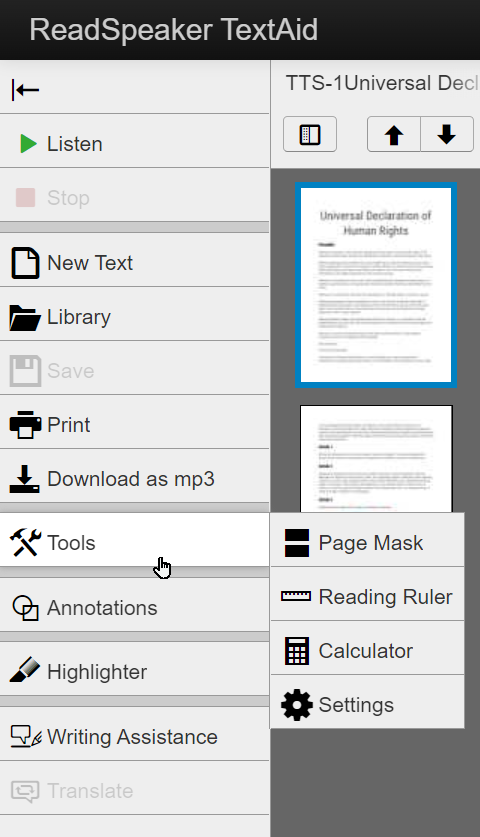
- Page Mask
- Dims, or blocks out depending on your customization, the rest of the screen except for the line(s) you are reading.
- Reading Ruler
- Places a solid bar on screen that follows your mouse.
- Calculator
- A very basic calculator that can read basic math aloud.
- Settings
- Settings to customize Page Mask and Reading Ruler.
Image to Text
Users can upload an image of text that is converted to machine-readable text and saved to the TextAid library.
To use Image to Text:
- Select Image to Text in the sidebar
- Select Choose File and select your file
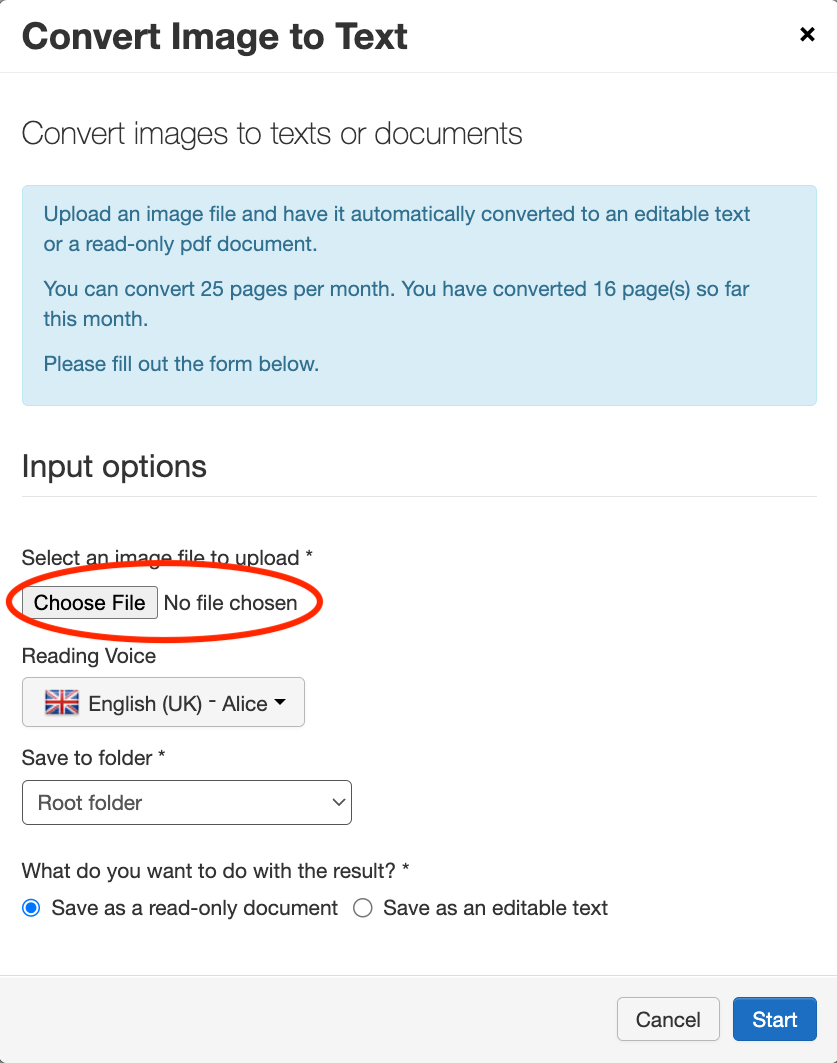
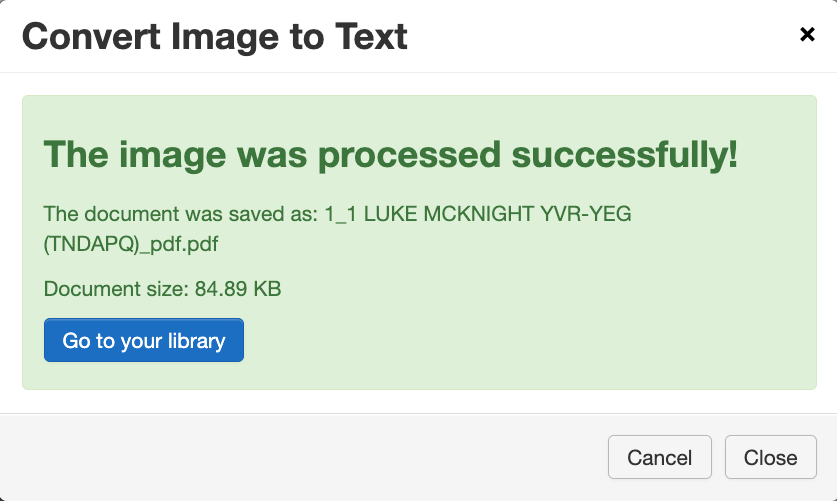
- Wait for file to process and then select Go to your library to access your file
- Once the processing is completed, you can use the reading options and tools discussed above.
- Listen button to read the whole document
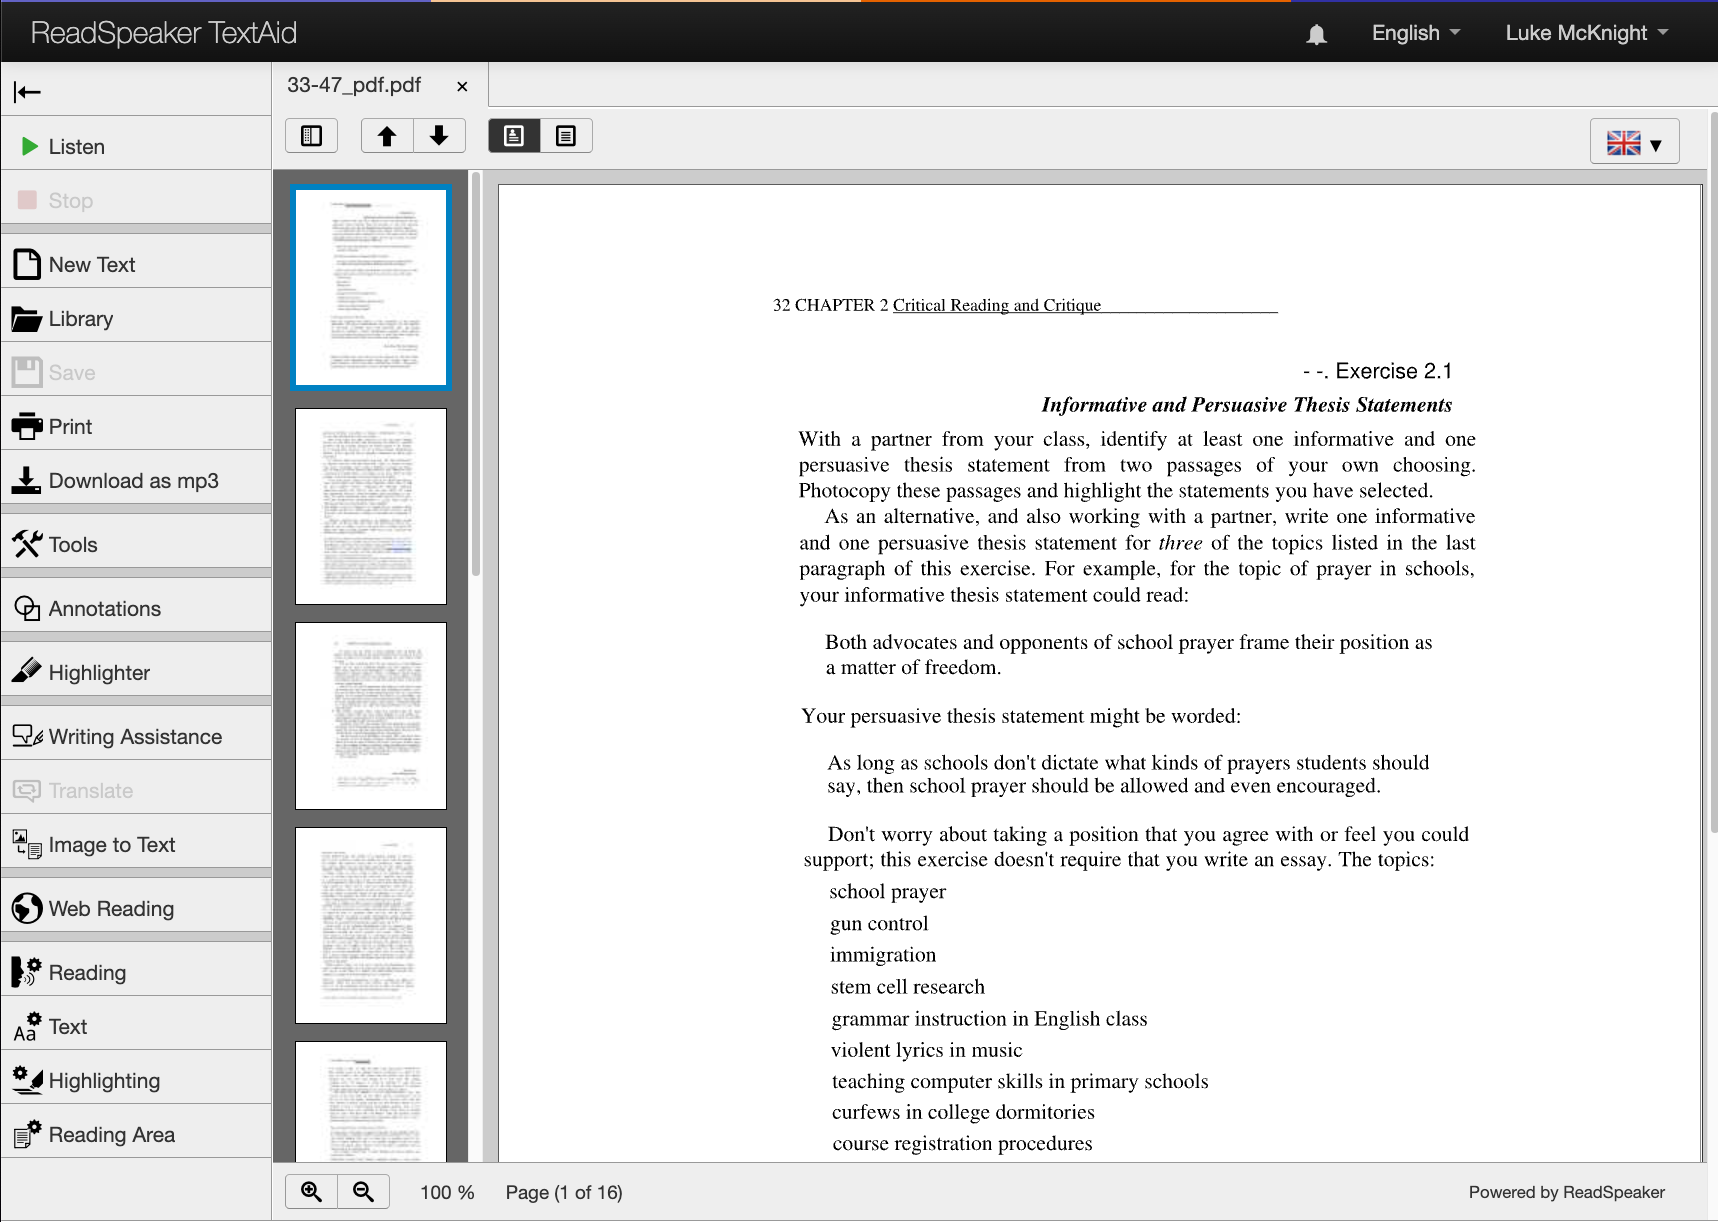
- Select Text Mode to see a plain text conversion and use additional tools such as select to listen
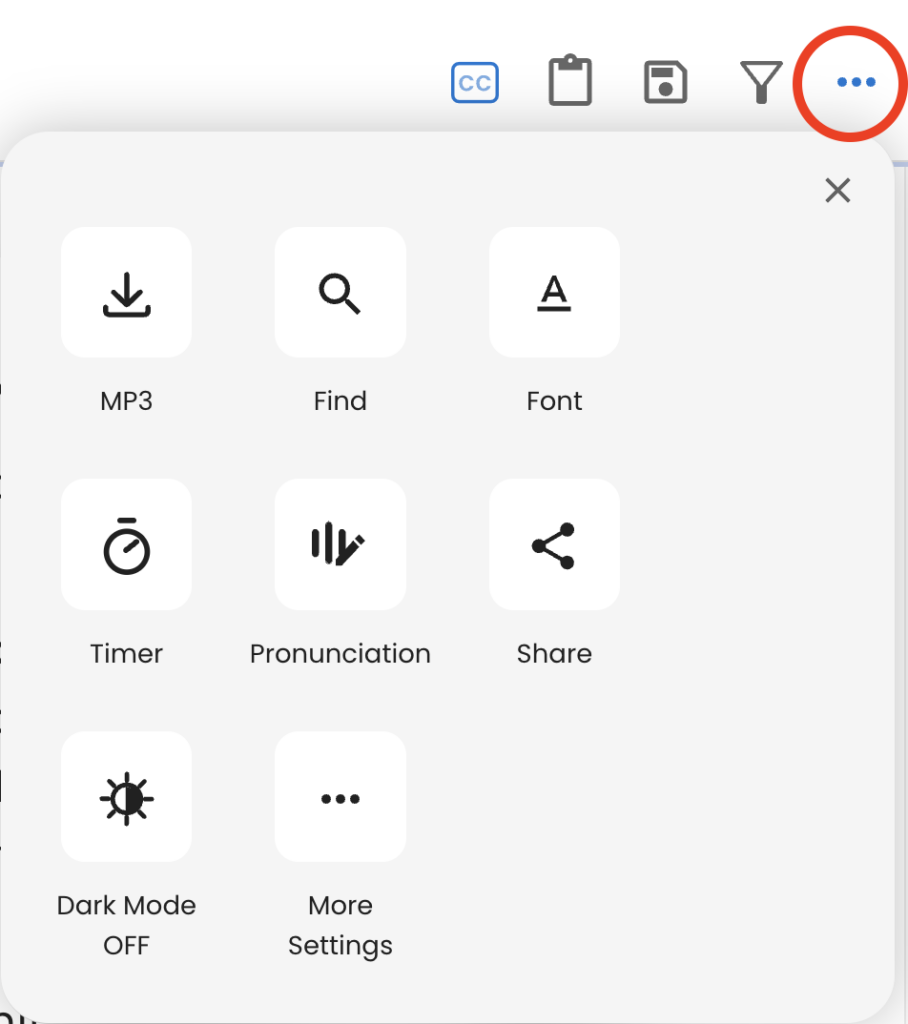
Settings
- Reading
- Use this menu to change Reading Voice, Reading Speed, and Pause Between Words.
- Use the Play button at the bottom of the window to hear a preview.
- Text
- Find settings for Text Colour, Background Colour, Text Size, Font Style, and Text Spacing.
- A preview of changes appears at the bottom of the window.
- Changes made here will only be visible in Text Mode.
- Highlighting
- These are settings for word and sentence highlighting while reading, not the Highlighter tool
- Use this menu to select colour of highlighted word, colour of highlighted sentence, and text colour.
- Reading Area
- Offers options to change how text is selected for reading or highlighting.
- Mouse selection requires users click and drag over desired text.
- Text selection automatically selects groupings, such as paragraph, when the mouse is hovered over text.
- From mouse pointer to page end selects all text from the mouse pointer location to the end of the page.
Learn More
Calibre
Calibre is available on Langara computers and free. Calibre is available to download for macOS and Windows.
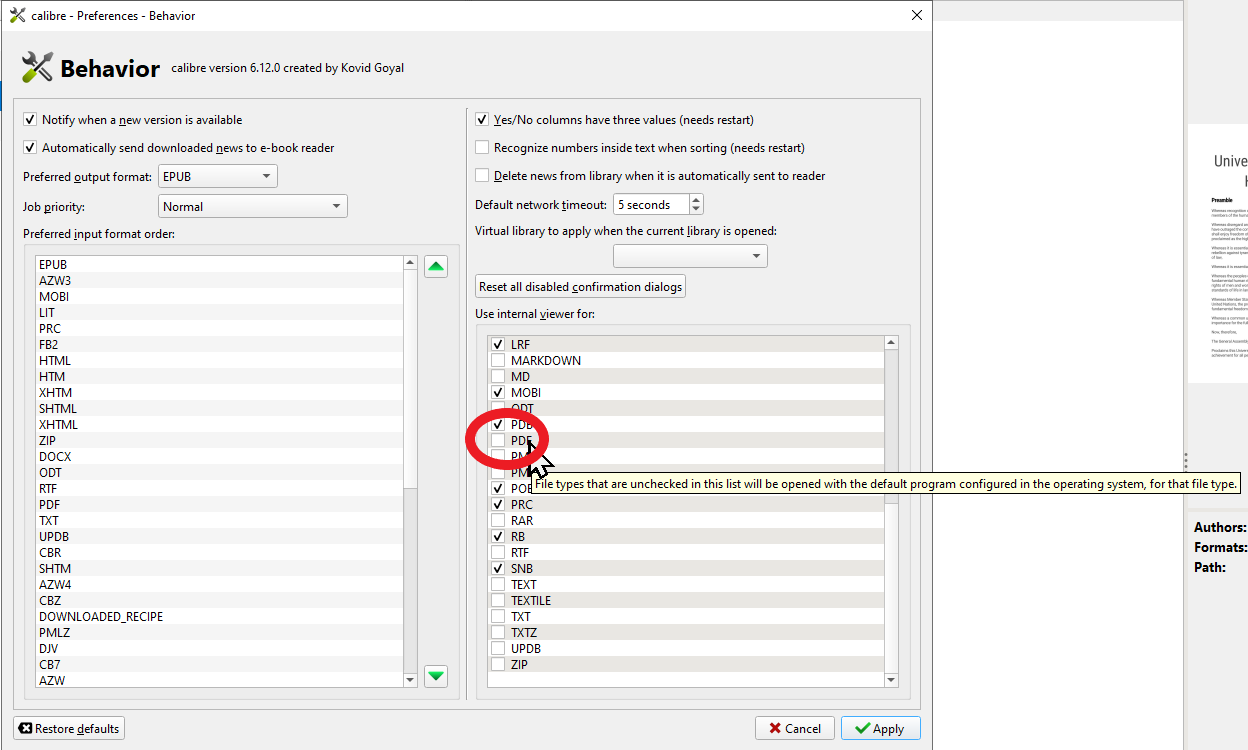
To read PDFs in Calibre, users must first change a default setting:
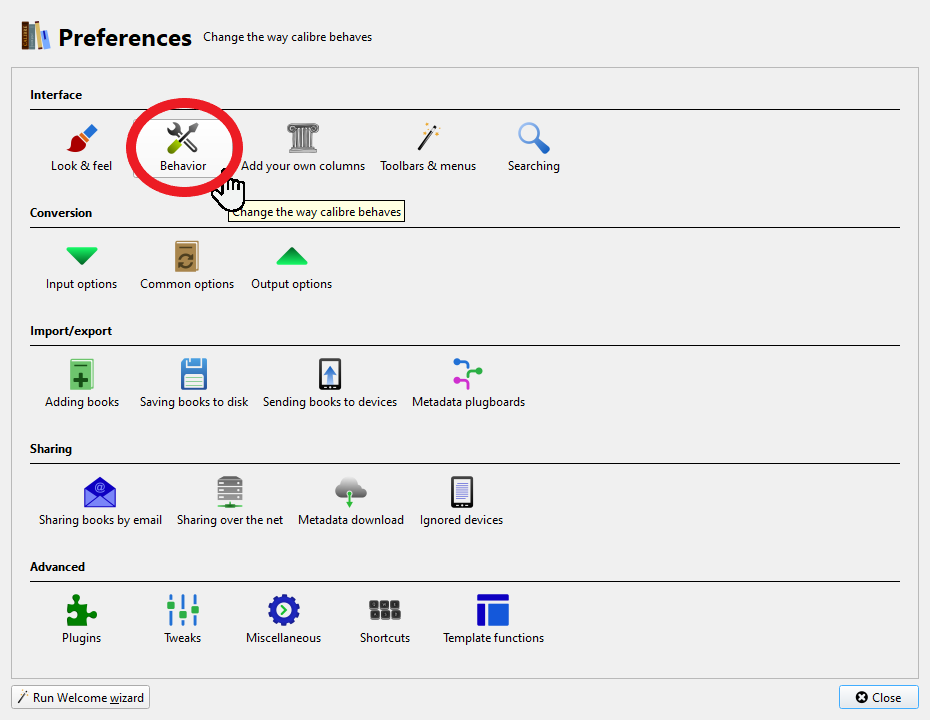
- Navigate to Preferences

- Select Behavior
- Check PDF under Use internal viewer for:
Calibre can be used as a library to organize content including etexts, PDFs, and other documents. To add files to Calibre, select the menu beside Add books: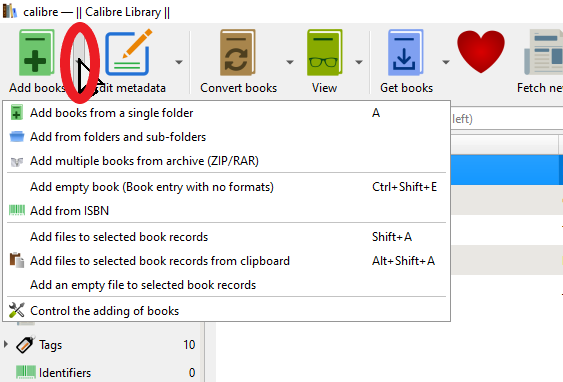
Select Add books from a single folder for single files or Add from folders and sub-folders for multiple files.
To read a book or file, double click on desired file. To have the book read aloud, right-click in the document window then select Read aloud:
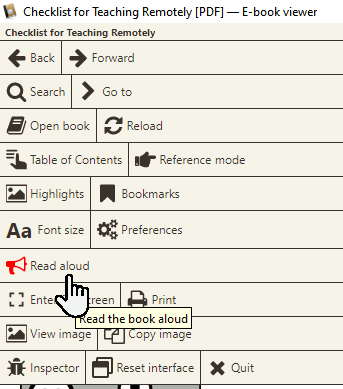
Various other options are available in the menu. Font size and Preferences allow users to change many appearance settings to suit their reading preferences.
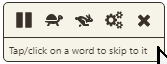
When reading aloud, a toolbar with options to pause, adjust speed, and change voice appears.
calibre User Manual – calibre E-Book Viewer
Kurzweil
Kurzweil is available for use in L121. Students may be able to request funding for personal software from Assistive Technology British Columbia (ATBC). Accessibility Services can assist you in completing an application for funding or equipment loan from ATBC.
Kurzweil can handle many document types including Word, PDF, EPUB, and specialized KESI Kurzweil files.
Select File > Open and choose the file you want to read.
The first time you open a file in Kurzweil, a conversion process will run. This may take some time depending on the length of the document.

By default, Kurzweil will begin reading from the blinking red cursor. Kurzweil has many settings for reading options.
Select Audio Options to change voice and speed.
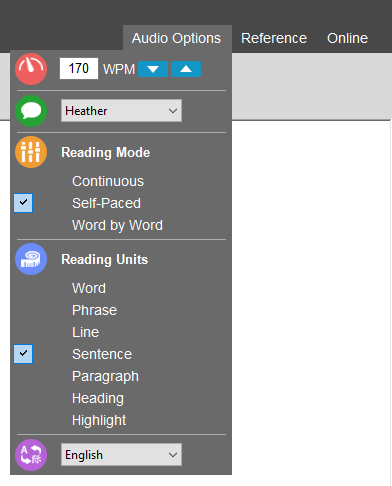
Reading Mode and Reading Units change reading settings. Continuous reads until paused by the user whereas Self-Paced will pause based on the set Reading Units. Users can select text and press Play to read only the selected content.
Some users may benefit from highlighted content without Kurzweil’s audio output. Toggle Audible Reading off to mute audio.

In addition to the toolbar buttons, users can press F3 to play/pause reading, F2 to move to previous Reading Unit, and F3 to move to the next Reading Unit.
Kurzweil also has tools for writing and mind mapping. Contact assistivetech@langara.ca for information and resources on Kurzweil.
Speechify
Speechify is available on most platforms:
- Speechify for iOS
- Speechify for Android
- Speechify for macOS
- Speechify Chrome Extension
- Speechify web portal
On the web portal, users can upload various file types from their device, DropBox, or Google Drive.
Users can build a library of files with folders. Click the plus to create a folder.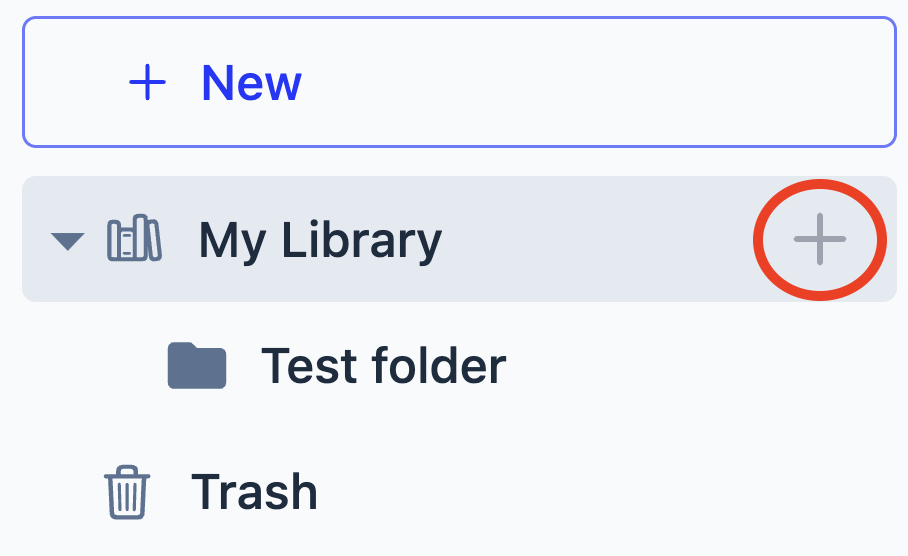
Folders can be edited, renamed, and deleted.
Users can change settings including voice, speed, and appearance in the left hand menu when a document is open.

Note: Only the standard voices (those without golden diamond on profile picture) are free.
Natural Reader
Natural Reader is a text-to-speech tool available as a web platform. NaturalReader is available for macOS and Windows. There is also a NaturalReader app for Android and iOS.
To use Natural Reader, navigate to https://www.naturalreaders.com/online/
Users can build a library of files:
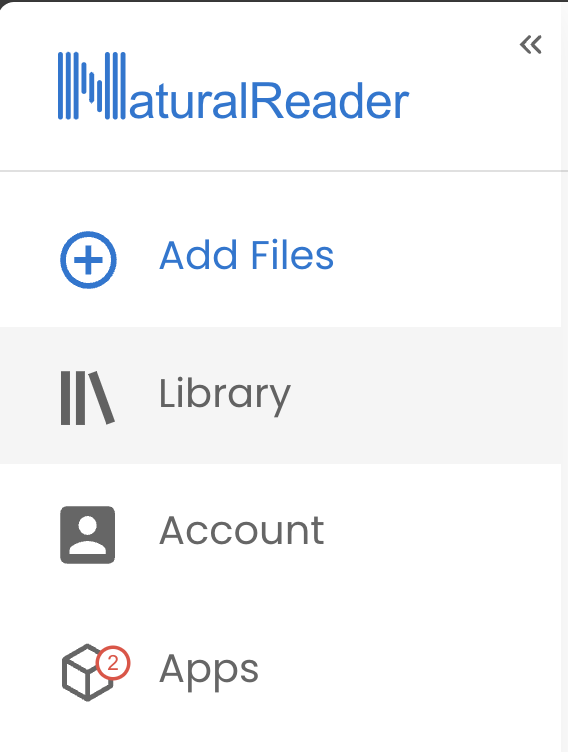
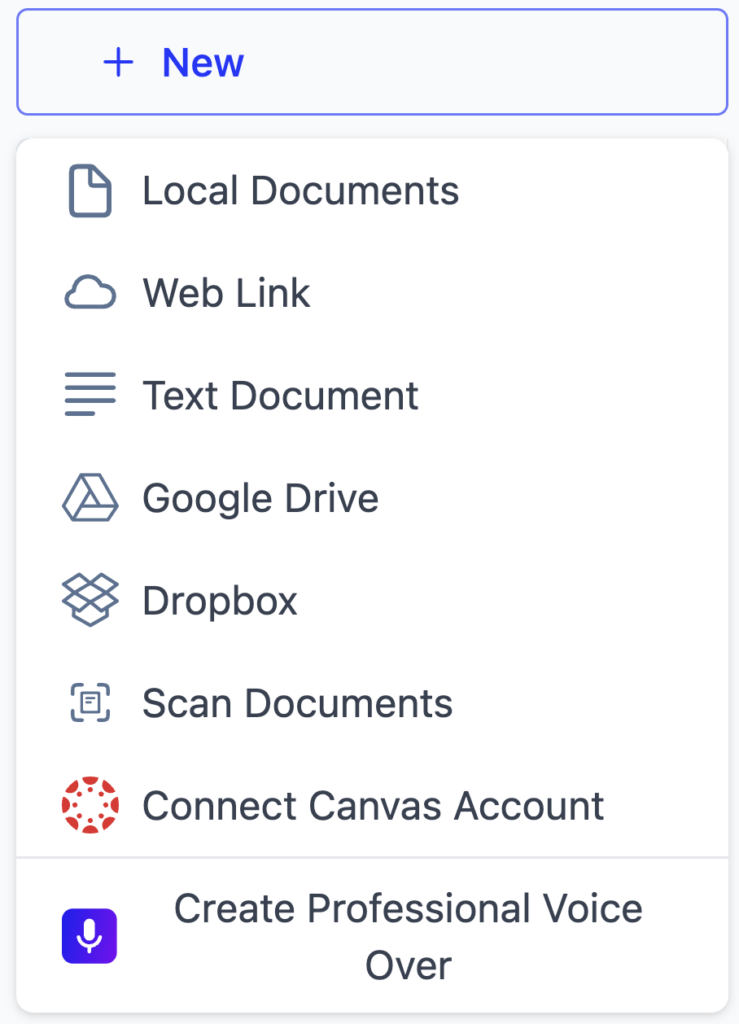
Add files from various sources:
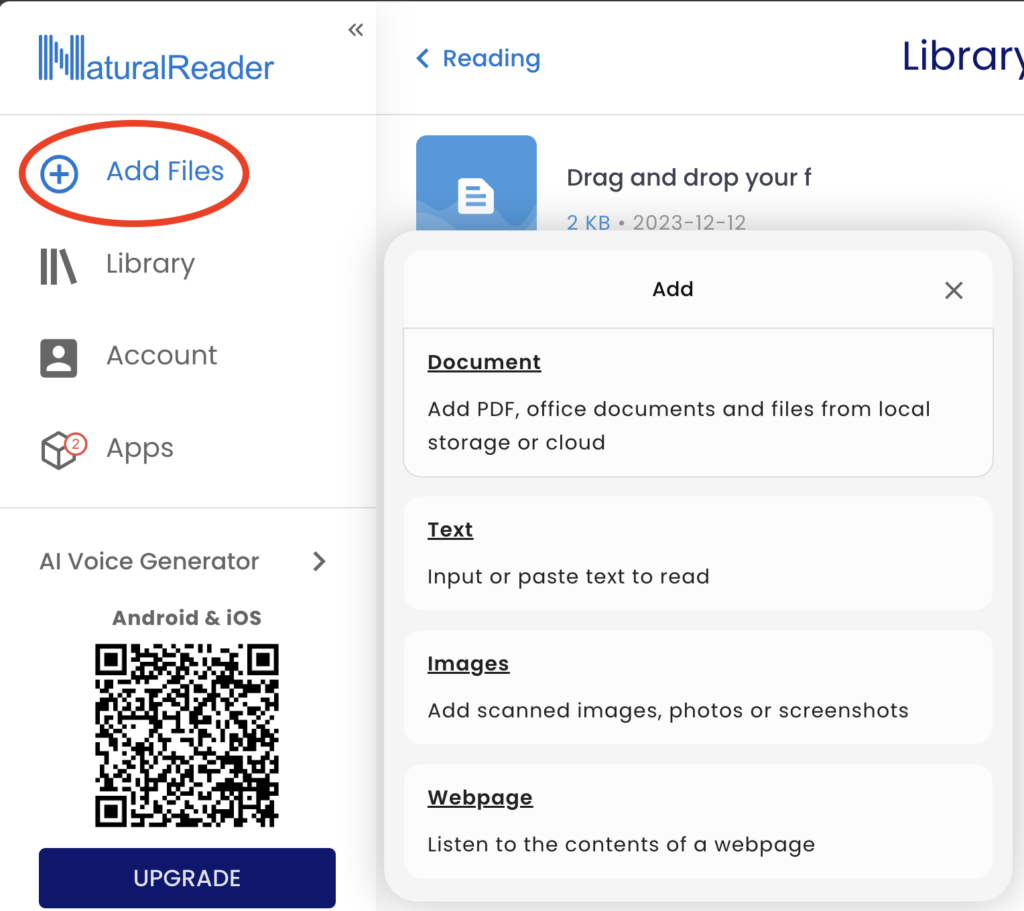
Users can change settings such as voice and playback speed with the toolbar along the top:
Note, there are very few free voices and most voices require a paid subscription.
Settings are available in the top right corner . . . icon.