Chapter 10. Tubes and Devices
10.4 Urinary Catheters
Urinary elimination is a basic human function that can be compromised by illness, surgery, and other conditions. Urinary catheterization may be used to support urinary elimination in patients who are unable to void naturally. Urinary catheterization may be required:
- In cases of acute urinary retention
- When intake and output are being monitored
- For postoperative management
- To enhance healing in incontinent patients with open sacral and perineal wounds
- For comfort measures during end-of-life care
Catheter-Associated Urinary Tract Infections
Catheter-associated urinary tract infections (CAUTI) are a common complication of indwelling urinary catheters and have been associated with increased morbidity, mortality, hospital cost, and length of stay (Gould et al., 2009). Urinary drainage systems are often reservoirs for multidrug-resistant organisms (MDROs) and a source of the transmission of microorganisms to other patients (Gould et al., 2009). The most important risk factor for developing a CAUTI, a healthcare-associated infection (HAI), is the prolonged use of a urinary catheter (Centers for Disease Control and Prevention [CDC], 2015). Urinary tract infections (UTIs) are the most commonly reported HAIs in acute care hospitals and account for more than 30% of all reported infections (Gould et al., 2009). Catheters in place for more than a few days place the patient at risk for a CAUTI. A healthcare provider must assess patients for signs and symptoms of CAUTIs and report immediately to the primary healthcare provider. Signs and symptoms of a CAUTI include:
- Fever, chills
- Lethargy
- Lower abdominal pain
- Back or flank pain
- Urgency, frequency of urination
- Painful urination
- Hematuria
- Change in mental status (confusion, delirium, or agitation), most commonly seen in older adults
The following are practices for preventing CAUTIs (Perry et al., 2018):
- Insert urinary catheters using sterile technique.
- Only insert indwelling catheters when essential, and remove as soon as possible.
- Use the smallest tube size (gauge) possible.
- Provide daily cleansing of the urethral meatus with soap and water or perineal cleanser, following agency policy.
- Ensure a closed drainage system.
- Ensure that no kinks or blockages occur in the tubing.
- Secure the catheter tube to prevent urethral damage.
- Avoid routine use of antiseptic solutions on the urethral meatus and/or in the urinary bag.
- Ensure urine bags are positioned to allow gravity to drain urine.
Urinary Catheterization
Urinary catheterization refers to the insertion of a catheter tube through the urethra and into the bladder to drain urine. Although not a particularly complex skill, urethral catheterization can be difficult to master. Both male and female catheterizations present unique challenges.
Having adequate lighting and visualization is helpful, but does not ensure entrance of the catheter into the female urethra. It is not uncommon for the catheter to enter the vagina. Leaving the catheter in the vagina can assist in the correct insertion of a new catheter into the urethra, but you must remember to remove the one in the vagina.
For some women, the supine lithotomy position can be very uncomfortable or even dangerous. For example, patients in the last trimester of pregnancy may faint with decreased blood supply to the fetus in this position. Patients with arthritis of the knees and hips may also find this position extremely uncomfortable. Catheterization may also be accomplished with the patient in the lateral to Sims position (three-quarters prone).
The male urinary sphincter may create resistance when passing a urinary catheter, particularly for older men with prostatic hypertrophy.
Urethral catheterization might be intermittent indwelling.
Intermittent catheterization (single-lumen catheter) is used for:
- Immediate relief of urinary retention
- Long-term management of incompetent bladder
- Obtaining a sterile urine specimen
- Assessing residual urine in the bladder after voiding (if a bladder scanner is not available)
Indwelling catheterization (double- or triple-lumen catheter) is used for:
- Promoting urinary elimination for persons requiring prolonged bed rest due to certain other health conditions (i.e., spinal cord injury)
- Measuring accurate urine output
- Preventing skin breakdown caused by urinary incontinence
- Facilitating wound management for wounds in perineum, coccyx
- Allowing surgical repair of urethra, bladder, or surrounding structures
- Instilling irrigation fluids or medications
- Assessing abdominal or pelvic pain
- Investigating conditions of the genitourinary system
The steps for inserting an intermittent or an indwelling catheter are the same, except that the indwelling catheter requires a closed drainage system and inflation of a balloon to keep the catheter in place. Indwelling catheters may have two or three lumens (double or triple lumens). Double-lumen catheters comprise one lumen for draining the urine and a second lumen for inflating a balloon that keeps the catheter in place. Triple-lumen catheters are used for continuous bladder irrigation and for instilling medications into the bladder; the additional lumen delivers the irrigation fluid into the bladder.
Indwelling urinary catheters are made of latex or silicone. Intermittent catheters may be made of rubber or polyvinyl chloride (PVC), making them softer and more flexible than indwelling catheters (Perry et al., 2018). The size of a urinary catheter is based on the French (Fr) scale, which reflects the internal diameter of the tube. Recommended catheter size is 12 to 16 Fr for females, and 14 to 16 Fr for males. Smaller sizes are used for infants and children. The balloon size also varies with catheters: smaller for children (3 ml) and larger for continuous bladder irrigation (30 to 60 ml). The size of the catheter is usually printed on the side of the catheter port.
Insertion of a Foley catheter is within the RN scope of practice, and as such an RN can insert a catheter within their independent scope of practice if the agency policy is supportive and the RN is competent to do so (BCCNP, 2018).
An indwelling catheter is attached to a drainage bag to allow for unrestricted flow of urine. Make sure that the urinary bag hangs below the level of the patient’s bladder so that urine flows out of the bladder. The bag should not touch the floor, and the patient should carry the bag below the level of the bladder when ambulating. To review how to insert an indwelling catheter, see Checklist 82.
Checklist 82: Insertion of an Intermittent or Indwelling Urinary CatheterDisclaimer: Always review and follow your agency policy regarding this specific skill. |
||||
Safety considerations:
|
||||
Steps |
Additional Information |
|||
| 1. Verify physician order for catheter insertion. Assess for bladder fullness and pain by palpation or by using a bladder scanner. | Palpation of a full bladder will cause an urge to void and/or pain. | |||
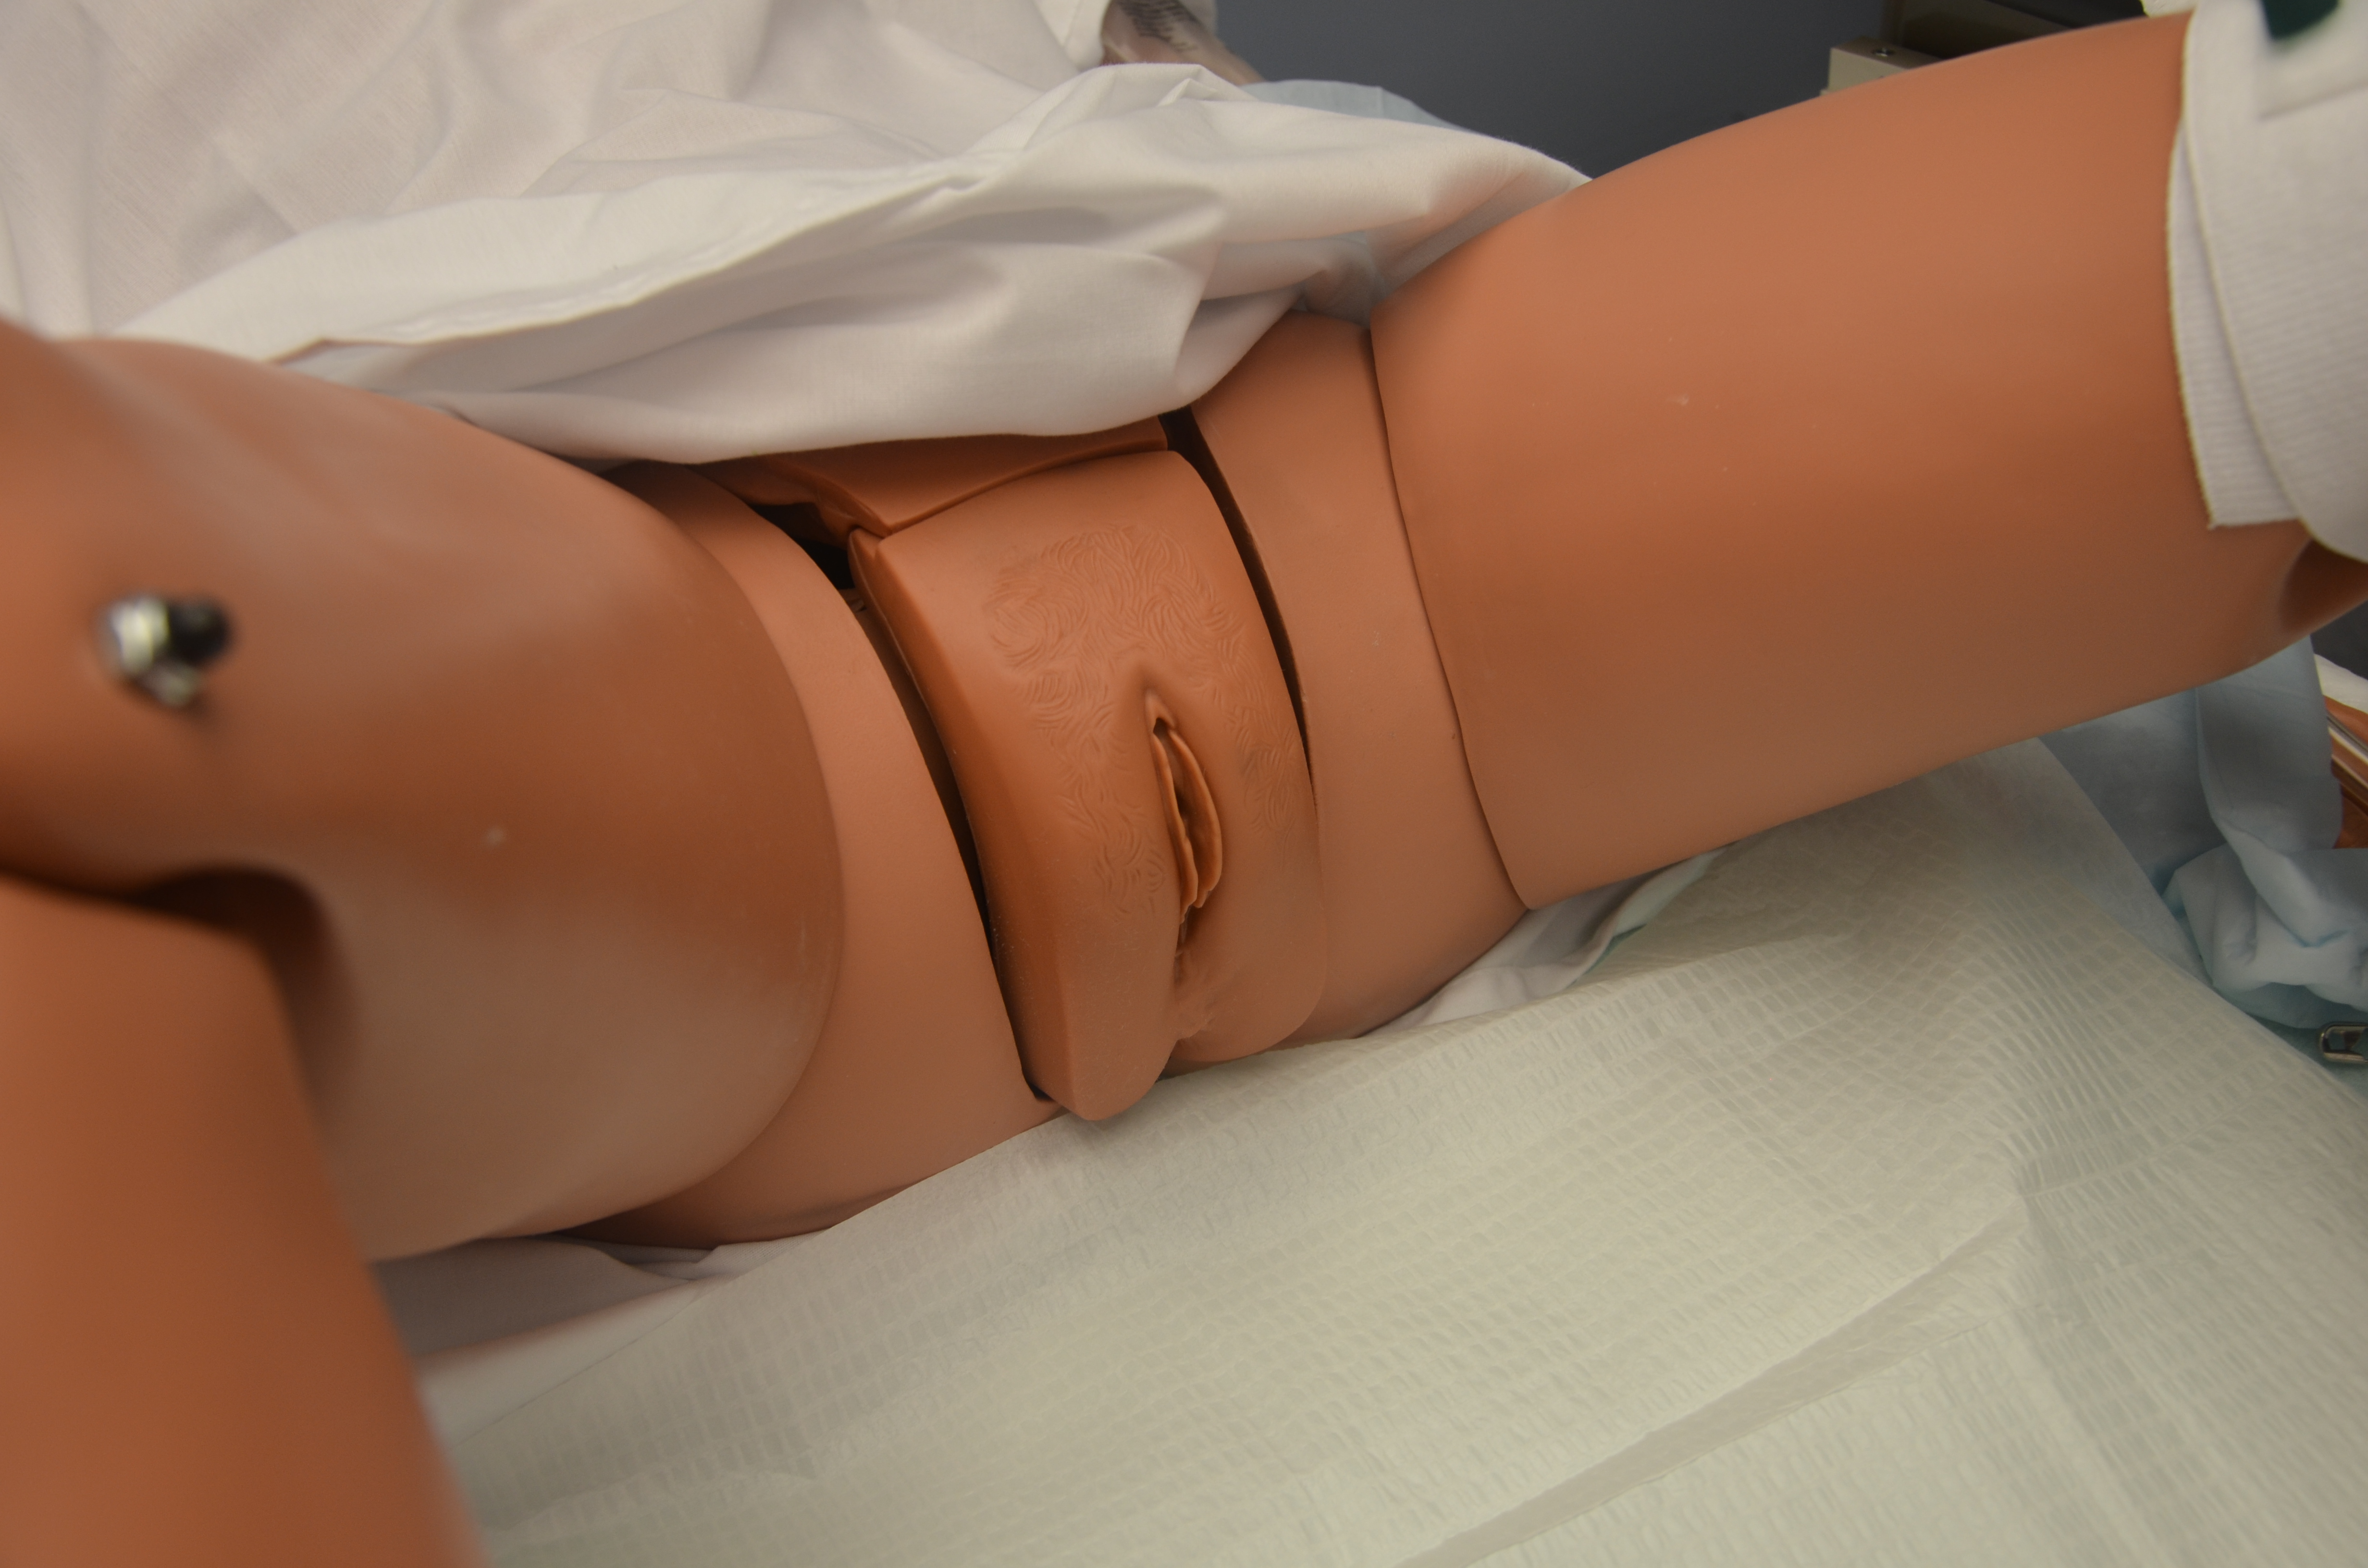
| 2. Position patient prone to semi-upright with knees raised; apply gloves; and inspect perineal region for erythema, drainage, and odor. Also assess perineal anatomy.
Apply non-sterile gloves. Wash perineal area with warm water and soap or perineal cleanser according to agency policy. |
Assessment of perineal area allows for determination of perineal condition and position of anatomical landmarks to assist with insertion.
 Washing the perineum reduces microorganisms and reduces risk of urinary tract infection. |
|||
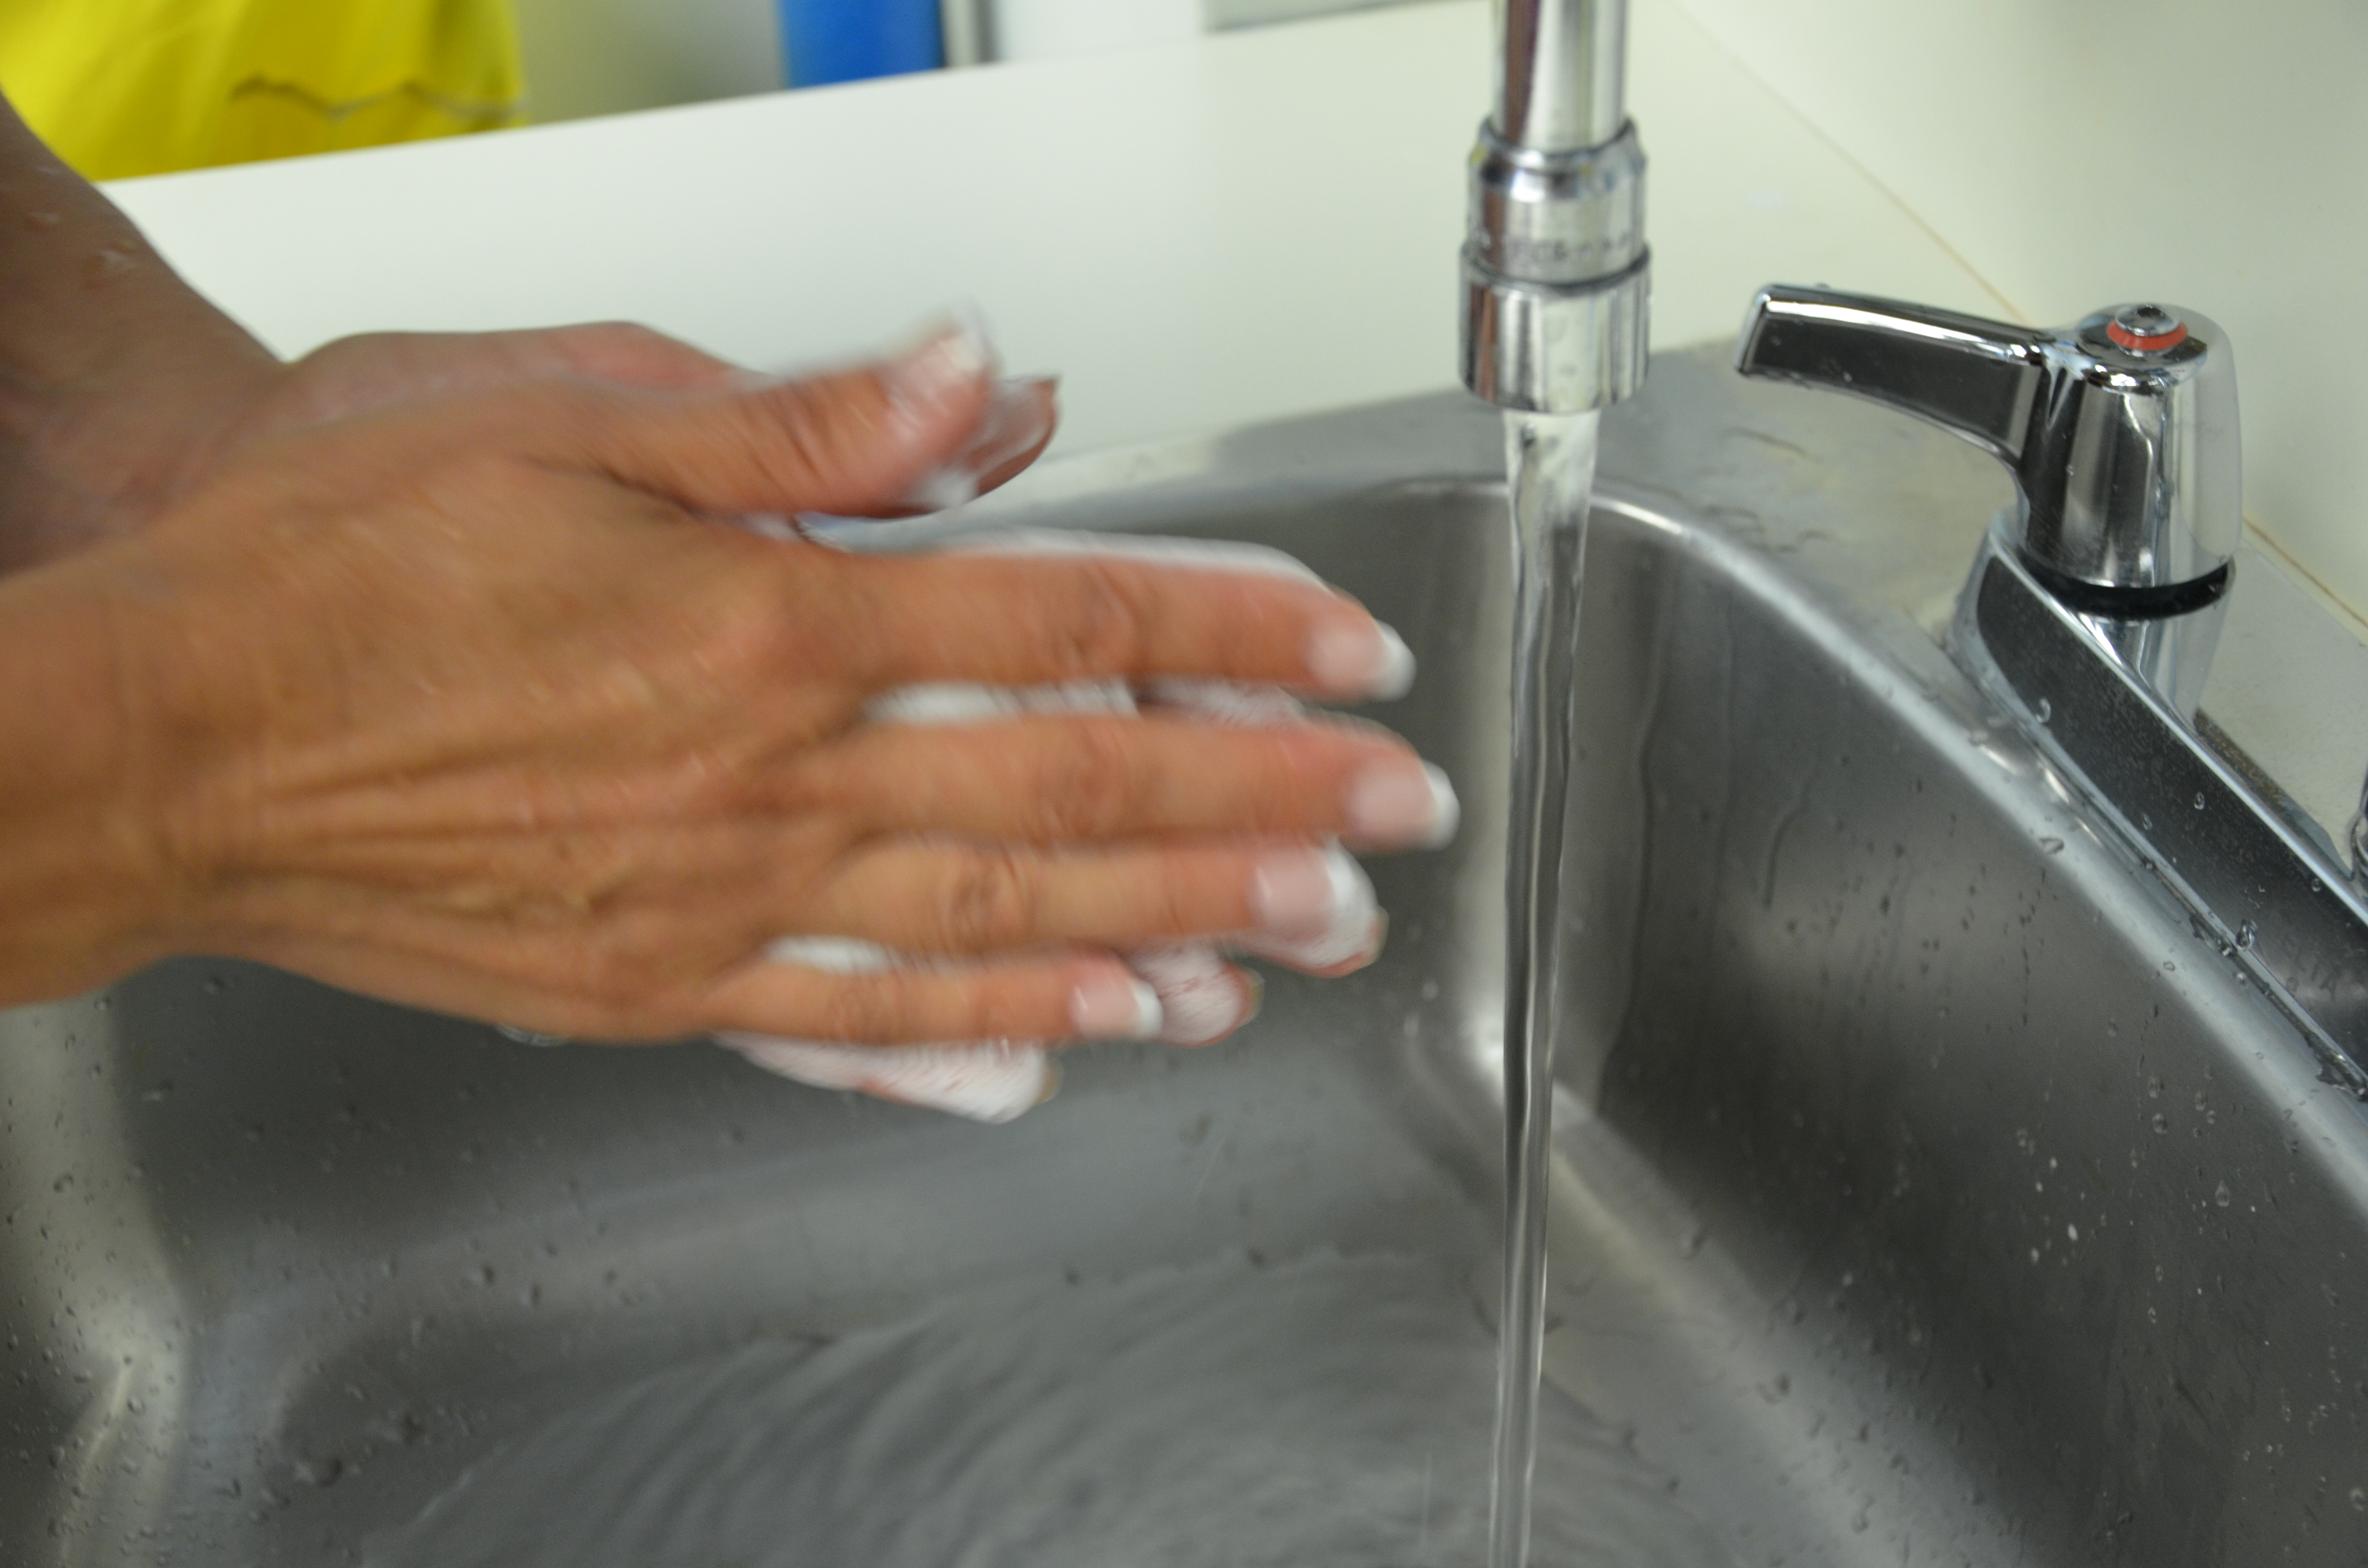
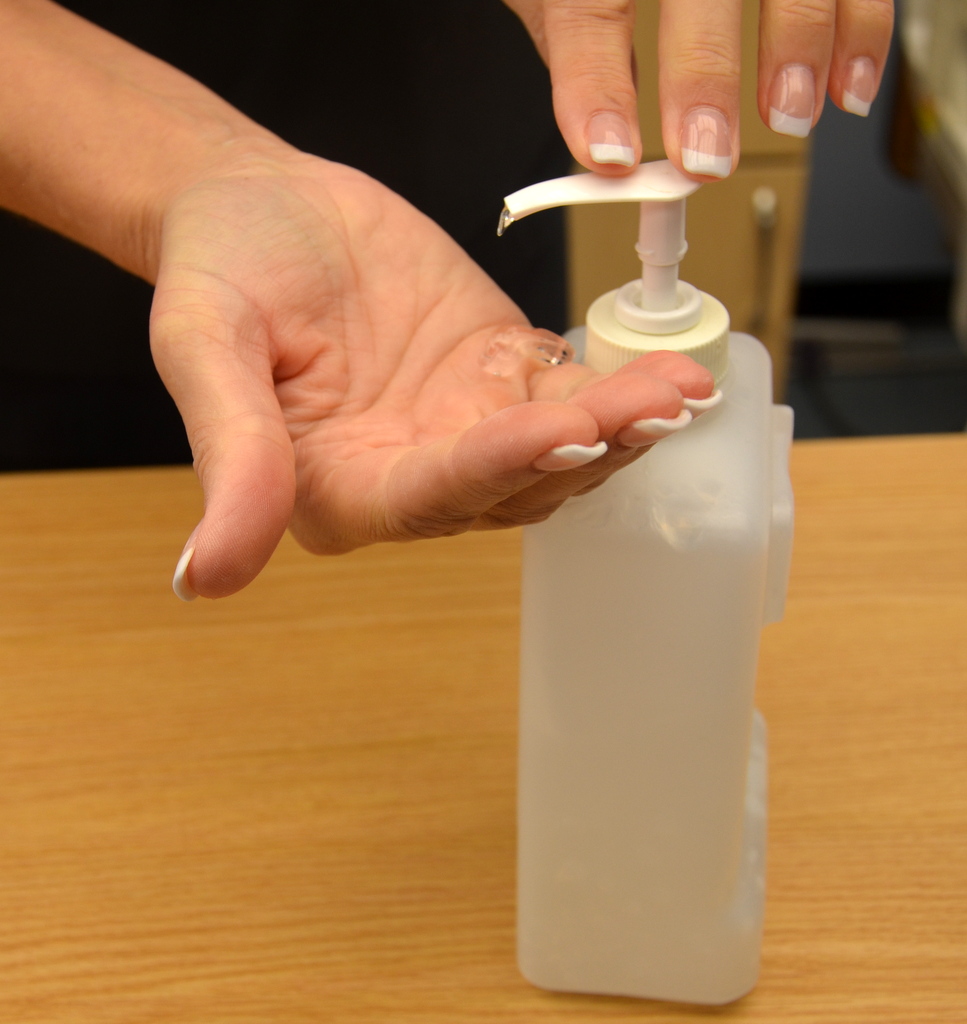
| 3. Remove gloves and perform hand hygiene. | This prevents transmission of microorganisms. | |||
| 4. Gather supplies:
Note: A catheterization kit may include most of these items.
|
When selecting catheter size, consider the patient’s history. If hematuria is present, select a larger catheter that will allow clots to pass. If bladder irrigation is necessary select a 3-way Foley.
Larger catheter size increases the risk of urethral trauma. Preparation ahead of time enhances patient comfort and safety. |
|||
| 5. Ensure adequate lighting.
|
Adequate lighting helps with accuracy and speed of catheter insertion. If using flashlight, position it to illuminate perineum. | |||
| 6. Place waterproof pad under patient. | This step prevents soiling of bed linens.
 |
|||
| 7. Positioning of patient depends on gender.
Female patient: On back with knees flexed and thighs relaxed so that hips rotate to expose perineal area. Alternatively, if patient cannot abduct leg at the hip, patient can be side-lying with upper leg flexed at knee and hip, supported by pillows. Male patient: Supine with legs extended and slightly apart. |
Patient should be comfortable as possible, with perineum or penis exposed, for ease and safety in completing procedure. | |||
| 8. Place a blanket or sheet to cover patient and expose only required anatomical areas. | This step helps protect patient dignity. | |||
| 9. Perform hand hygiene. | This reduces the transmission of microorganisms.
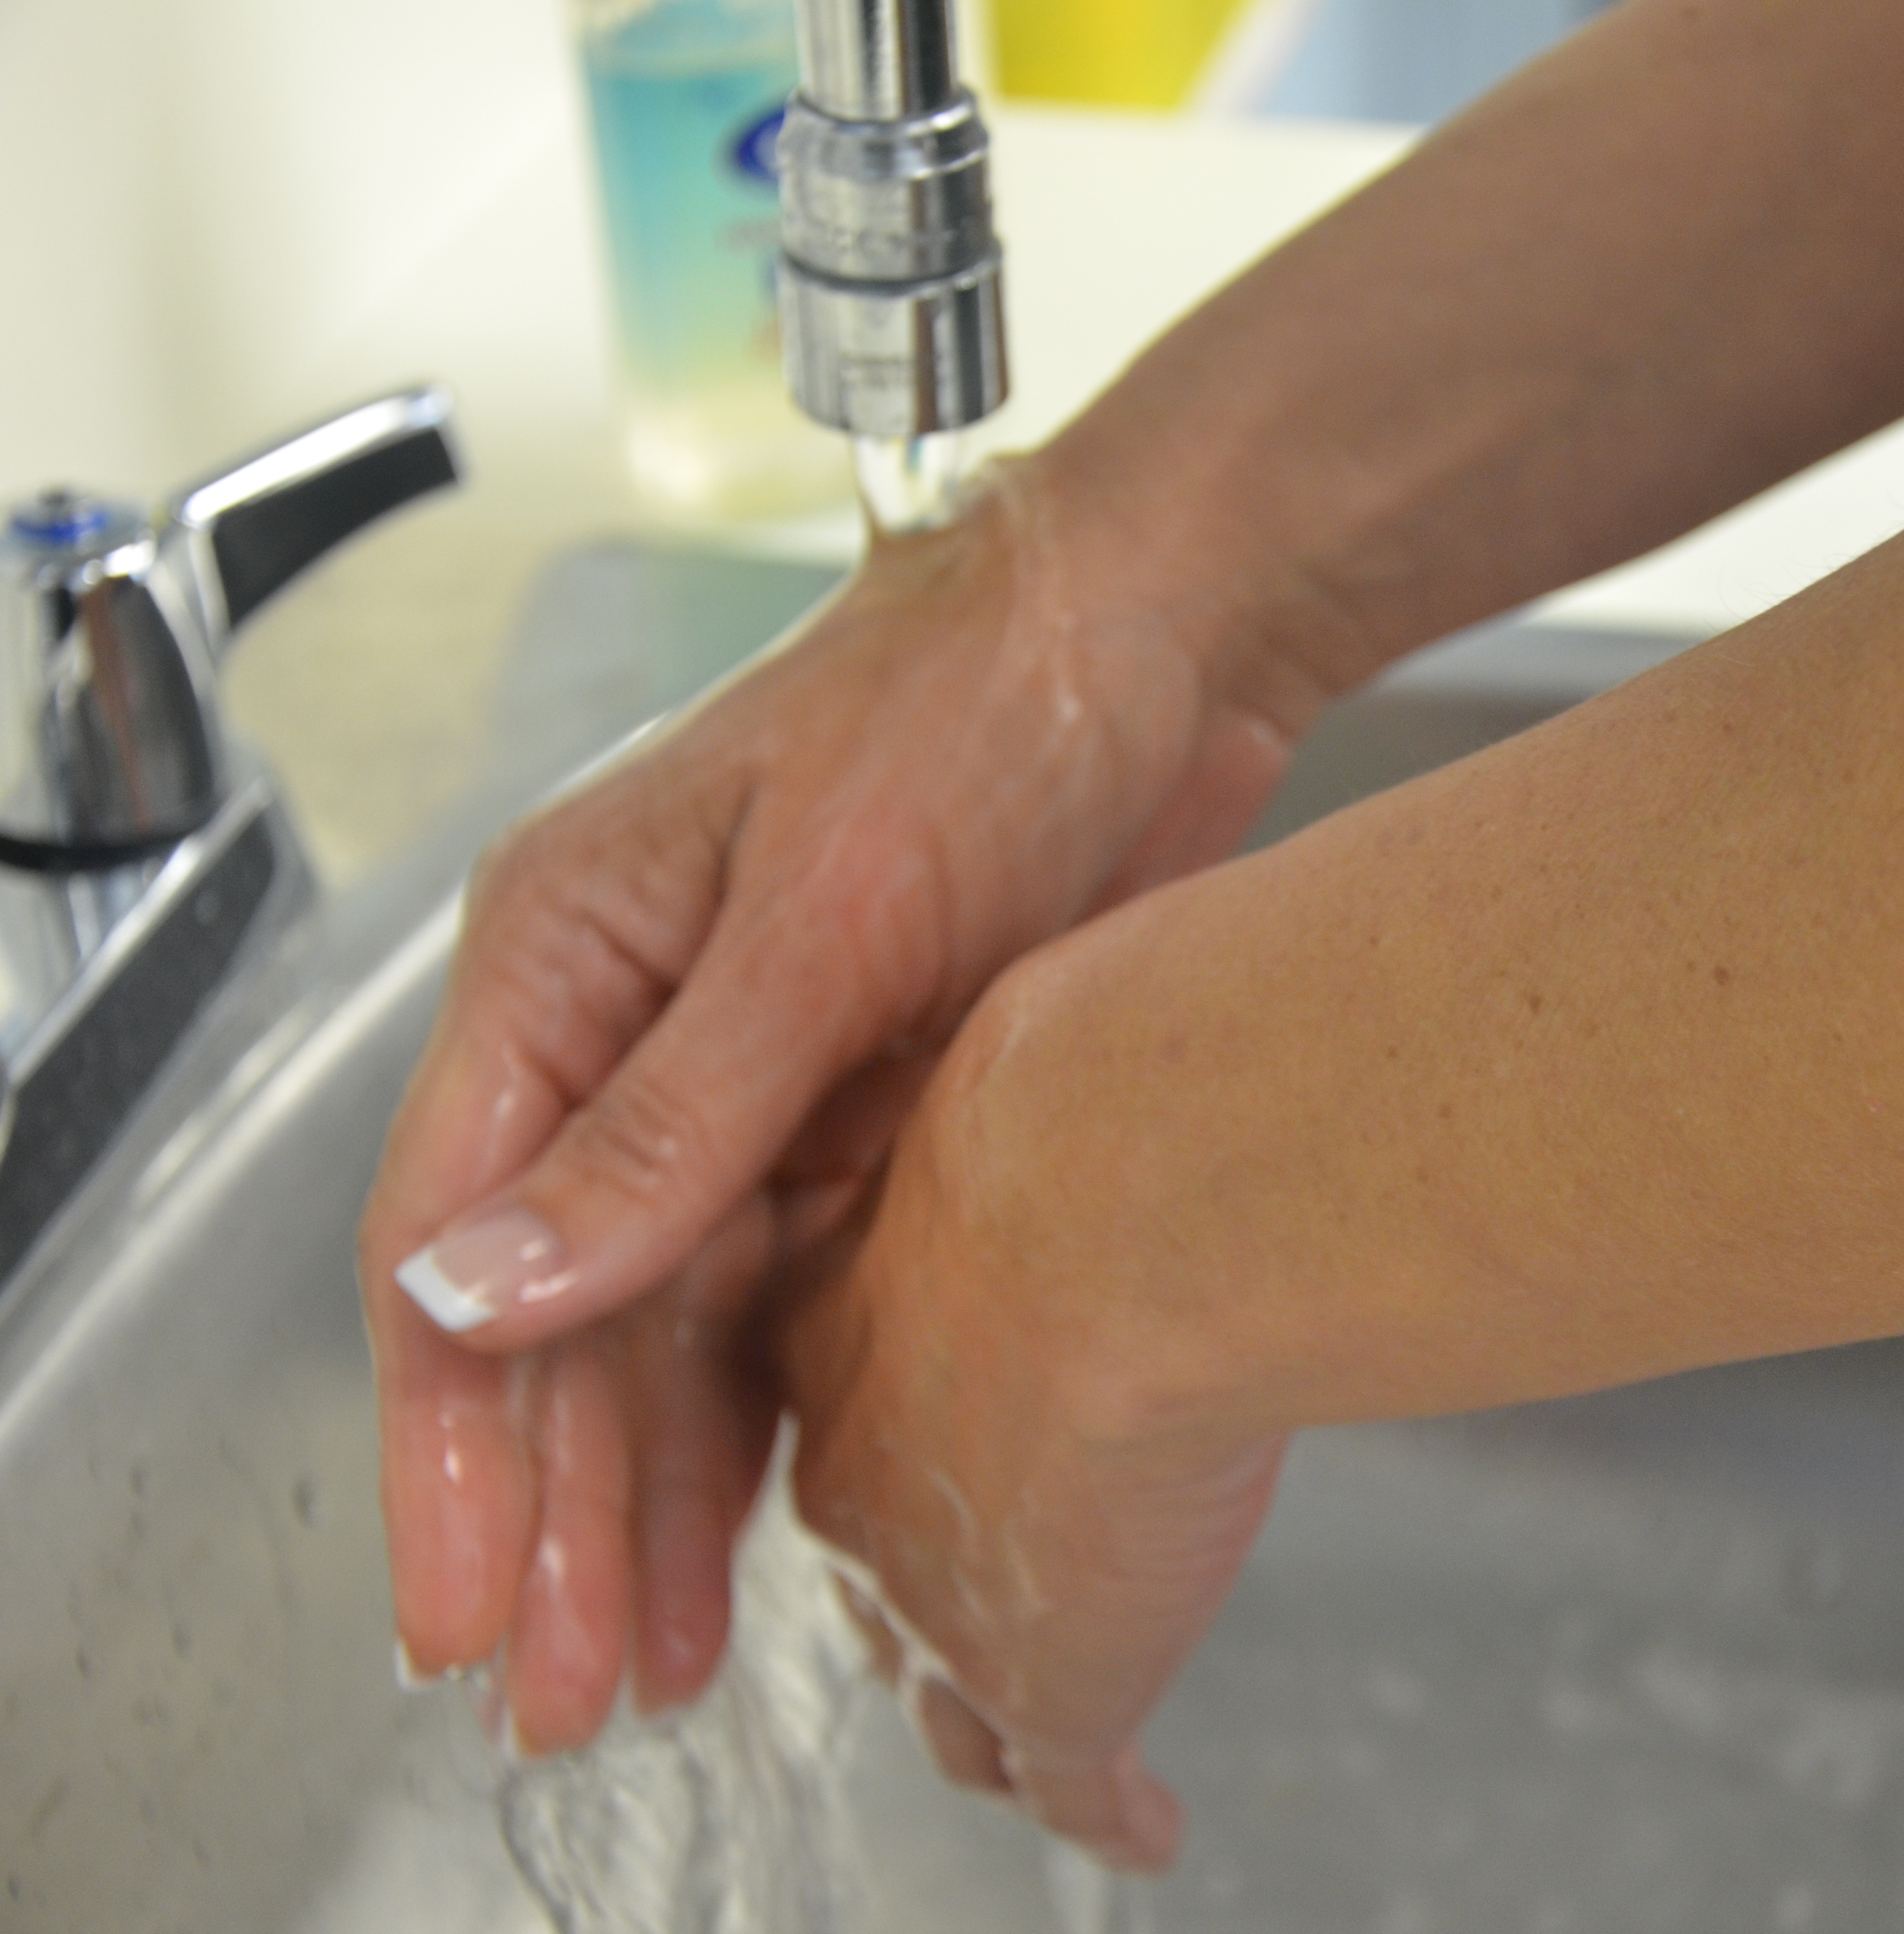 |
|||
| 10. If using indwelling catheter and closed drainage system, attach urinary bag to the bed and ensure that the clamp is closed. | Urinary bag should be closed to prevent urine drainage leaving bag. A closed system also reduces risk of urinary tract infection
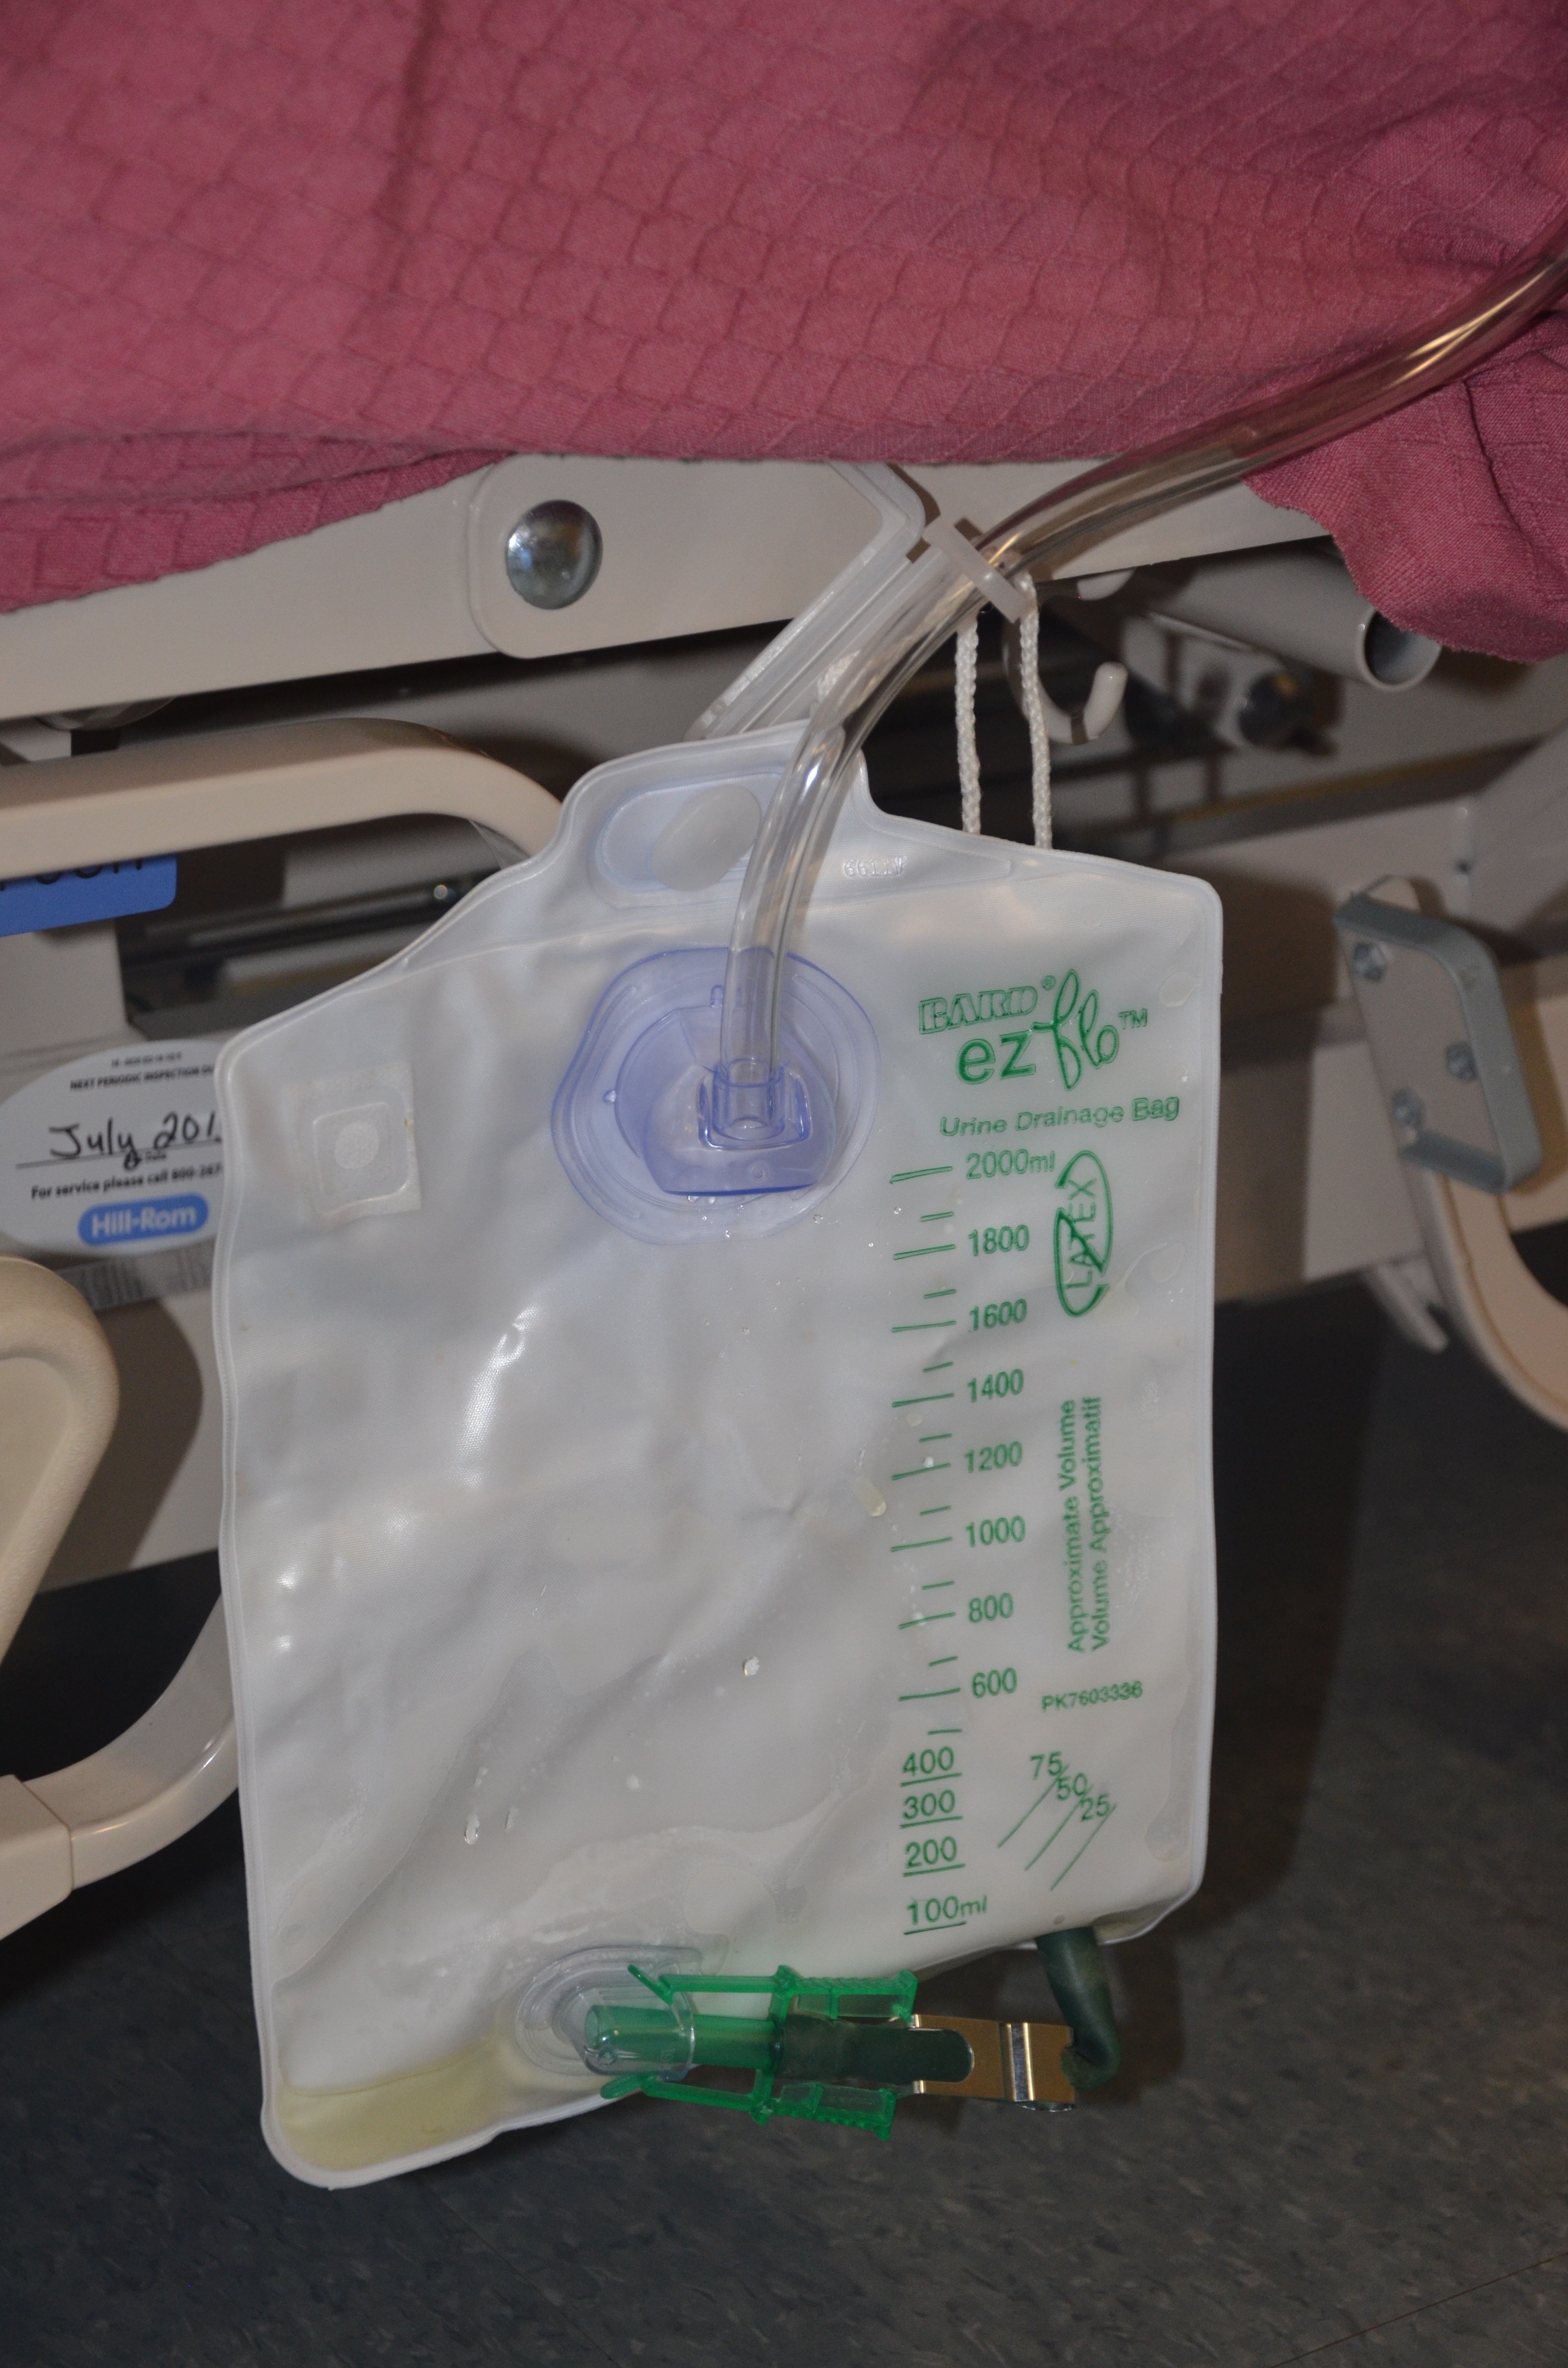 |
|||
| 11. Prepare sterile field following principles of asepsis.
Add supplies to sterile field. |
This step ensures preparation and organization for procedure.
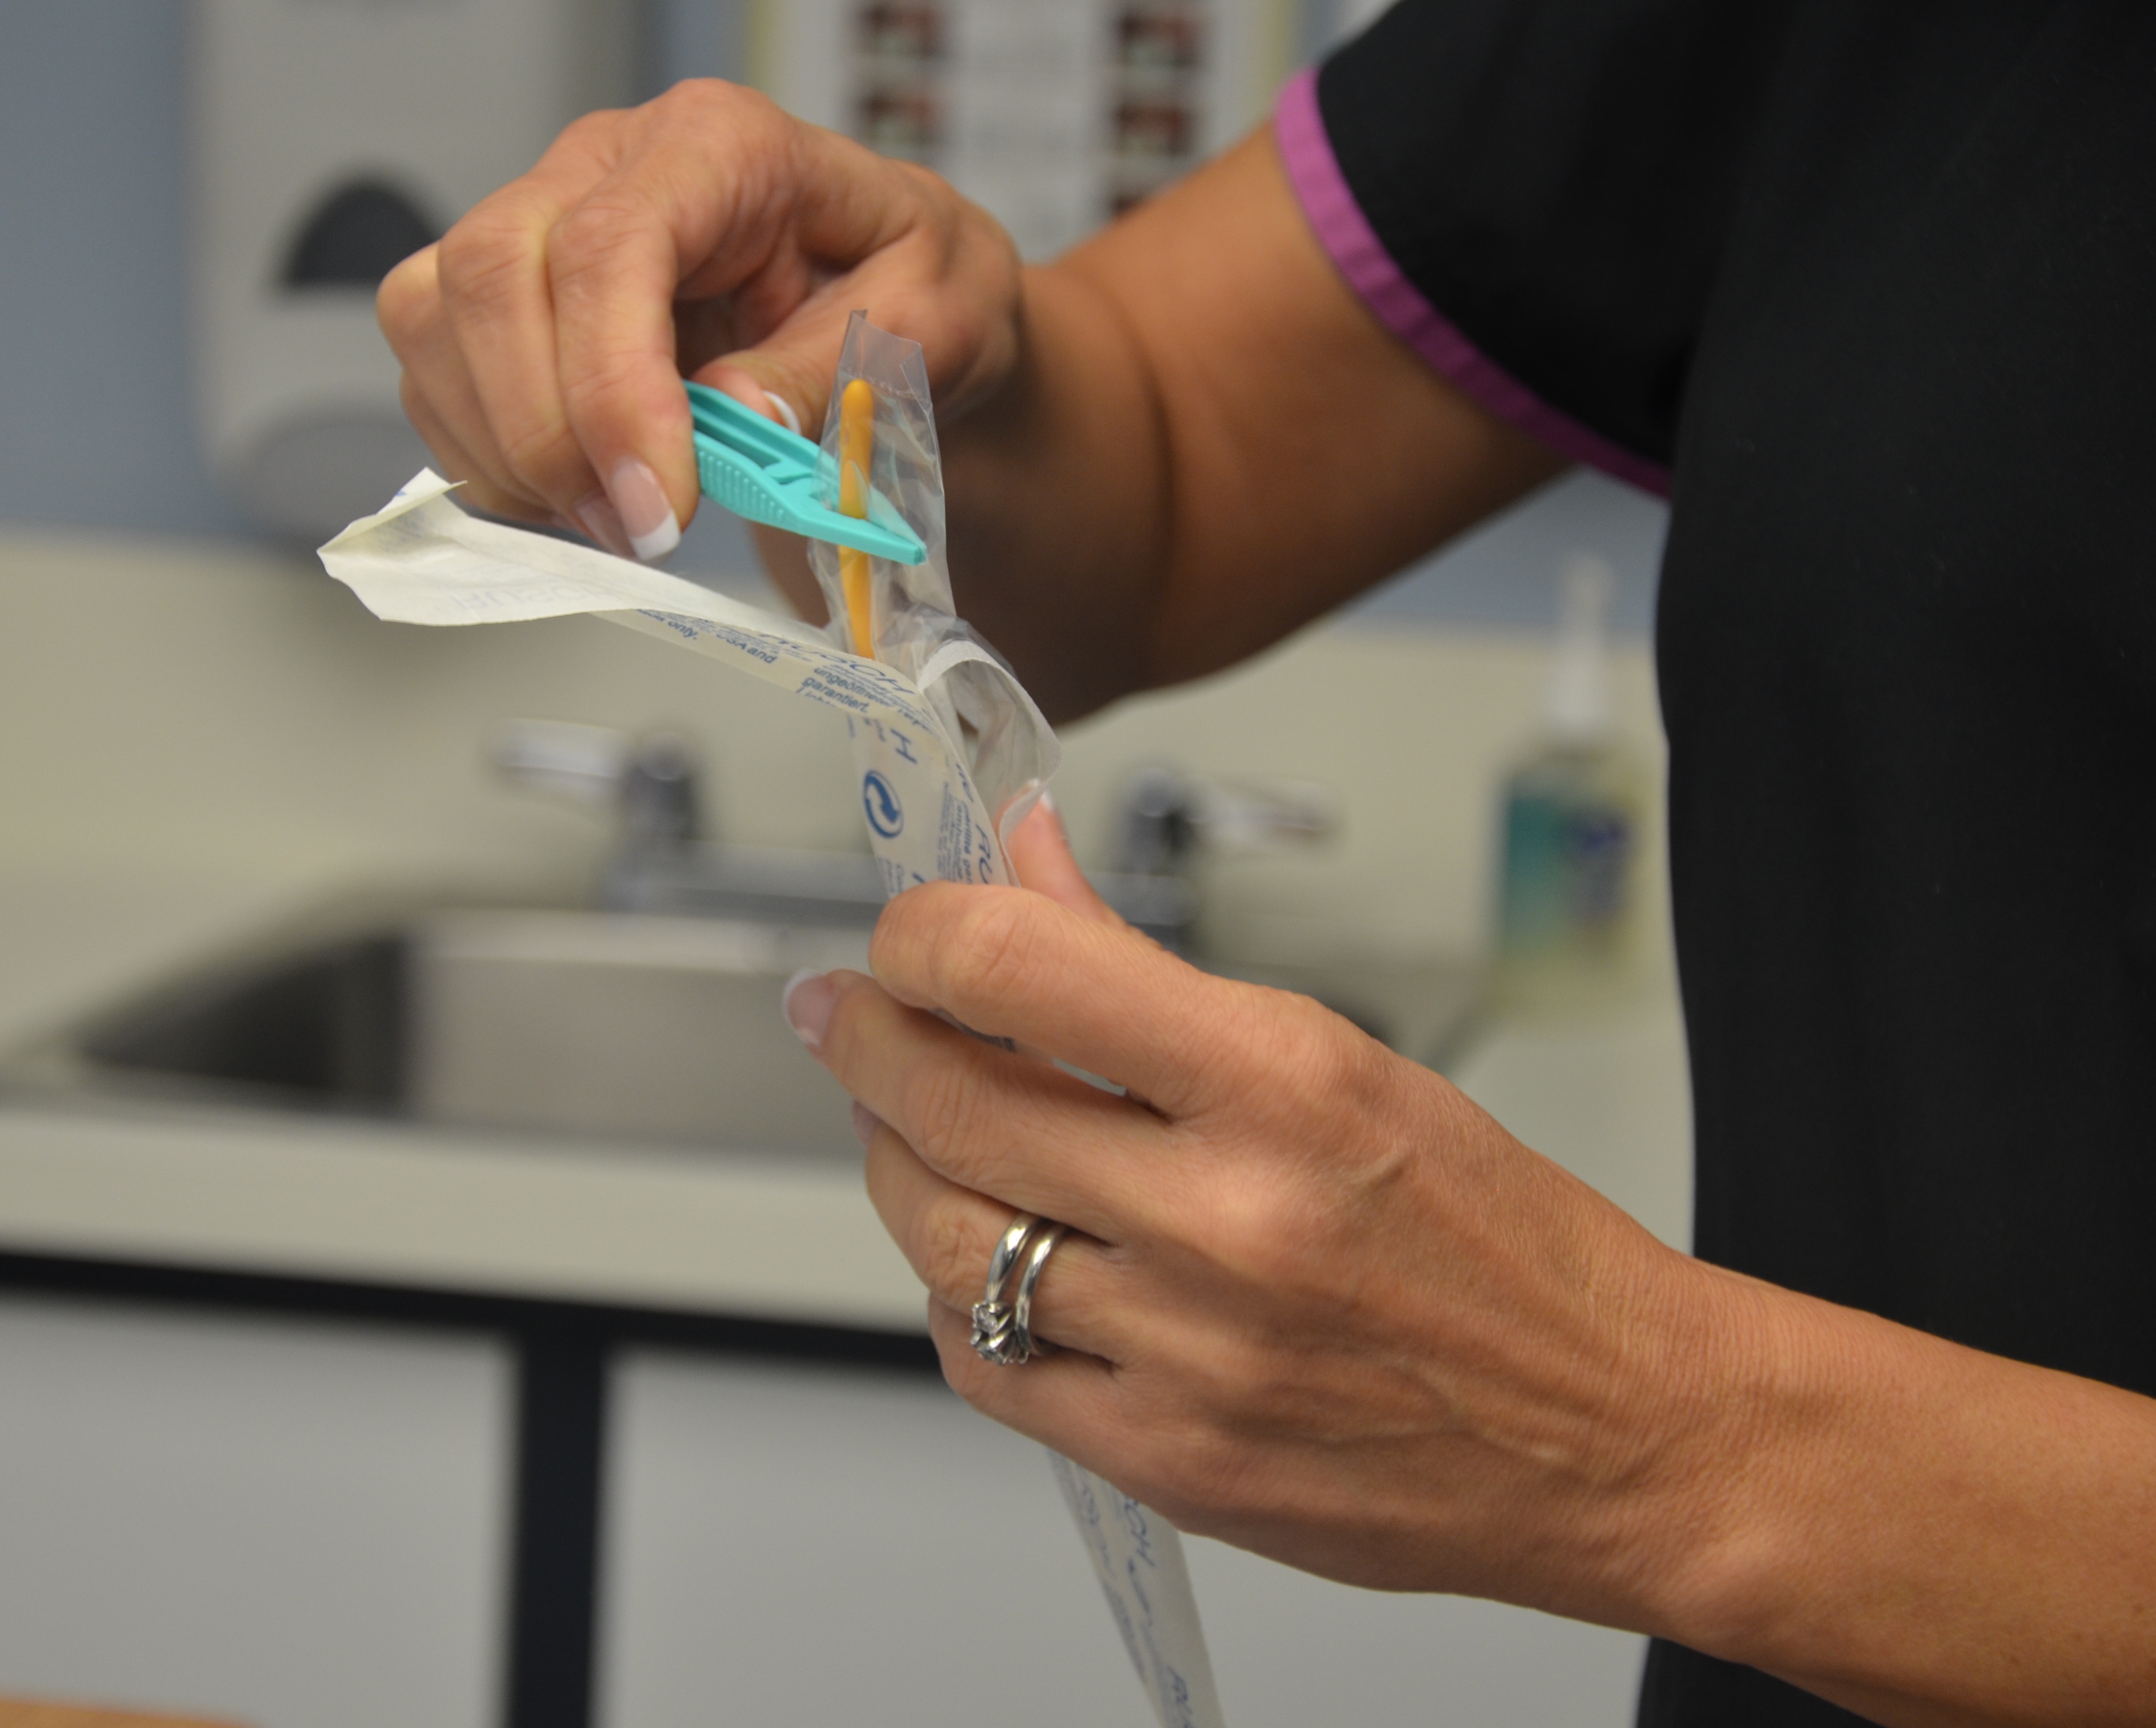 |
|||
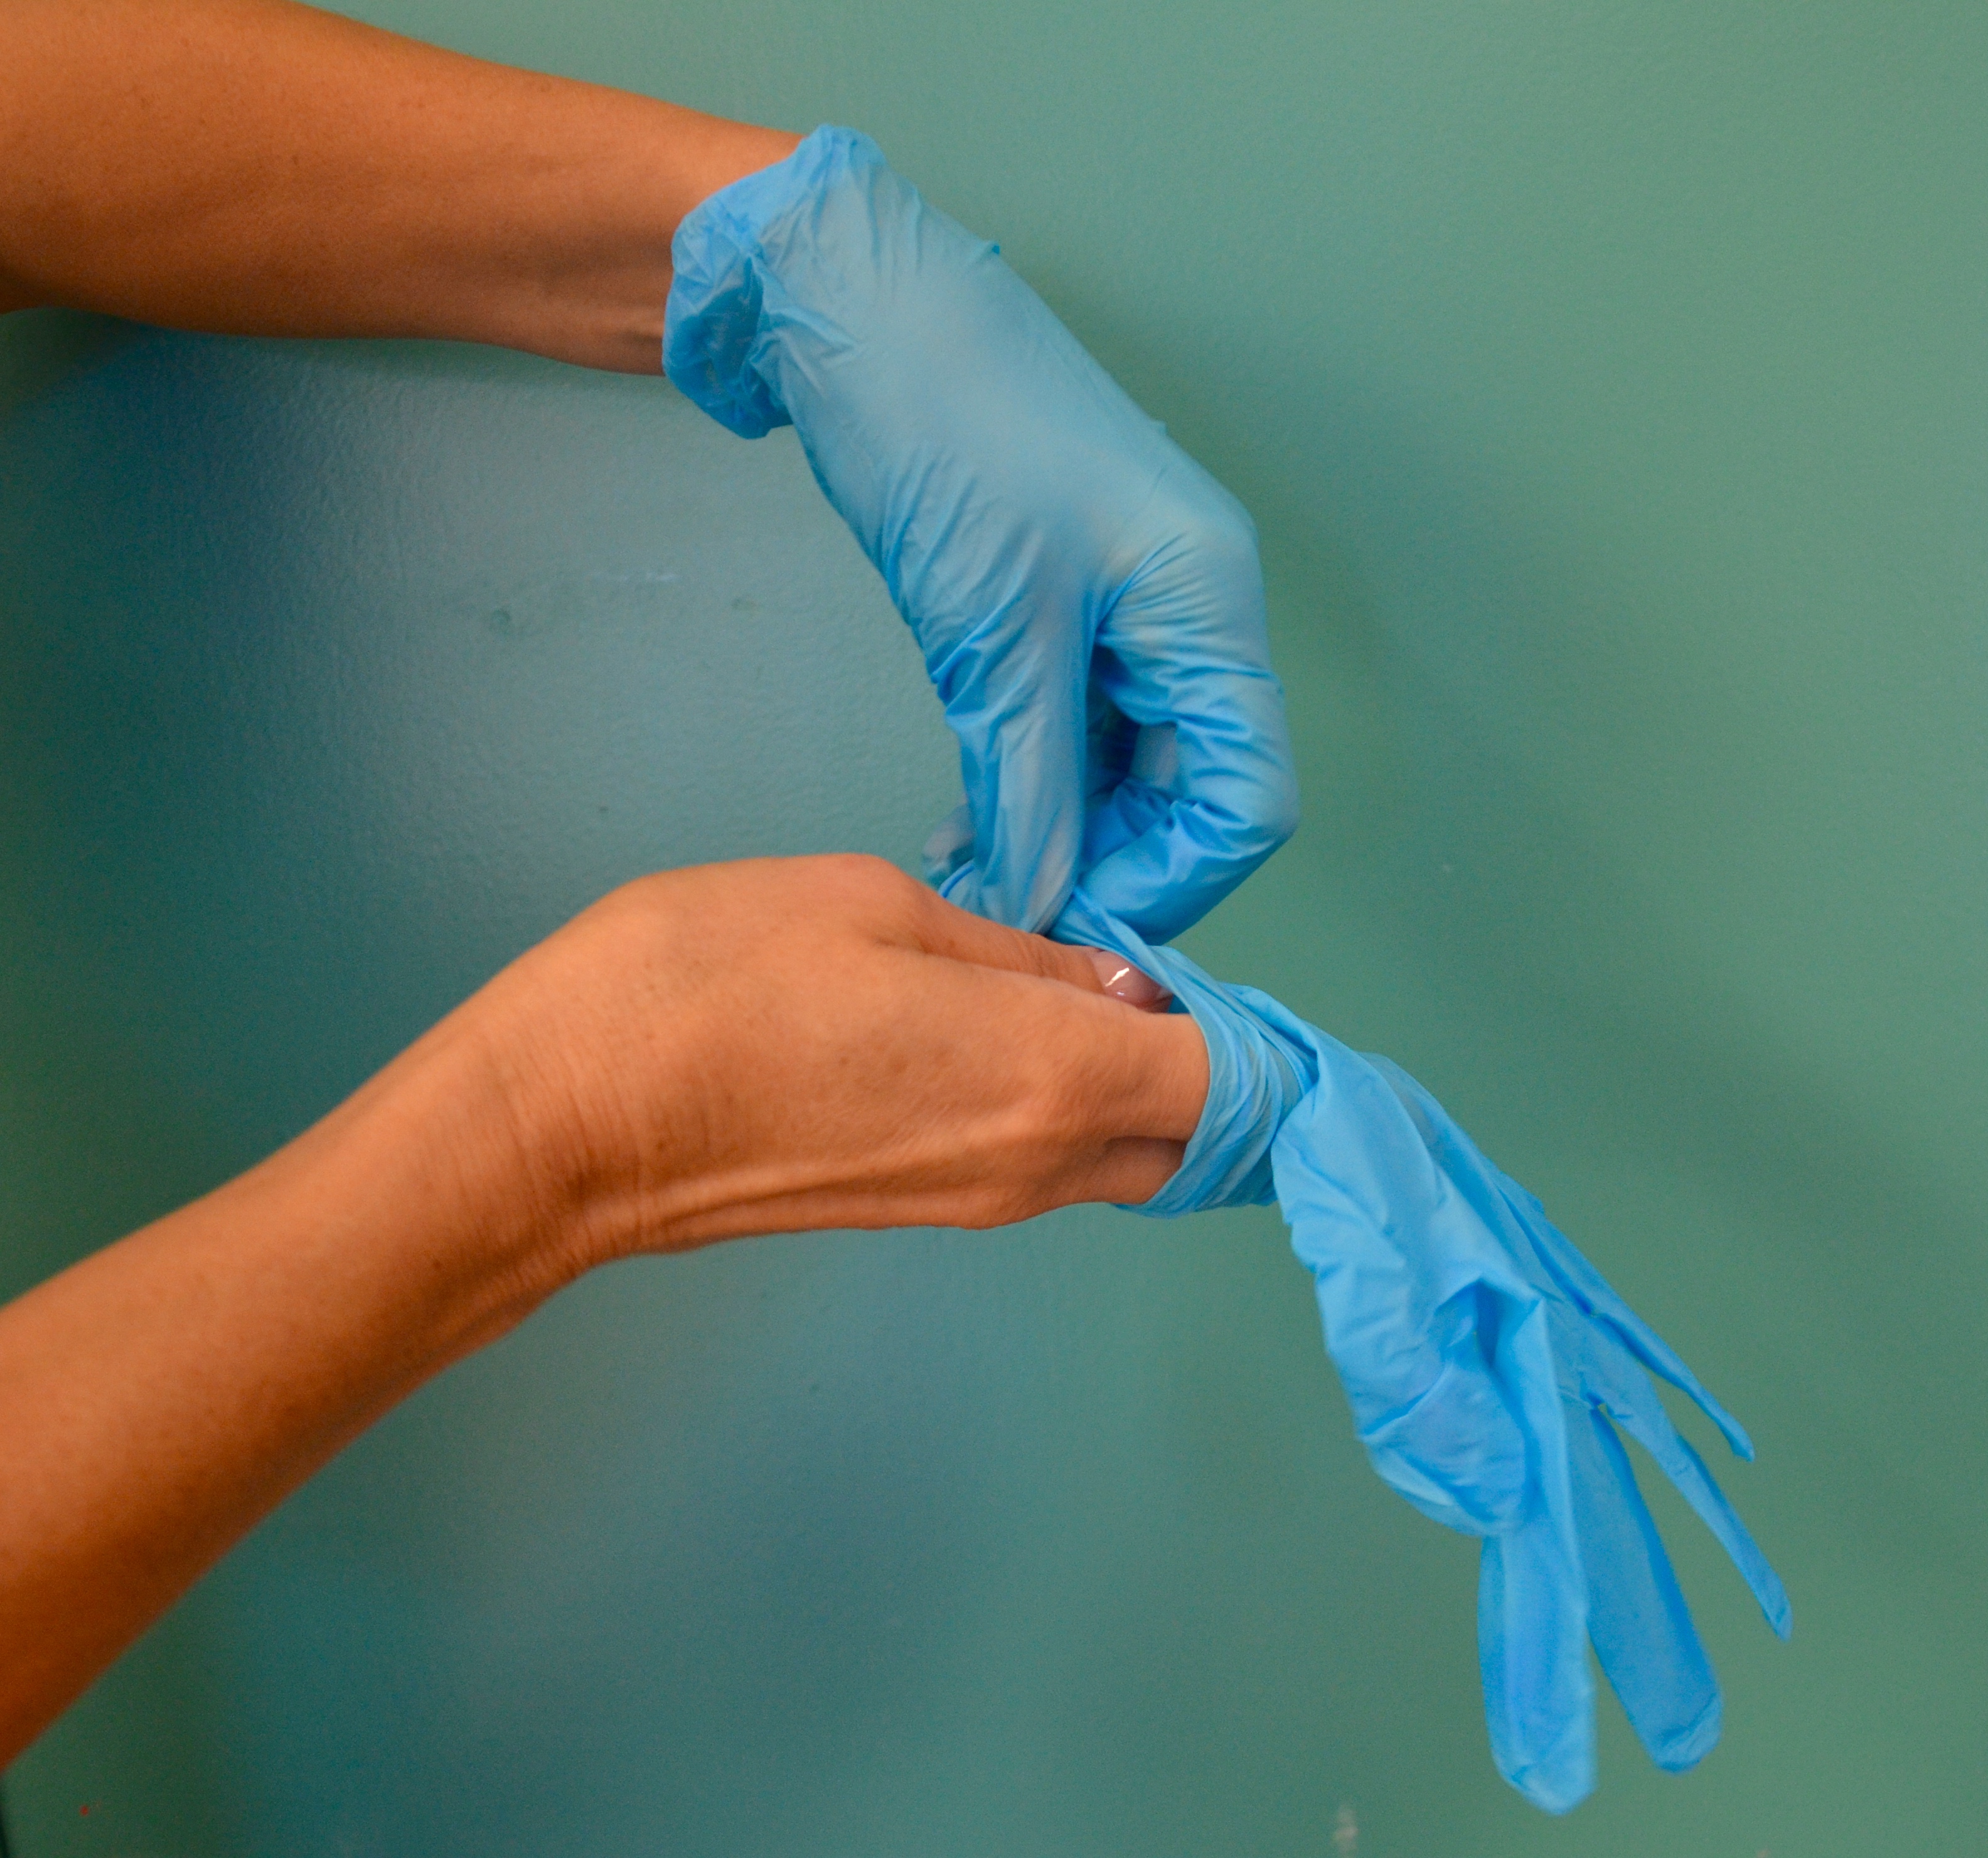
| 12. Apply sterile gloves following principles of asepsis.
Arrange items in the urine collection tray. Attach the water filled syringe to the pigtail of the catheter. |
Sterile gloves reduce the transmission of microorganisms.
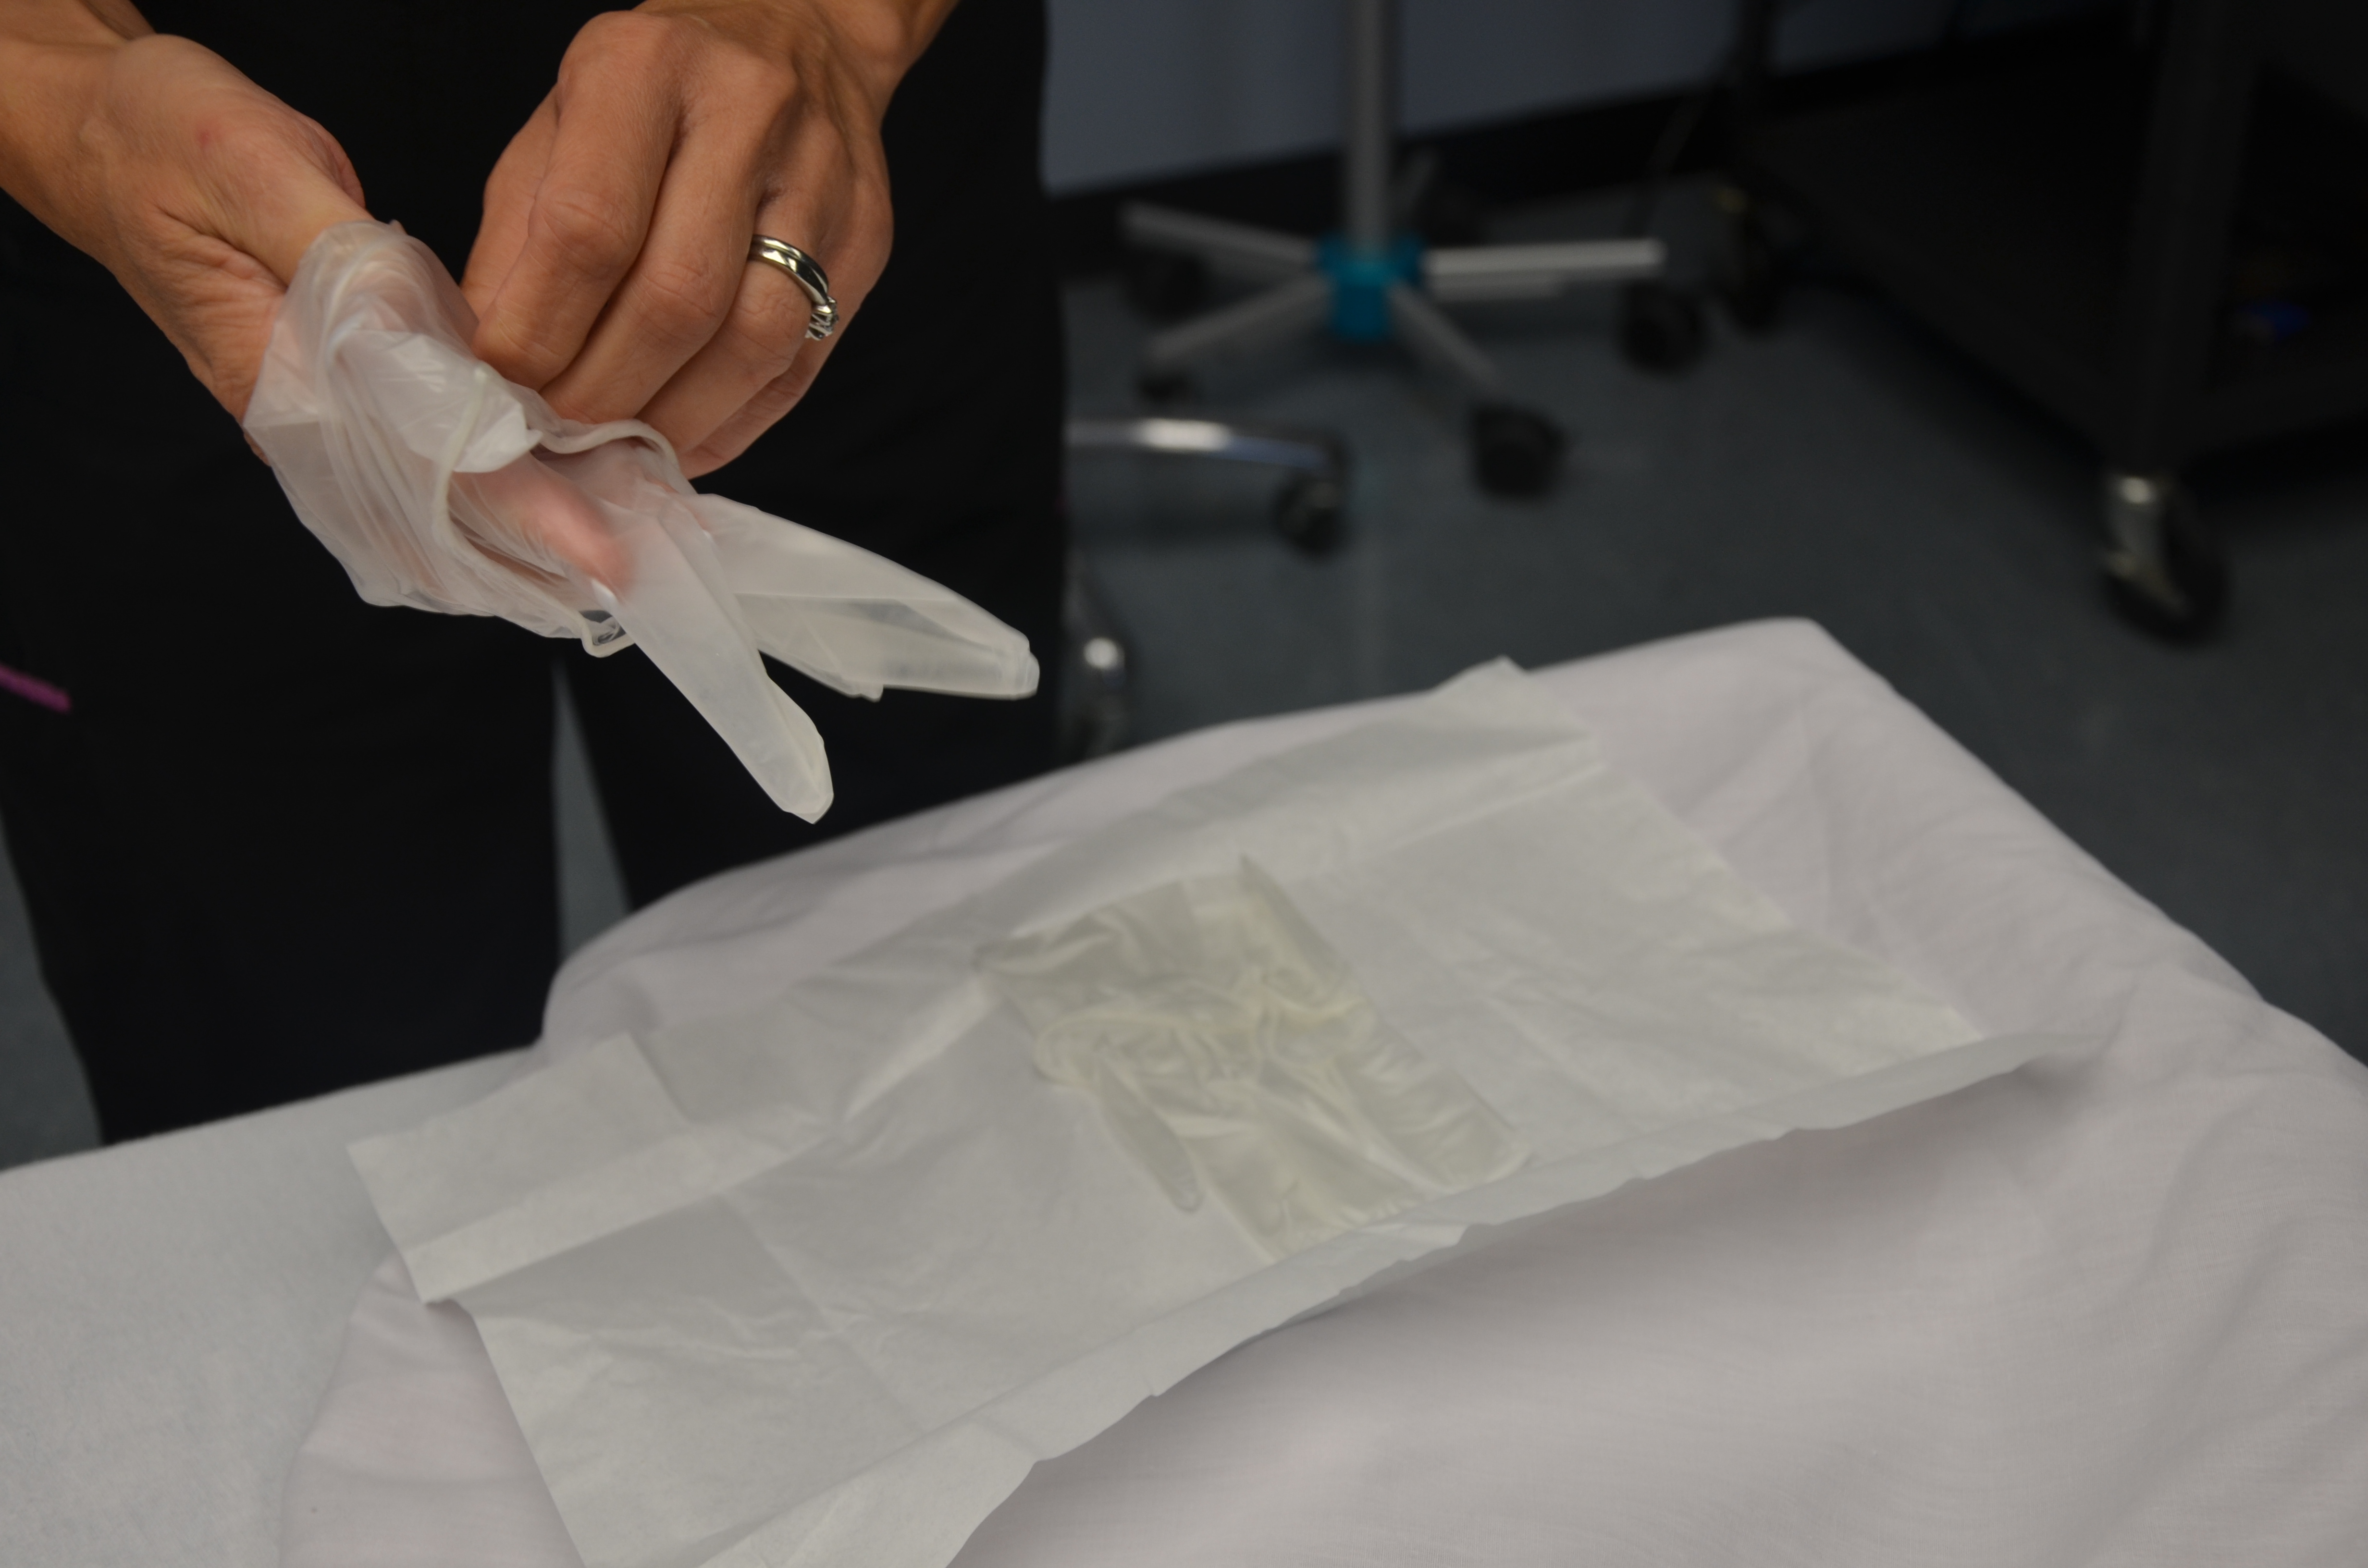 Organizing items facilitates a smooth process.  |
|||
| 13.Lubricate tip of catheter. For males lubricate approximately 20 cm; for females lubricate approximately 5 to 10 cm.
Note: manufacturers no longer recommend to test the catheter balloon before insertion. In fact doing so may stretch the catheter and cause urethral trauma. |
Lubrication minimizes urethral trauma and discomfort during procedure.
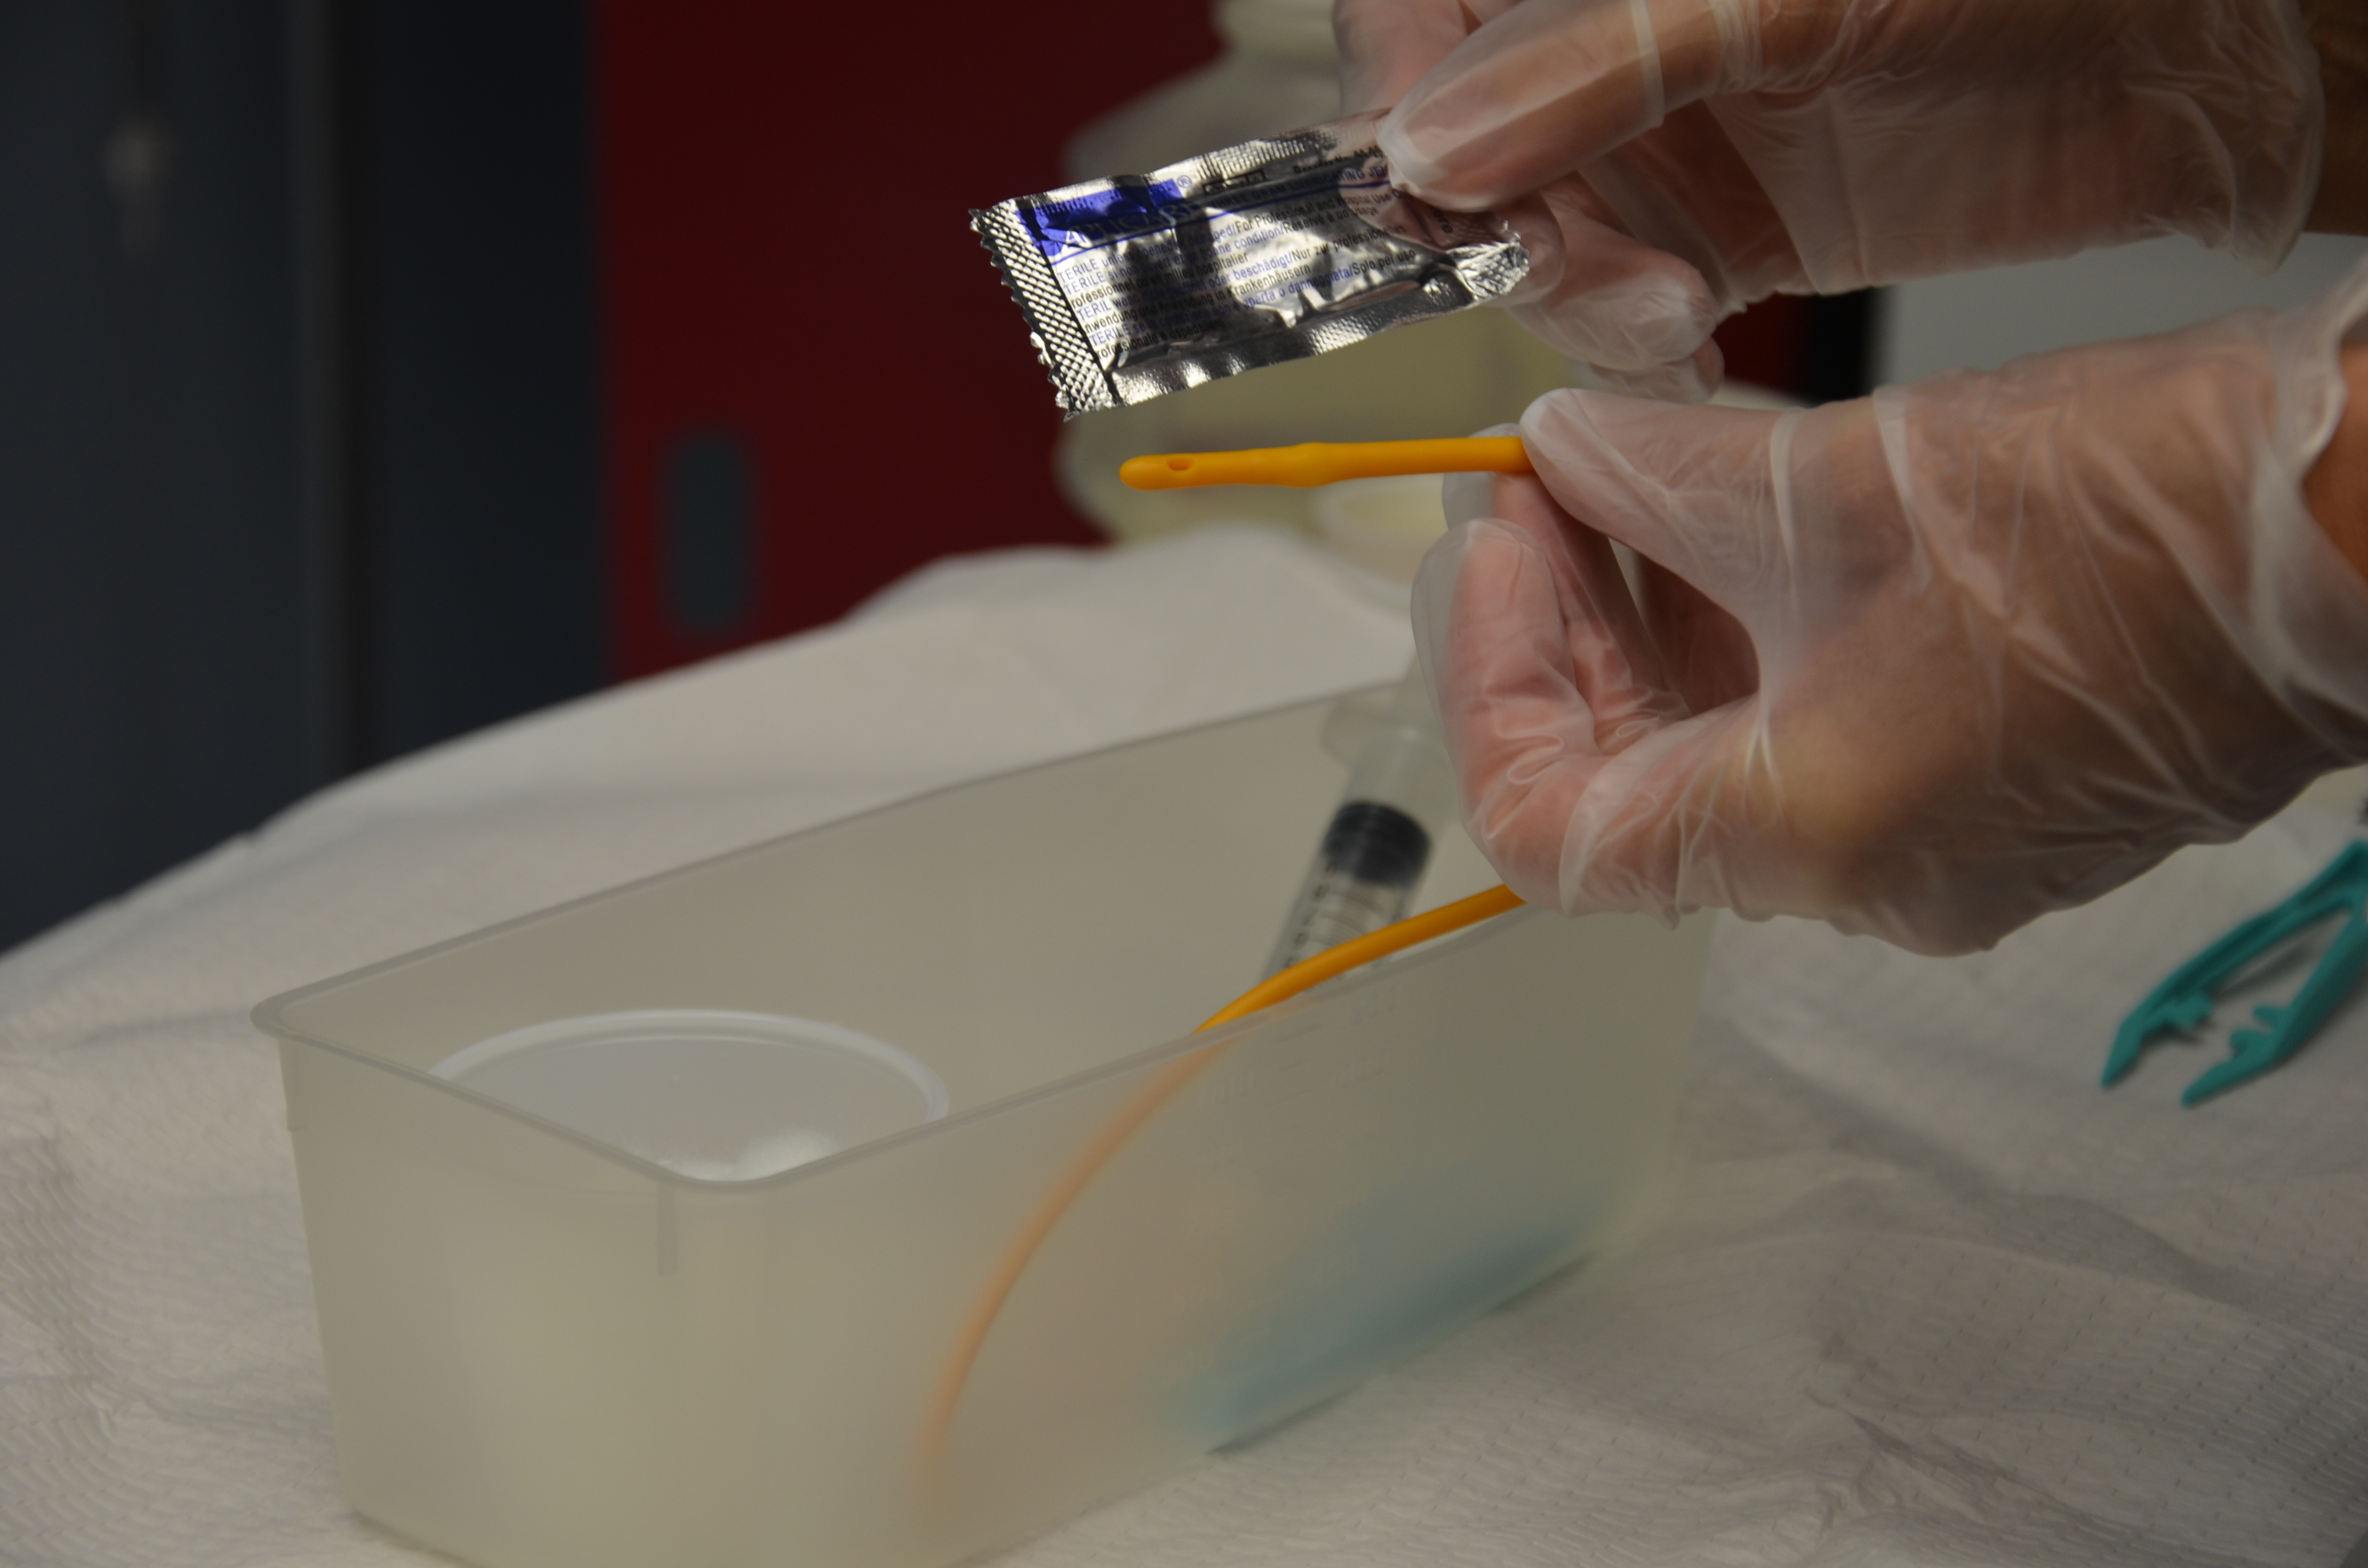 |
|||
| 14. Drape patient with drape found in catheterization kit one under the buttocks and one on top of and exposing the perineum or penis.
Ensure that any sterile supplies only touch the middle of the sterile drape (not the edges), and that sterile gloves do not touch non-sterile surfaces.
|
The outer 2.5 cm is considered non-sterile on a sterile drape.
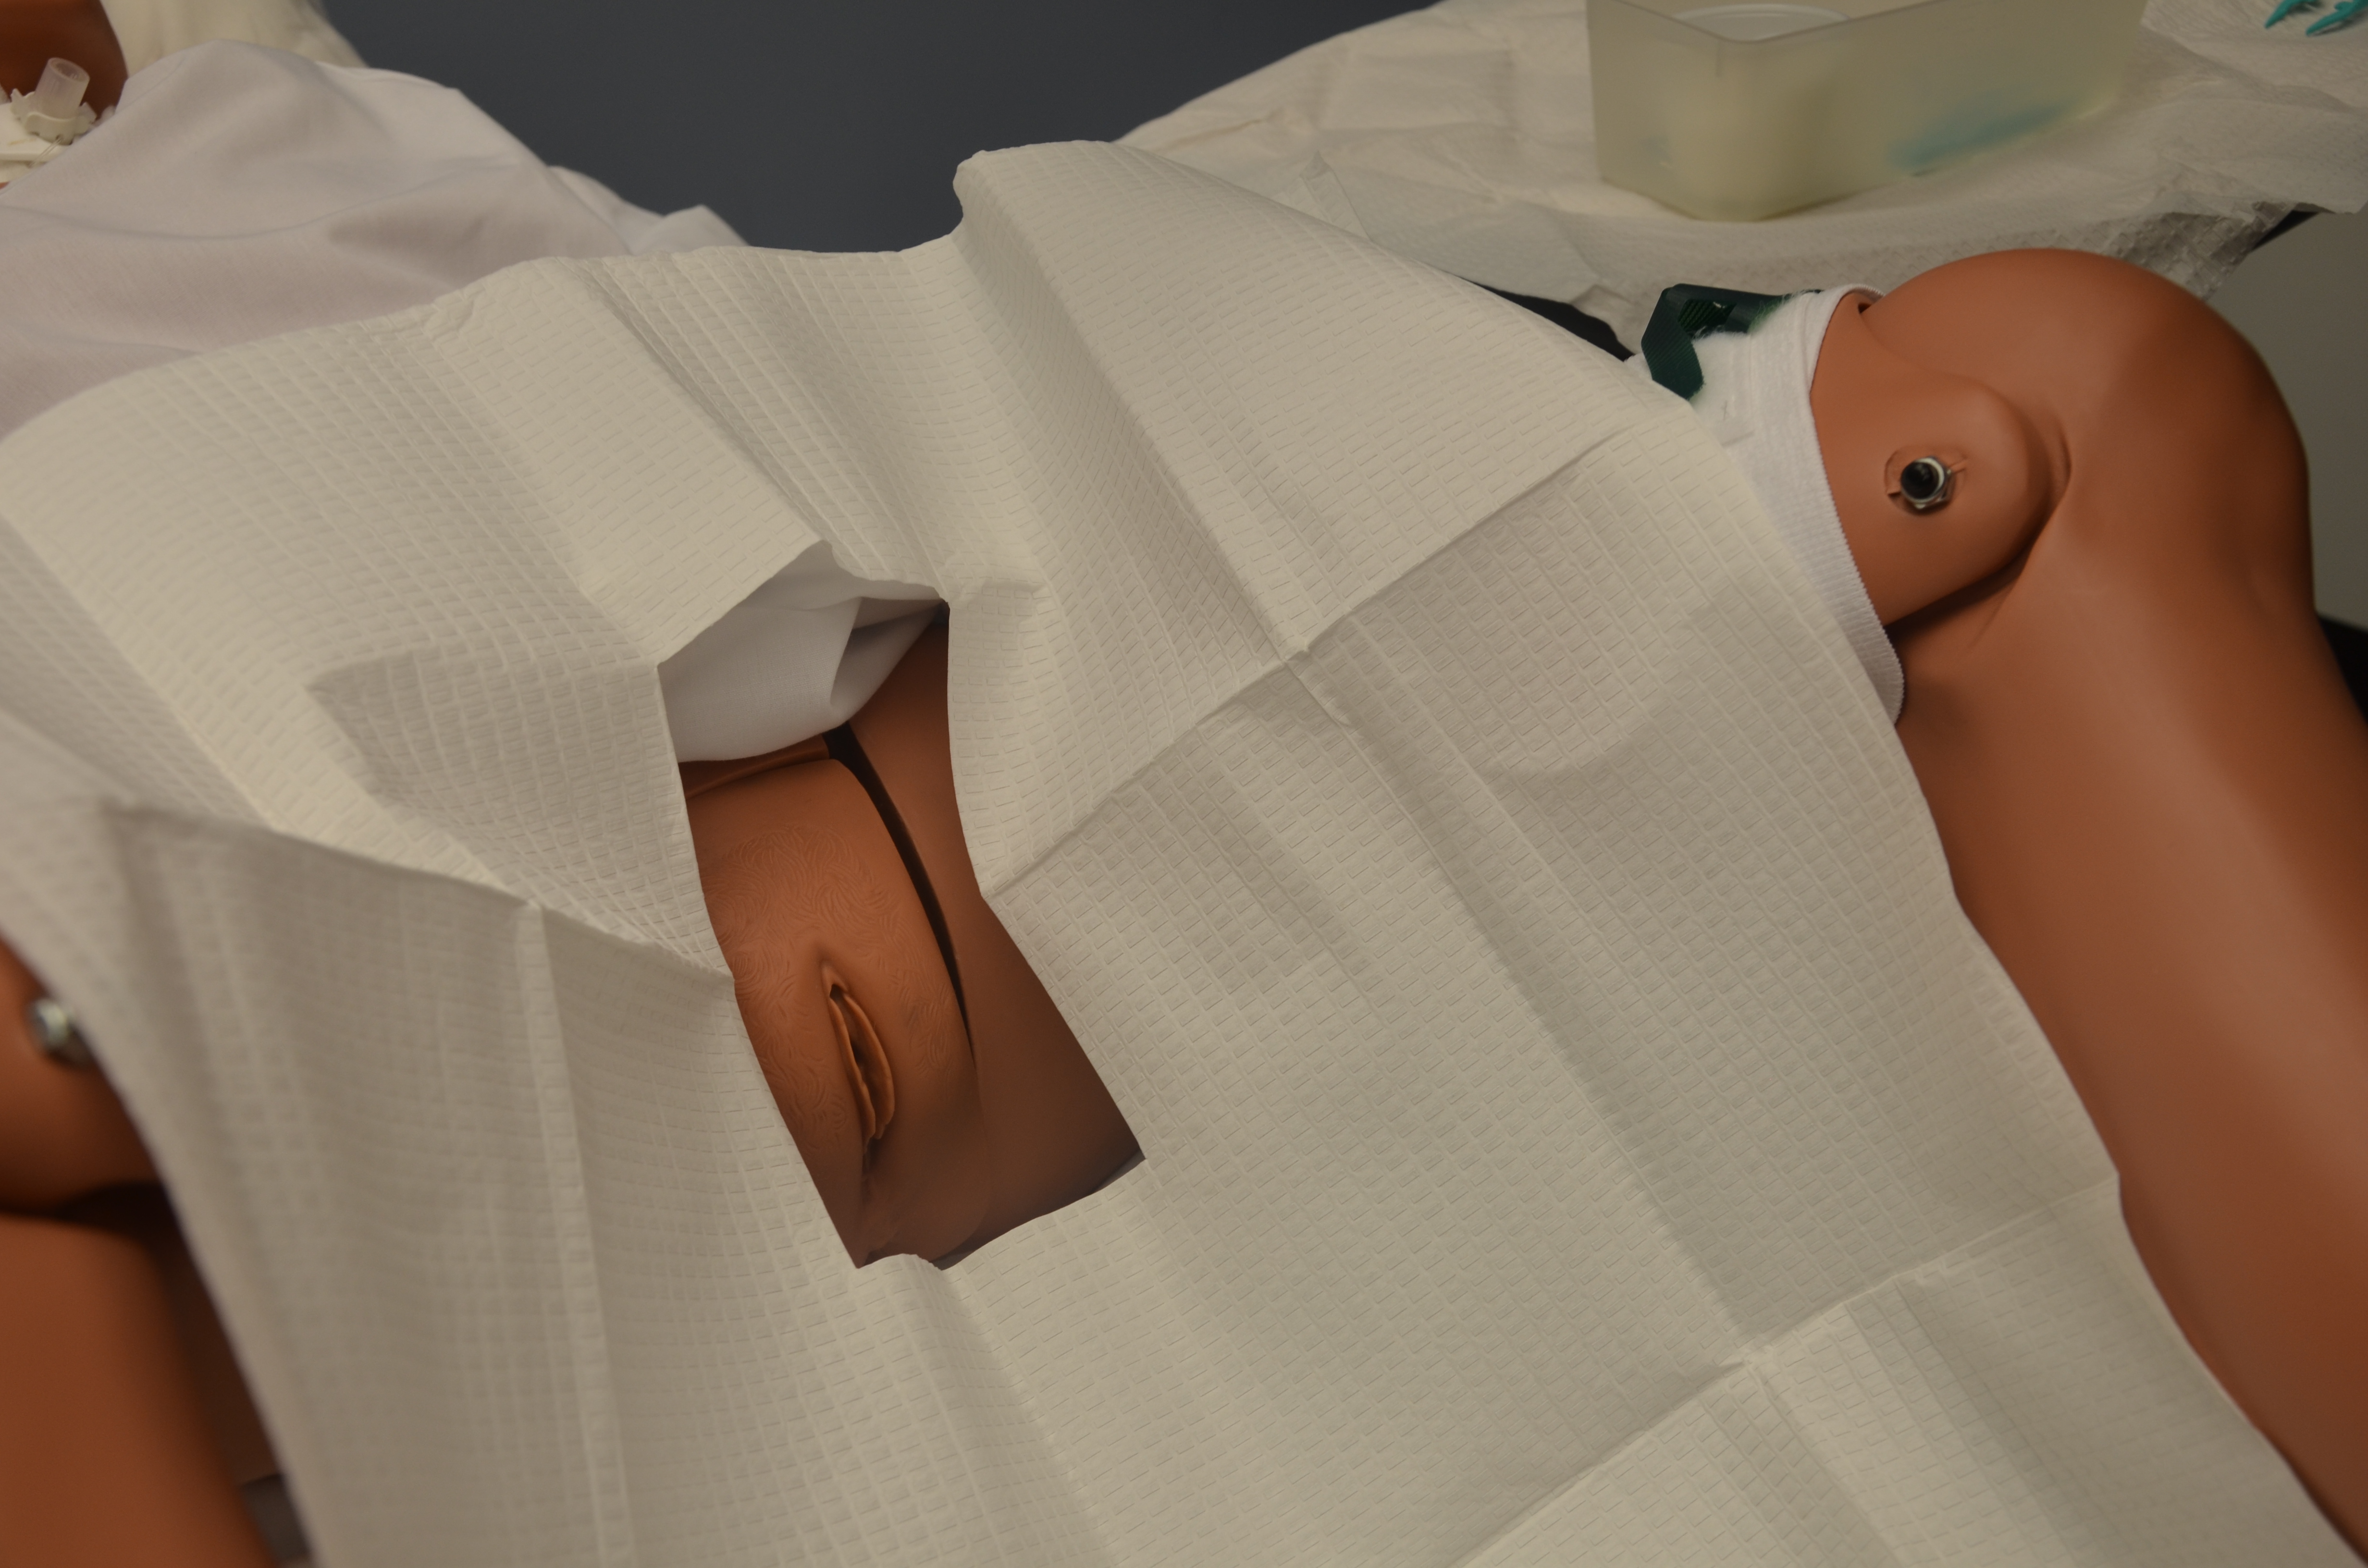 **note – some nurses drape before applying sterile gloves, others drape after applying sterile gloves. the principle to remember is sterile to sterile. |
|||
| 15. Place sterile tray with catheter between patient’s legs. | Sterile tray will collect urine once catheter tip is inserted into bladder. | |||
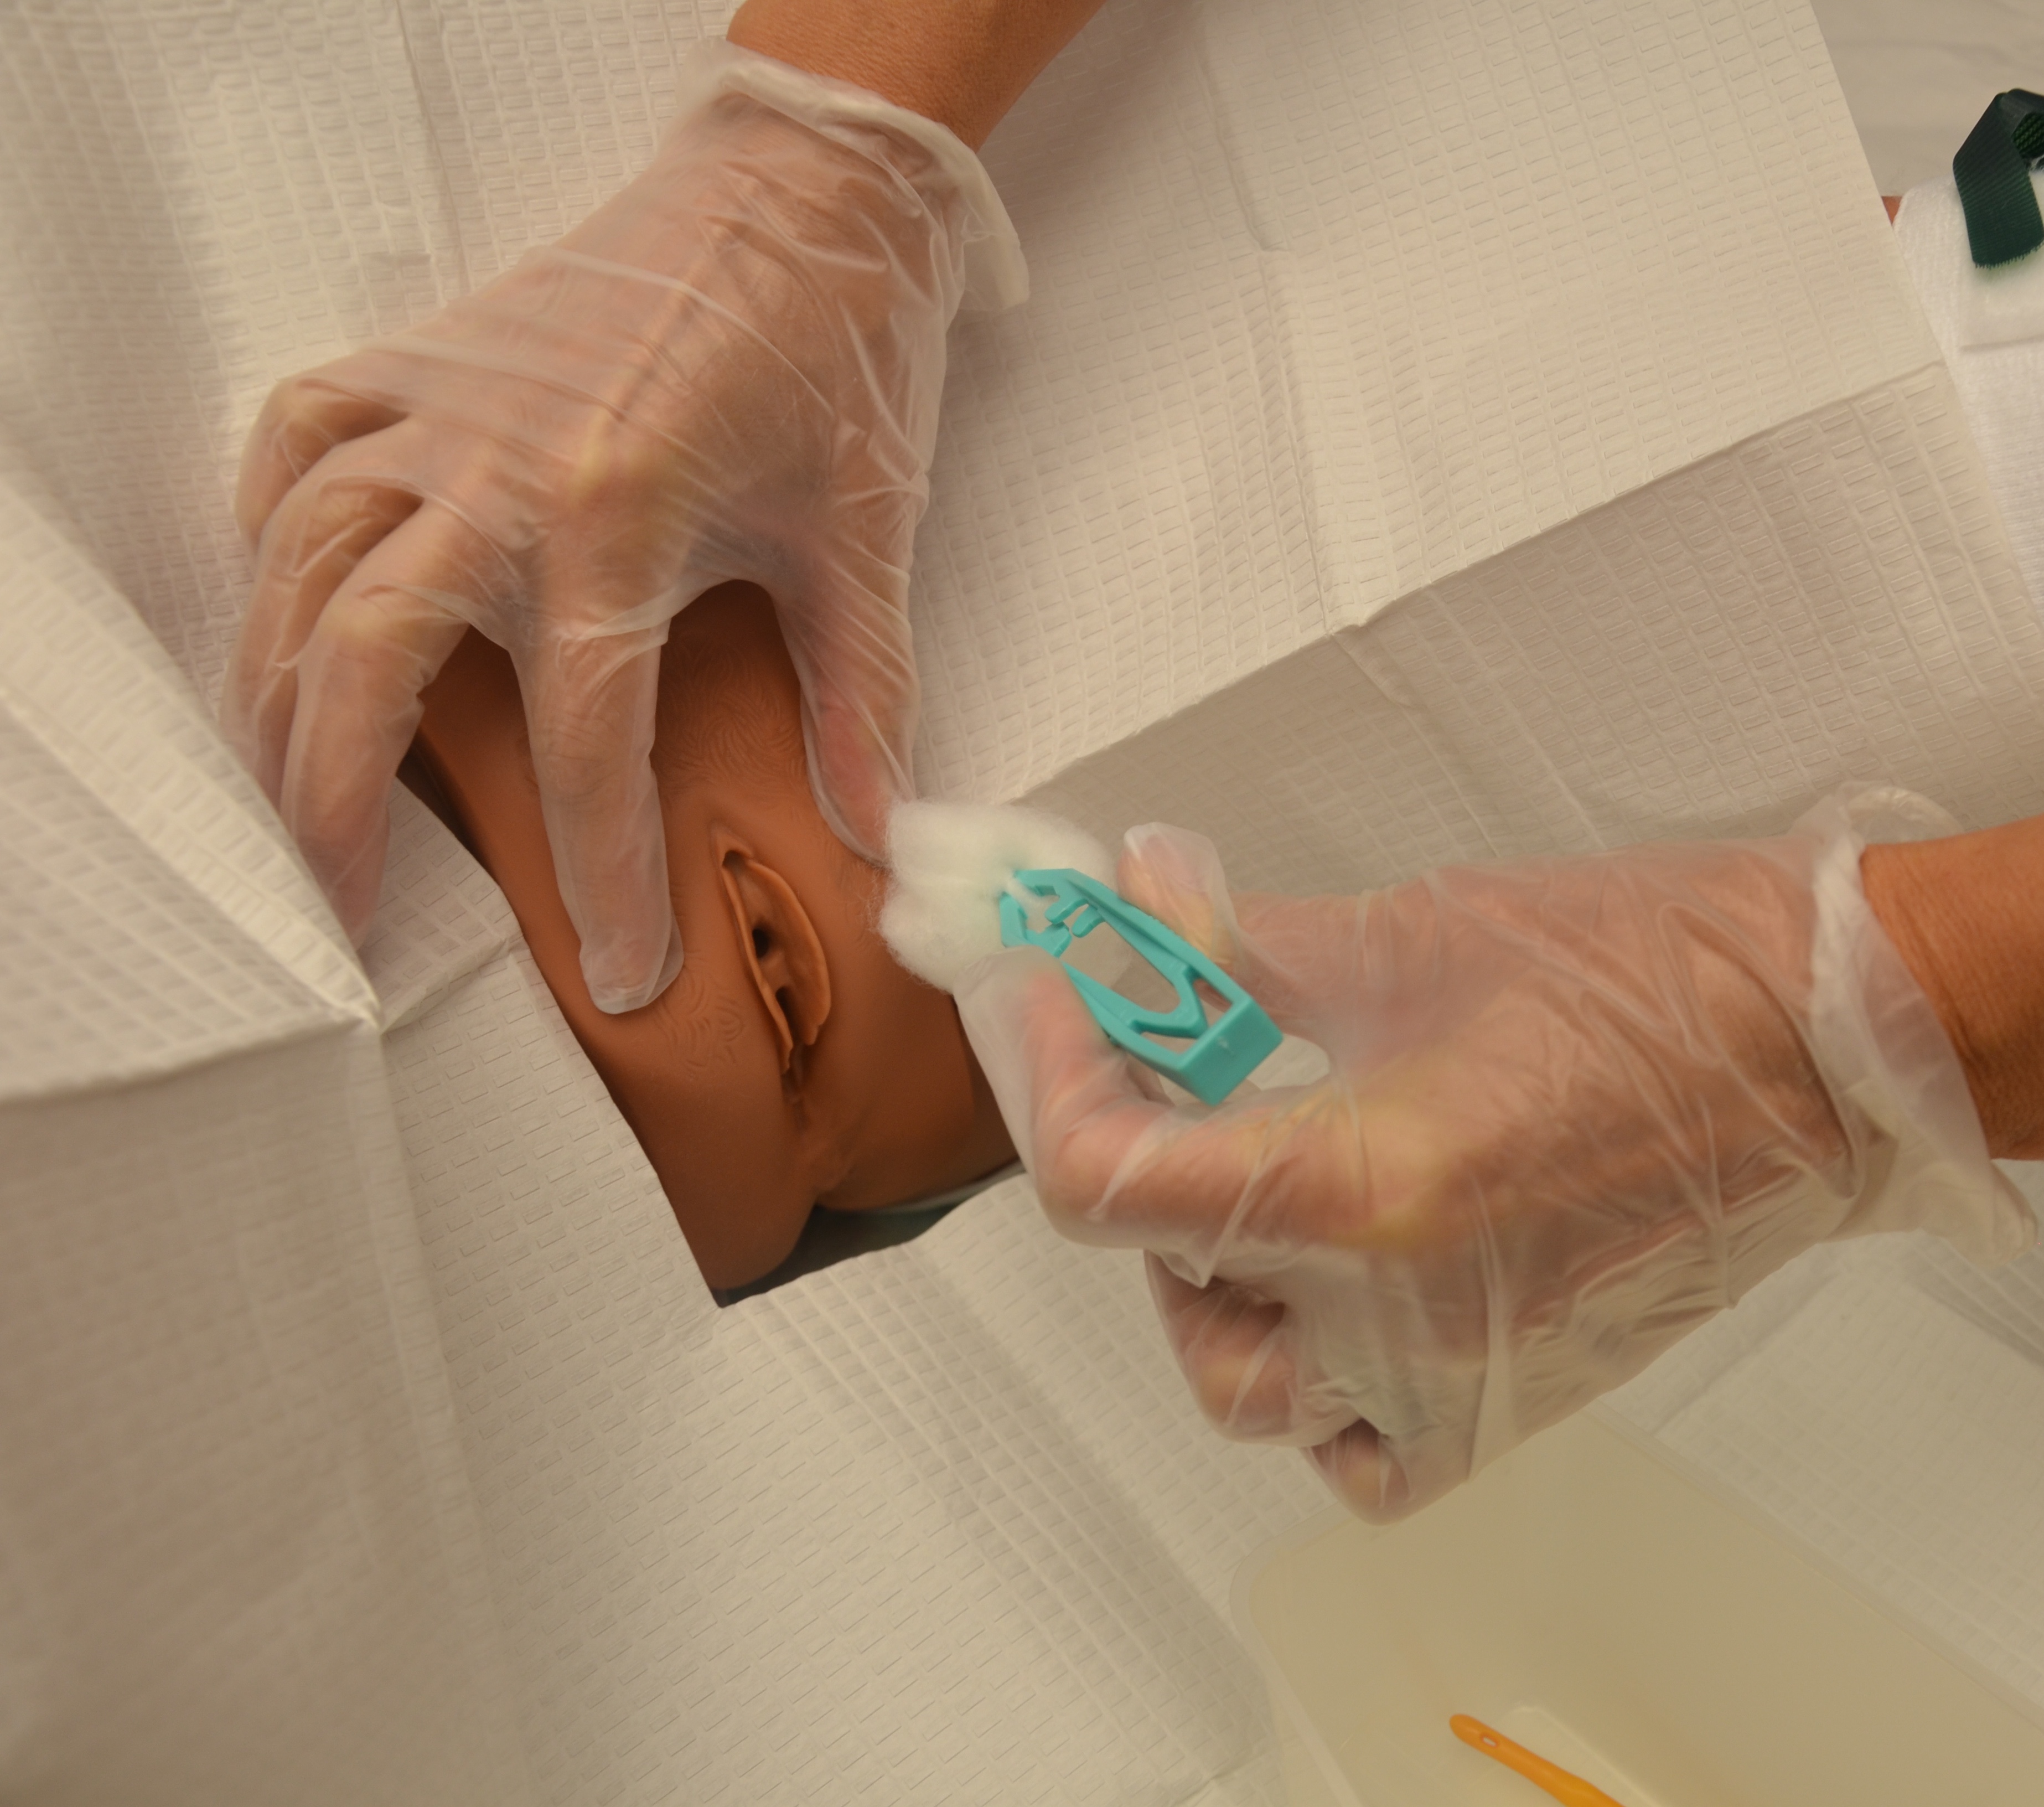
| 16. Clean perineal area as follows.
Female patient: Separate labia with fingers of non-dominant hand (now contaminated and no longer sterile). Using sterile technique and dominant hand, clean labia and urethral meatus from clitoris to anus, and from outside labia to inner labial folds and urethral meatus is the last swipe of the swab. If using prepackaged swabs, use a new swab for each cleansing stroke. If using cotton swabs and sterile forceps it is still one wipe one way discard Male patient: Gently grasp penis at shaft and hold it at right angle to the body throughout procedure with non-dominant hand (now contaminated and no longer sterile). Using sterile technique and dominant hand, clean urethral meatus in a circular motion working outward from meatus. If using prepackaged swabs, use a new swab for each cleansing stroke. If using cotton swabs and sterile forcepts it is till one wipe one way discard. |
This reduces the transmission of microorganisms.
 |
|||
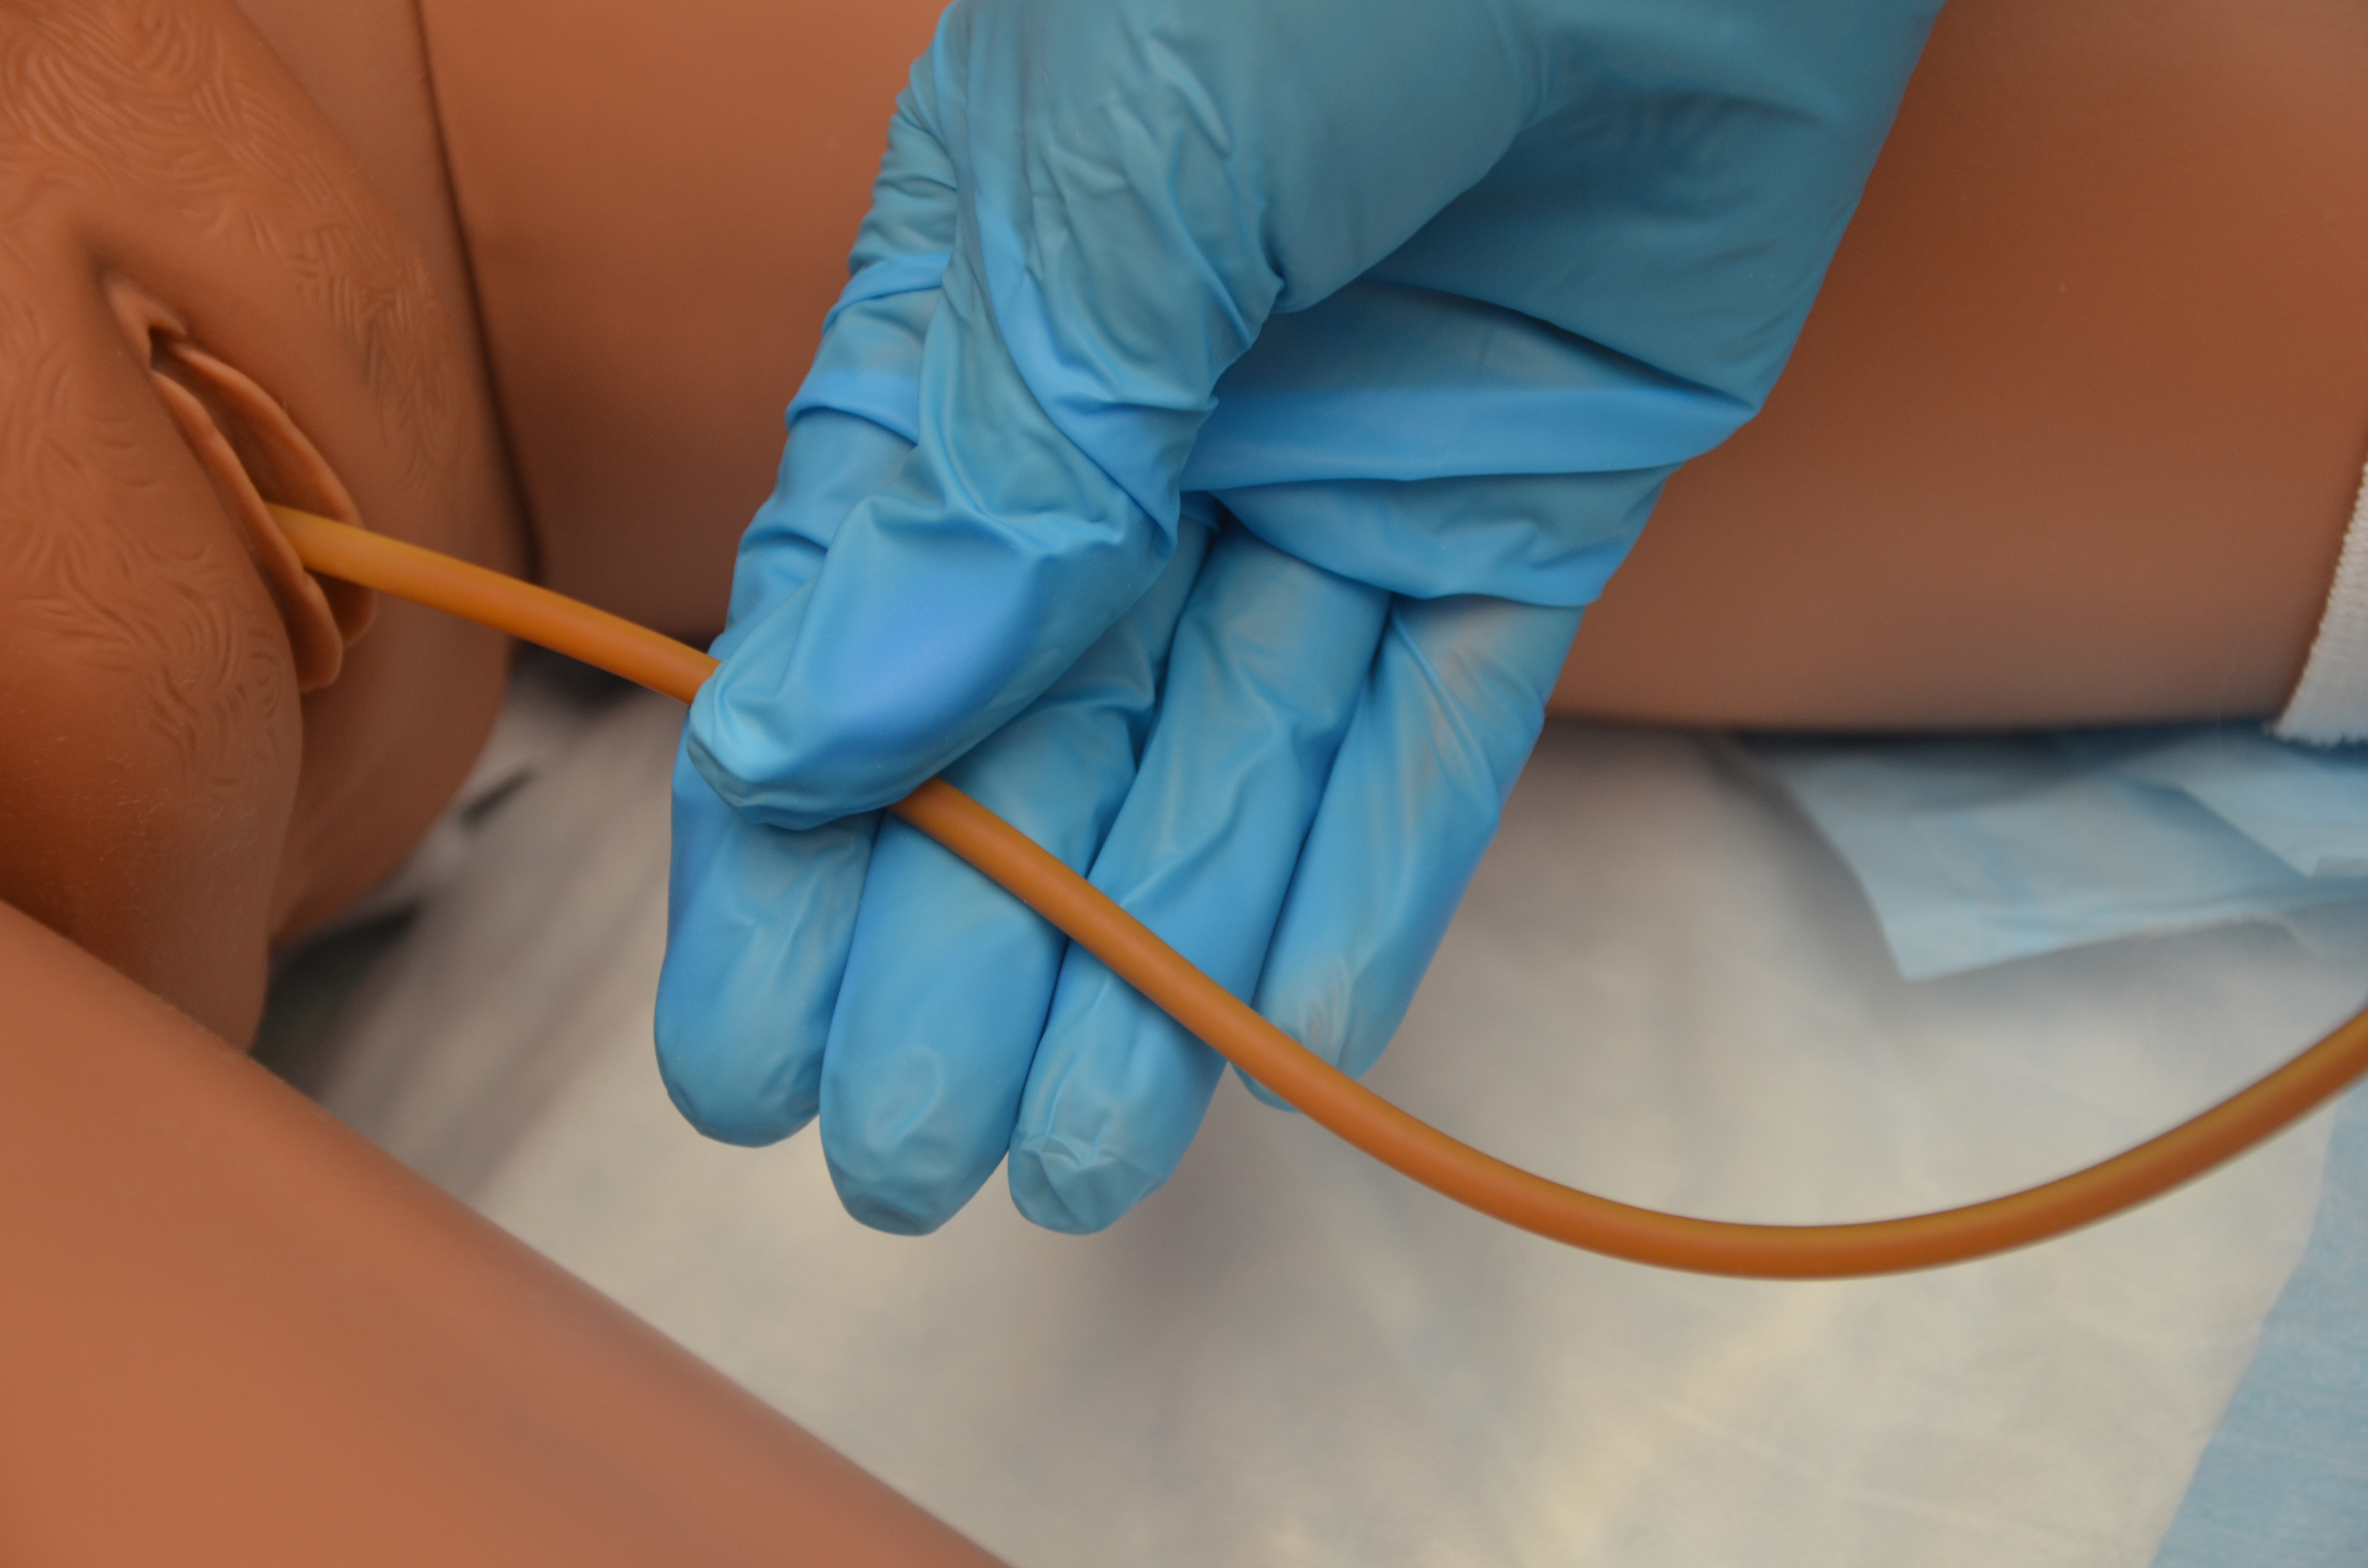
| 17. Pick up catheter with sterile dominant hand 7.5 to 10 cm below the tip of the catheter. | Holding catheter closer to the tip will help to control and manipulate catheter during insertion. | |||
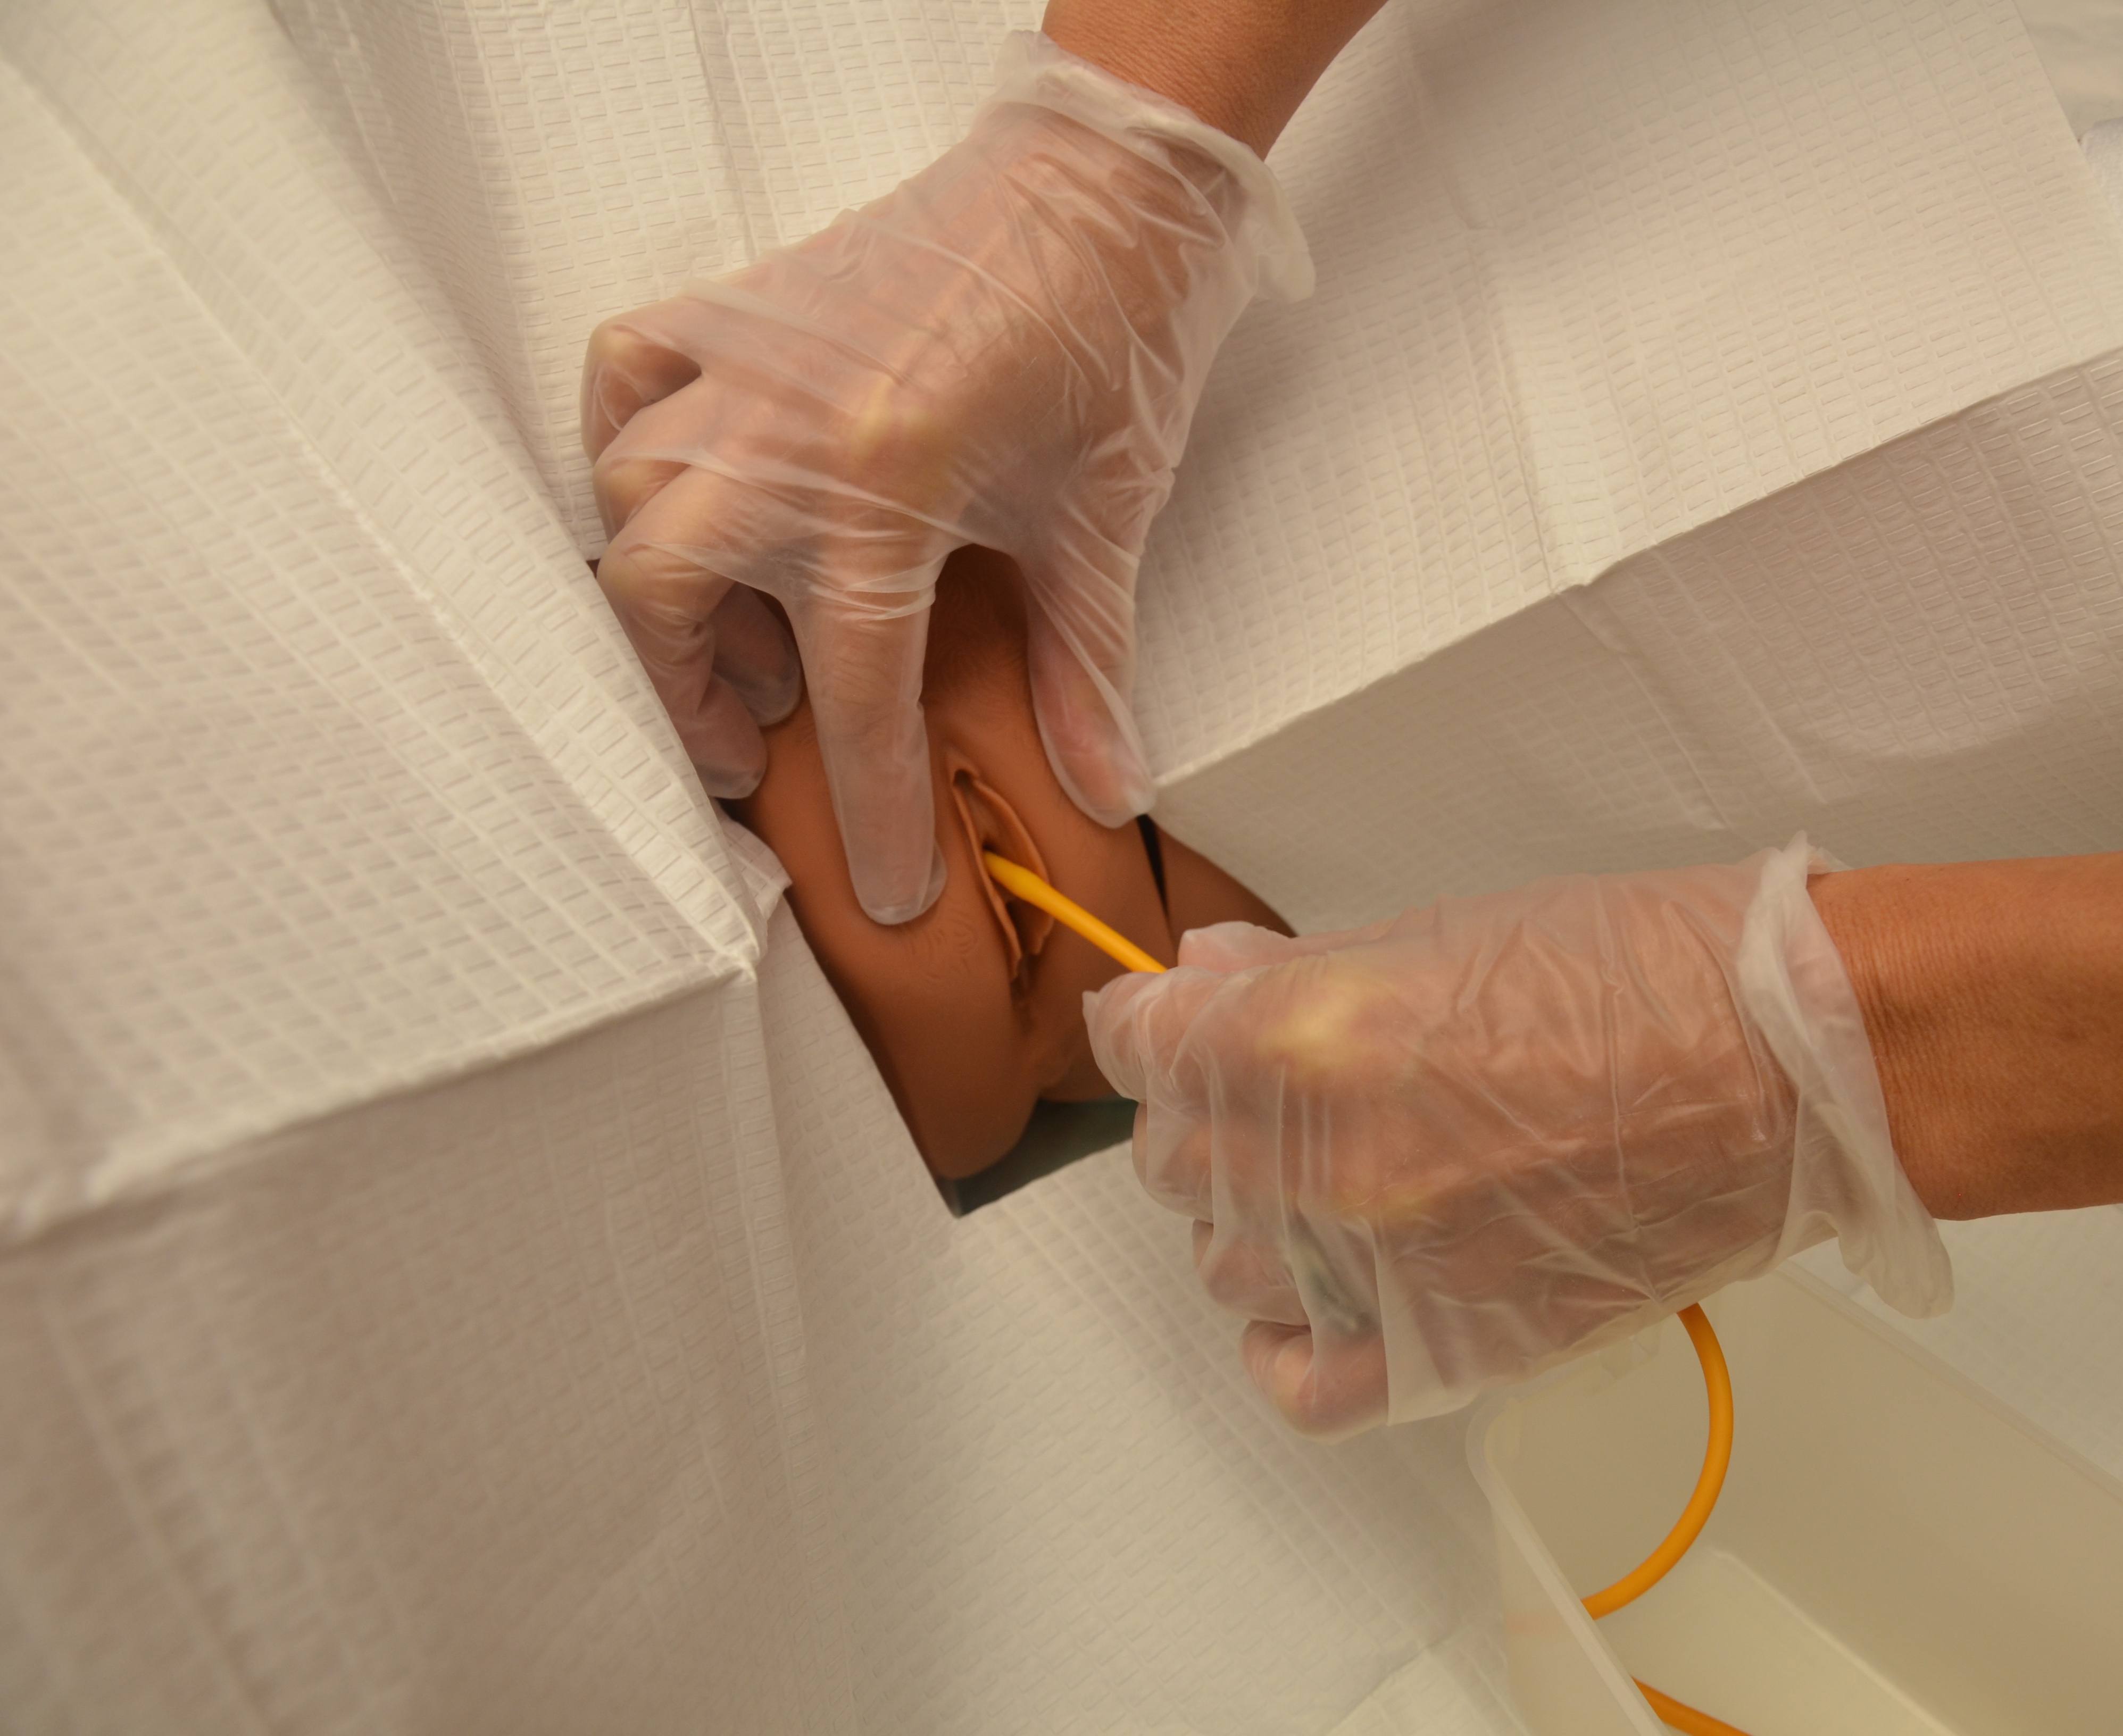
| 18. Insert catheter as follows.
Female patient:
Male patient:
|
This process helps visualize urethral meatus and relax external urinary sphincter.
 |
|||
| Note: If urine does not appear in a female patient, the catheter may be in the patient’s vagina. Leave catheter in vagina as a landmark, and insert another sterile catheter. | ||||
| Note: If catheter does not advance in a male patient, do not use force. Ask patient to take deep breaths while holding steady pressure with the tip of the catheter. Sometimes the catheter will pass via the prostate. If catheter still does not advance, reposition the penis toward the abdomen while holding steady pressure with the tip of the catheter. If the catheter still does not advance, stop procedure and inform physician. Patient may have an enlarged prostate or urethral obstruction and may require a coudé tip catheter or the expertise of someone else. | ||||
| 19. Place catheter in sterile tray and collect urine specimen if required. | Urine specimen may be required for analysis. Collect as per agency policy. | |||
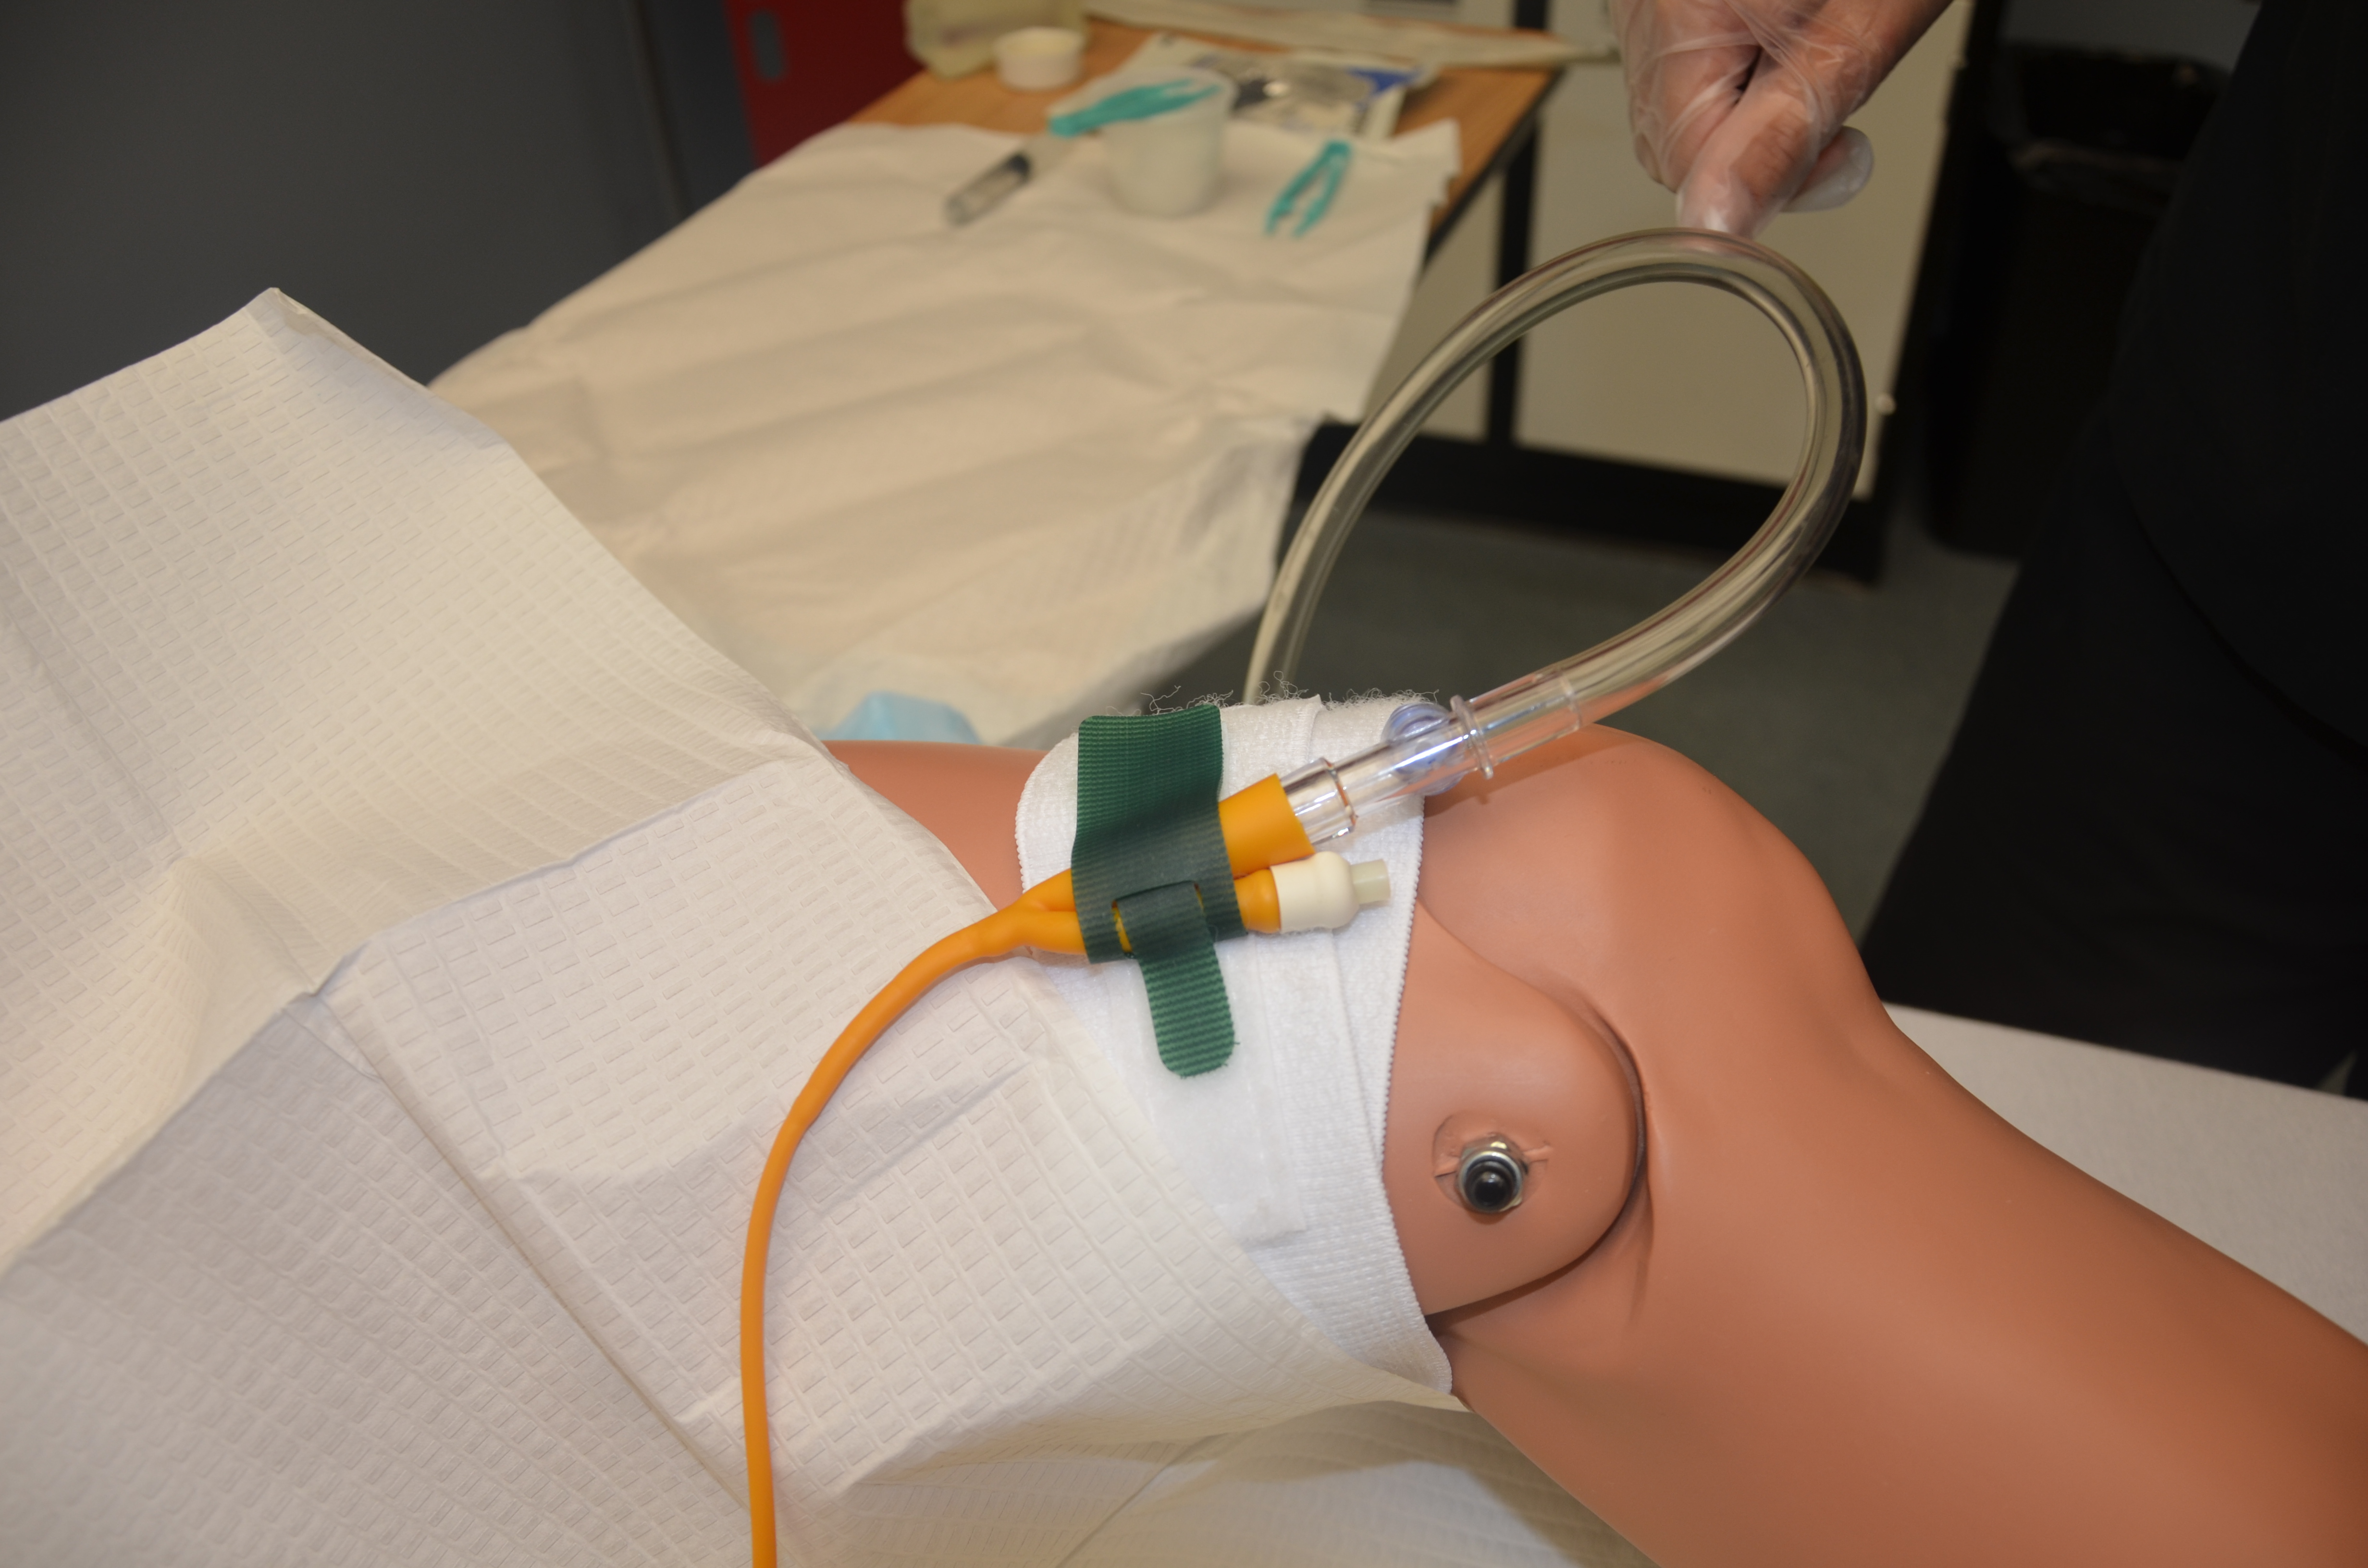
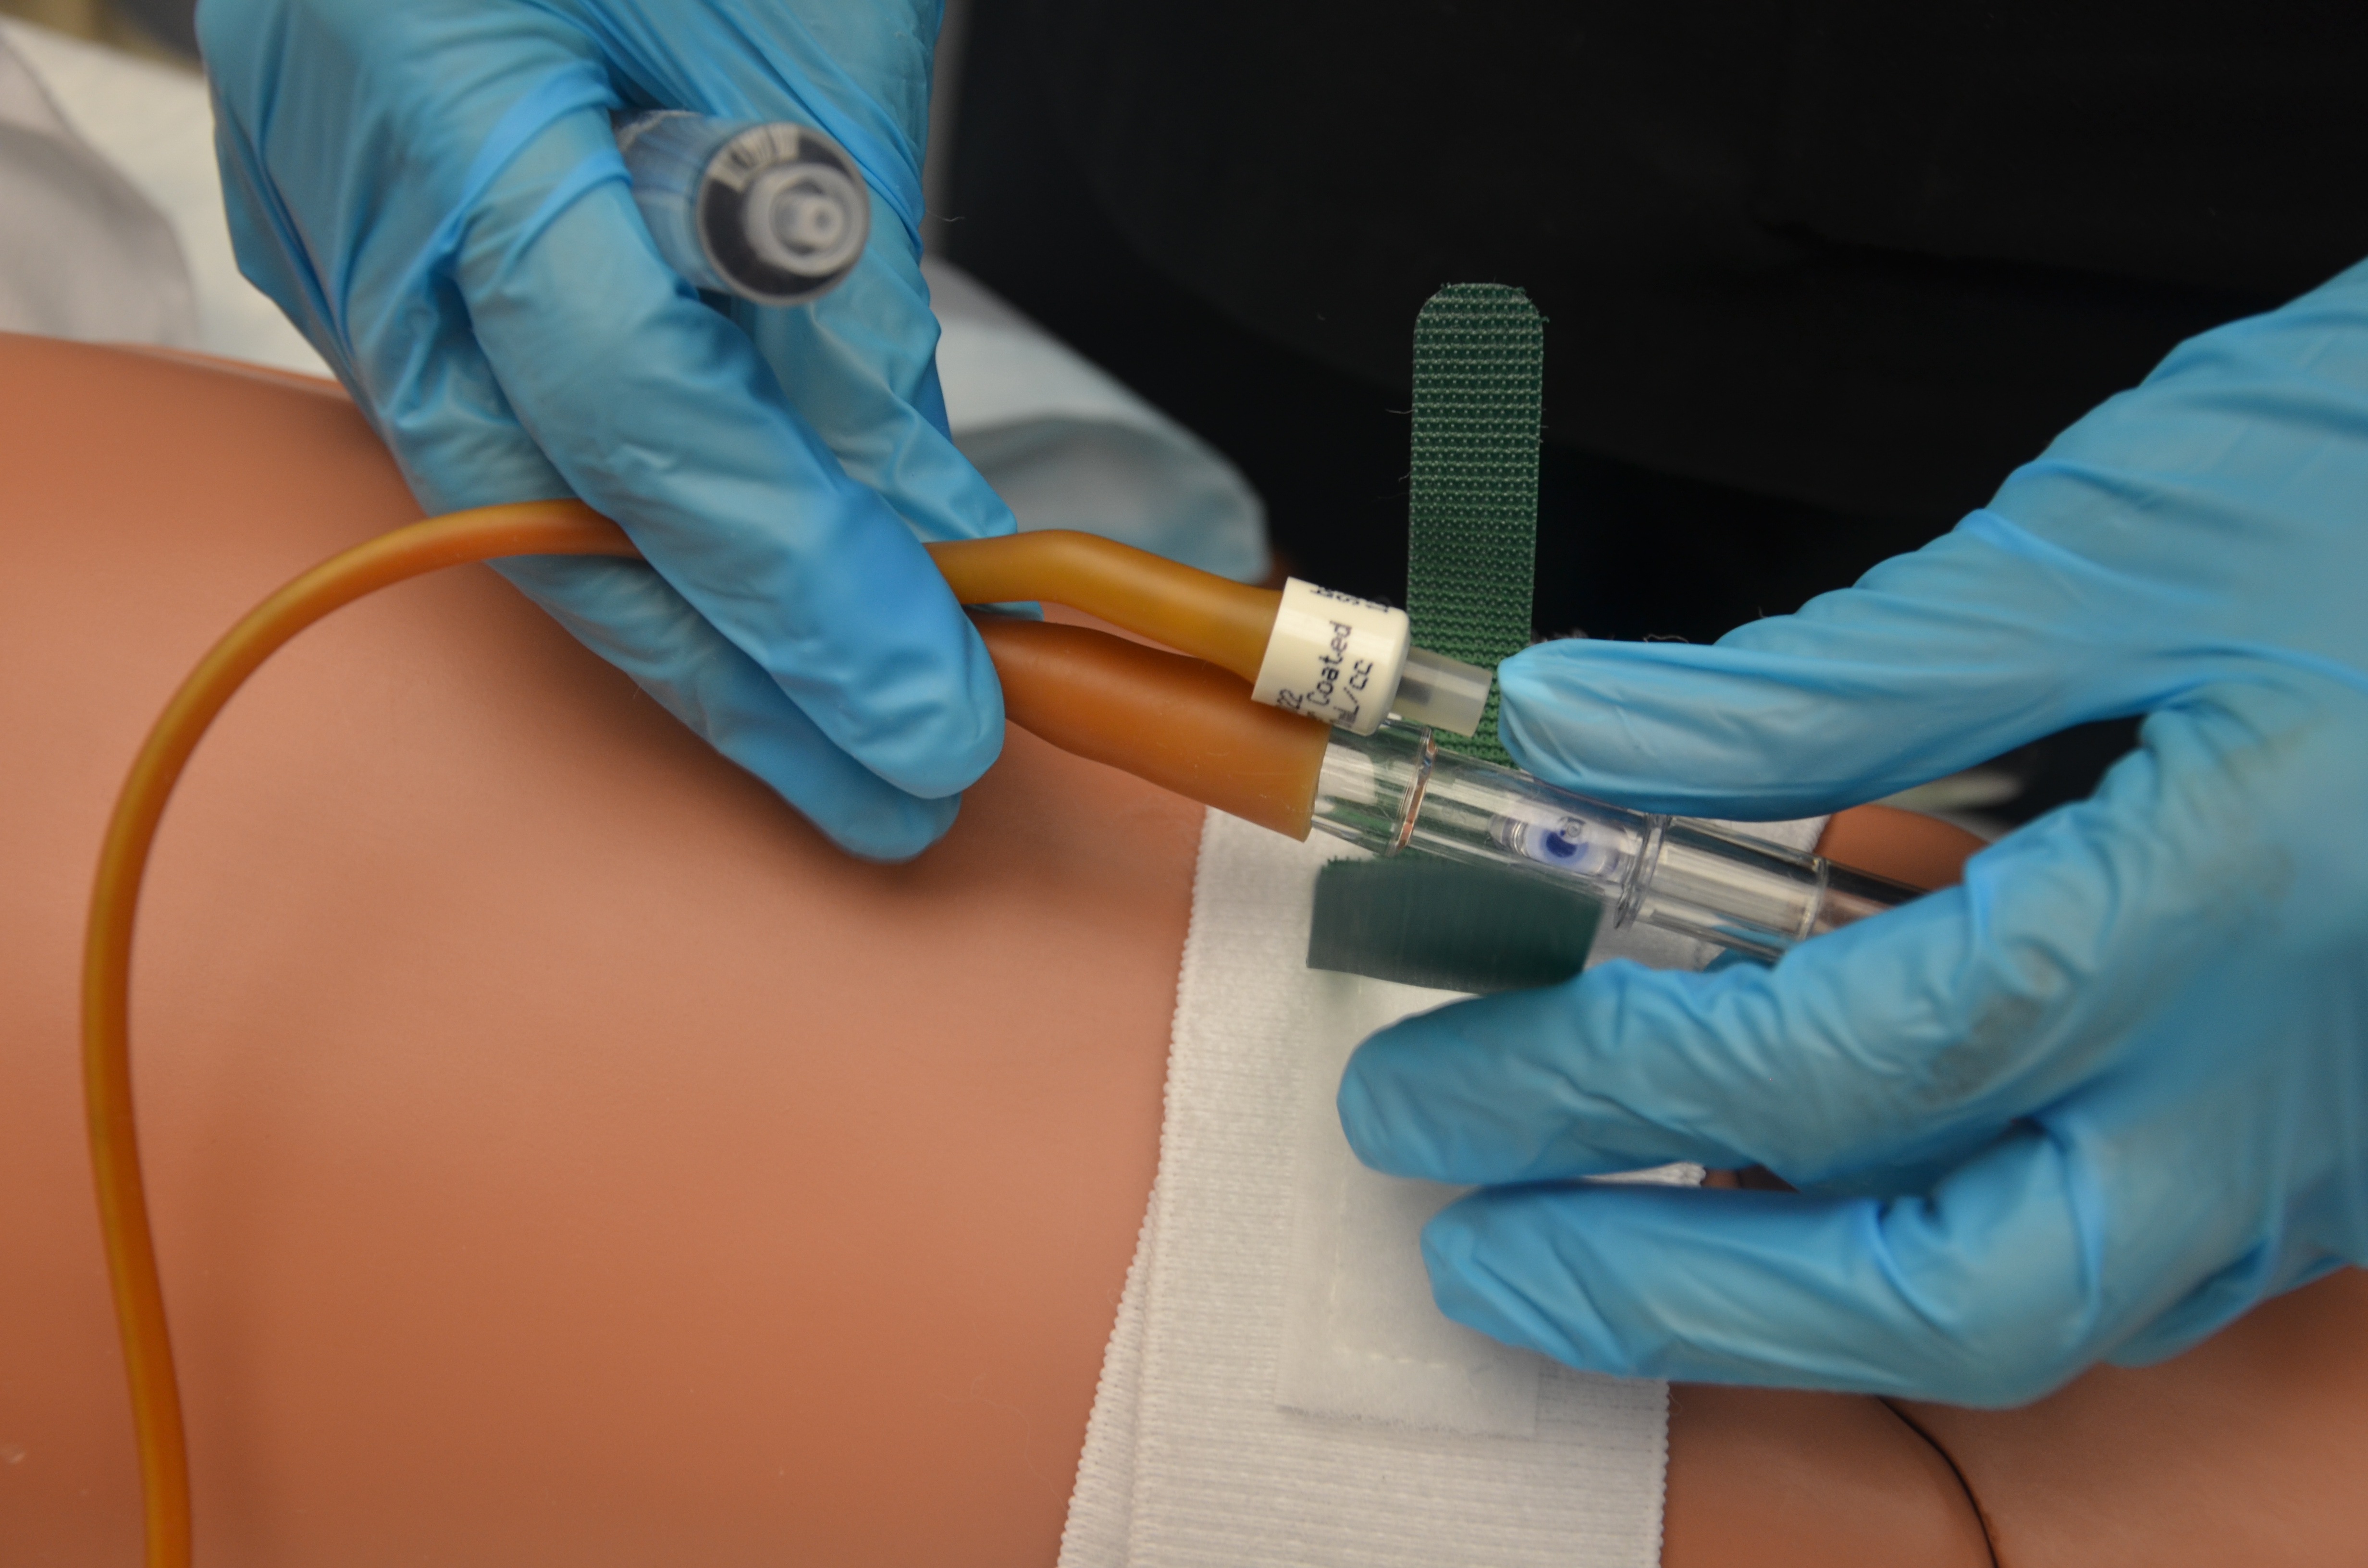
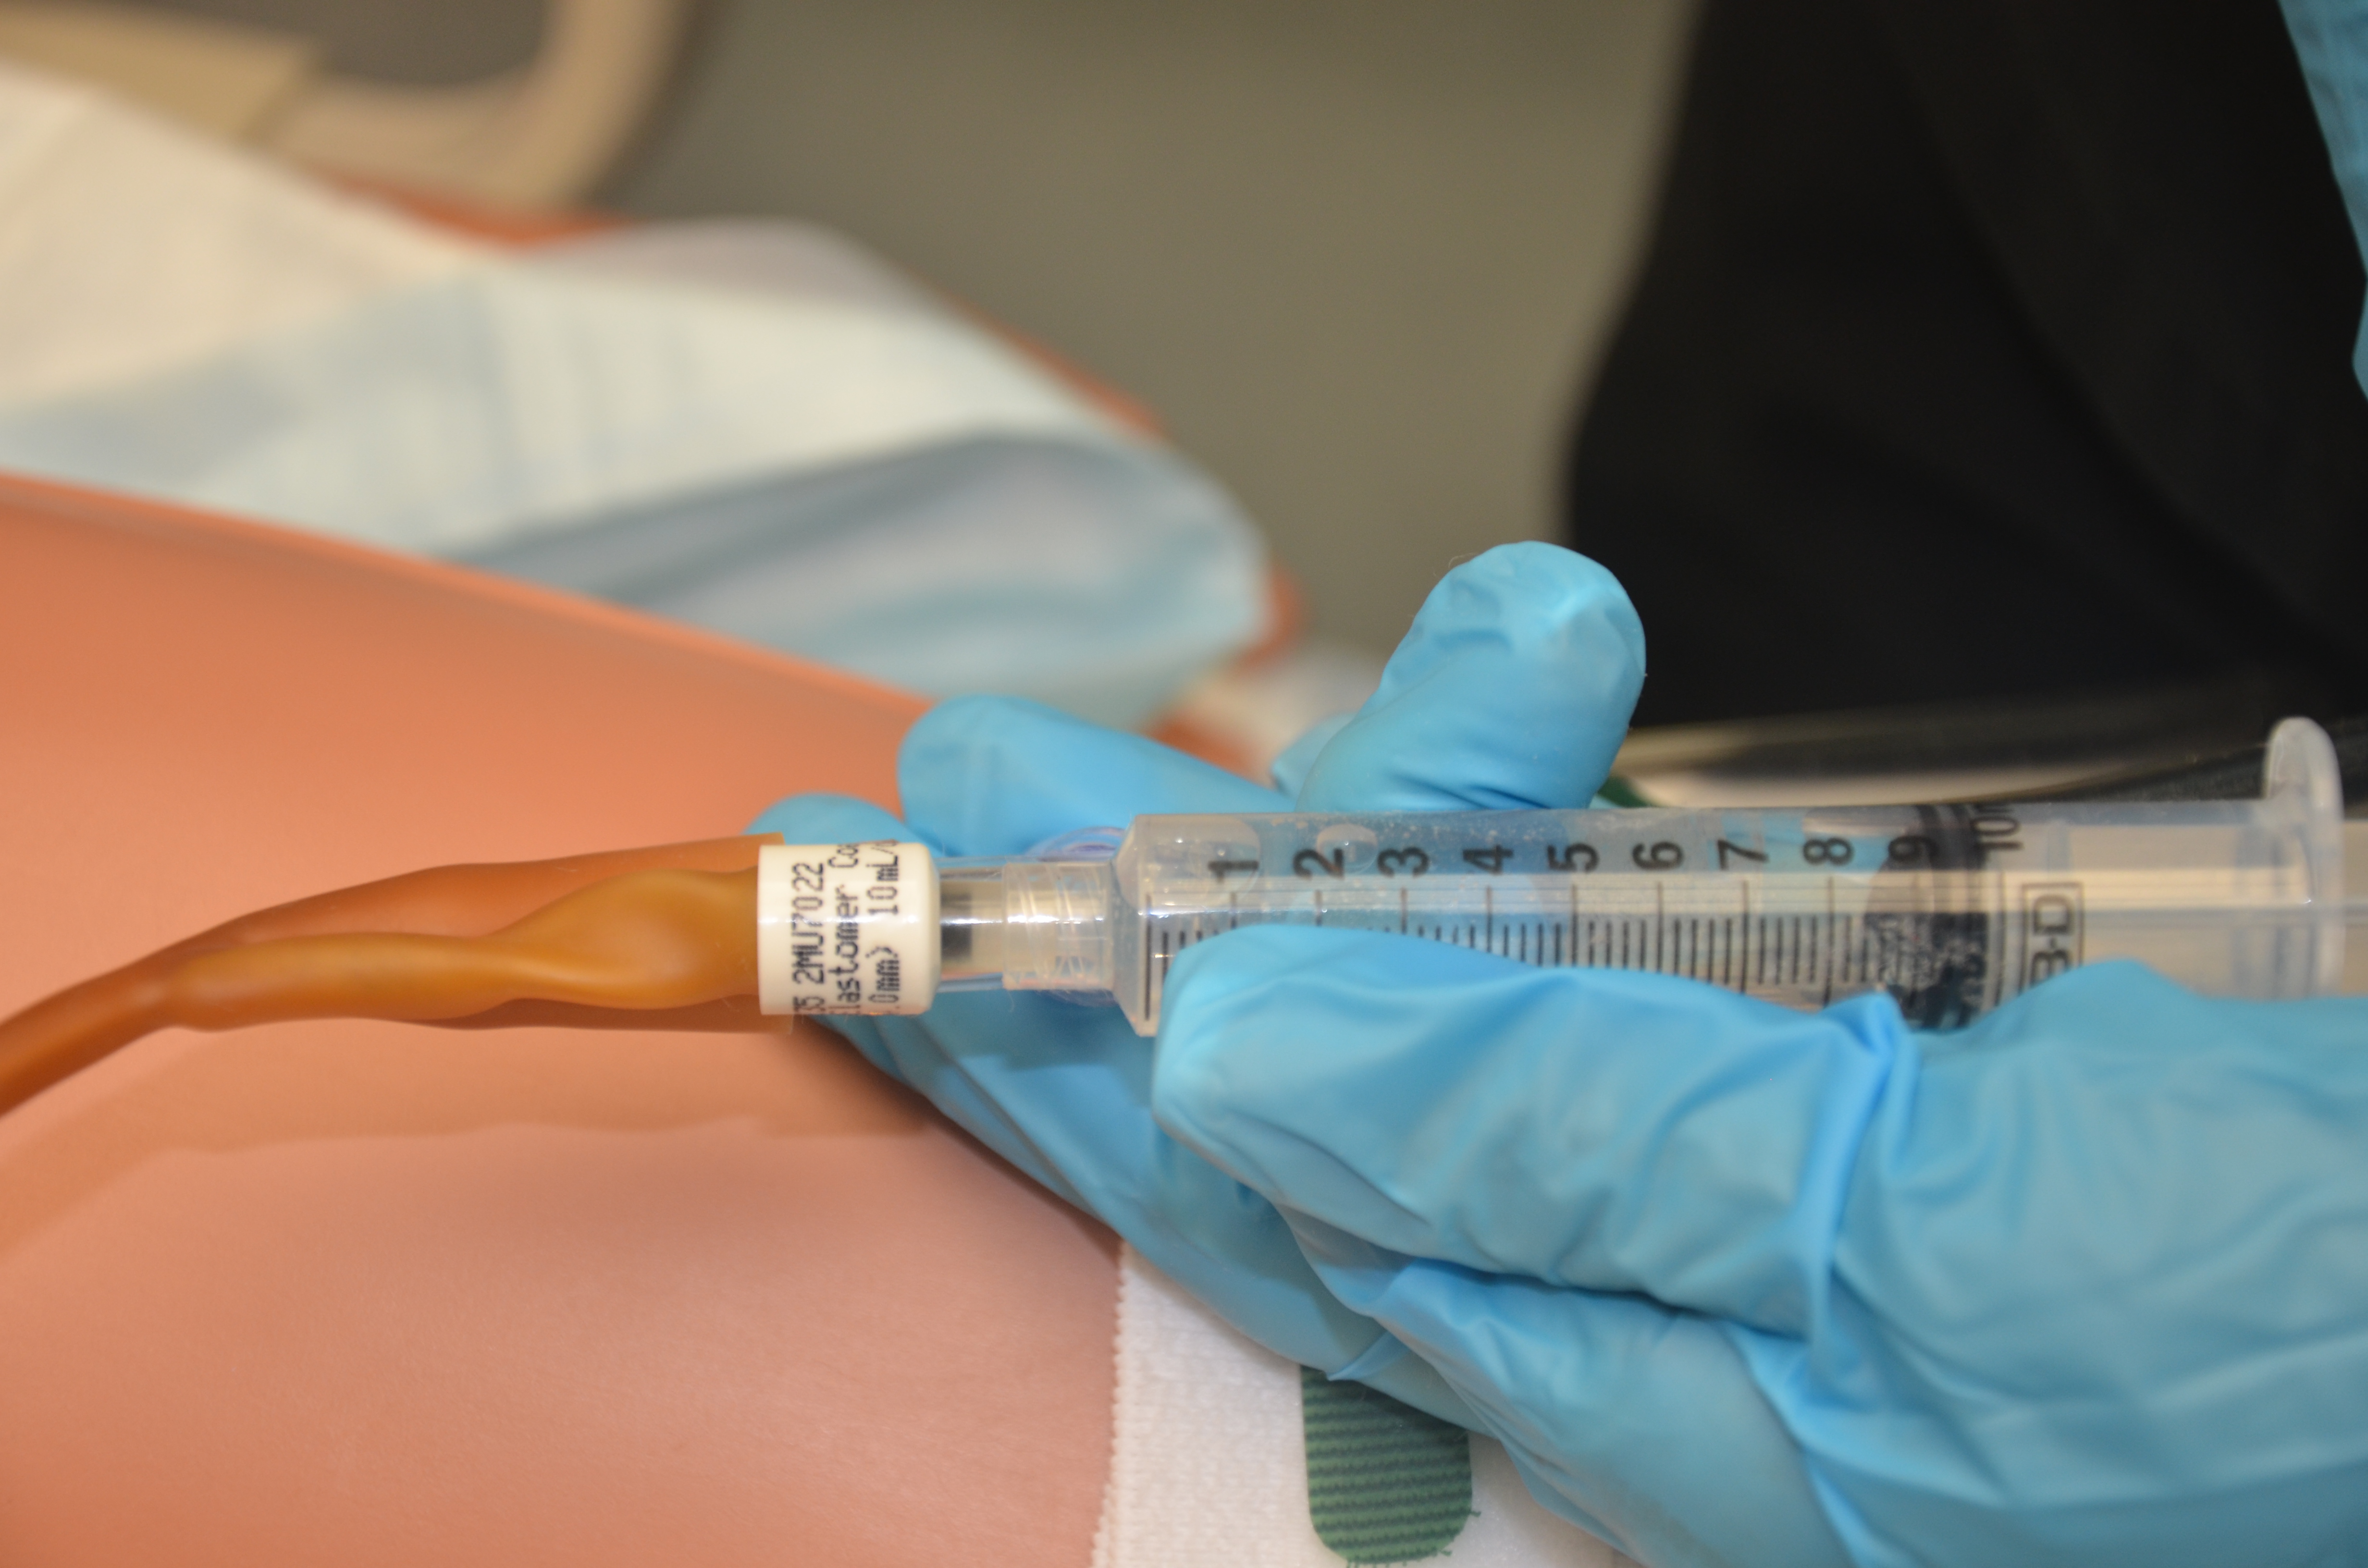
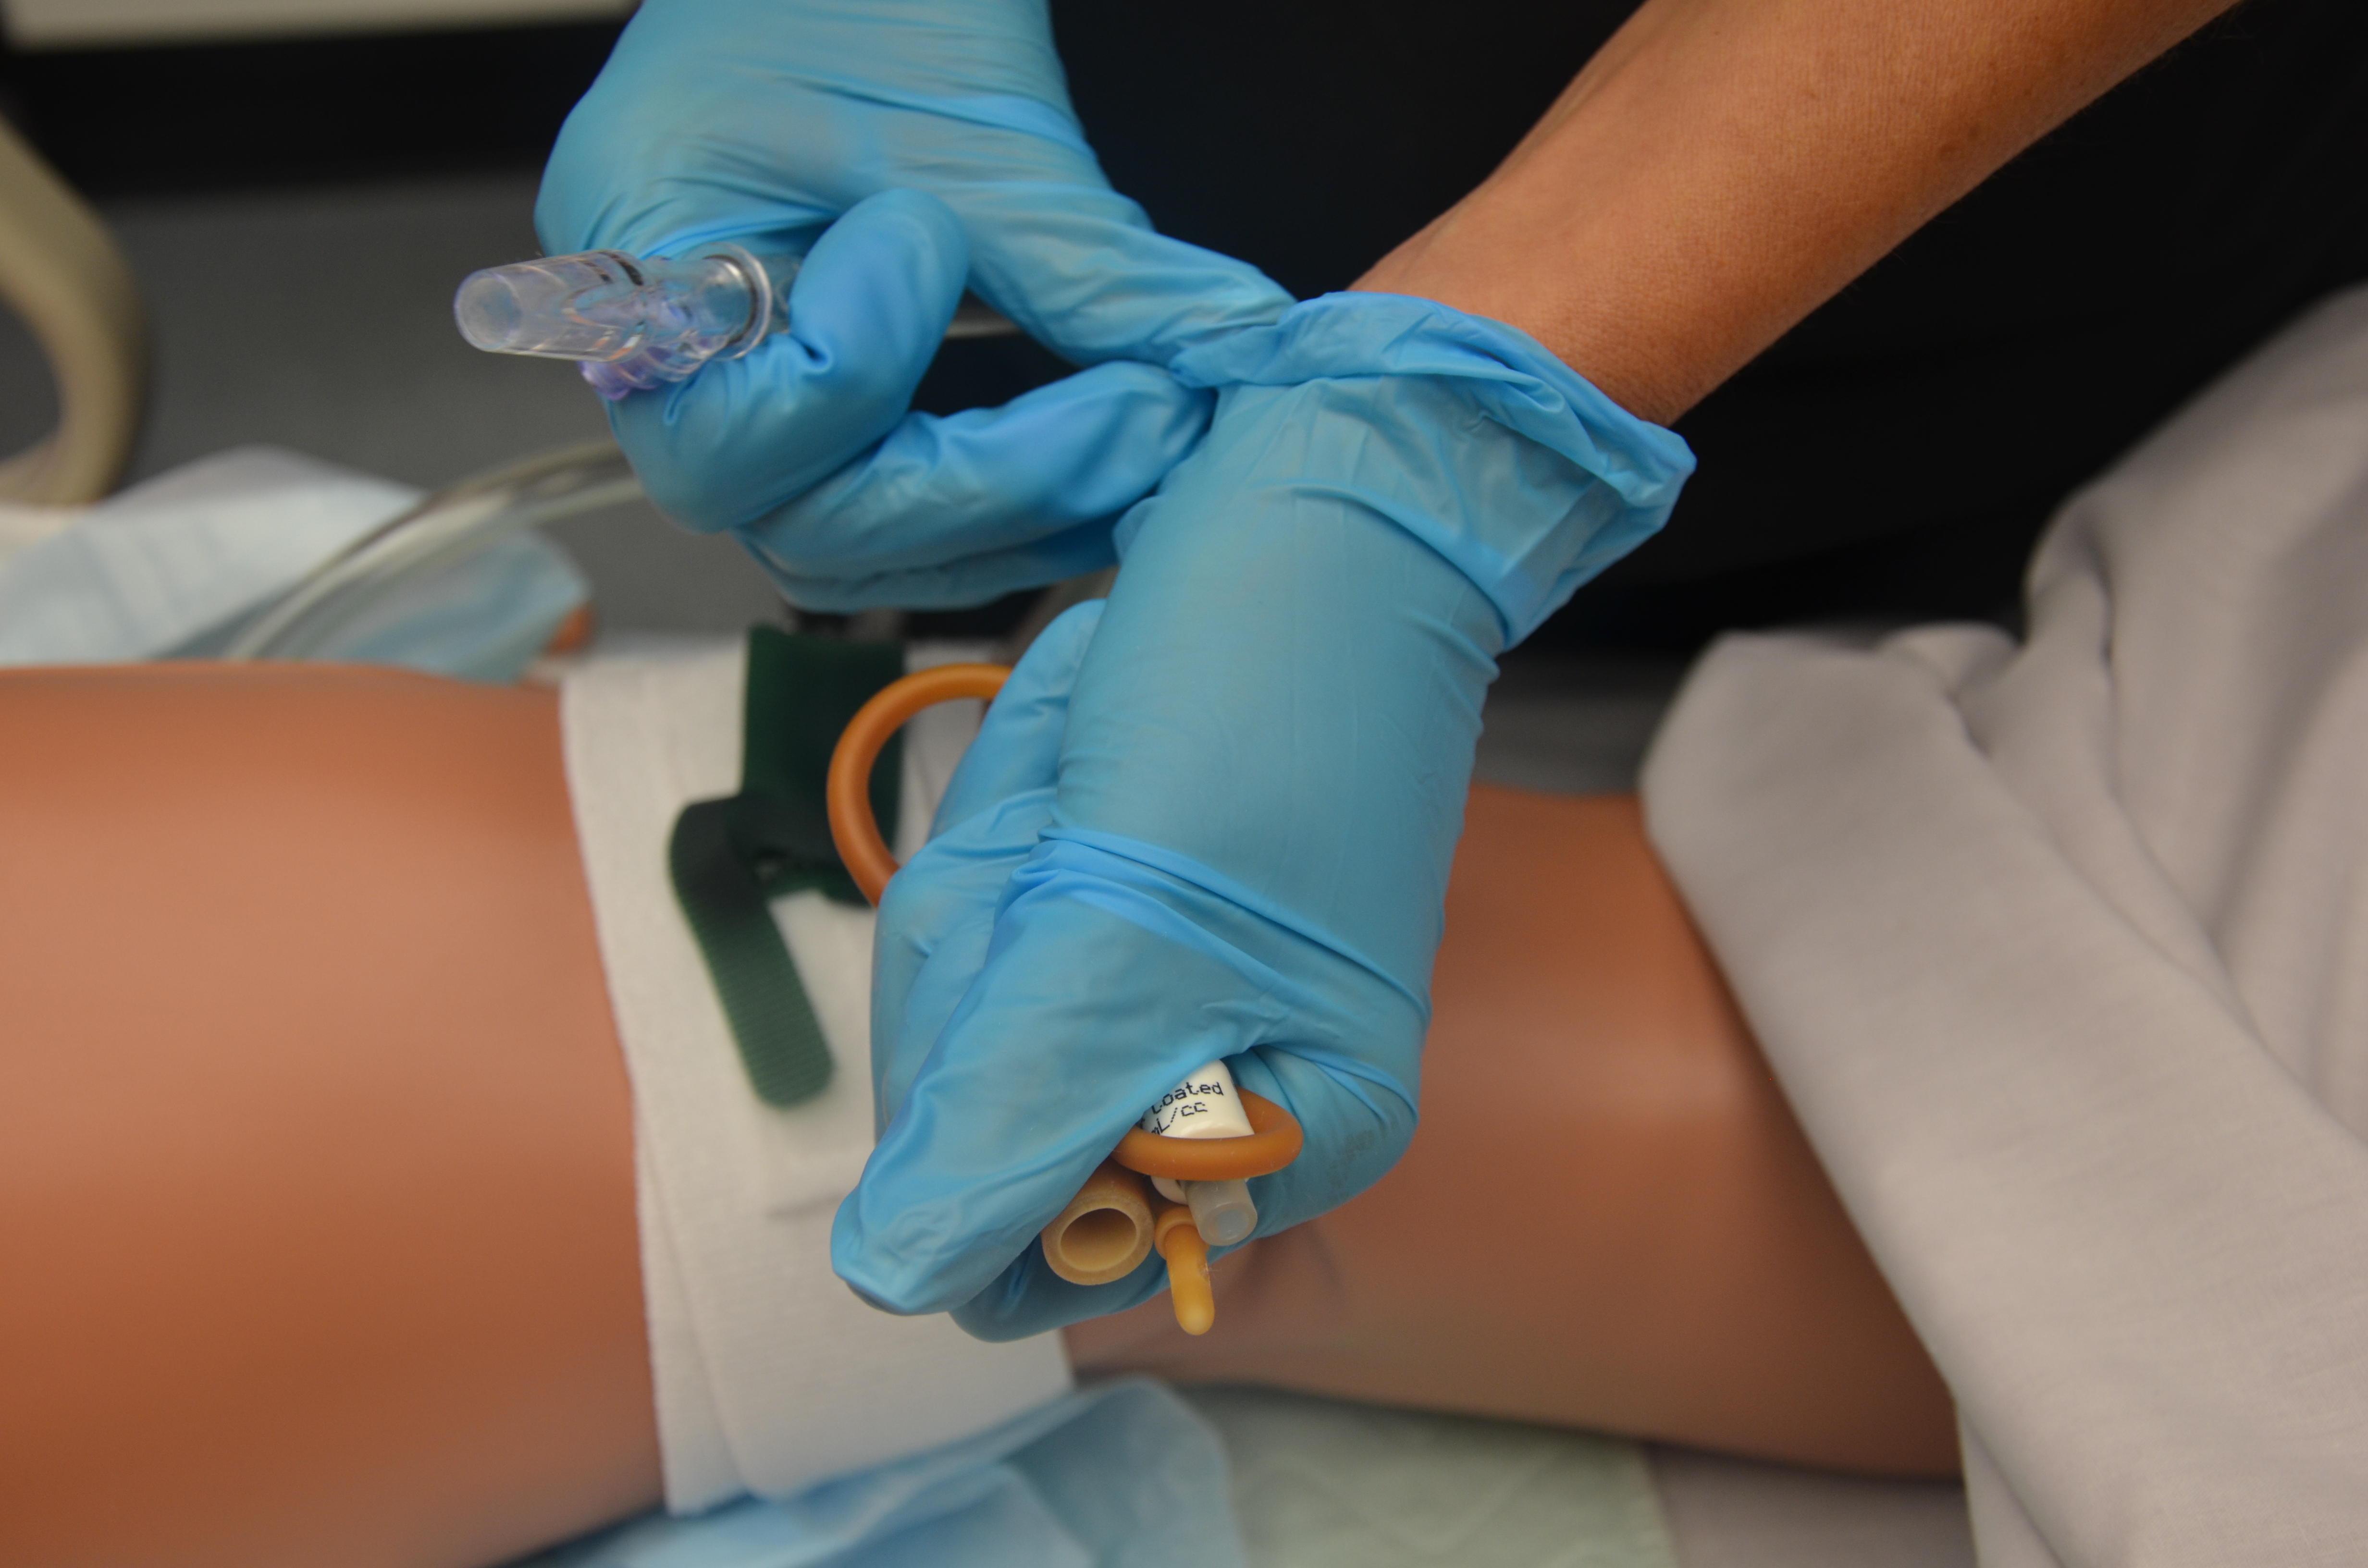
| 20. While holding the catheter in place, slowly inflate balloon for indwelling catheters according to catheter size, using prefilled syringe. Observe the patient’s facial expression during inflating noting any evidence of discomfort. If discomfort, STOP and deflate the balloon. The catheter balloon may be in the urethra.
Likewise, if every indication suggests the balloon is in the bladder, keep gentle pressure on the syringe plunger with thumb, gently pull back on the catheter to confirm the balloon is inflated and the catheter will remain insitu. |
The size of balloon is marked on the catheter port.
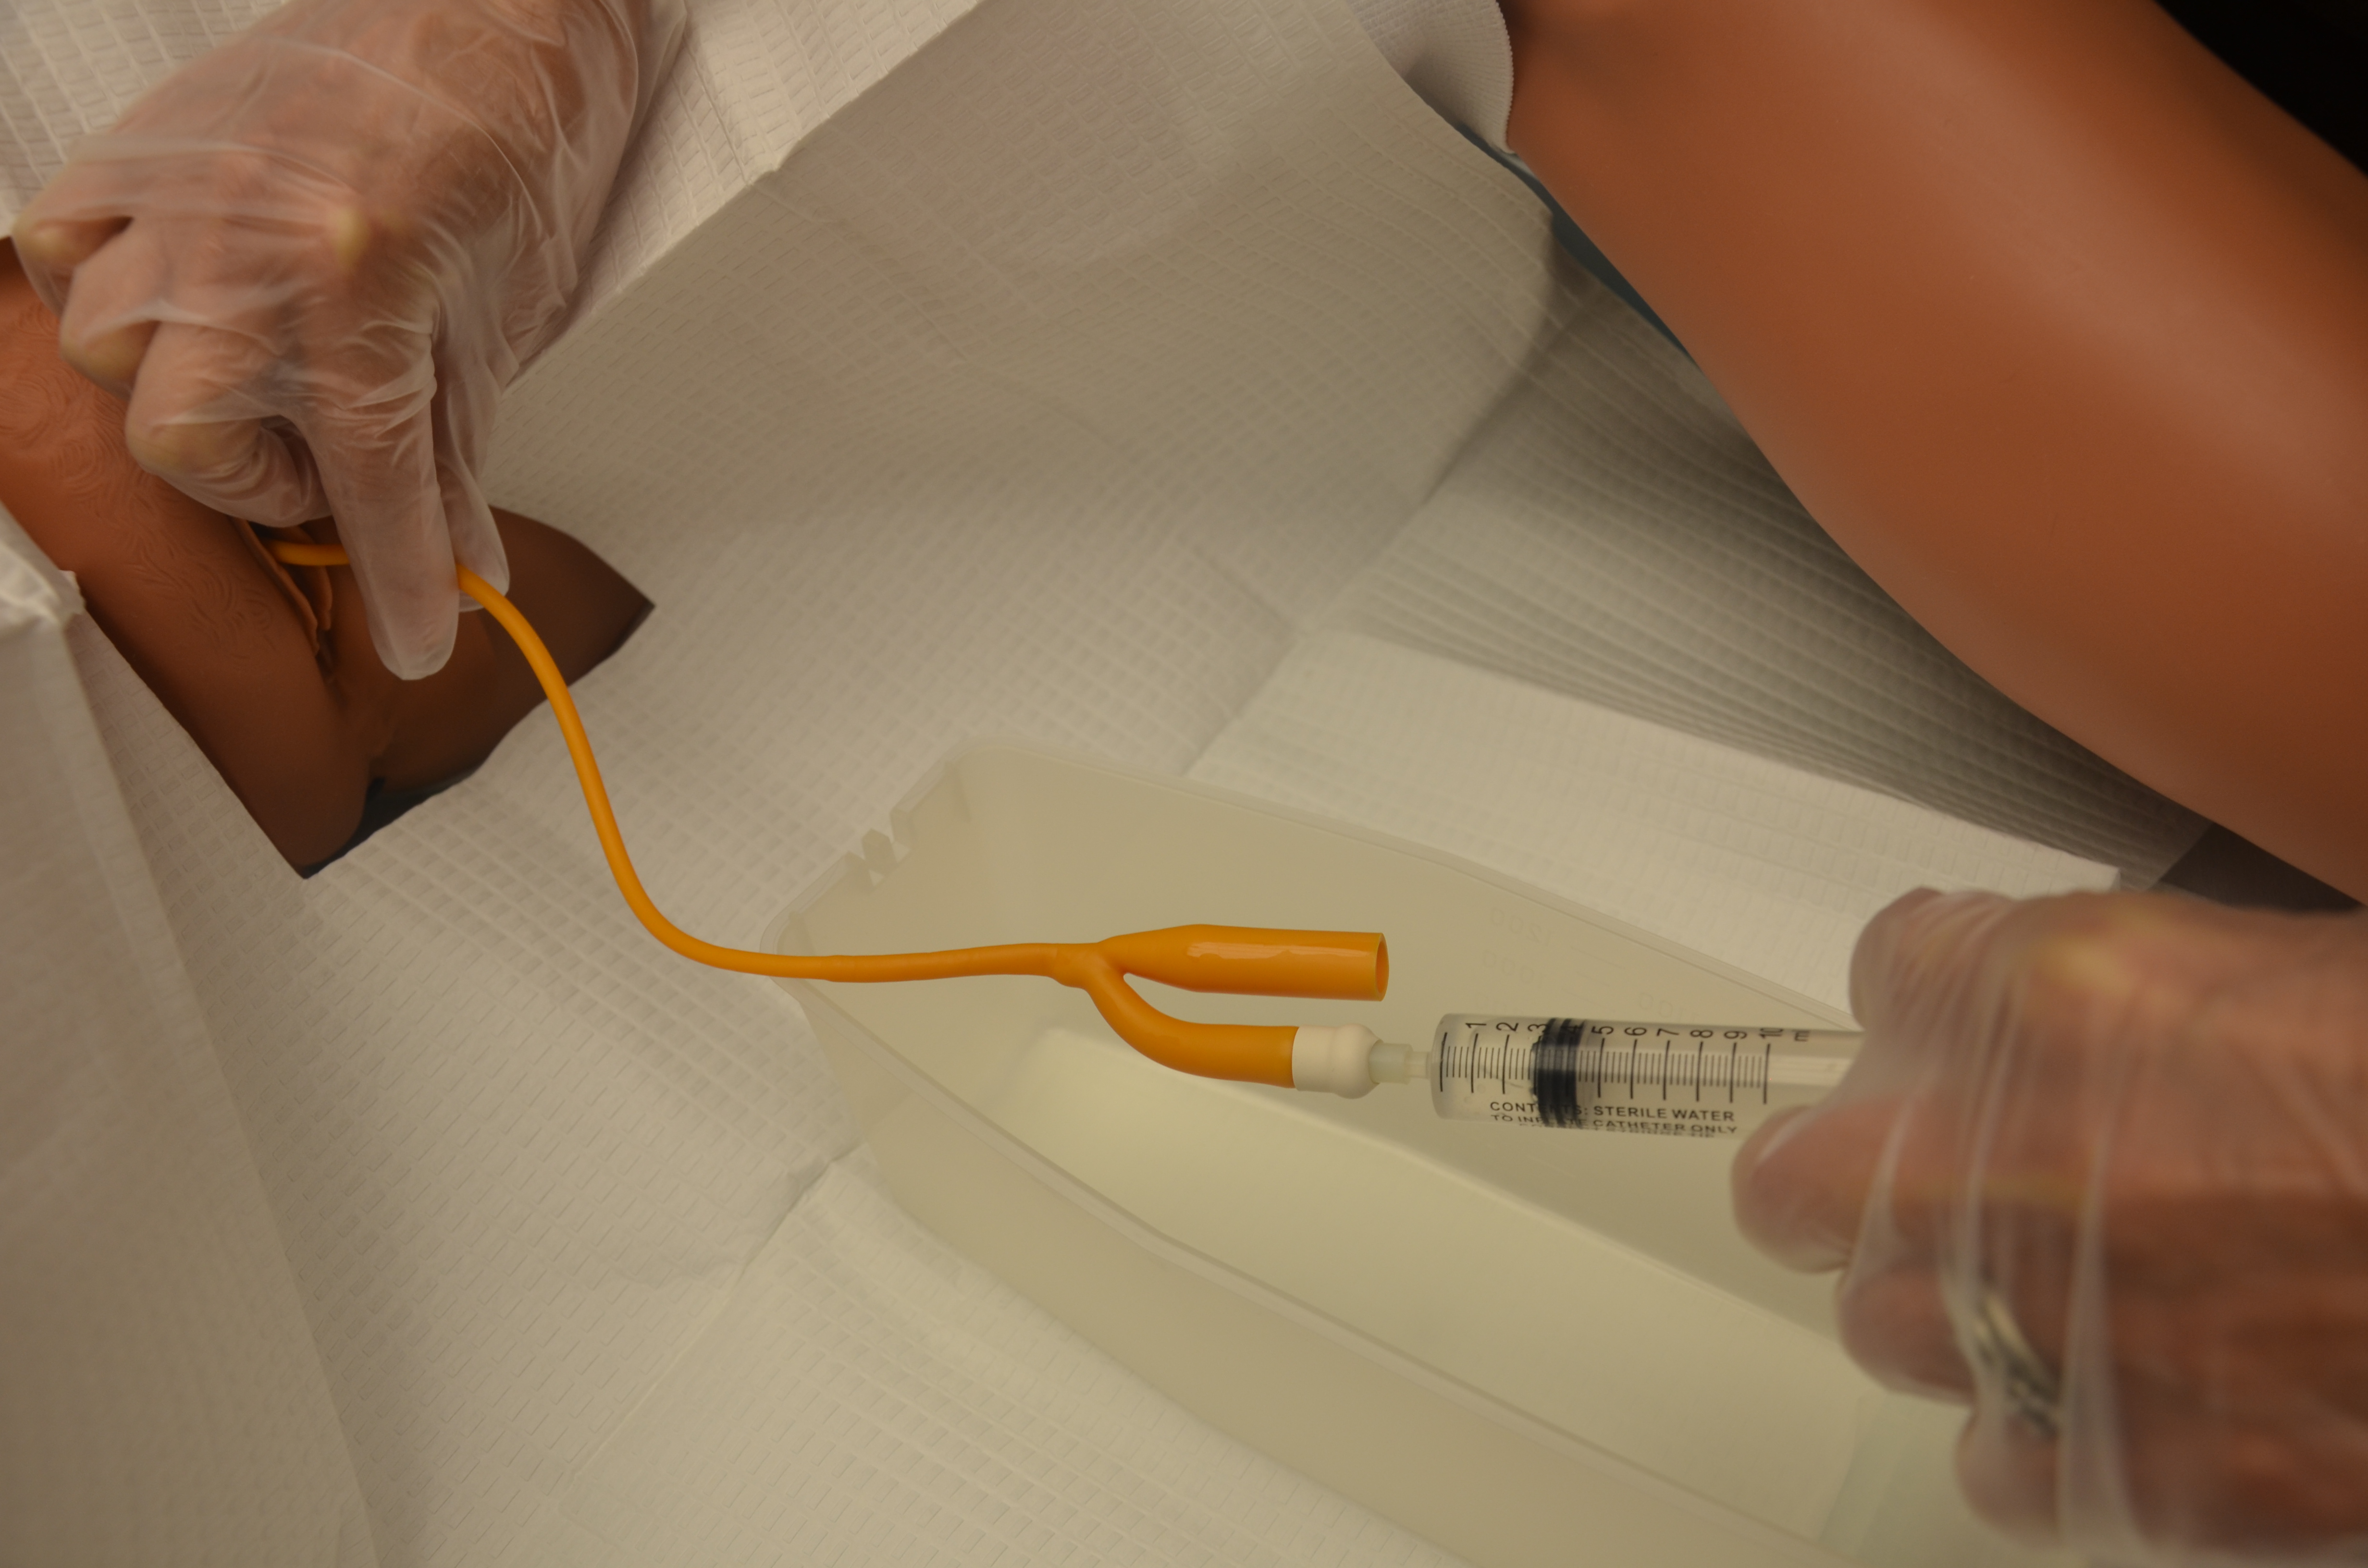 Inflating a balloon in a urethra can cause severe trauma. |
|||
| Note: If patient experiences pain on balloon inflation, deflate balloon, allow urine to drain, advance catheter, and reinflate balloon. | ||||
| 21. After balloon is inflated, pull gently on catheter until resistance is felt, and then advance the catheter again. | Moving catheter back into bladder will avoid placing pressure on bladder neck. | |||
| 22. Connect urinary bag to catheter using principles of asepsis. | Keep urinary bag below level of patient’s bladder.
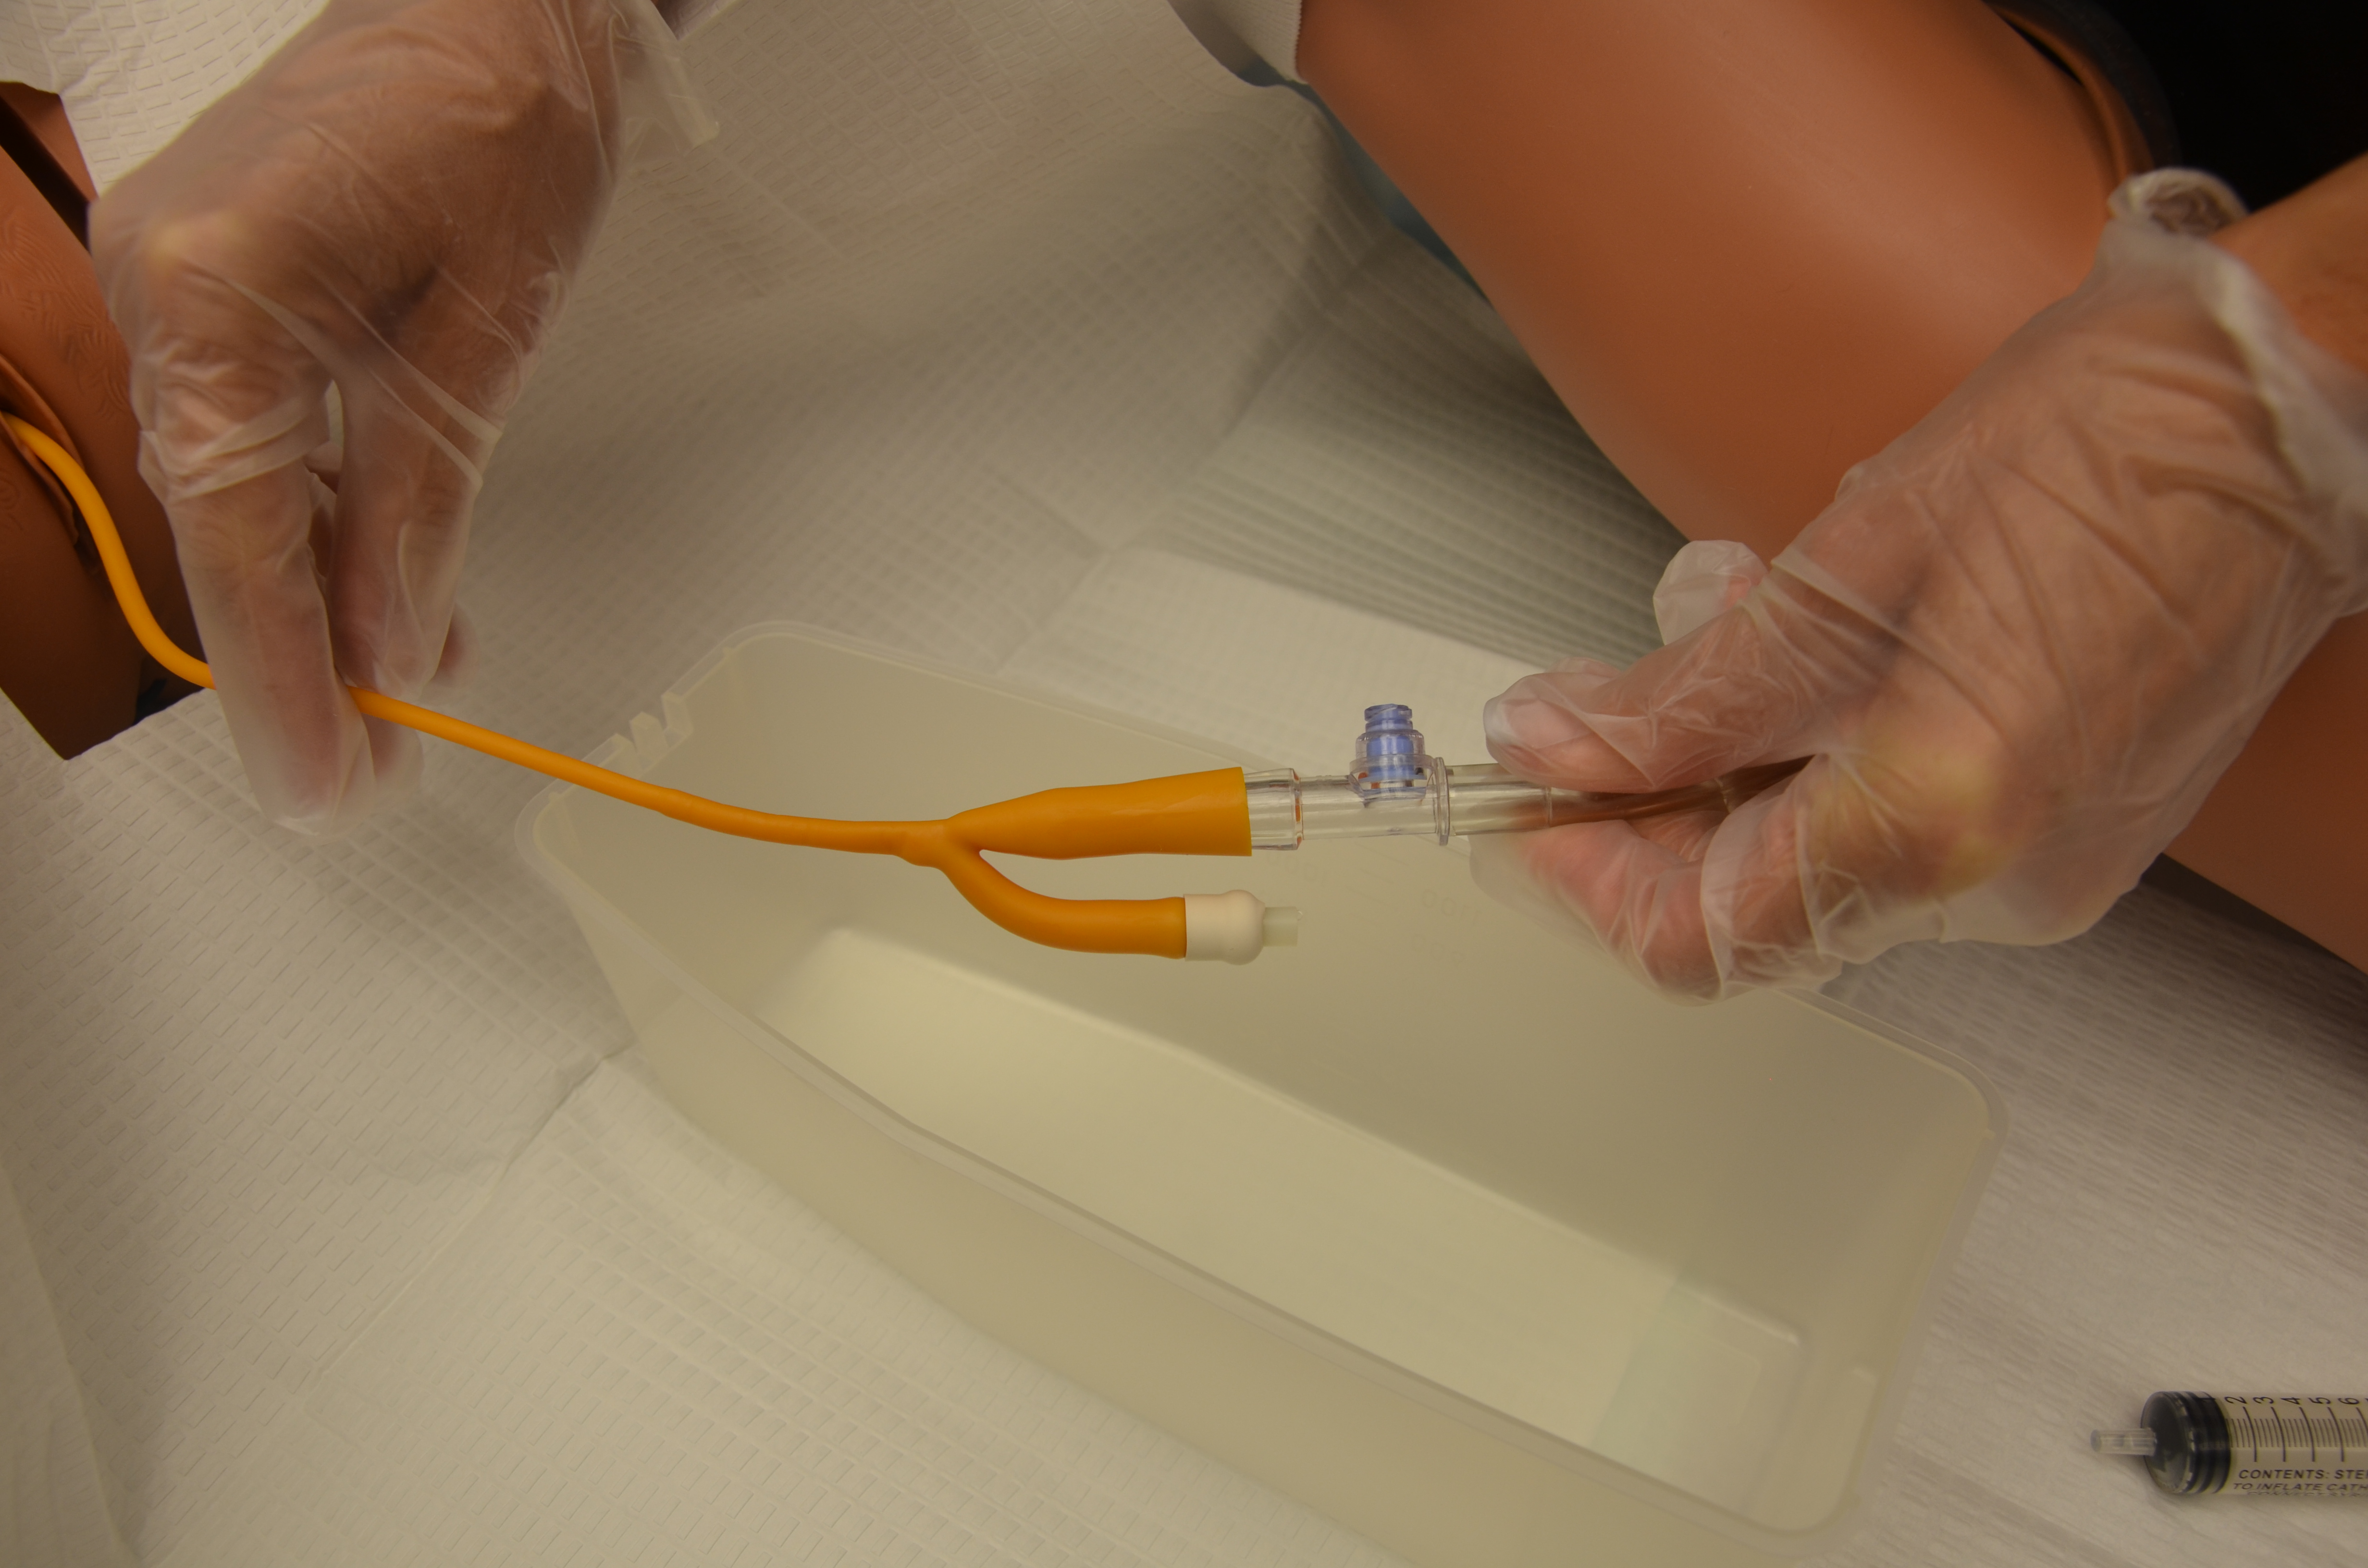 |
|||
| 23. Secure catheter to patient’s leg using securement device at tubing just above catheter bifurcation.
Female patient: Secure catheter to inner thigh, allowing enough slack to prevent tension.
Male patient: Secure catheter to upper thigh (with penis directed downward). Some patients require catheters to be secured to the abdomen (with penis directed toward chest). Always allow enough slack to prevent tension on the urinary meatus. Ensure foreskin is not left retracted. |
Securing catheter reduces risk of CAUTI (catheter acquired urinary tract infection), urethral erosion, and accidental catheter removal.
 For male patients, leaving the foreskin retracted can cause pain and edema. |
|||
| 24. Dispose of supplies following agency policy. | This reduces the transmission of microorganisms. | |||
| 25. Remove gloves and perform hand hygiene. | This reduces the transmission of microorganisms. | |||
| 26. Document procedure according to agency policy, including patient tolerance of procedure, any unexpected outcomes, and urine output. | Timely and accurate documentation promotes patient safety.
Sample documentation: date / time: Unable to void. Bladder scanned for 750 ml. Suprapubic abdomen firm and uncomfortable. #16 – 10cc Foley inserted without difficulty. Clear yellow returns. Attached to urine drainage bag. Tolerated without discomfort. —–IPee RN. |
|||
| Data source: BCCNP, 2019; BCIT, 2015c; Perry et al., 2018 | ||||
Removing a Urinary Catheter
Removing an indwelling Foley catheter is within the RN’s scope of practice. As such the RN can choose to remove an indwelling catheter within their independent scope of practice if agency policy is supportive and the RN is competent to do so (BCCNP, 2018). Even with an order to remove an indwelling catheter, it remains the responsibility of the healthcare provider to evaluate if the indwelling catheter is necessary for the patient’s recovery.
A urinary catheter should be removed as soon as possible when it is no longer needed. For post-operative patients who require an indwelling catheter, the catheter should be removed preferably within 24 hours. The following are appropriate uses of an indwelling catheter (Gould et al., 2009):
- Improved comfort for end-of-life care
- Assisting in the healing process of an open sacral or perineal pressure ulcer
- Patients requiring prolonged immobilization (unstable thoracic or lumbar fractures, multiple traumatic injuries)
- Select surgical procedures (prolonged procedures, urological surgeries, etc.)
- Intra-operative monitoring of urinary output
- Patients receiving large-volume infusions or diuretic intra-operatively
When a urinary catheter is removed, the healthcare provider must assess if normal bladder function has returned. The healthcare provider should report any hematuria, inability or difficulty voiding, or any new incontinence after catheter removal. Prior to removing a urinary catheter, the patient requires education on the process of removal, and on expected and unexpected outcomes (e.g., a mild burning sensation with the first void) (VCH Professional Practice, 2014). The healthcare provider should instruct patients to:
- Increase or maintain fluid intake (unless contraindicated).
- Void when able and within six to eight hours after removal of the catheter.
- Inform the healthcare provider when he or she has voided, and measure the amount, colour, and any abnormal findings; ensure first void (urine output) is measured as per agency policy.
- Report any burning, pain, discomfort, or small amount of urine volume.
- Report an inability to void, bladder tenderness, or distension.
- Report any signs of a CAUTI.
Review the steps in Checklist 83 on how to remove an indwelling catheter.
Checklist 83: Removing an Indwelling CatheterDisclaimer: Always review and follow your agency policy regarding this specific skill. |
|||
Safety considerations:
|
|||
Steps |
Additional Information |
||
| 1. Verify prescriber’s orders, perform hand hygiene, and gather supplies. | Supplies include non-sterile gloves, sterile syringe (verify size of balloon on Foley catheter), waterproof pad, garbage bag, cleaning supplies for perineal care, and urine collection device (hat or urinal). | ||
| 2. Identify patient using two identifiers. Create privacy, and explain procedure for catheter removal. | This ensures you have the correct patient and follows agency policy on proper patient identification. | ||
| 3. Educate patient on catheter removal and care post catheter removal. | Patient must be informed of what to expect after catheter is removed, and how to measure urine output, etc. Expect to void approximately 150 ml with each void initially. | ||
| 4. Perform hand hygiene and set up supplies. |
 Raise bed to working height. Organize supplies. Position patient supine for easy access. Place waterproof pad under buttocks and garbage bag close to perineum. |
||
| 5. Apply non-sterile gloves. | This reduces the transfer of microorganisms.
|
||
| 6. Remove catheter securement/anchor device (often requires alcohol). Perform catheter care with warm water and soap, or according to agency protocol. | Removing catheter securement device provides easy access to catheter for cleaning and removing.
 Pericare reduces microorganisms and risk of UTI. |
||
| 7. Insert syringe in balloon port and drain fluid from balloon. Verify balloon size on catheter to ensure all fluid is removed from balloon.
Note: some catheter manufacturers advise to attach a syringe and the balloon will automatically deflate. |
A partially deflated balloon will cause trauma to the urethra wall and pain during removal.
 |
||
| 8. Ask the patient to take a deep breath, and pull catheter out slowly and smoothly. Catheter should slide out easily. |
 Taking a deep breath is a distraction to help facilitate the process of removal. If resistance is felt, stop removal and reattempt to remove the fluid from the balloon. Attempt removal again. If unable to remove the catheter, stop and notify prescriber. |
||
| 9. Wrap used catheter in waterproof pad or gloves or place in garbage bag. Unhook catheter tube from urinary bag. Measure, empty, and record contents of catheter bag. Remove gloves, perform hand hygiene, and apply new non-sterile gloves. |
 This prevents accidental spilling of urine from the catheter. Record drainage amount, colour, and consistency according to agency policy. |
||
| 10. Discard equipment and supplies according to agency policy. | |||
| 11. Review post-catheter care, fluid intake, and expected and unexpected outcomes with patient. | Ensure patient has access to toilet, commode, bedpan, or urinal. Place call bell within reach. Ensure first void (urine output) is measured as per agency policy. Encourage patient to maintain or increase fluid intake to maintain normal urine output (unless contraindicated). |
||
| 12. Lower bed to safe position, remove gloves, and perform hand hygiene. | Lowering the bed helps prevent falls. Hand hygiene prevents the transmission of microorganisms from patient to healthcare provider.
 |
||
| 13. Document procedure according to agency policy. | Document time of catheter removal, condition of urethra, and any teaching related to post-catheter care and fluid intake.
Sample documentation: date / time: #16 – 7 cc Foley removed as ordered. Tolerated procedure. Aware to increase fluid intake to 2 litres / day. Aware to anticipate mild discomfort with first void. Aware of need for measurement of initial void. ———-IMGlad RN Document time, amount, and characteristics of first void after catheter removal. Sample documentation: Date / time: Initial void post Foley removal 350 ml. Denies discomfort. Reports clear urine and feels she has emptied her bladder completely. ——GInhome RN |
||
| Data sources: BCCNP, 2019; BCIT, 2015b; Perry et al., 2018; VCH Professional Practice, 2014 | |||
If a patient is unable to void after six to eight hours of removing a urinary catheter, or has the sensation of not emptying the bladder, or is experiencing small voiding amounts with increased frequency, a bladder scan may be performed. A bladder scan can assess if excessive urine is being retained. Notify the healthcare provider if patient is unable to void within six to eight hours of removal of a urinary catheter. If a patient is found to have retained urine in the bladder and is unable to void, an intermittent/straight catheterization should be performed (Perry et al., 2018).
Critical Thinking Exercises
- Describe the cleaning techniques for cleansing both a female and a male patient prior to catheterization.
- Your male patient complains of pain while you are inserting a urinary catheter. Describe your next steps.
