Chapter 8. Intravenous Therapy
8.9 Removal of a PVAD-Short, Midline Catheter, Percutaneous Non Hemodialysis CVC, and PICC
PVAD-short, midline catheters, percutaneous non hemodialysis CVCs, and PICCs may be discontinued if ordered by a physician, a nurse practitioner, or by an RN working within their independent scope of practice (which must include agency policy). Some reasons to remove IV access include: The patient is discharged from a health care facility; signs of phlebitis, infiltration, or extravasation; the site is leaking; or IV fluids and/or medications are no longer necessary (Fulcher & Frazier, 2007). Peripheral IVs should be removed promptly when no longer needed to avoid a catheter-related bloodstream infection (CR-BSI), as well as unnecessary pain and trauma (Infusion Nurses Society, 2012). CVCs might remain in situ longer simply because its presence suggests that the client’s health status was severe and thus a potential for change in health status requiring IV access.
Agencies may have guidelines about how often to change PVAD short cannulas. While some agencies have prescriptive time frames, some research shows that peripheral IV cannulas should not be routinely changed but rather replaced based on whether the site is functioning, whether or not the saline lock is required, whether or not the insertion site is patent, and/or if the insertion site is a source of infection (CDC, 2017; Infusion Nurses Society, 2011).
Before IV access is discontinued, the nurse should consider:
- Is the patient drinking enough fluids?
- Is the patient voiding, passing gas, and having bowel sounds?
- Is there a need for the IV (IV meds)?
- Are the lab values within normal limits (Hgb, K)?
- Is the patient using an epidural/PCA and needs IV access as part of safety protocols?
- Do you have an order from the prescriber, or are you doing this under your independent scope of practice? If the later, is this in agreement with agency policy?
Review the steps in Checklist 71 for removing a PVAD-short cannula.


Checklist 72: Removing a Percutaneous Non Hemodialysis CVC / PICCDisclaimer: Always review and follow your agency policy regarding this specific skill. |
||||
Safety considerations:
|
||||
Steps |
Additional Information |
|||
| 1. Confirm prescriber’s order or the reason to remove the PICC / percutaneous non hemodialysis CVC. | This step prevents errors. | |||
| 2. Perform hand hygiene. Perform point of care risk assessment and collect supplies. | You will need sterile gauze (two 4×4s), clean gloves, sterile gloves, alcohol swabs (2), C&S swab if purulent drainage present, chlorhexidine (CHG) swab, suture removal equipment if suture present, and TSM dressing.
Some agencies will have CVAD dressing change kits, suture removal kits. |
|||
| 3. Identify yourself; identify the patient using two identifiers. Explain the procedure to the patient.
Sanitize working surface. |
Proper identification prevents errors. Explaining the procedure educates the patient and allows patient to ask questions.
Sanitizing work surfaces reduces risk of infection. |
|||
| 4. Position patient flat or 10 degrees Trendelenberg (unless contraindicated)
Open up sterile gauze for easy access and place close by. |
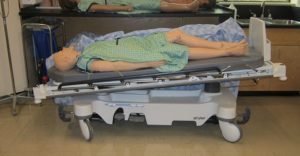 Trendelenburg position reduces risk of air emboli during catheter removal by decreasing negative pressure in the intrathoracic cavity. If you aren’t able to position the client as such, have the patient perform the Valsalva maneuver just prior to catheter removal. If they can’t do that either, remove the catheter at the end of inspiration. Gloves are necessary to reduce risk of BBF exposure. Preparing gauze allows for easy access whilst the cannula is removed. |
|||
| 5. Turn off IV infusions. Prepare equipment using principles of asepsis. Apply non sterile gloves. | You can open a sterile dressing kit and put items into it, or open packages in a way that will allow easy access and maintains principles of asepsis. | |||
6. Gently remove transparent dressing and securement device:
|
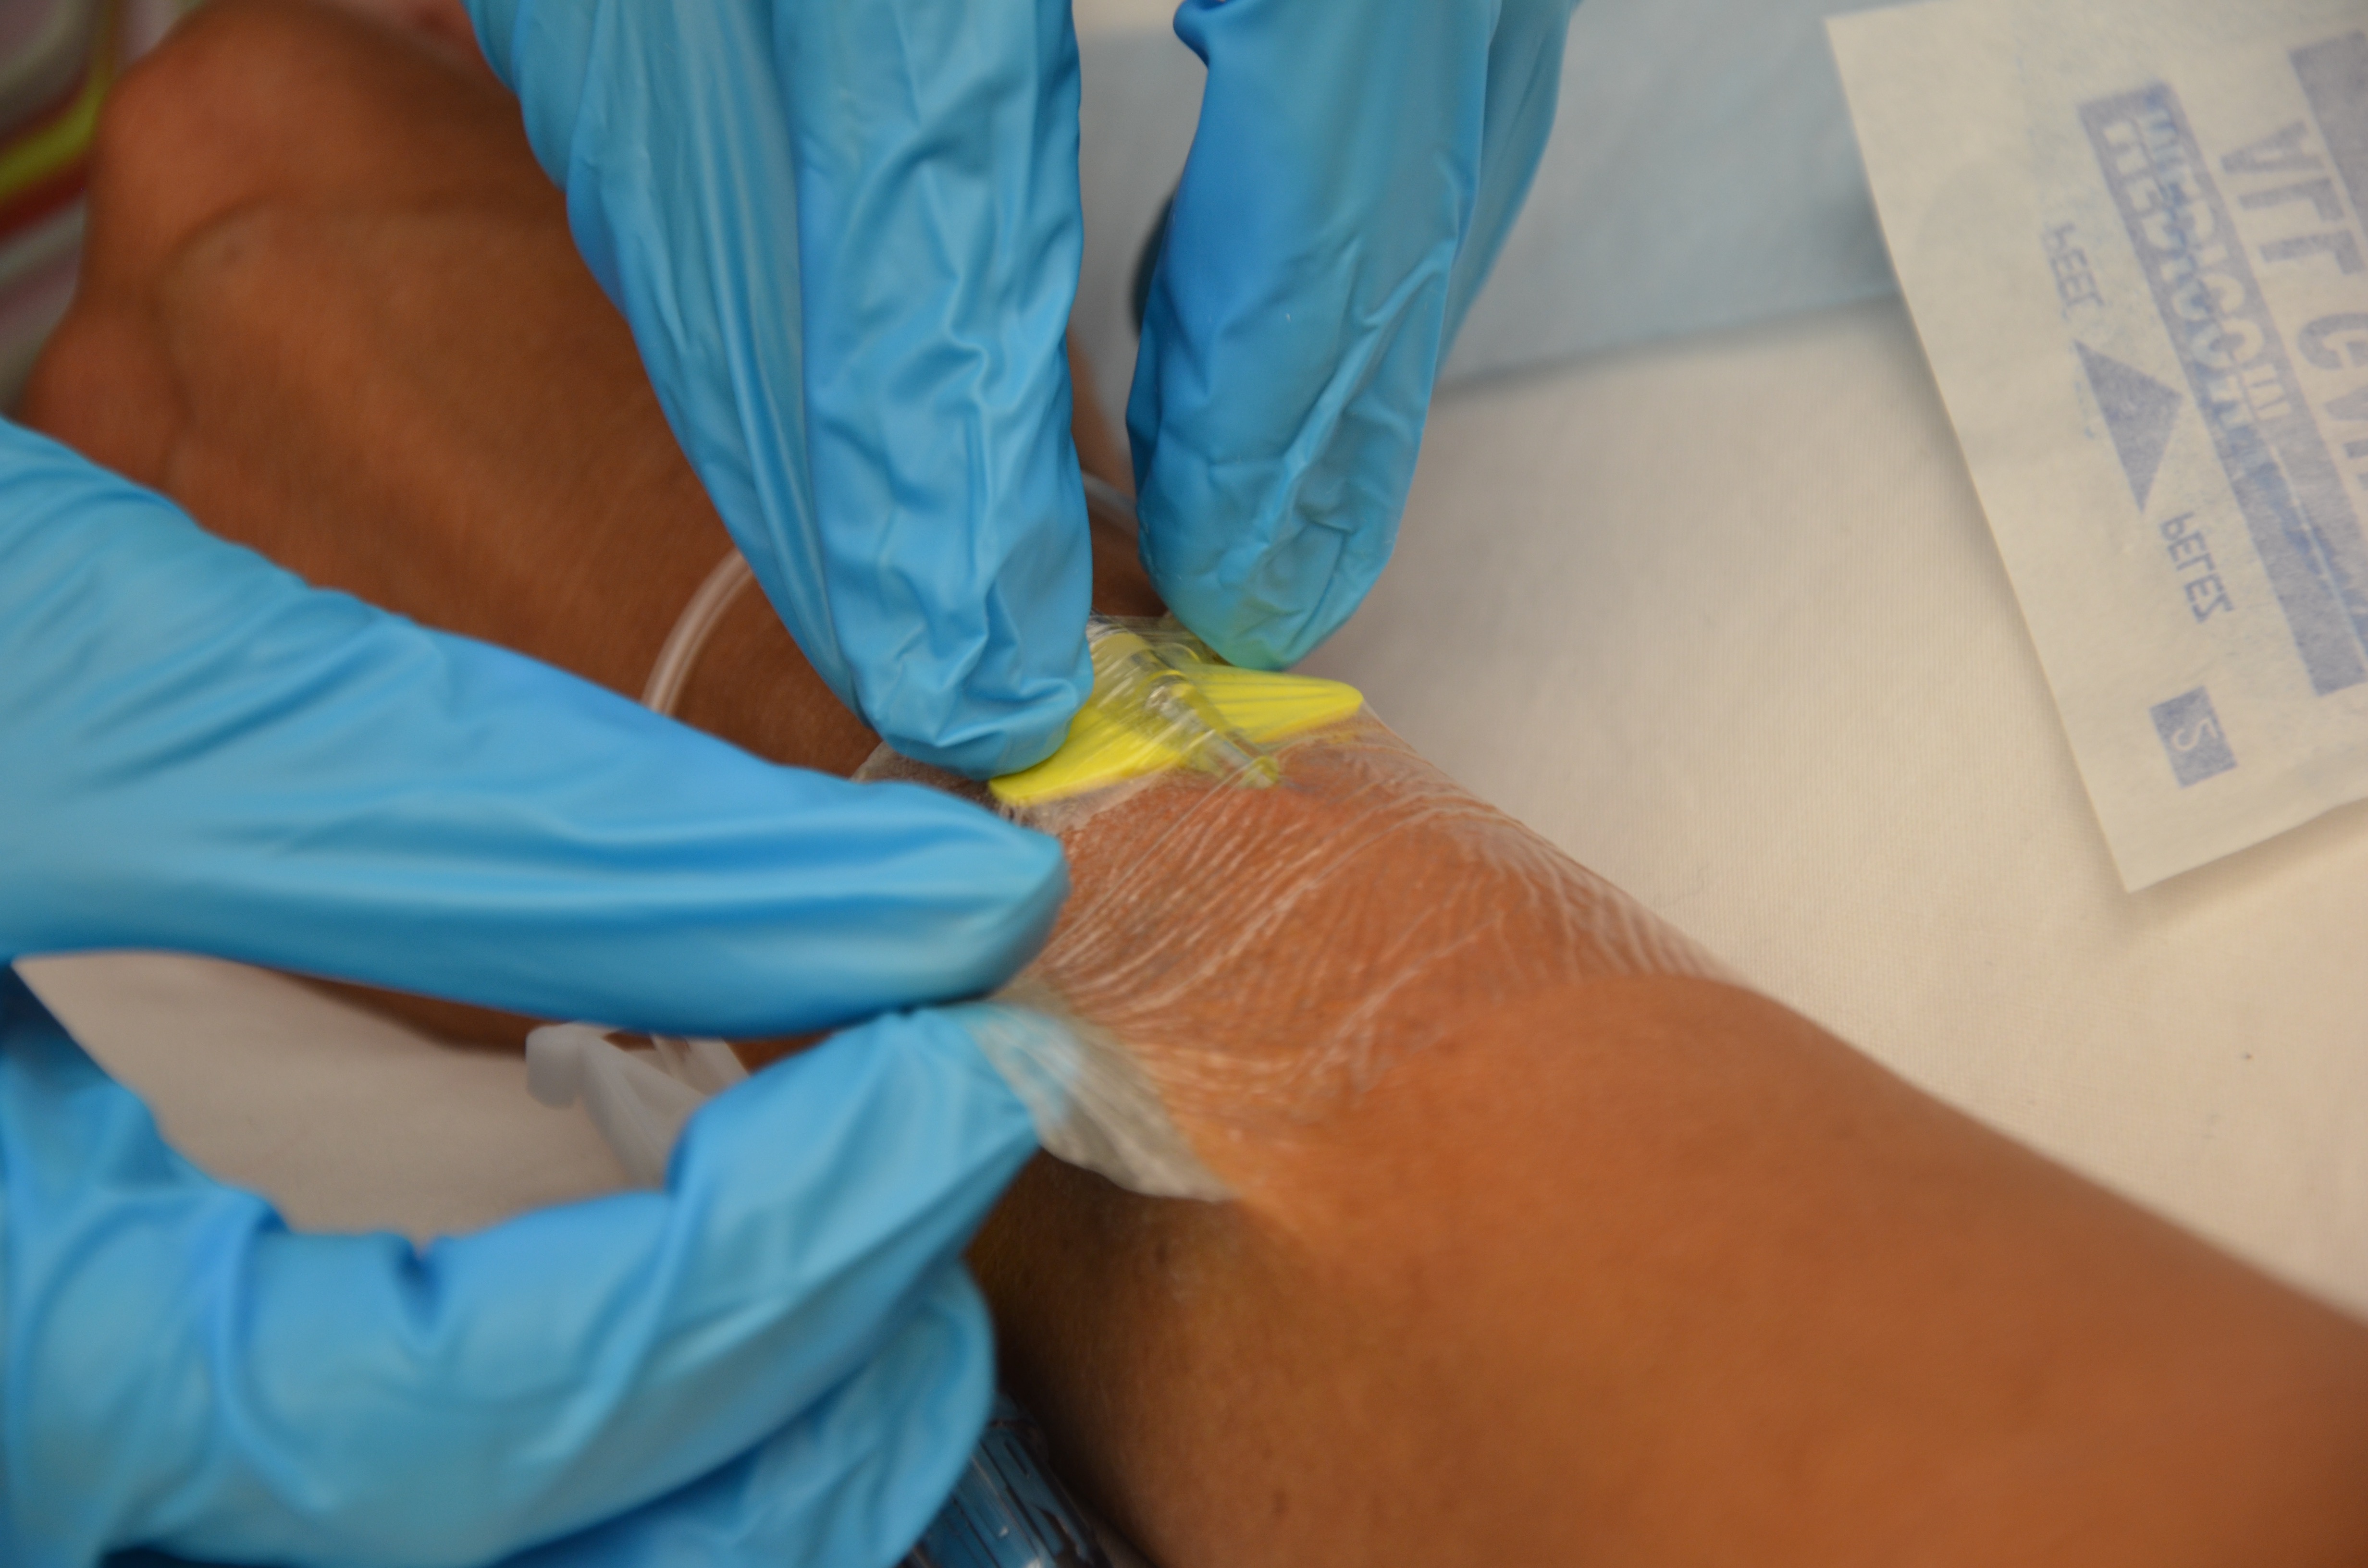 Some TSM dressings have specific directions for removal (i.e., pull horizontally to release adhesive). Some securement devices require alcohol for removal. 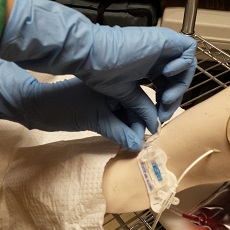 |
|||
| 7. If purulent drainage is present, consider obtaining a swab for C&S. Report using the agency’s patient safety learning system (incident report). | Follow agency procedure for wound C&S (usually involves cleansing the site with normal saline prior to the swab).
This provides follow-up data for potential infection. Reporting of events contributes to the culture of patient safety. |
|||
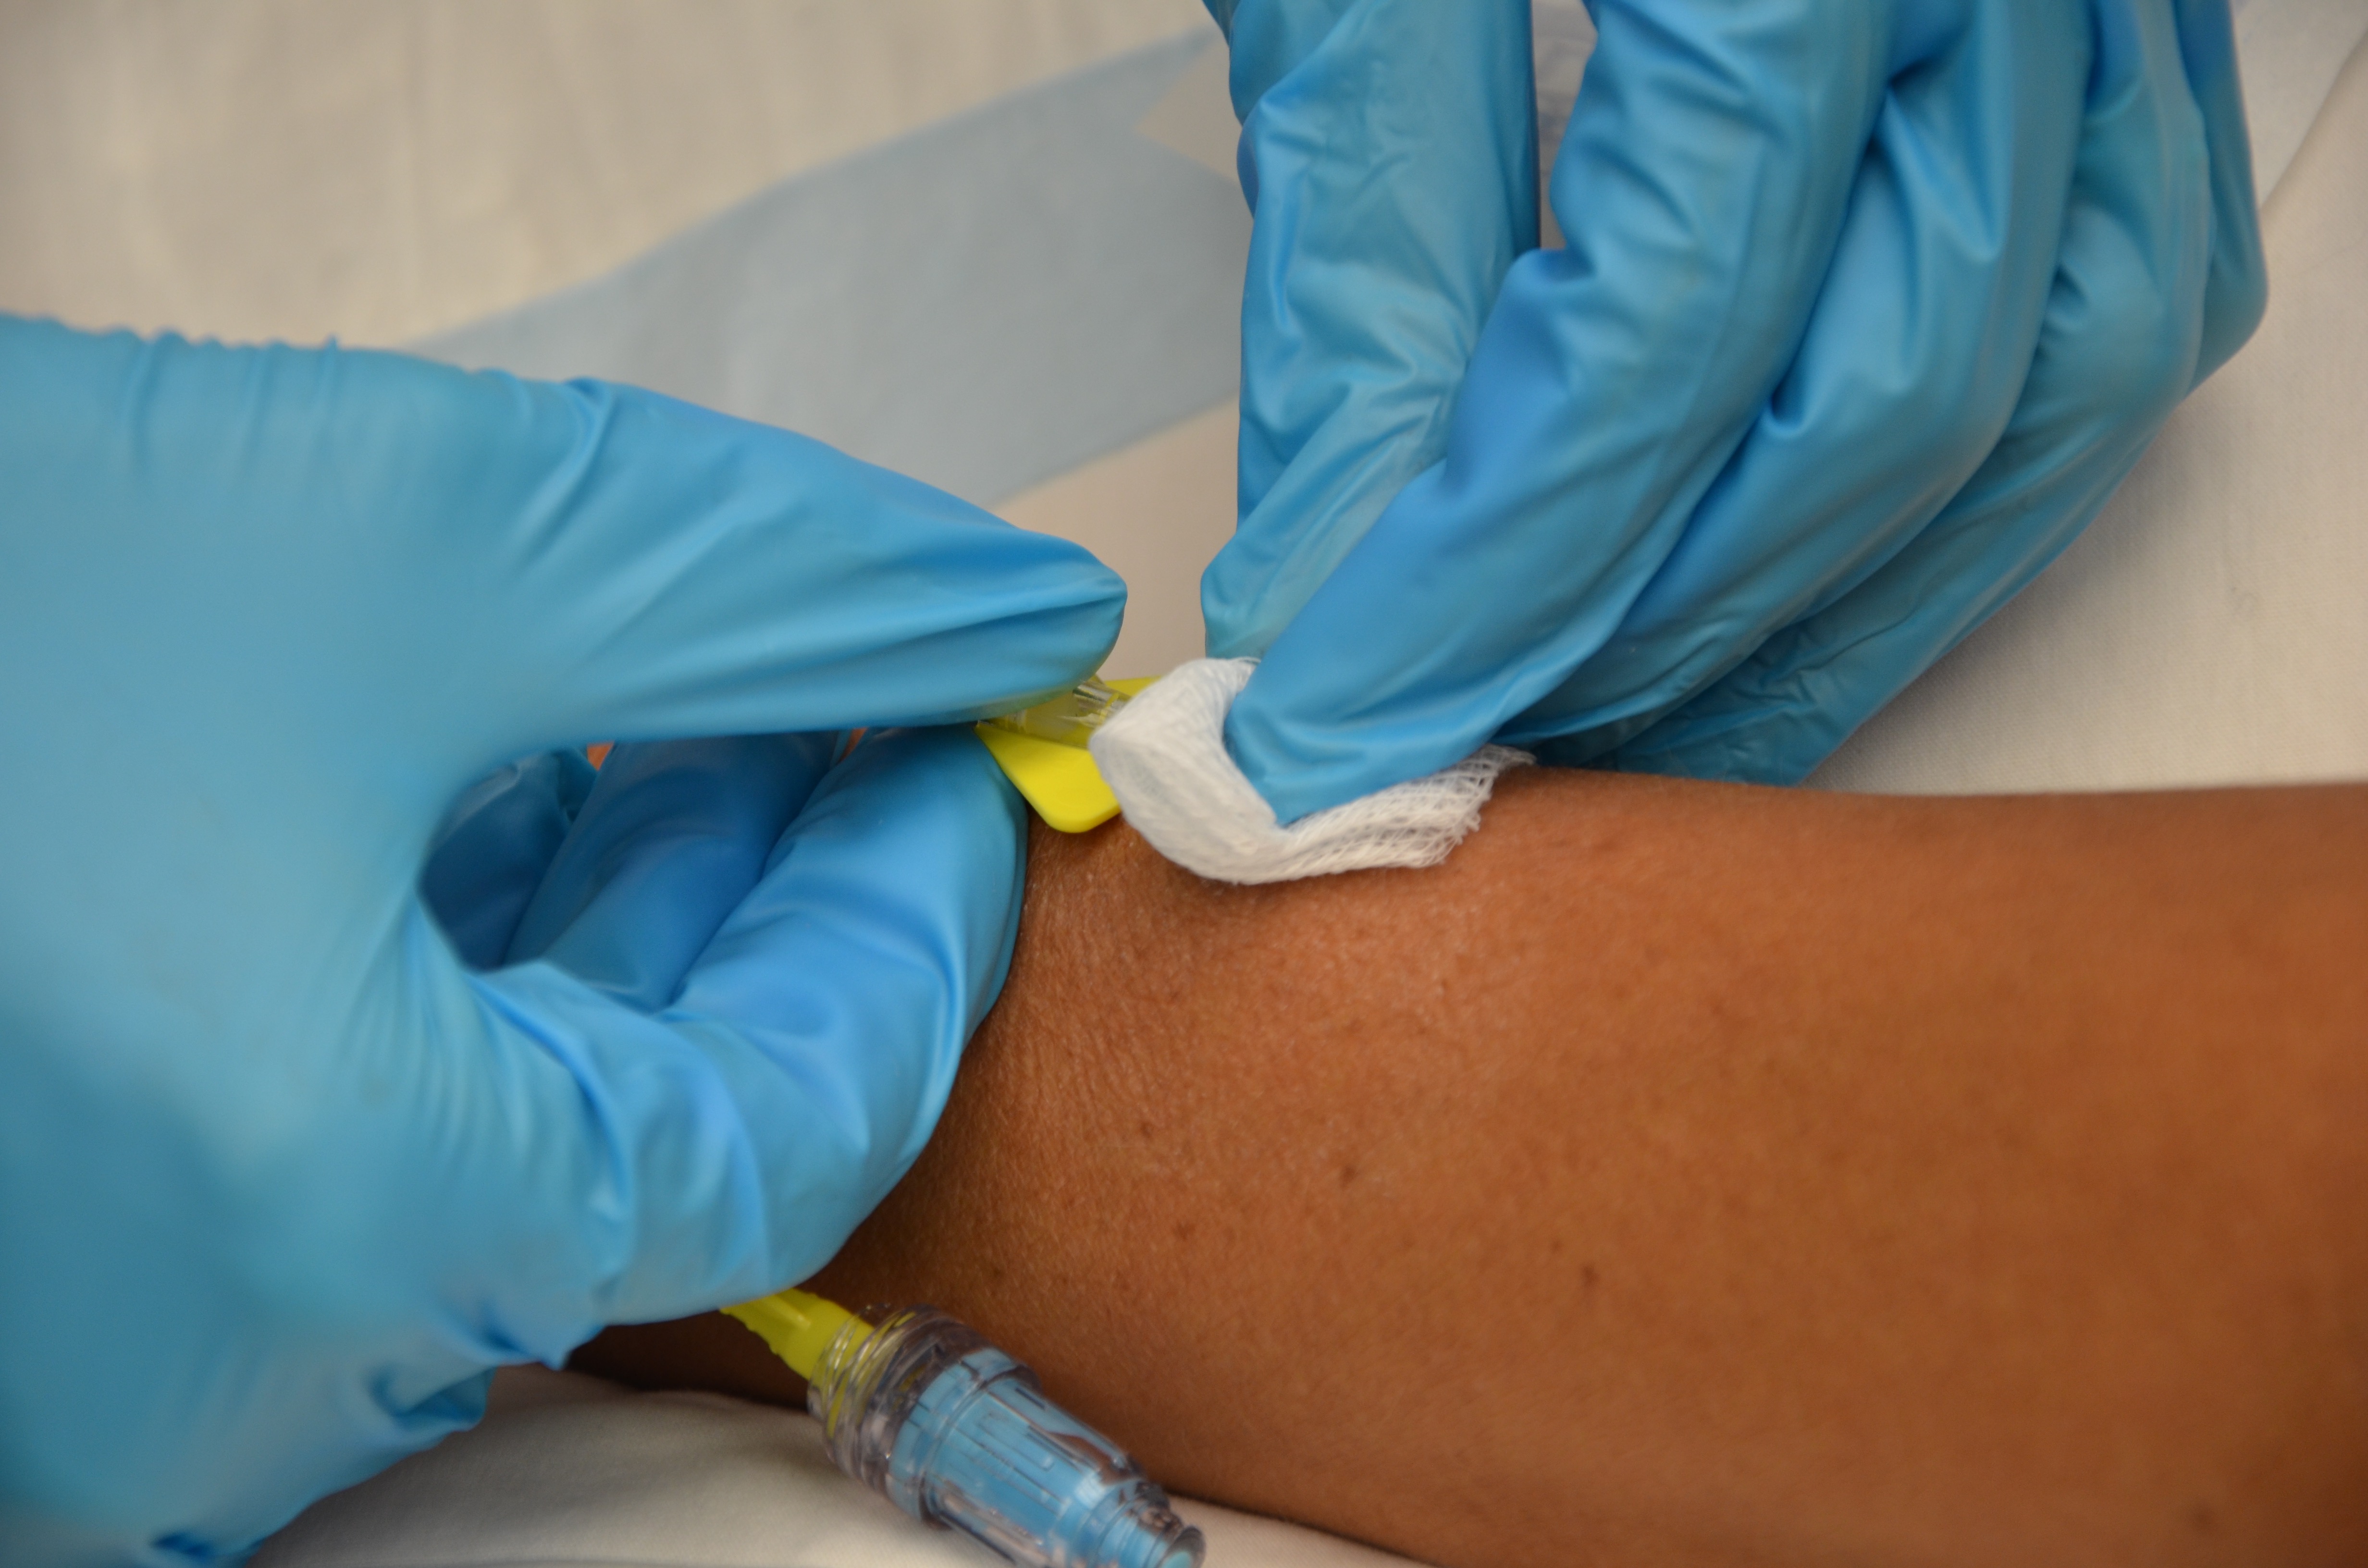
| 8. Cleanse the insertion site with agency approved solution (usually 2% chlorhexidine with 70% isopropyl alcohol) swab using multi-directional friction. Allow to dry.
Remove non sterile gloves. Perform hand hygiene and apply sterile gloves.
|
Antiseptic solution and multi-directional friction reduce microorganisms to decrease risk of site and bloodstream infection.
If patient is allergic, consult agency guidelines (usually povidone iodine is the next choice, and if that is contraindicated use saline). Sterile gloves decrease risk of transmitting microorganisms. 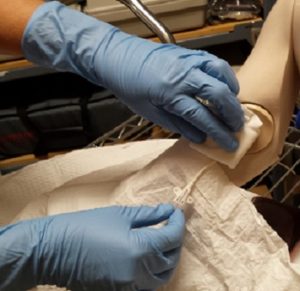 |
|||
| 9. Maintaining principles of asepsis, grab 4×4 gauze. Fold into 2×2 size. With non-dominant hand, place above the insertion site; do not apply pressure. | Applying pressure may cause discomfort. The gauze helps to absorb any blood and provides a barrier between the insertion site and the healthcare provider. | |||
| 10. Ask the patient to perform the Valsalva maneuver (forced exhalation) as the catheter is removed. | The Valsalva maneuver (along with Trendelenburg positioning decreases negative pressure in the respiratory system, thus reducing risk of air emboli as the catheter is removed). If the patient is unable to do this, remove the catheter at the end of expiration. | |||
| 11. With dominant hand, keep the cannula parallel to the skin and pull out in a straight, slow, steady motion. Assess catheter tip and discard cannula as per agency policy. | Observing cannula tip is a safety step to rule out risk of catheter embolism.
If required, cut the tip of the CVC, place in sterile C&S container, label appropriately, requisition and send to lab for processing. |
|||
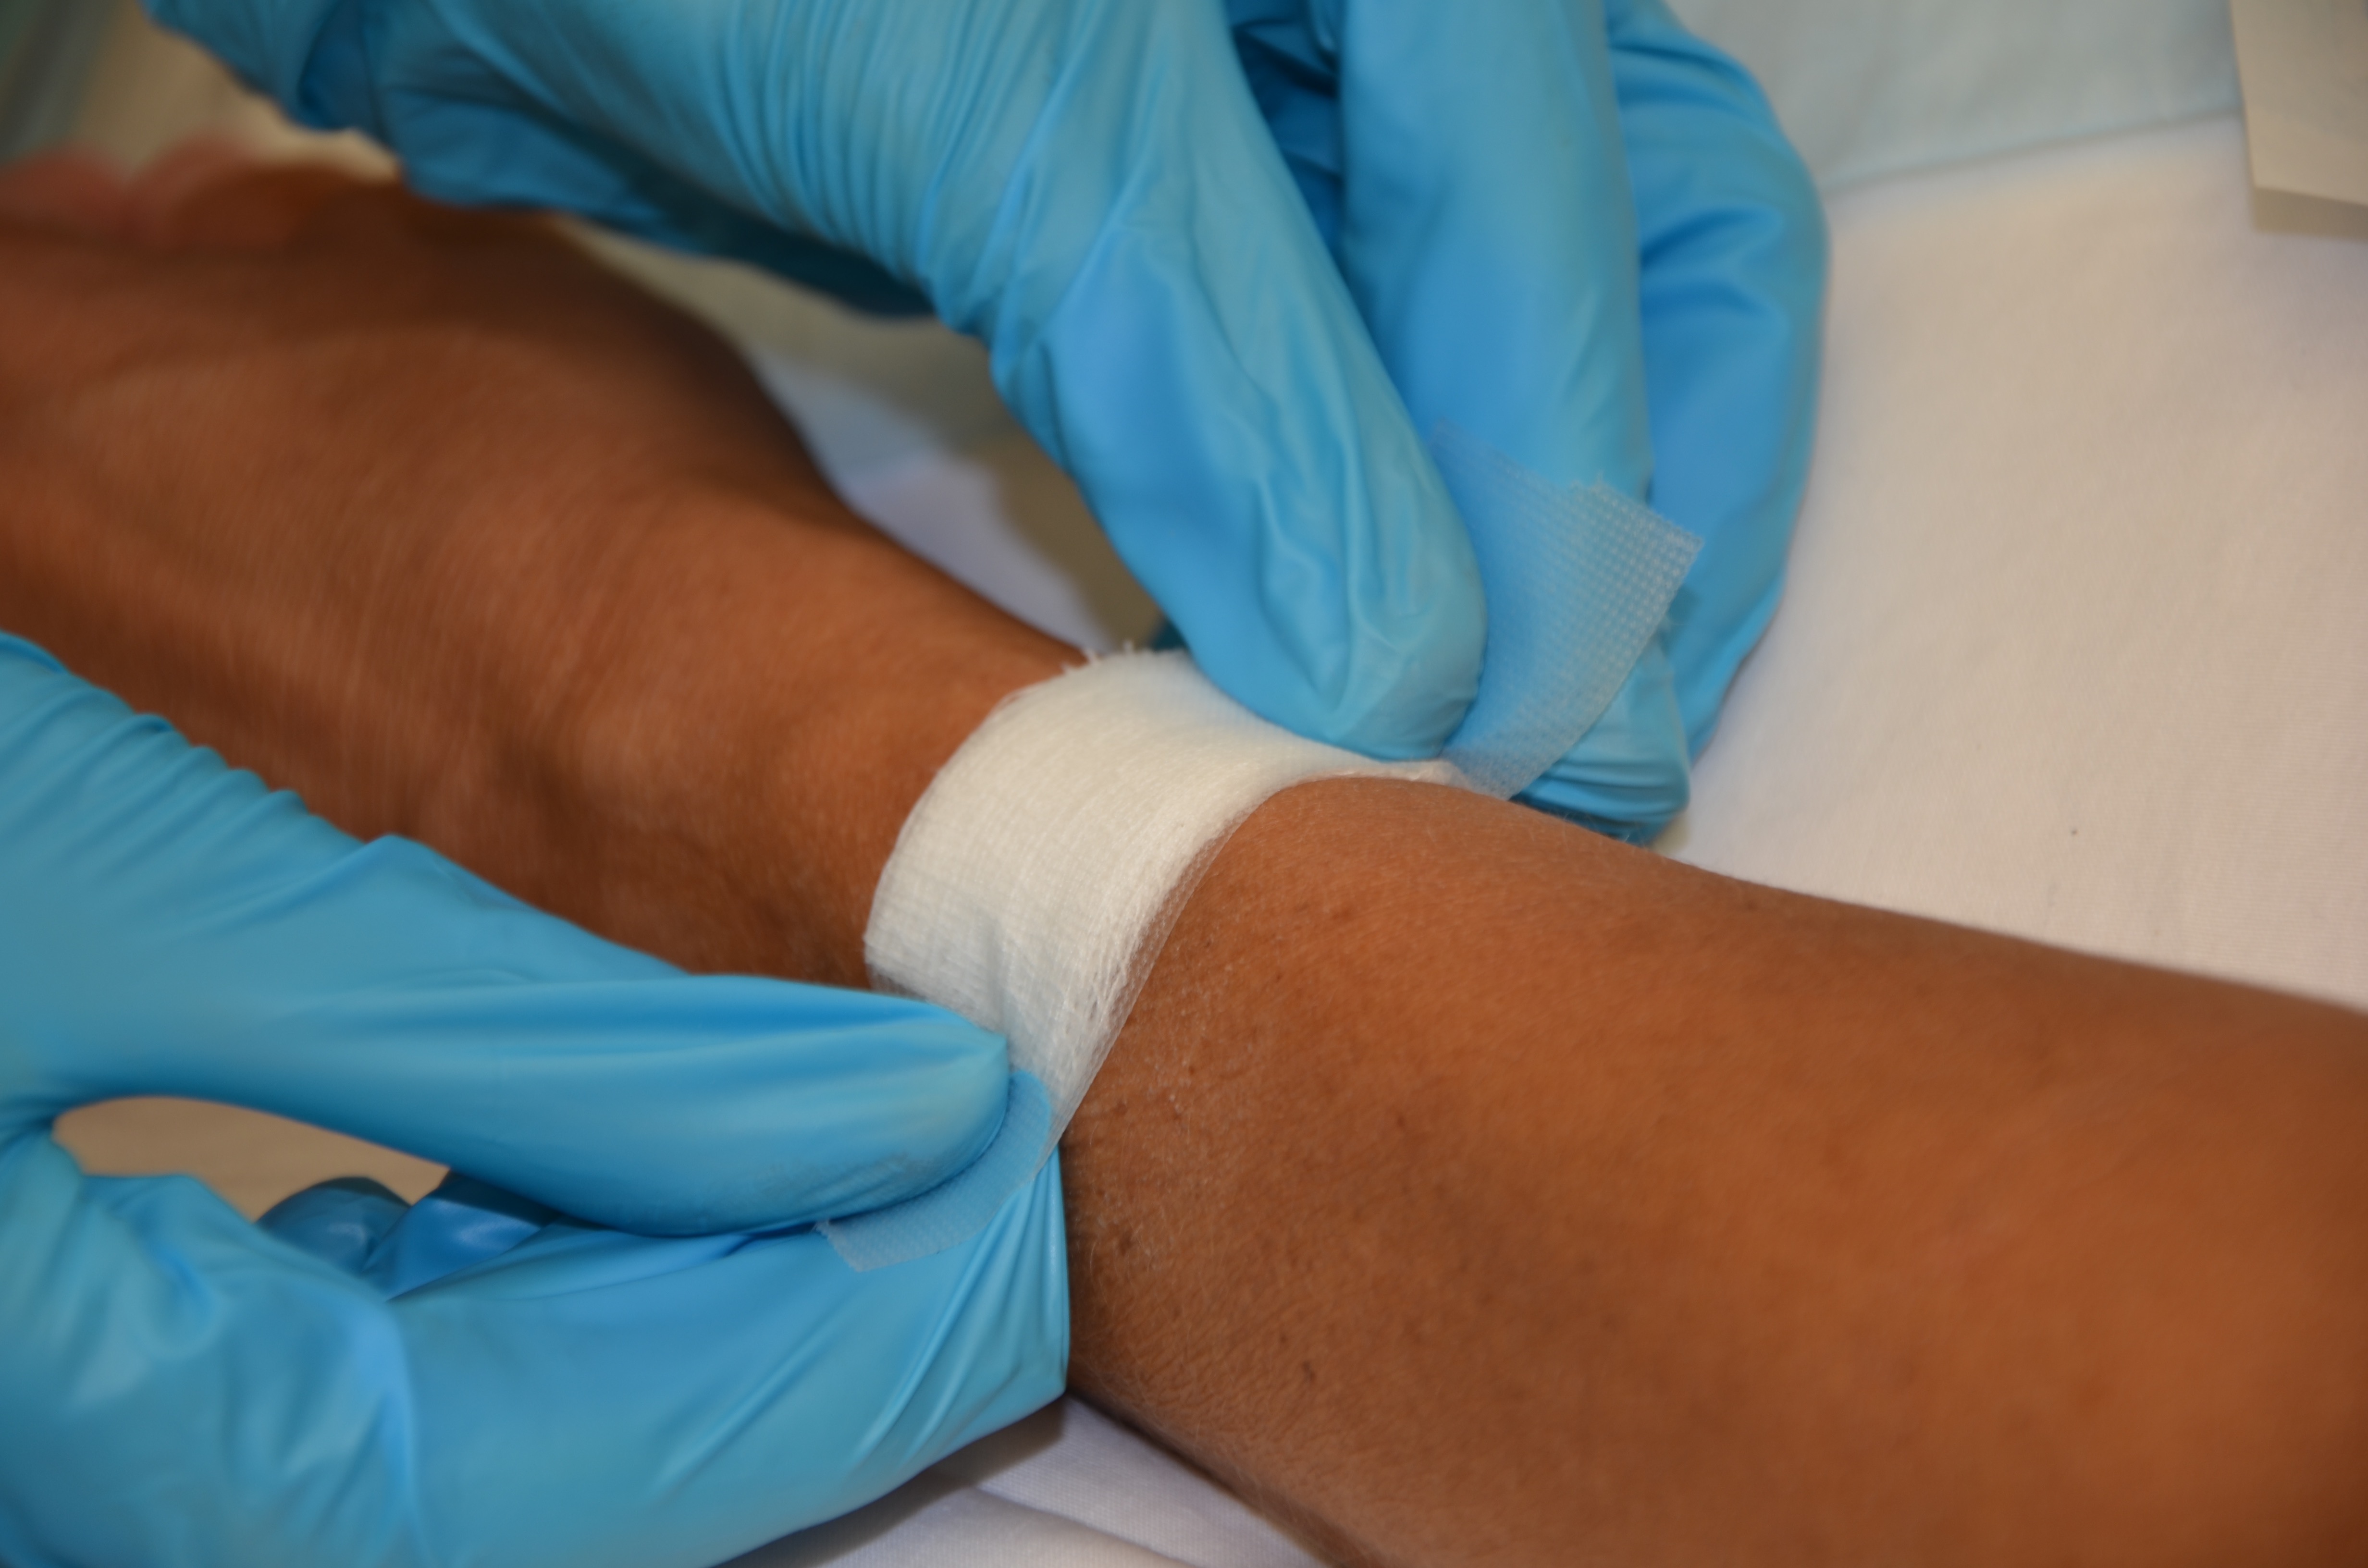
| 12. Hold sterile gauze over insertion site, and apply gentle pressure until bleeding stops, usually for 2 to 3 minutes. | If patient is on coagulation therapy, extended pressure will be required to stop bleeding at IV site for 5 minutes.
Check agency policy, as some require frequent checks of sites (i.e., every 5 minutes×3) |
|||
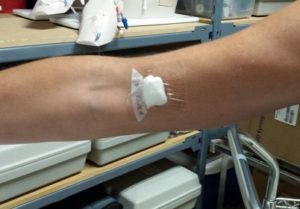
| 13. Apply sterile occlusive dressing (i.e., TSM). Label dressing with date, time, and your initials. | This prevents bacteria from entering the old IV site. Remove after 48 hours.
 |
|||
| 14. Advise the patient to remain supine for 30 minutes following. | Reduces risk of air emboli. | |||
| 15. Discard supplies, remove gloves, and perform hand hygiene. | These steps prevent the spread of microorganisms. | |||
| 16. Document procedure as per agency policy. | Document date, time, condition of cannula, appearance of IV site, and type of dressing applied. | |||
| Data sources: Interior Health, 2012; Perry et al., 2018; Phillips, 2005 | ||||
Critical Thinking Exercises
- What is the purpose of applying pressure to the site after the cannula has been removed?
- Name five factors to consider prior to discontinuing an IV.
- What is the purpose of Trendelenburg positioning and the Valsalva maneuver during CVC (percutaneous non hemodialysis central catheter, PICC) removal?
Attributions
Figure 8.24 Trendelenburg position by author is licensed under a CC BY-SA 4.0 international license.
Figure 8.25 PICC removal by author is licensed under a CC BY-SA 4.0 international license.
Figure 8.26 Sterile occlusive dressing by author is licensed under a CC BY-SA 4.0 international license.
