Chapter 2. Patient Assessment
2.4 Vital Signs
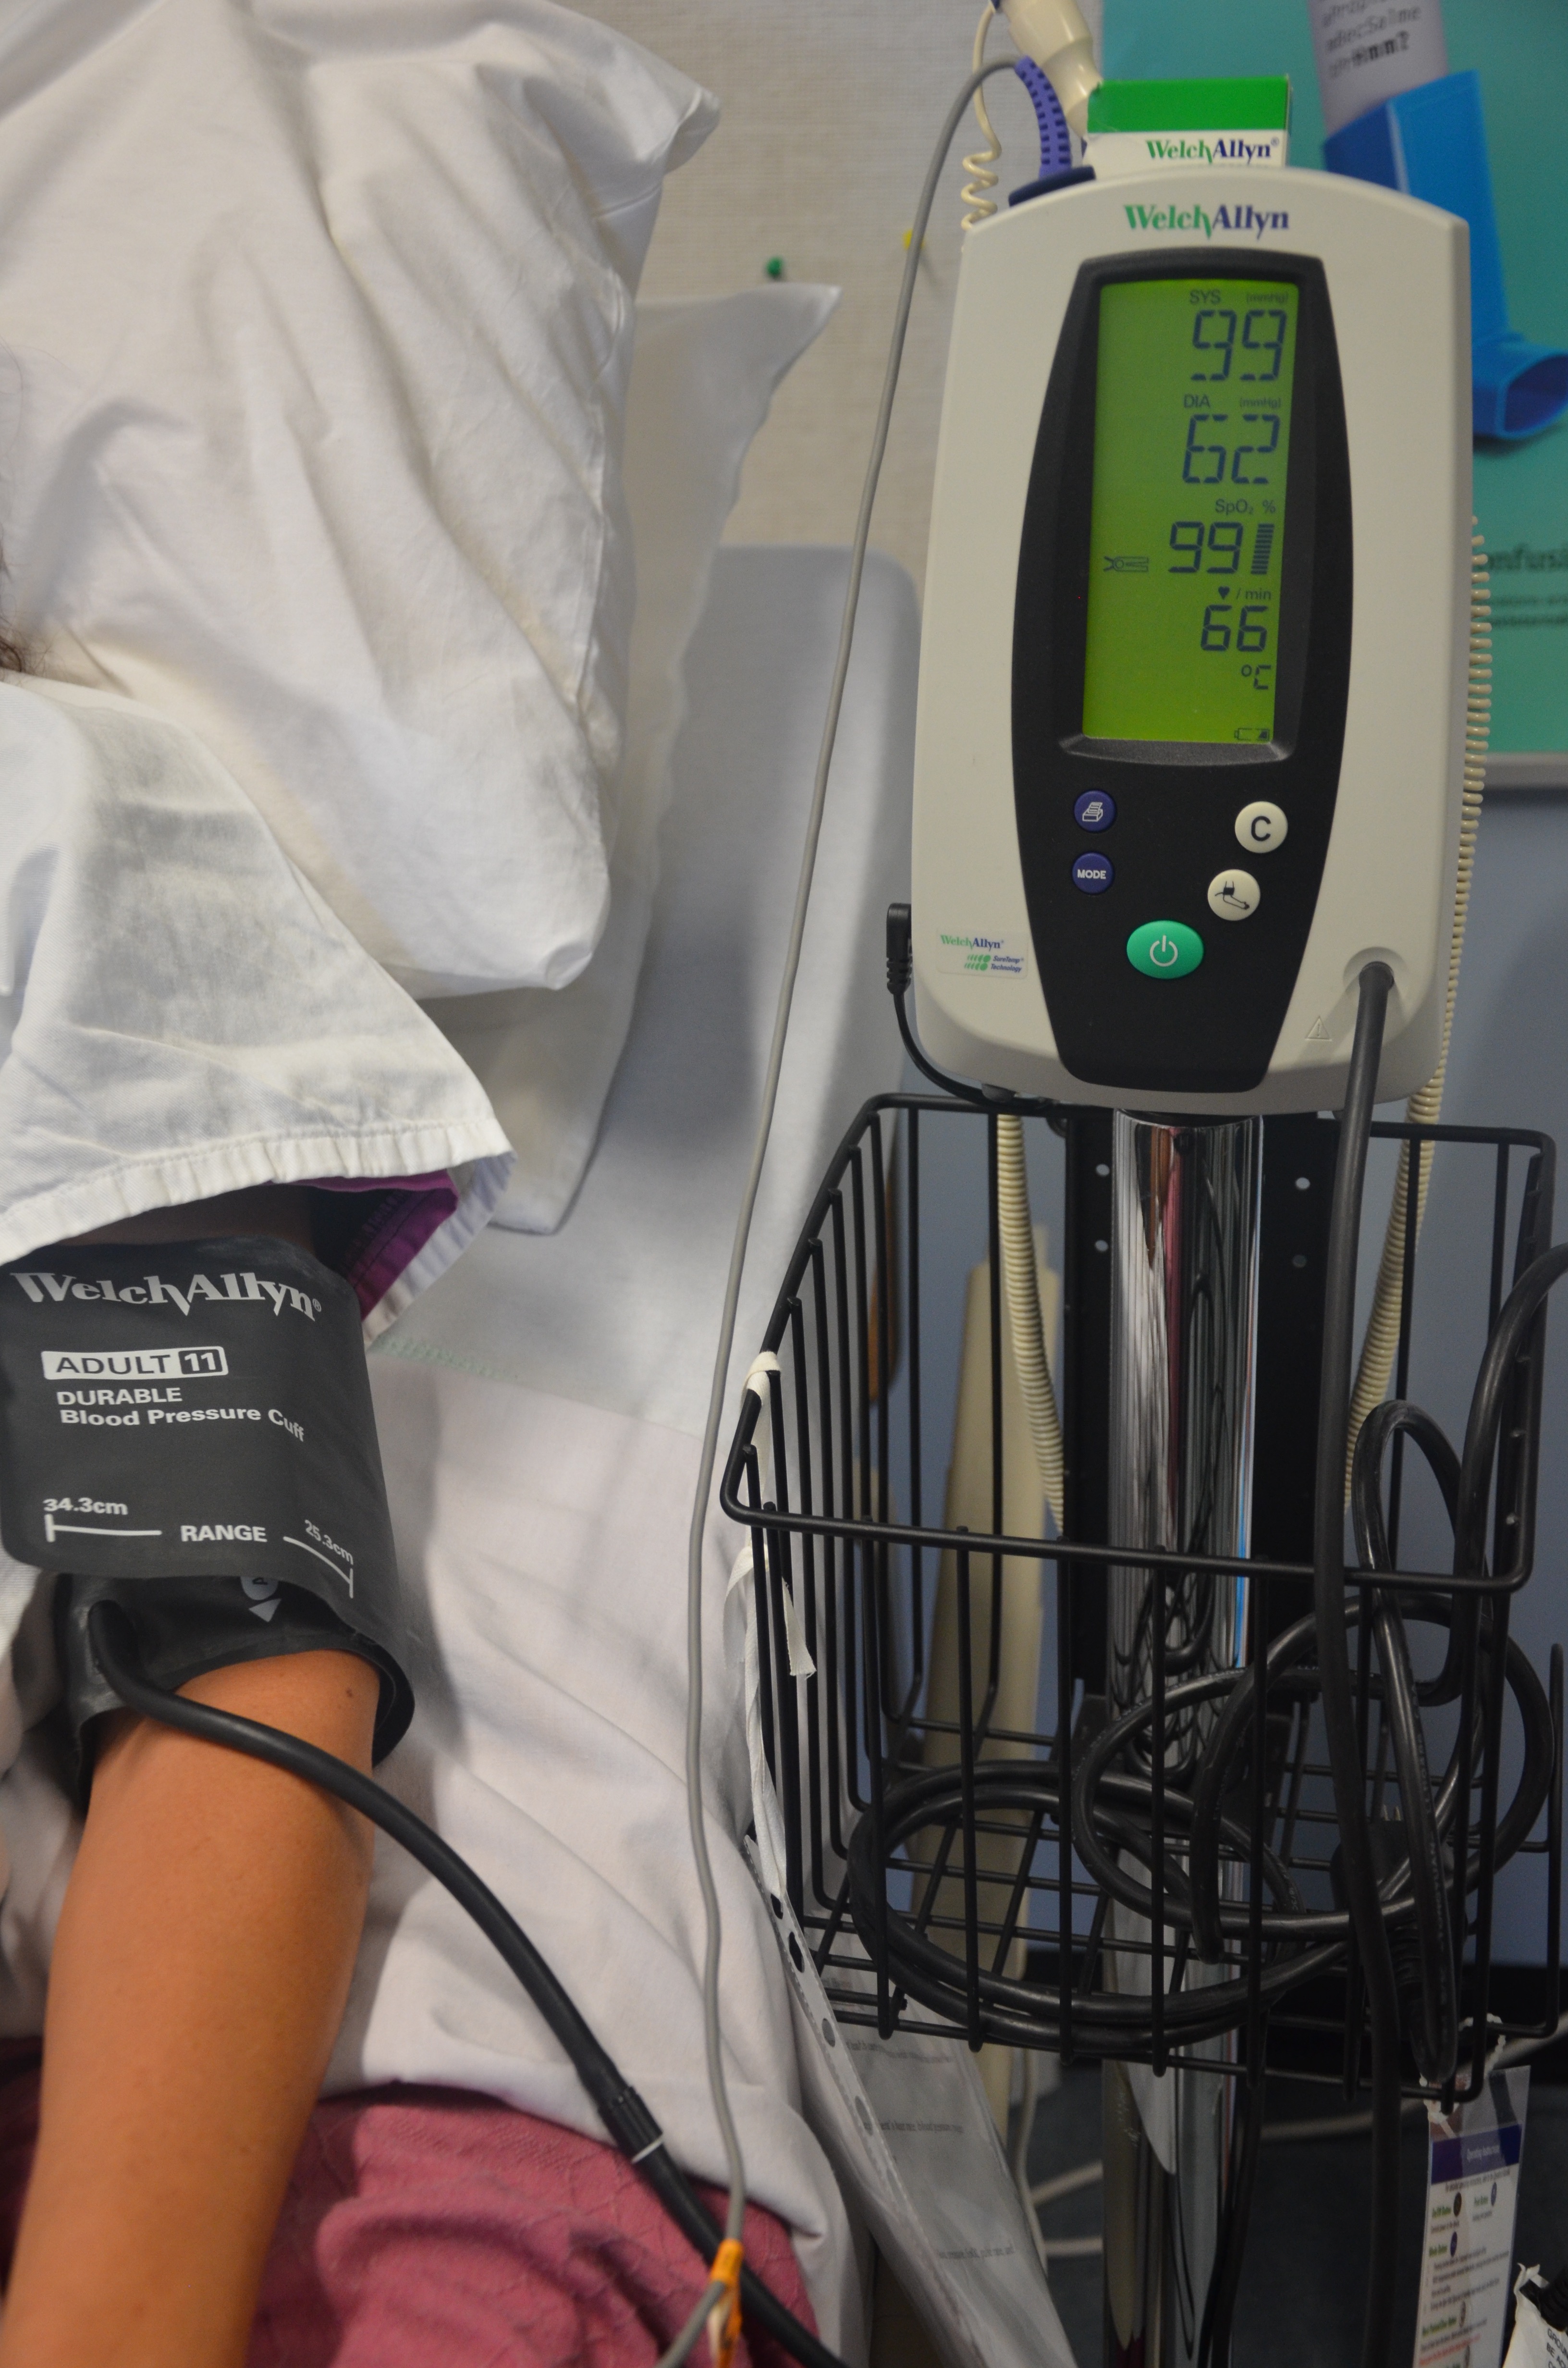
Temperature, pulse, respiration, blood pressure (BP), and oxygen saturation (SpO2), are measurements that indicate a person’s hemodynamic status. These are the five vital signs most frequently obtained by healthcare practitioners (Perry, Potter, & Ostendorf, 2018). Vital signs can reveal important information about a person’s health status including changes in a patient’s condition. As such the nurse’s responsibility is to consider patterns and trends in vital signs in anticipation of changes in health status, need for further investigation, and intervention (Perry, Potter & Ostendorf, 2018). Checklist 15 outlines the steps to take when checking vital signs.
Checklist 15: Vital SignsDisclaimer: Always review and follow your agency policy regarding this specific skill.
|
|||||||||||||||||||||||||||||
Safety considerations:
|
|||||||||||||||||||||||||||||
Steps |
Further Information |
Normal Values |
|||||||||||||||||||||||||||
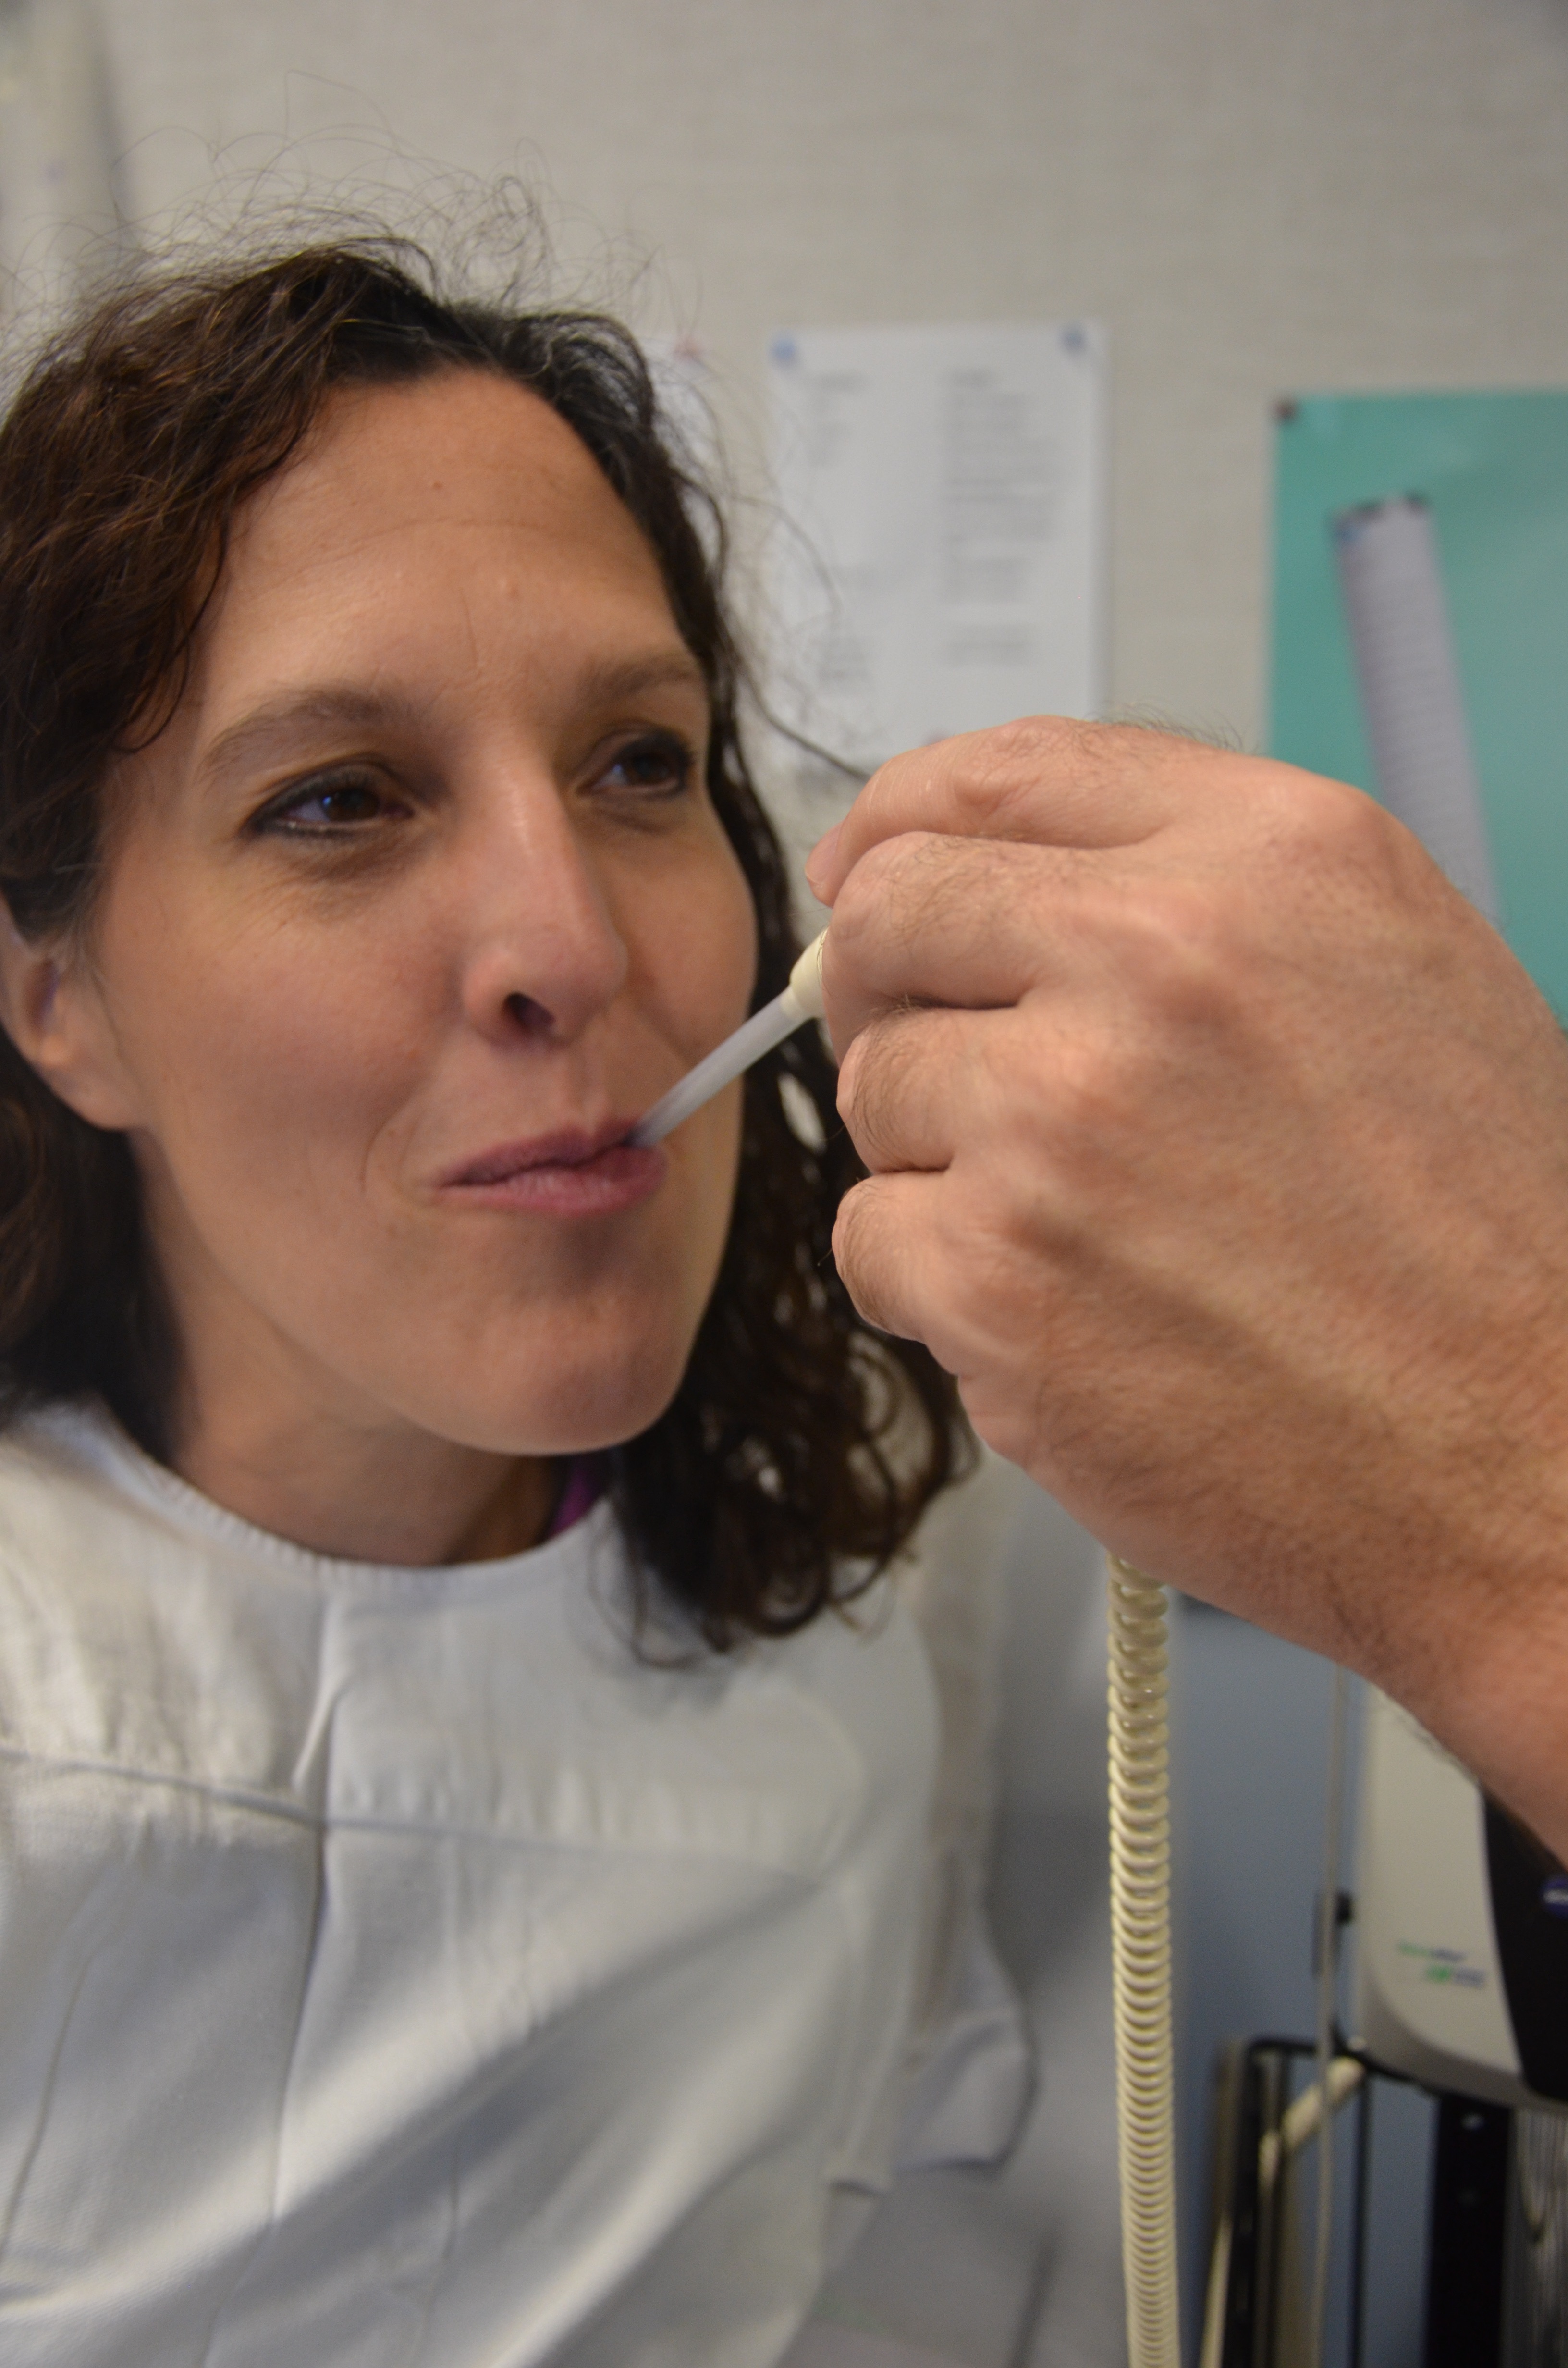
| 1. Temperature:
|
Oral temperature: Place the thermometer in the mouth under the tongue and instruct patient to keep mouth closed. Leave the thermometer in place for as long as is indicated by the device manufacturer.
Axillary temperature: Usually 1ºC lower than oral temperature. Place the thermometer in patient’s armpit and lower the patient’s arm over the probe. Leave it in place for as long as is indicated by the device manufacturer. Tympanic membrane (ear) temperature: Usually 0.3°C to 0.6°C higher than an oral temperature. The tympanic membrane shares the same vascular artery that perfuses the hypothalamus. Do not force the thermometer into the ear and do not occlude the ear canal. Rectal temperature: Usually 1ºC higher than oral temperature. Use only when other routes are not available. On adults, insert the probe approximately 3.5 cm into rectum toward the umbilicus. Use lubricant. |
Normal (oral) = 35.8ºC to 37.5ºC
|
|||||||||||||||||||||||||||
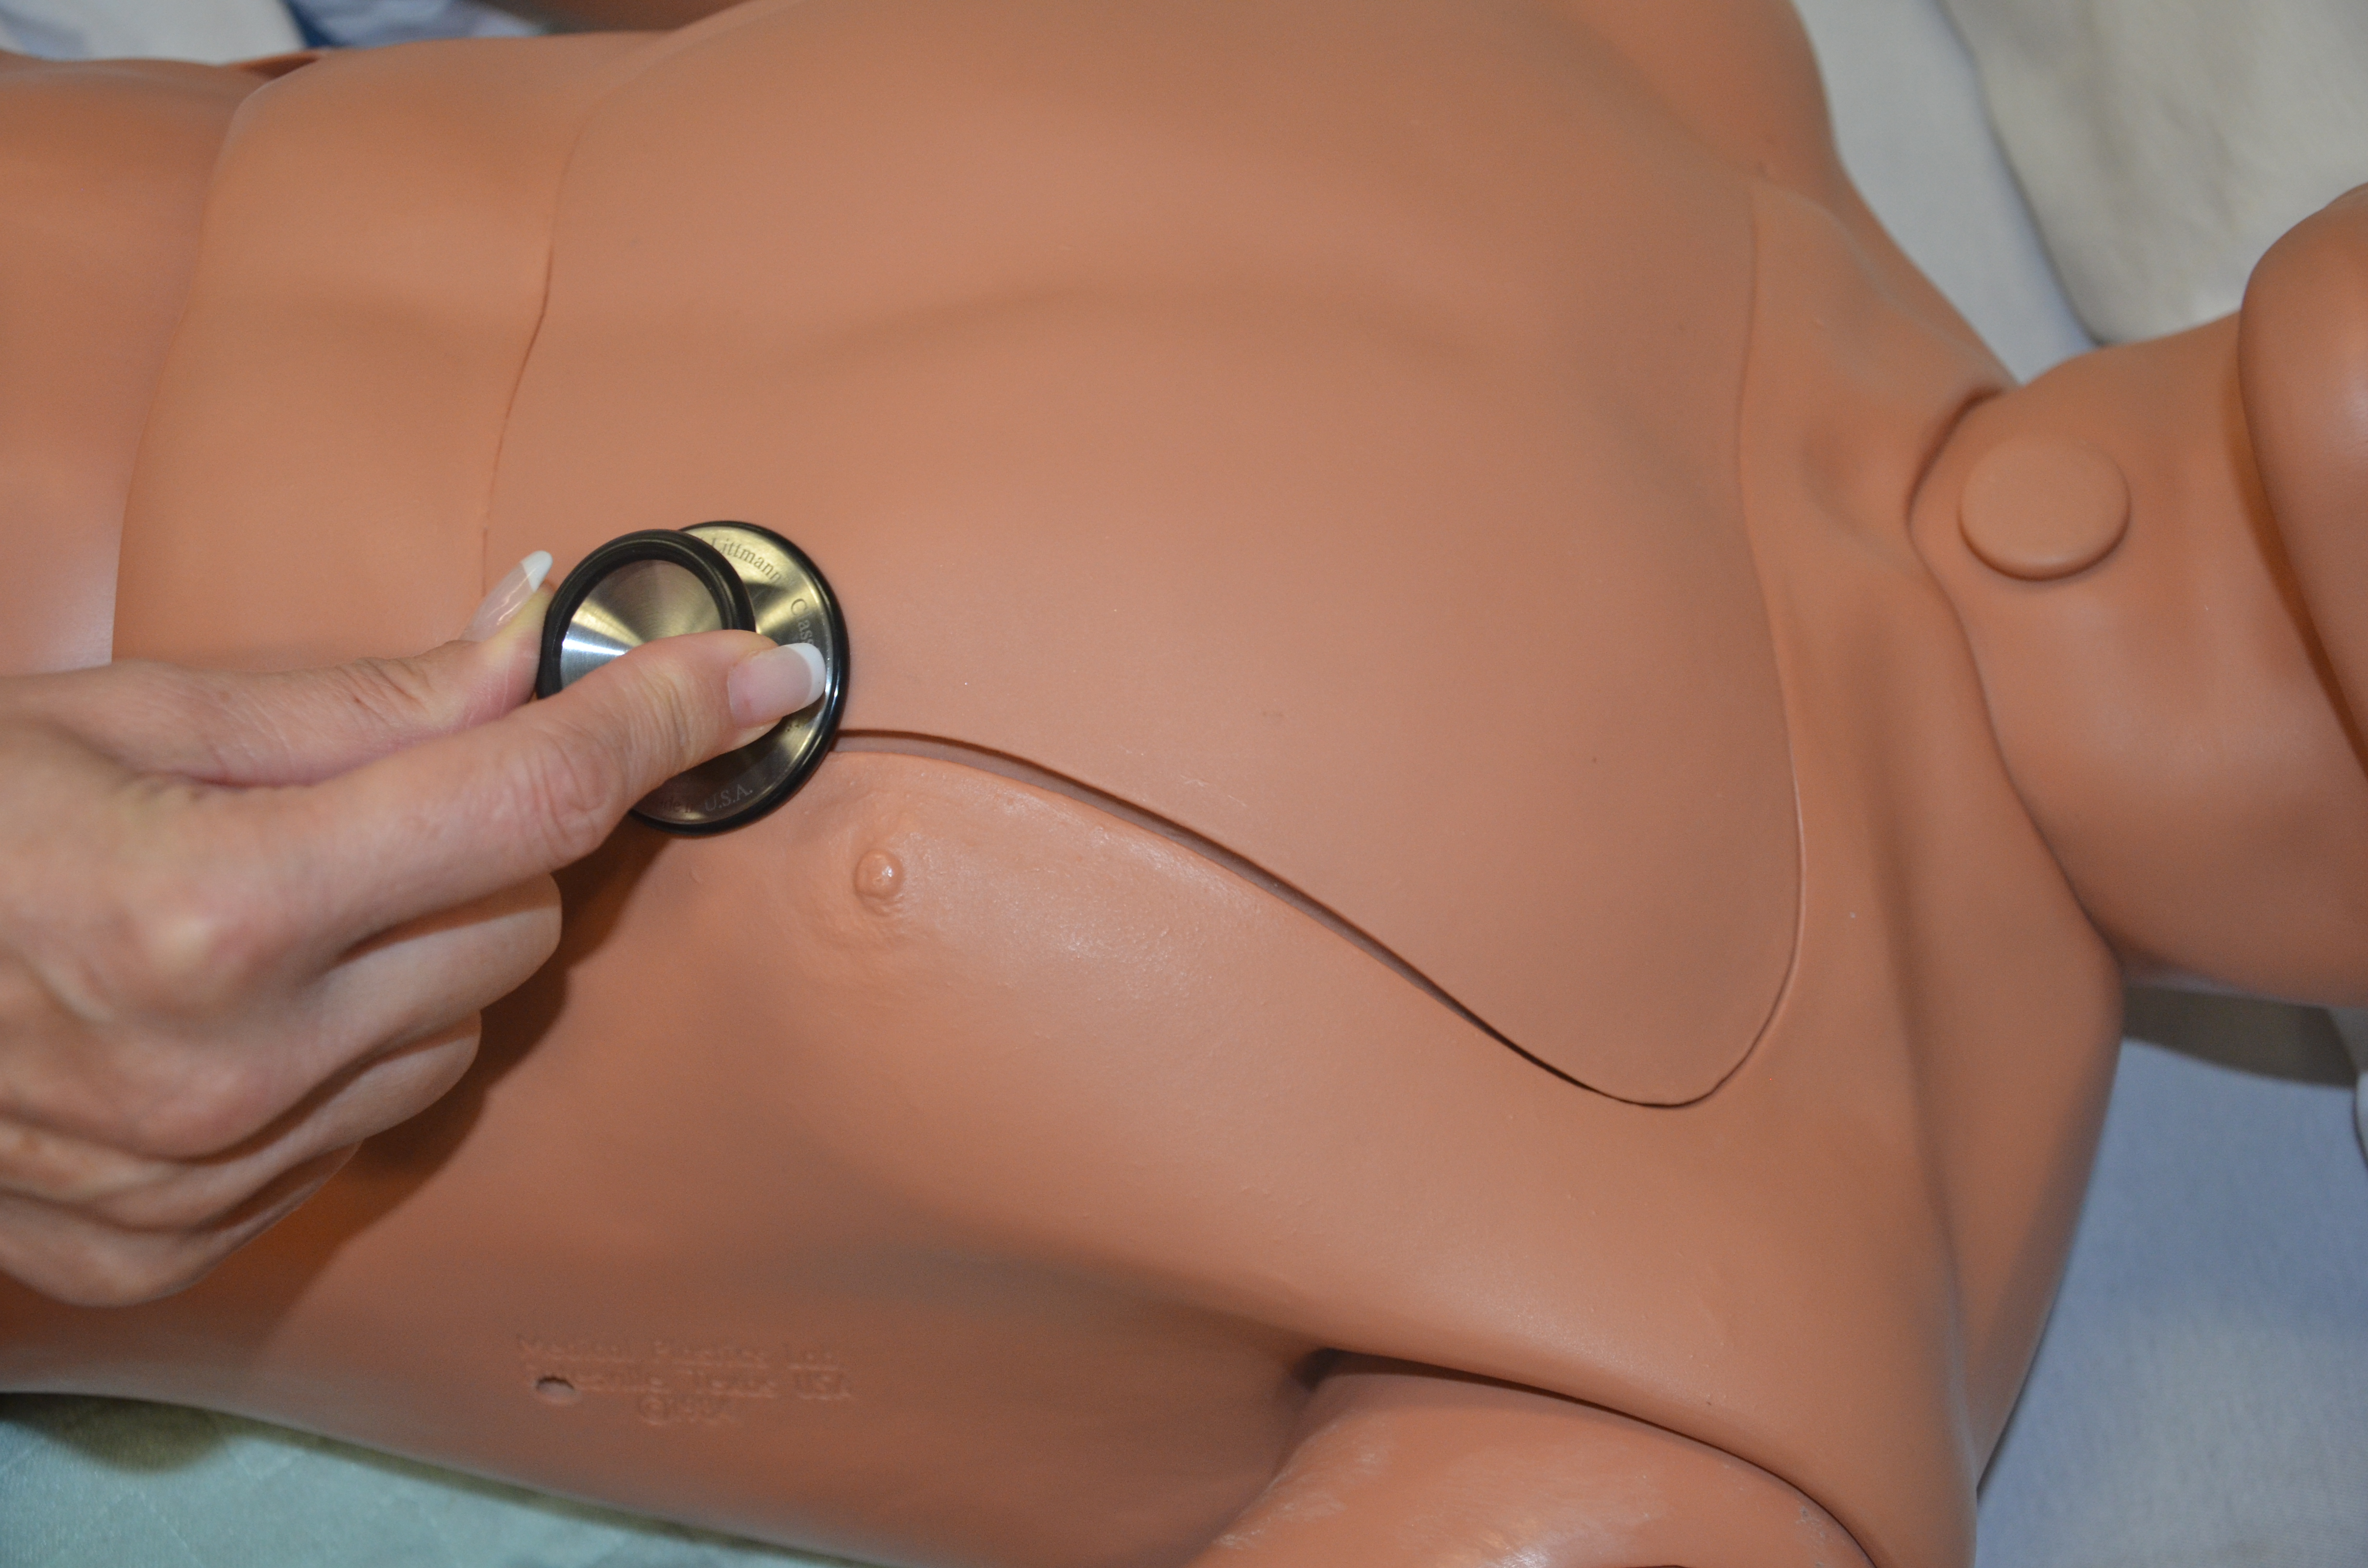
| 2. Pulse (a.k.a. heart rate):
 |
Pulses can be found at many points on the body and all could theoretically be used to assess heart rate. When palpating pulses use moderate pressure, as too much pressure can impair blood flow and occlude the vessel. In some agencies scales are used to document the strength of the pulse from bounding (+4); strong (+3); weak (+2); thready (+1); absent (0).
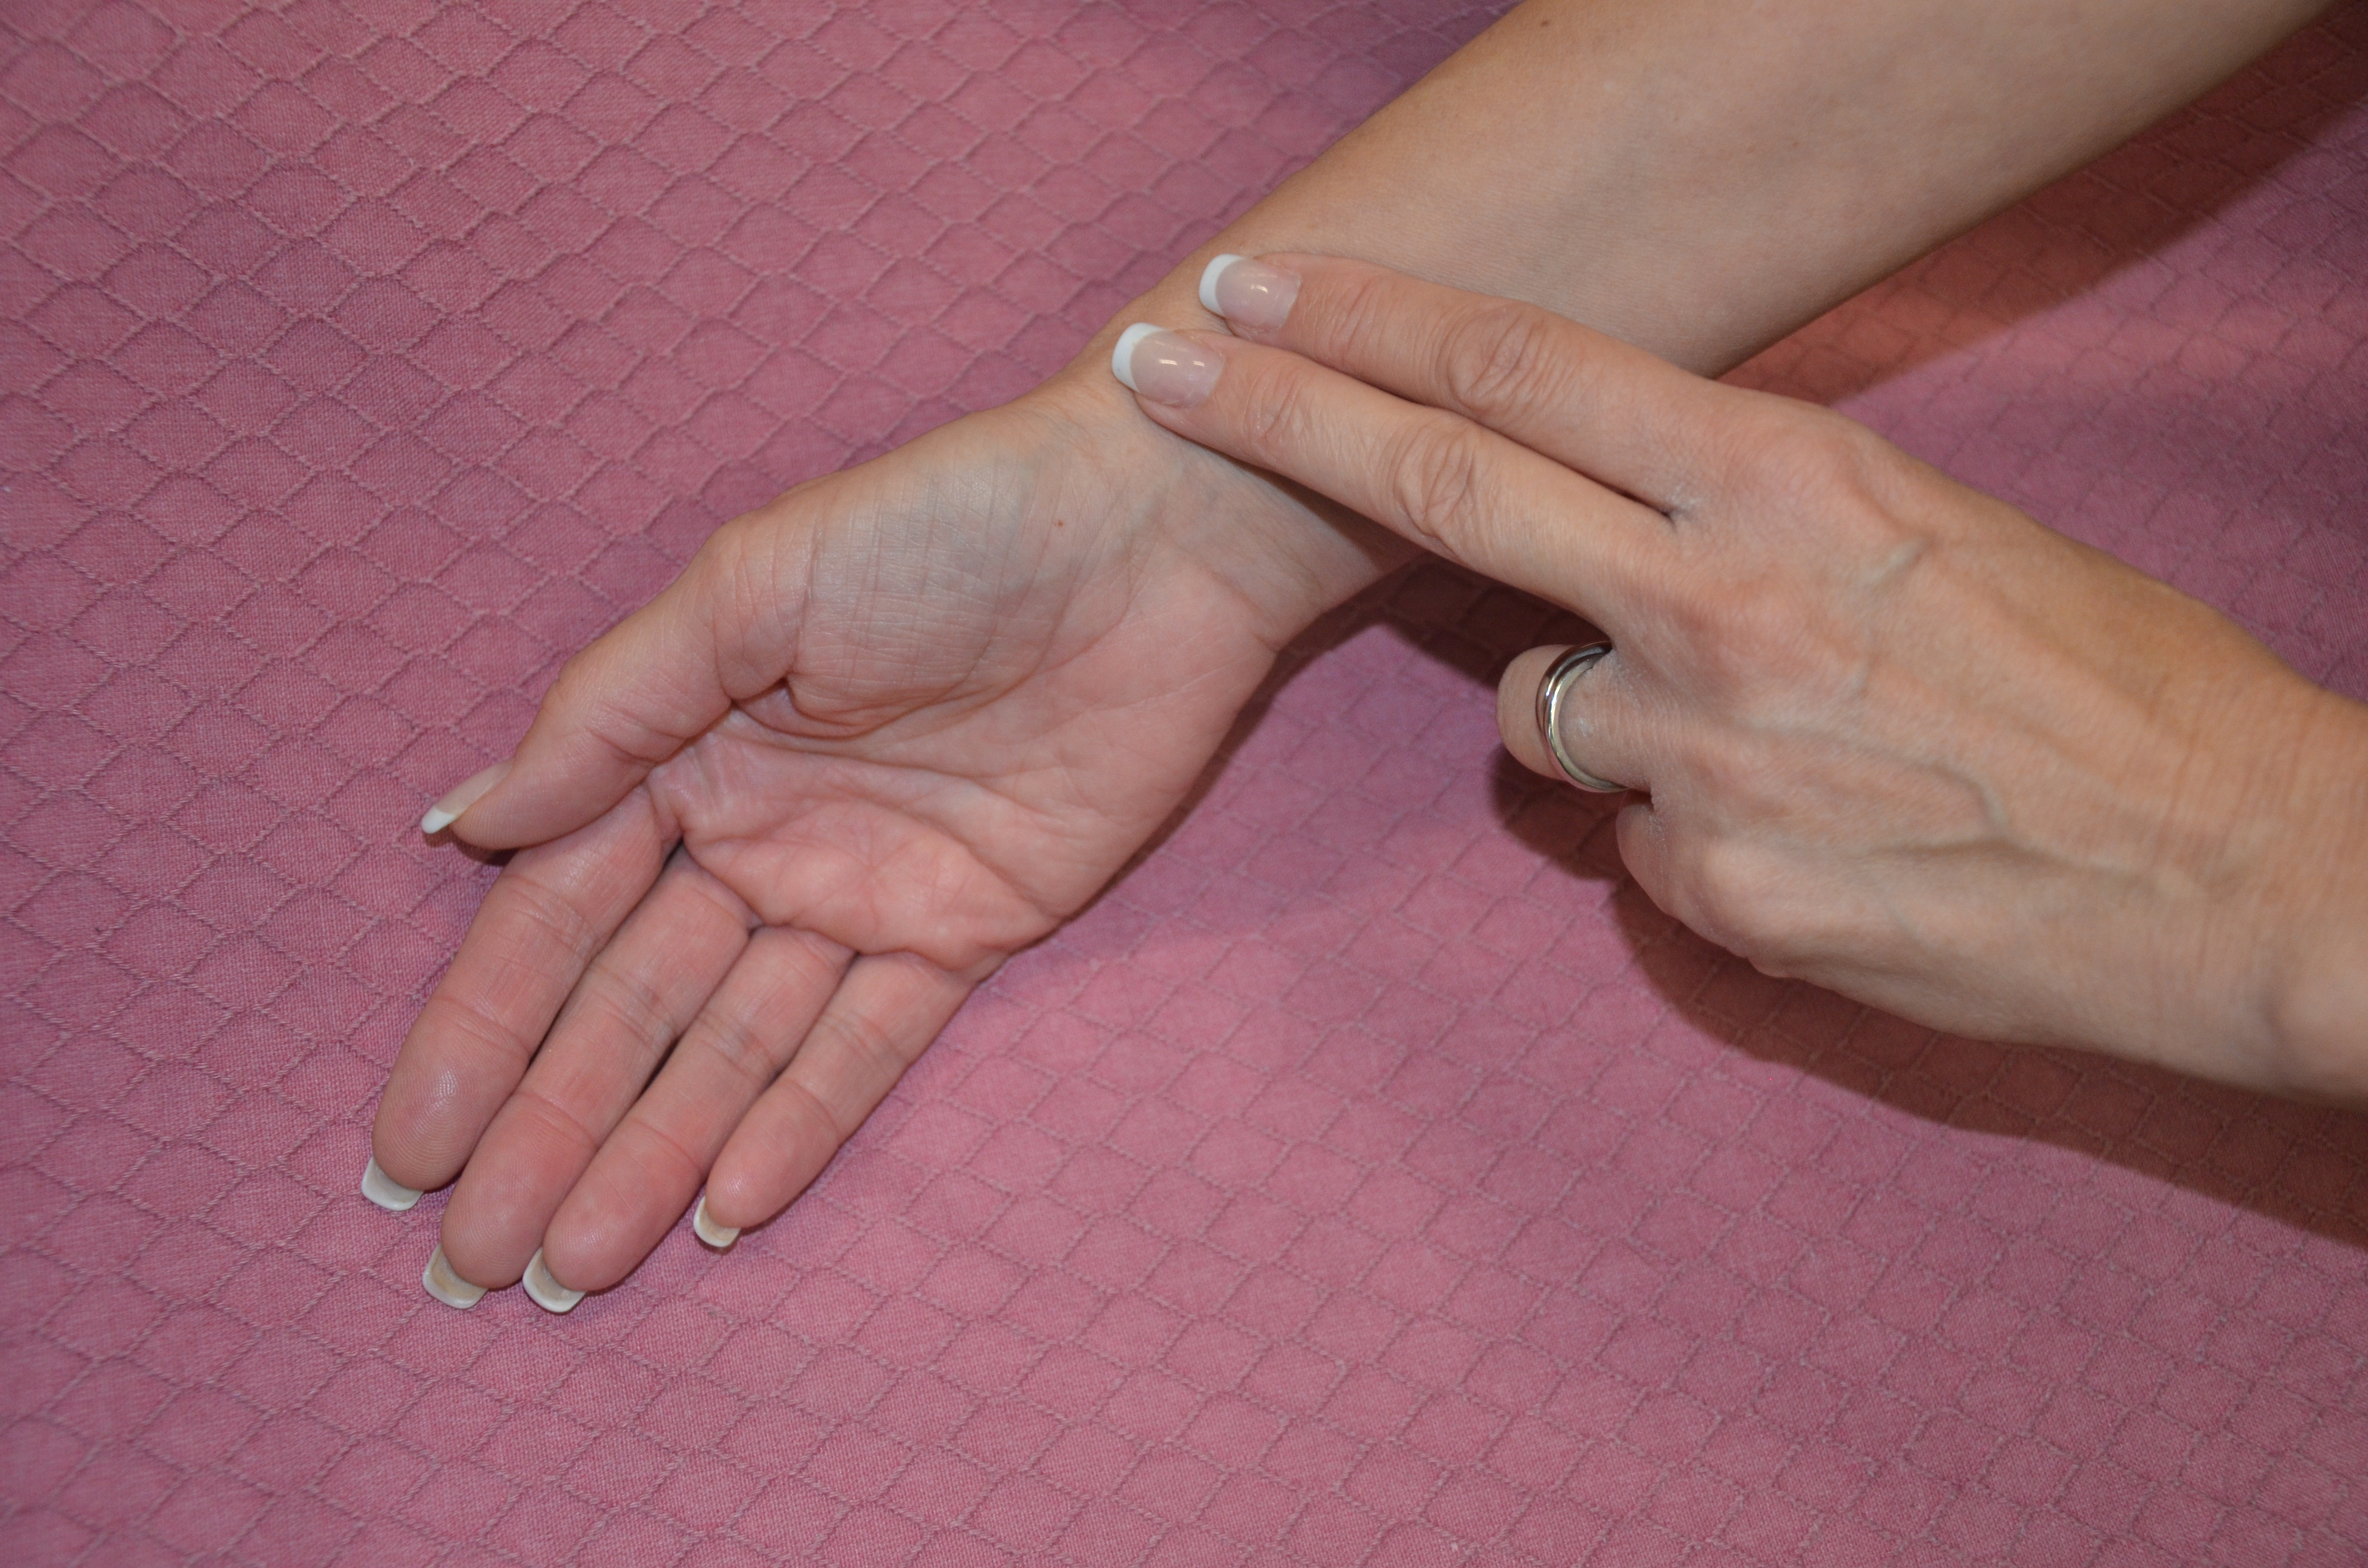
If a pulse is regular, a 30 second count multiplied by two is generally acceptable. If a pulse is irregular, count for 60 seconds Common pulses for assessment include: Radial pulse: Use the pads of your first three fingers to gently palpate the radial pulse at the inner lateral wrist. Apical pulse: Taken as part of a focused cardiovascular assessment and when the heart rate is irregular. Apical pulses are assessed using a stethoscope placed over the 4th–5th intercostal space of the midclavicular line on the left side on adults. For accuracy, an apical heart rate should be taken for a full minute. When giving medications that are dependent on the heart rate, count the apical pulse for a full minute. Auscultate for rate and regularity. Note: It is suggested that beginner nurses concentrate on rate and regularity. With practice, and depending on where you work, your skill level with specific heart sounds may change and need to be more detailed. There are many online resources to support learning about normal and abnormal cardiac sounds. Here’s one:
Carotid pulse: May be taken when radial pulse is not present or is difficult to palpate. Use the pads of your first three fingers to gently palpate on either side of the trachea. |
Normal heart rate:
|
|||||||||||||||||||||||||||
| 3. Respiration rate:
|
Count respiratory rate unobtrusively by observing the rise and fall of the patient’s chest or abdomen. Consider doing this while you are taking the pulse rate, so the patient is not aware that you are taking the respiration rate.
If the respiratory rhythm is regular, count for 30 seconds and multiply times two to determine respiratory rate / minute. If the respiratory rhythm is irregular or less than 12 / minute, count for a full minute. |
Normal respiratory rate per minute:
|
|||||||||||||||||||||||||||
4. Non-invasive blood pressure (NIBP):
 Invasive BP readings involve direct readings from an artery and would occur in a critical care area. |
The average blood pressure (BP) for a healthy adult is 120/80 mmHg, but variations are normal for various reasons. The systolic pressure is the maximum pressure on the arteries during left ventricular contraction. The diastolic pressure is the resting pressure on the arteries between each cardiac contraction.
Choosing the correct BP cuff size: The length of the cuff’s bladder should be approximately 80% of the circumference of the upper arm. The width of the cuff should be approx 2/3 of the upper arm. In other words allow for approximately two finger widths between the axilla and the top of the cuff and two finger widths between the antecubital fossa and the bottom of the cuff. The patient may be sitting or lying down with the bare arm at heart level. Two step method auscultation method: The two step method will allow you to approximate the BP prior to the reading, thus helping to prevent false low readings. Apply the BP cuff to the upper arm by ensuring correct size and lining the arrows up to the brachial artery. On the same arm, palpate the radial or brachial artery. Close the pressure bulb. Inflate the BP cuff until the pulse rate is no longer felt. Then inflate an additional 20 to 30 mmHg. This will give you an approximate systolic pressure and help you to determine the maximum inflation point. Open the pressure bulb and deflate the cuff and wait approximately one minute. Place the bell of the stethoscope over the brachial artery, place the stethoscope ear pieces in your ears. Close the pressure bulb. Inflate the cuff to the approximated systolic pressure and deflate the cuff slowly and evenly (approx 2–3 mmHg / second) noting the points on the manometer at which you hear the first appearance of sound (systolic BP), and the disappearance of sound (diastolic BP). After the last sound is heard, quickly deflate the cuff. Using an NIBP: Ensure cuff size is correct. Align the artery with the arrows on the cuff. Operate the machine as per manufacturers instructions. Additional resource: Deans, B. (2013, March 20). Choosing & positioning a blood pressure cuff [Video file]. Retrieved from https://www.youtube.com/watch?v=II0ioJNLnyg. |
Normal blood pressure
|
|||||||||||||||||||||||||||
5. Oxygen saturation (SpO2):
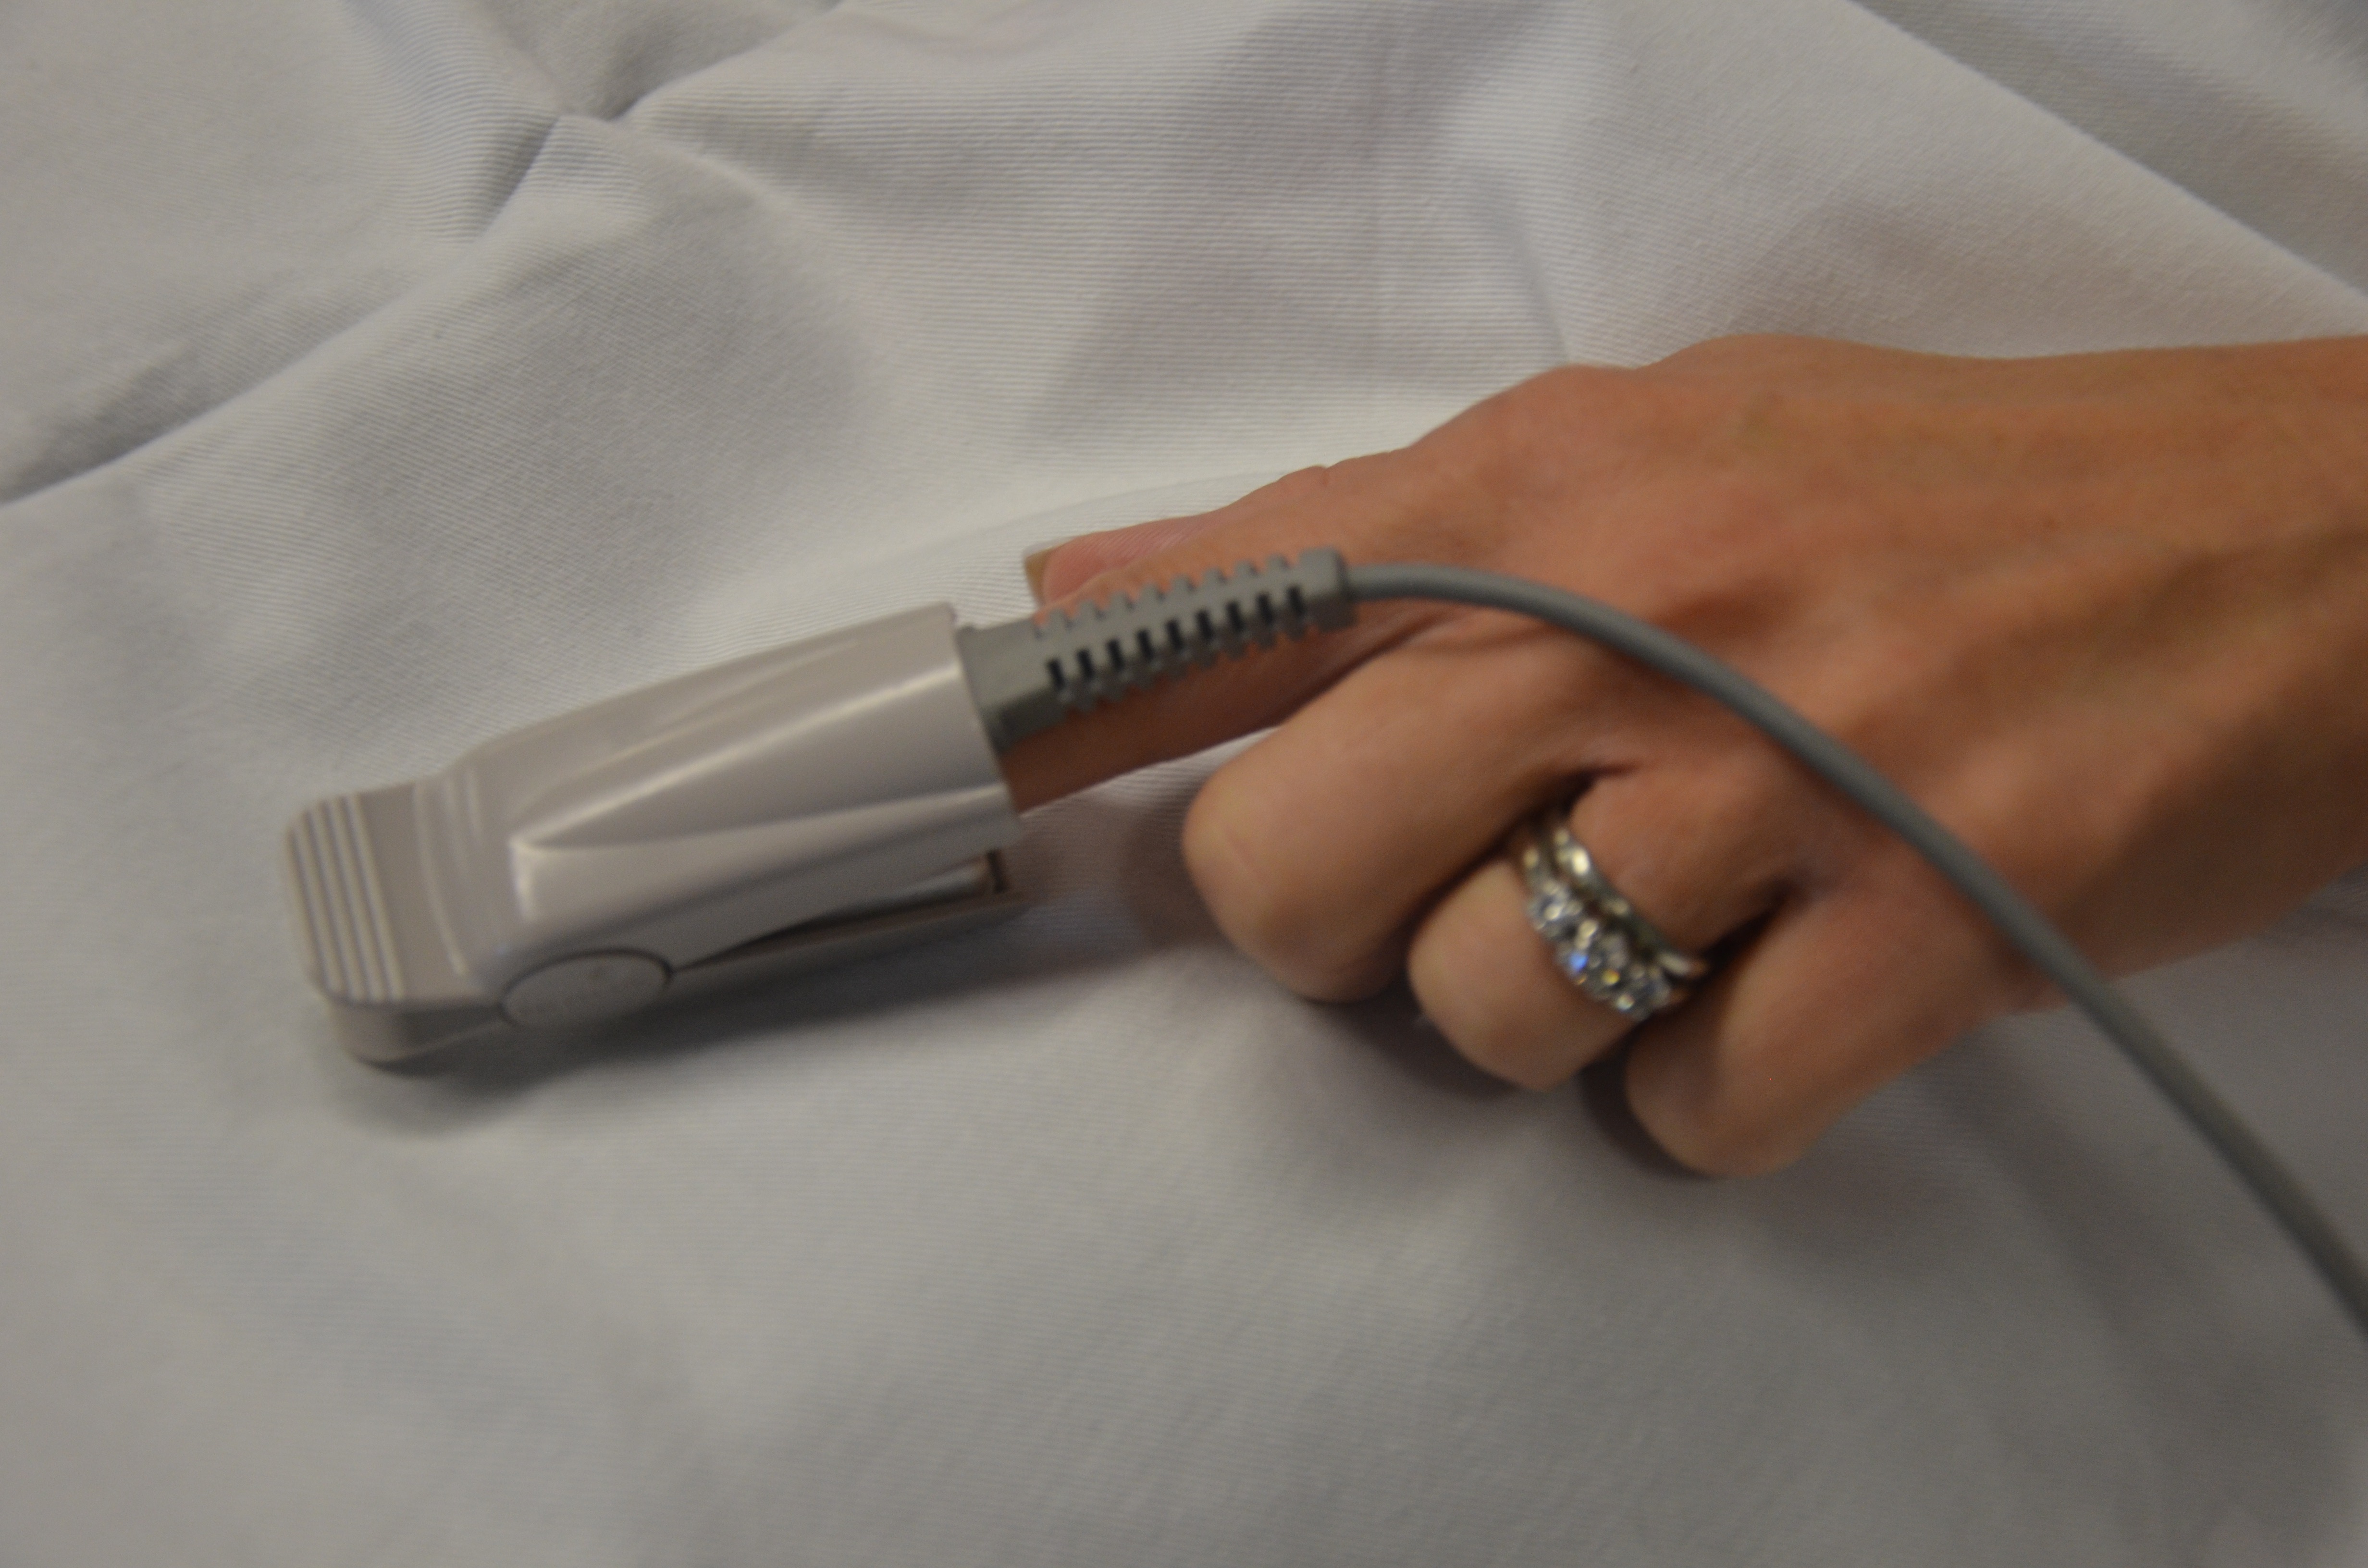 |
A pulse oximeter sensor attached to the patient’s finger or earlobe measures light absorption of hemoglobin and represents arterial SpO2.
Refer to Chapter 5.3 Pulse Oximetry for more information. |
A healthy person should have an SpO2 of ≥ 97%.
|
|||||||||||||||||||||||||||

Critical Thinking Exercises
- Identify four factors that can influence heart rate.
- Identify two situations that can influence blood pressure.
- Discuss why someone with a lung disease like COPD might have lower than normal SpO2.
- What is a normally accepted range for SpO2 in a client with COPD?
Attribution
Figure 2.3 Assessing carotid pulse by author is licensed under a Creative Commons Attribution 4.0 International License.
