Chapter 3. Safer Patient Handling, Positioning, Transfers and Ambulation
3.9 Positioning Patients in Bed
Positioning a patient in bed is important for maintaining alignment and for preventing pressure injury, foot drop, and contractures (Perry et al., 2018). Proper positioning is also vital for providing comfort for patients who are bedridden or who have decreased mobility related to a medical condition or treatment. When positioning a patient in bed, supportive devices such as pillows, rolls, wedges, and blankets, along with re-positioning, can aid in providing comfort and safety (Perry et al., 2018).
Positioning Patients in Bed
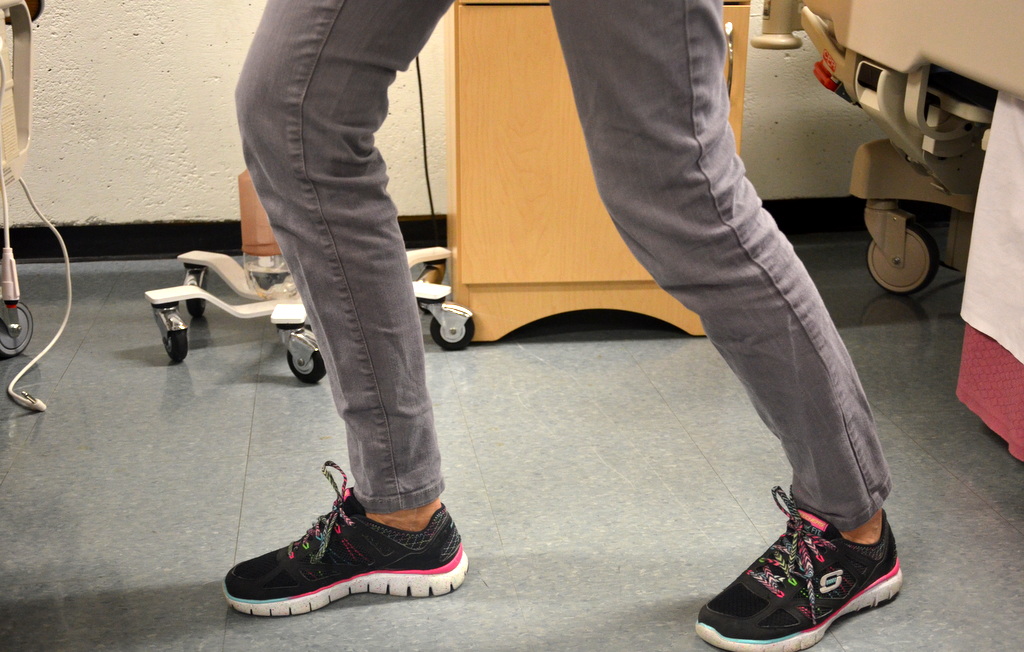
Positioning a patient in bed is a common procedure in the hospital. There are various positions possible for patients in bed, which may be determined by their condition, preference, or treatment related to an illness. Table 3.7 identifies patient positions in bed and a description for each.
Table 3.7 Patient Positions in Bed |
|||
Position |
Description |
||
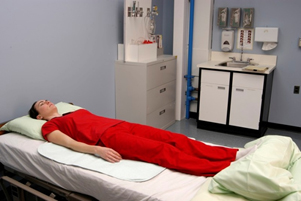
| Supine position | Patient lies flat on back. Additional supportive devices may be added for comfort, i.e., under lower legs, under head.
 |
||
| Prone position | Patient lies on stomach with head turned to the side.
 |
||
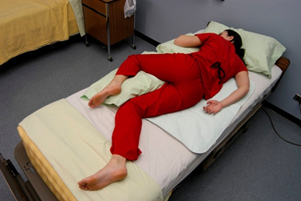
| Lateral position | Patient lies on the side of the body with the top leg over the bottom leg. This position helps relieve pressure on the coccyx.
 |
||
| Sims position | Patient lies between supine and prone with legs flexed in front of the patient. Arms should be comfortably placed beside the patient, not underneath.
 |
||
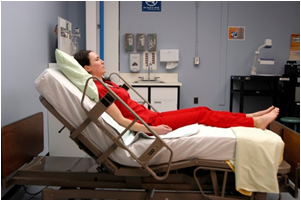
| Fowler’s position | Patient’s head of bed is placed at a 45-degree angle. Hips may or may not be flexed. This is a common position to provide patient comfort and care.
|
||
| Semi-Fowler’s position | Patient’s head of bed is placed at a 30-degree angle. This position is used for patients who have cardiac or respiratory conditions, and for patients with a nasogastric tube and who have enteral nutrition.
 |
||
| Orthopneic or tripod position | Patient sits at the side of the bed with head resting on an over-bed table on top of several pillows. This position is used for patients with breathing difficulties.
 |
||
| Trendelenburg position | Place the head of the bed lower than the feet. This position is used in situations such as hypotension and medical emergencies. It helps promote venous return to major organs such as the head and heart.
 |
||
| Data sources: Perry et al., 2018; Potter et al., 2017 | |||
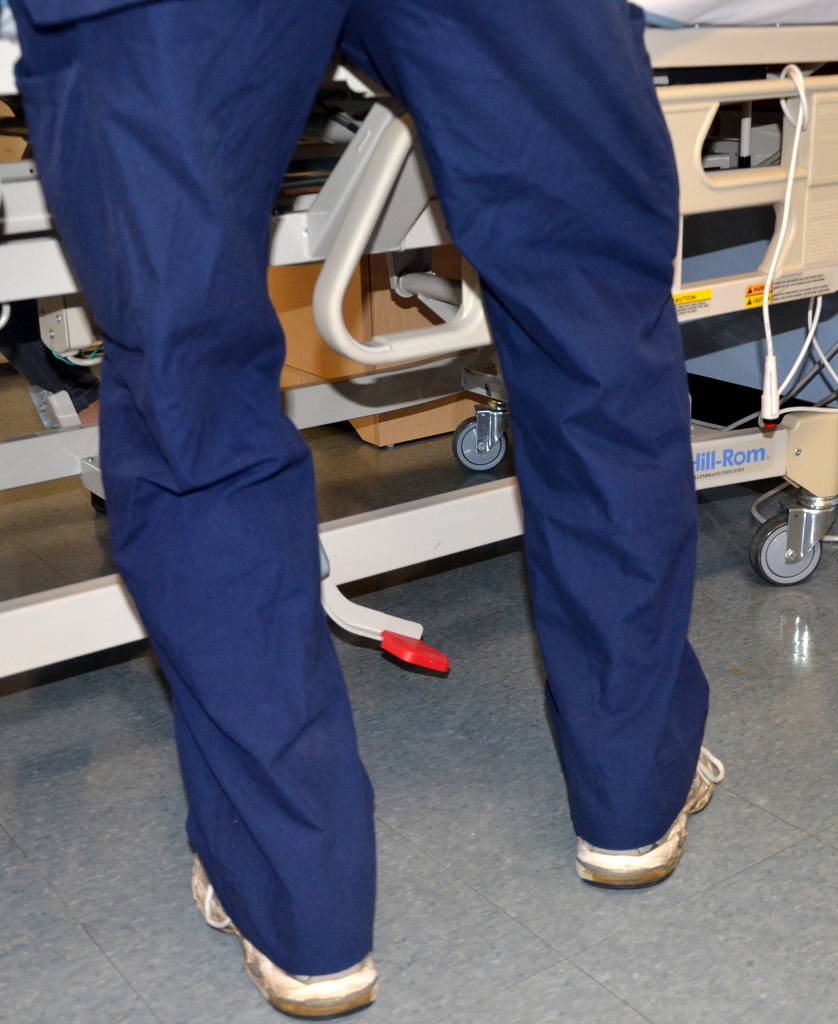
Moving a Patient Up in Bed
When moving a patient in bed, perform a patient risk assessment prior to the procedure to determine the level of assistance needed for optimal patient care. If a patient is unable to assist with repositioning in bed, follow agency policy regarding “no patient lifts” and the use of mechanical lifts for complex and bariatric patients. See Checklist 27 for the steps to move a patient up in bed.
Checklist 27: Moving a Patient Up in BedDisclaimer: Always review and follow your agency policy regarding this specific skill. |
|||
Safety considerations:
|
|||
Steps |
Additional Information |
||
|
1. Make sure an additional healthcare provider is available to help with the move. |
This procedure requires two healthcare providers. | ||
|
2. Explain to the patient what will happen and how the patient can help. |
Doing this provides the patient with an opportunity to ask questions and help with the positioning. |
||
|
3. Complete risk assessment (Checklist 24) of patient’s ability to help with the positioning. |
This step prevents injury to patient and healthcare provider. |
||
|
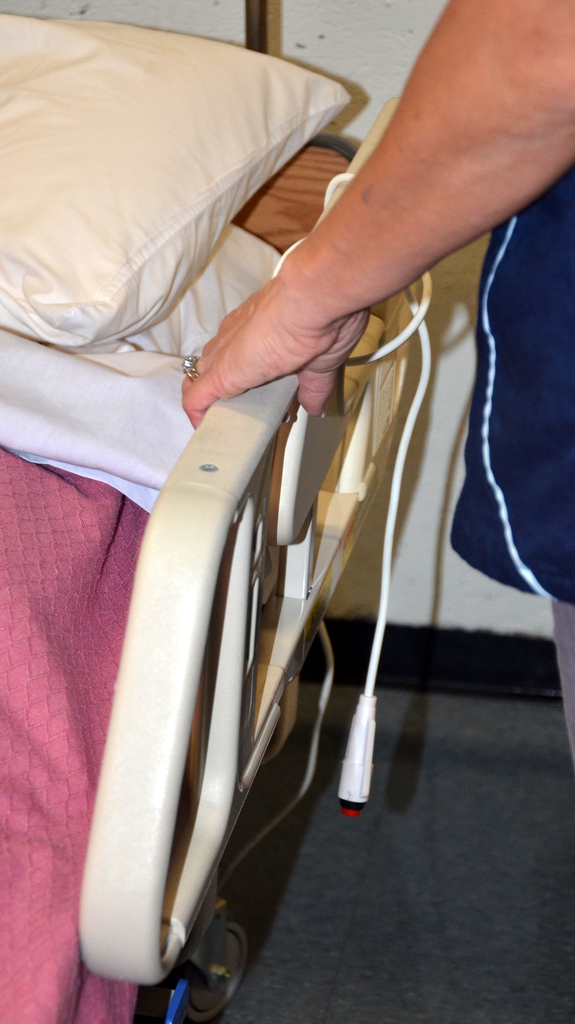
4. Raise bed to safe working height. The bed should be flat. Ensure brakes are applied. Healthcare providers stand on each side of the bed. |
Principles of proper body mechanics help prevent MSI. Safe working height is at waist level of the shortest healthcare provider. Leaving the head of bed elevated increases effort required and increases risk of MSI. 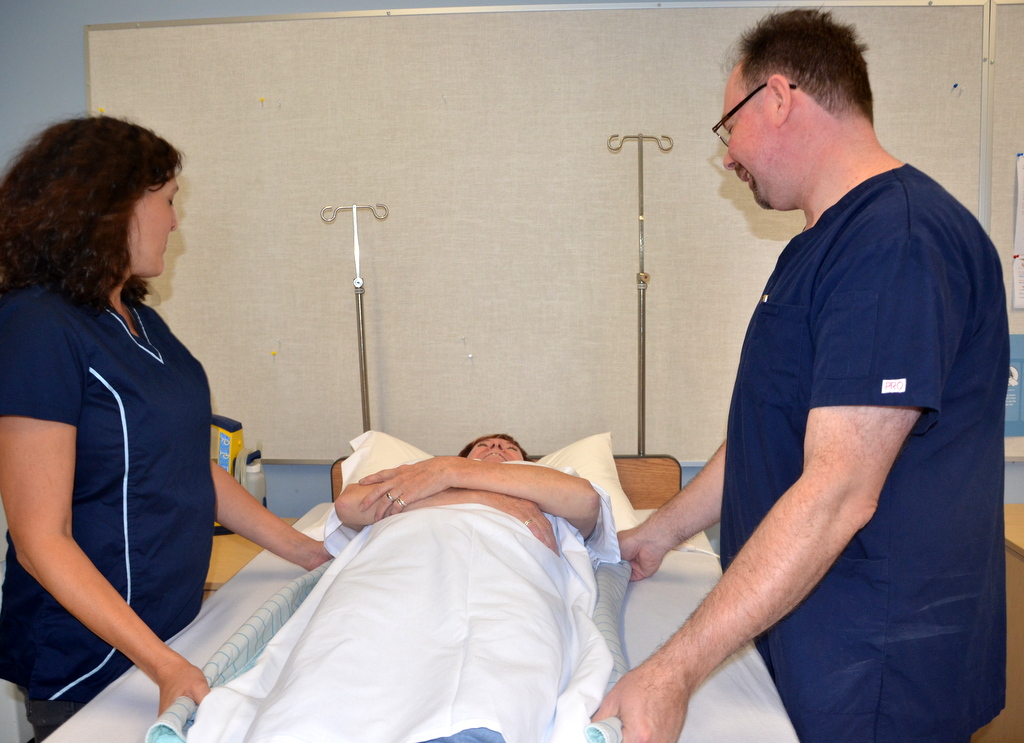 |
||
|
5. Lay patient supine; place pillow at the head of the bed and against the headboard. |
This step protects the head from accidentally hitting the headboard during repositioning. | ||
|
6. Stand between shoulders and hips of patient with feet shoulder width apart. Weight will be shifted from back foot to front foot. |
This keeps the heaviest part of the patient closest to the centre of gravity of the healthcare providers.
 |
||
|
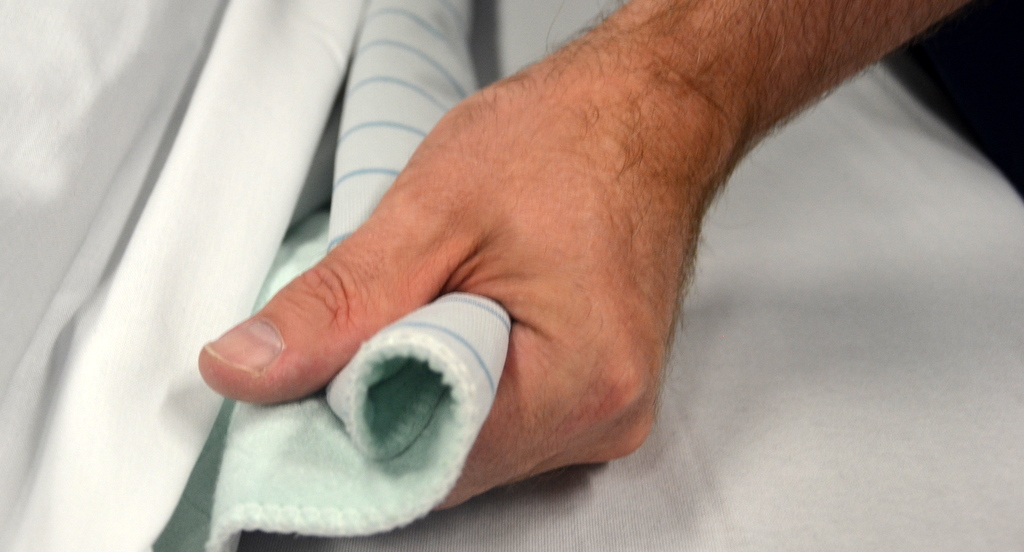
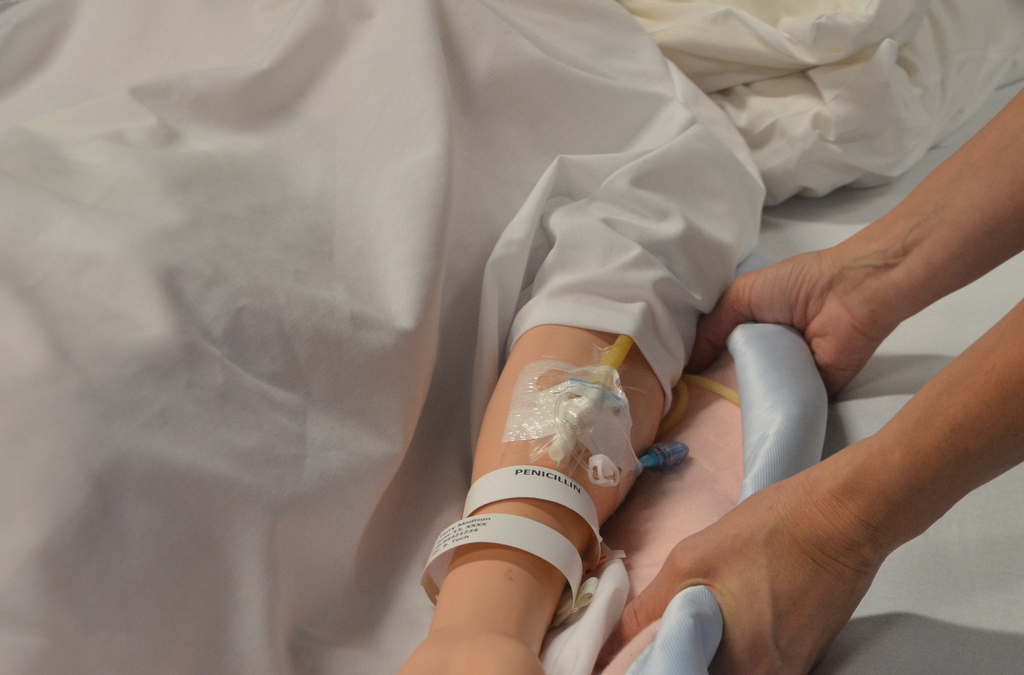
7. Fan-fold the draw sheet toward the patient with palms facing up. |
This provides a strong grip to move the patient up using the draw sheet.
 |
||
|
8. Ask patient to tilt head toward chest, fold arms across chest, and bend knees to assist with the movement. Let the patient know when the move will happen. |
This step prevents injury from patient and prepares patient for the move.
 |
||
|
9. Tighten your gluteal and abdominal muscles, bend your knees, and keep back straight and neutral. |
The principles of proper body mechanics help prevent injury. | ||
|
10. On the count of three by the lead person, gently slide (not lift) the patient up the bed, shifting your weight from the back foot to the front, keeping back straight with knees slightly bent. |
The principles of proper body mechanics help prevent injury. |
||
|
11. Replace pillow under head, position patient in bed, and cover with sheets. |
This step promotes comfort and prevents harm to patient. | ||
|
12. Lower bed, raise side rails as required, and ensure call bell is within reach. Perform hand hygiene. |
Placing bed and side rails in safe positions reduces the likelihood of injury to patient. Proper placement of call bell facilitates patient’s ability to ask for assistance.
 Hand hygiene reduces the spread of microorganisms. |
||
| Data sources: Perry et al., 2018; PHSA, 2010 | |||
Now complete the following online courses to learn more about how to move a patient up in bed.
Take the following PHSA courses:
Repositioning a Patient in Bed, Caregivers at Head teaches how to move a patient up in bed with caregivers at the head of the bed.
Repositioning a Patient in Bed, Caregivers Facing Each Other covers how to move a patient up in bed with the caregivers facing each other.
Repositioning a Patient in Bed, Diagonal Technique shows how to move a patient up in bed with the caregivers standing positioned diagonally.
Positioning a Patient to the Side of the Bed
Prior to ambulating, re-positioning, or transferring a patient from one surface to another (e.g., a stretcher to a bed), it may be necessary to move the patient to the side of the bed to avoid straining or excessive reaching by the healthcare provider. Positioning the patient to the side of the bed also allows the healthcare provider to have the patient as close as possible to the healthcare provider’s centre of gravity for optimal balance during patient handling. Checklist 28 describes how to safely move a patient to the side of the bed.
Checklist 28: Positioning a Patient to the Side of the BedDisclaimer: Always review and follow your agency policy regarding this specific skill. |
|||
Safety considerations:
|
|||
Steps |
Additional Information |
||
|
1. Make sure you have as many additional healthcare providers as needed to help with the move. |
The procedure works best with two or more healthcare providers, depending on the size of the patient and the size of the healthcare professionals. | ||
|
2. Explain to the patient what will happen and how the patient can help. |
This provides the patient with an opportunity to ask questions and help with the positioning. |
||
|
3. Raise bed to safe working height and ensure that brakes are applied. Lay patient supine. |
Principles of proper body mechanics help prevent MSI. Safe working height is at waist level of the shortest healthcare provider. |
||
|
4. Stand on the side of the bed the patient is moving toward. One person stands at the shoulder area and the other person stands near the hip area, with feet shoulder width apart. |
This step keeps the heaviest part of the patient closest to the centre of gravity of the healthcare providers.
 |
||
|
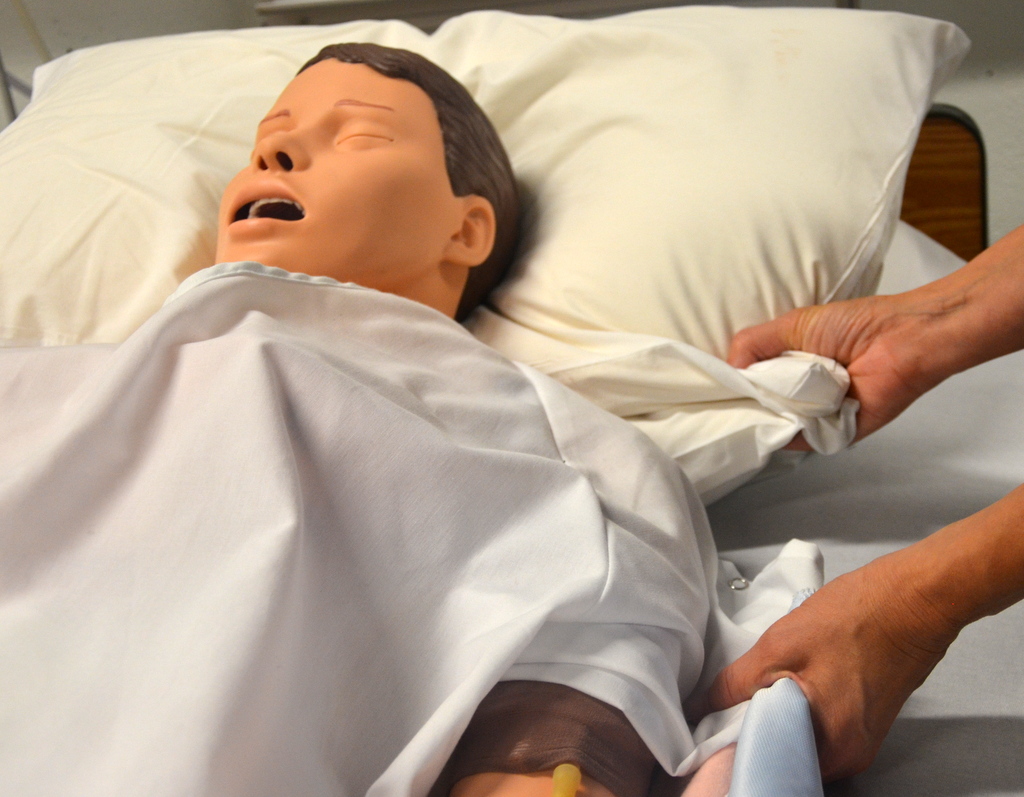
5. Fan-fold the draw sheet toward the patient with palms facing up. |
|
||
|
6. Have the healthcare provider at the head of the bed grasp the pillow with one hand and the draw sheet with the other hand. |
This prevents injury to patient.
 |
||
|
7. Have patient place arms across chest. |
This step prevents injury to patient.
|
||
|
8. Tighten your gluteal and abdominal muscles, bend your knees, and keep back straight and neutral. Place one foot in front of the other. The weight will shift from the front foot to the back during the move. |
Use of proper body mechanics helps prevent injury when handling patients.
|
||
|
9. On the count of three by the lead person, with arms tight and shoulders down, shift your weight from the front foot to the back foot. Use your large leg muscles to move the patient. Do not lift, but gently slide the patient. |
  If the patient is bariatric, the move should be repeated to correctly position the patient, or use a mechanical lift. |
||
|
10. Once patient is positioned toward the side of the bed, ensure pillow is comfortable under the head, and straighten sheets. Complete all other procedures related to safe patient handling. |
This step promotes comfort and prevents harm to patient.
 |
||
|
11. Lower bed, raise side rails as required, and ensure call bell is within reach. Perform hand hygiene. |
Placing bed and side rails in safe positions reduces the likelihood of injury to patient. Proper placement of call bell facilitates patient’s ability to ask for assistance.
Hand hygiene reduces the spread of microorganisms. |
||
| Data sources: Perry et al., 2018; PHSA, 2010 | |||
Critical Thinking Exercises
- Your patient is experiencing shortness of breath related to heart failure. Which position in bed might best help people with this condition?
- Consider how a mechanical assistive device might help with re-positioning a patient in bed.
Attribution
Figure 3.7 Tripod position by author is licensed under a Creative Commons Attribution 4.0 International License.
