Chapter 4. Wound Care
4.7 Suture Removal
Sutures are tiny threads, wire, or other material used to sew body tissue and skin together. They may be placed deep in the tissue and/or superficially to close a wound. A variety of suture techniques are used to close a wound, and deciding on a specific technique depends on the location of the wound, thickness of the skin, degree of tensions, and desired cosmetic effect (Perry et al., 2014).
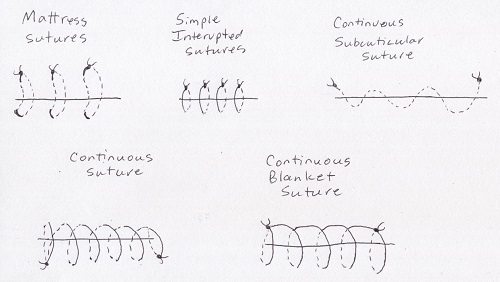
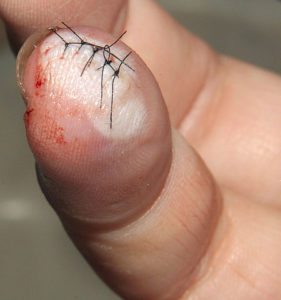
There are different types of sutures techniques. Some of these are illustrated in Figure 4.2. The most commonly seen suture is the intermittent or interrupted suture.
Sutures may be absorbent (dissolvable) or non-absorbent (must be removed). Non-absorbent sutures are usually removed within 7 to 14 days. Suture removal is determined by how well the wound has healed and the extent of the surgery. Sutures must be left in place long enough to establish wound closure with enough strength to support internal tissues and organs.
The healthcare provider must assess the wound to determine whether or not to remove the sutures. The wound line must also be observed for separations during the process of suture removal. Removal of sutures must be ordered by the primary healthcare provider (physician or nurse practitioner). An order to remove sutures must be obtained prior to the procedure, and a comprehensive assessment of the wound site must be performed prior to the removal of the sutures by the healthcare provider.
Alternate sutures (every second suture) are typically removed first, and the remaining sutures are removed once adequate approximation of the skin tissue is determined. If the wound is well healed, all the sutures would be removed at the same time. Alternately, the removal of the remaining sutures may be days or weeks later (Perry et al., 2014). Checklist 38 provides the steps for intermittent suture removal.
Checklist 38: Intermittent Suture RemovalDisclaimer: Always review and follow your agency policy regarding this specific skill. |
|||
Safety considerations:
|
|||
Steps |
Additional Information |
||
| 1. Confirm prescriber’s orders, and explain procedure to patient. Offer analgesic. | Explaining the procedure will help prevent anxiety and increase compliance with the procedure.
Inform patient that the procedure is not painful, but the patent may feel some pulling of the skin during suture removal. |
||
| 2. Gather appropriate supplies after deciding if this is a clean or sterile procedure. Clean techniques suffice if wounds have been exposed to the air and the wound is approximated and healing. | You will need suture scissors or suture blade, forceps, receptacle for suture material (gauze, tissue, garbage bag), antiseptic swabs can be used for clean procedure, sterile dressing tray if this is a sterile procedure. Steri-Strips and outer dressing, if indicated. | ||
| 3. Position patient appropriately and create privacy for procedure. | Ensure proper body mechanics for yourself, and create a comfortable position for the patient. | ||
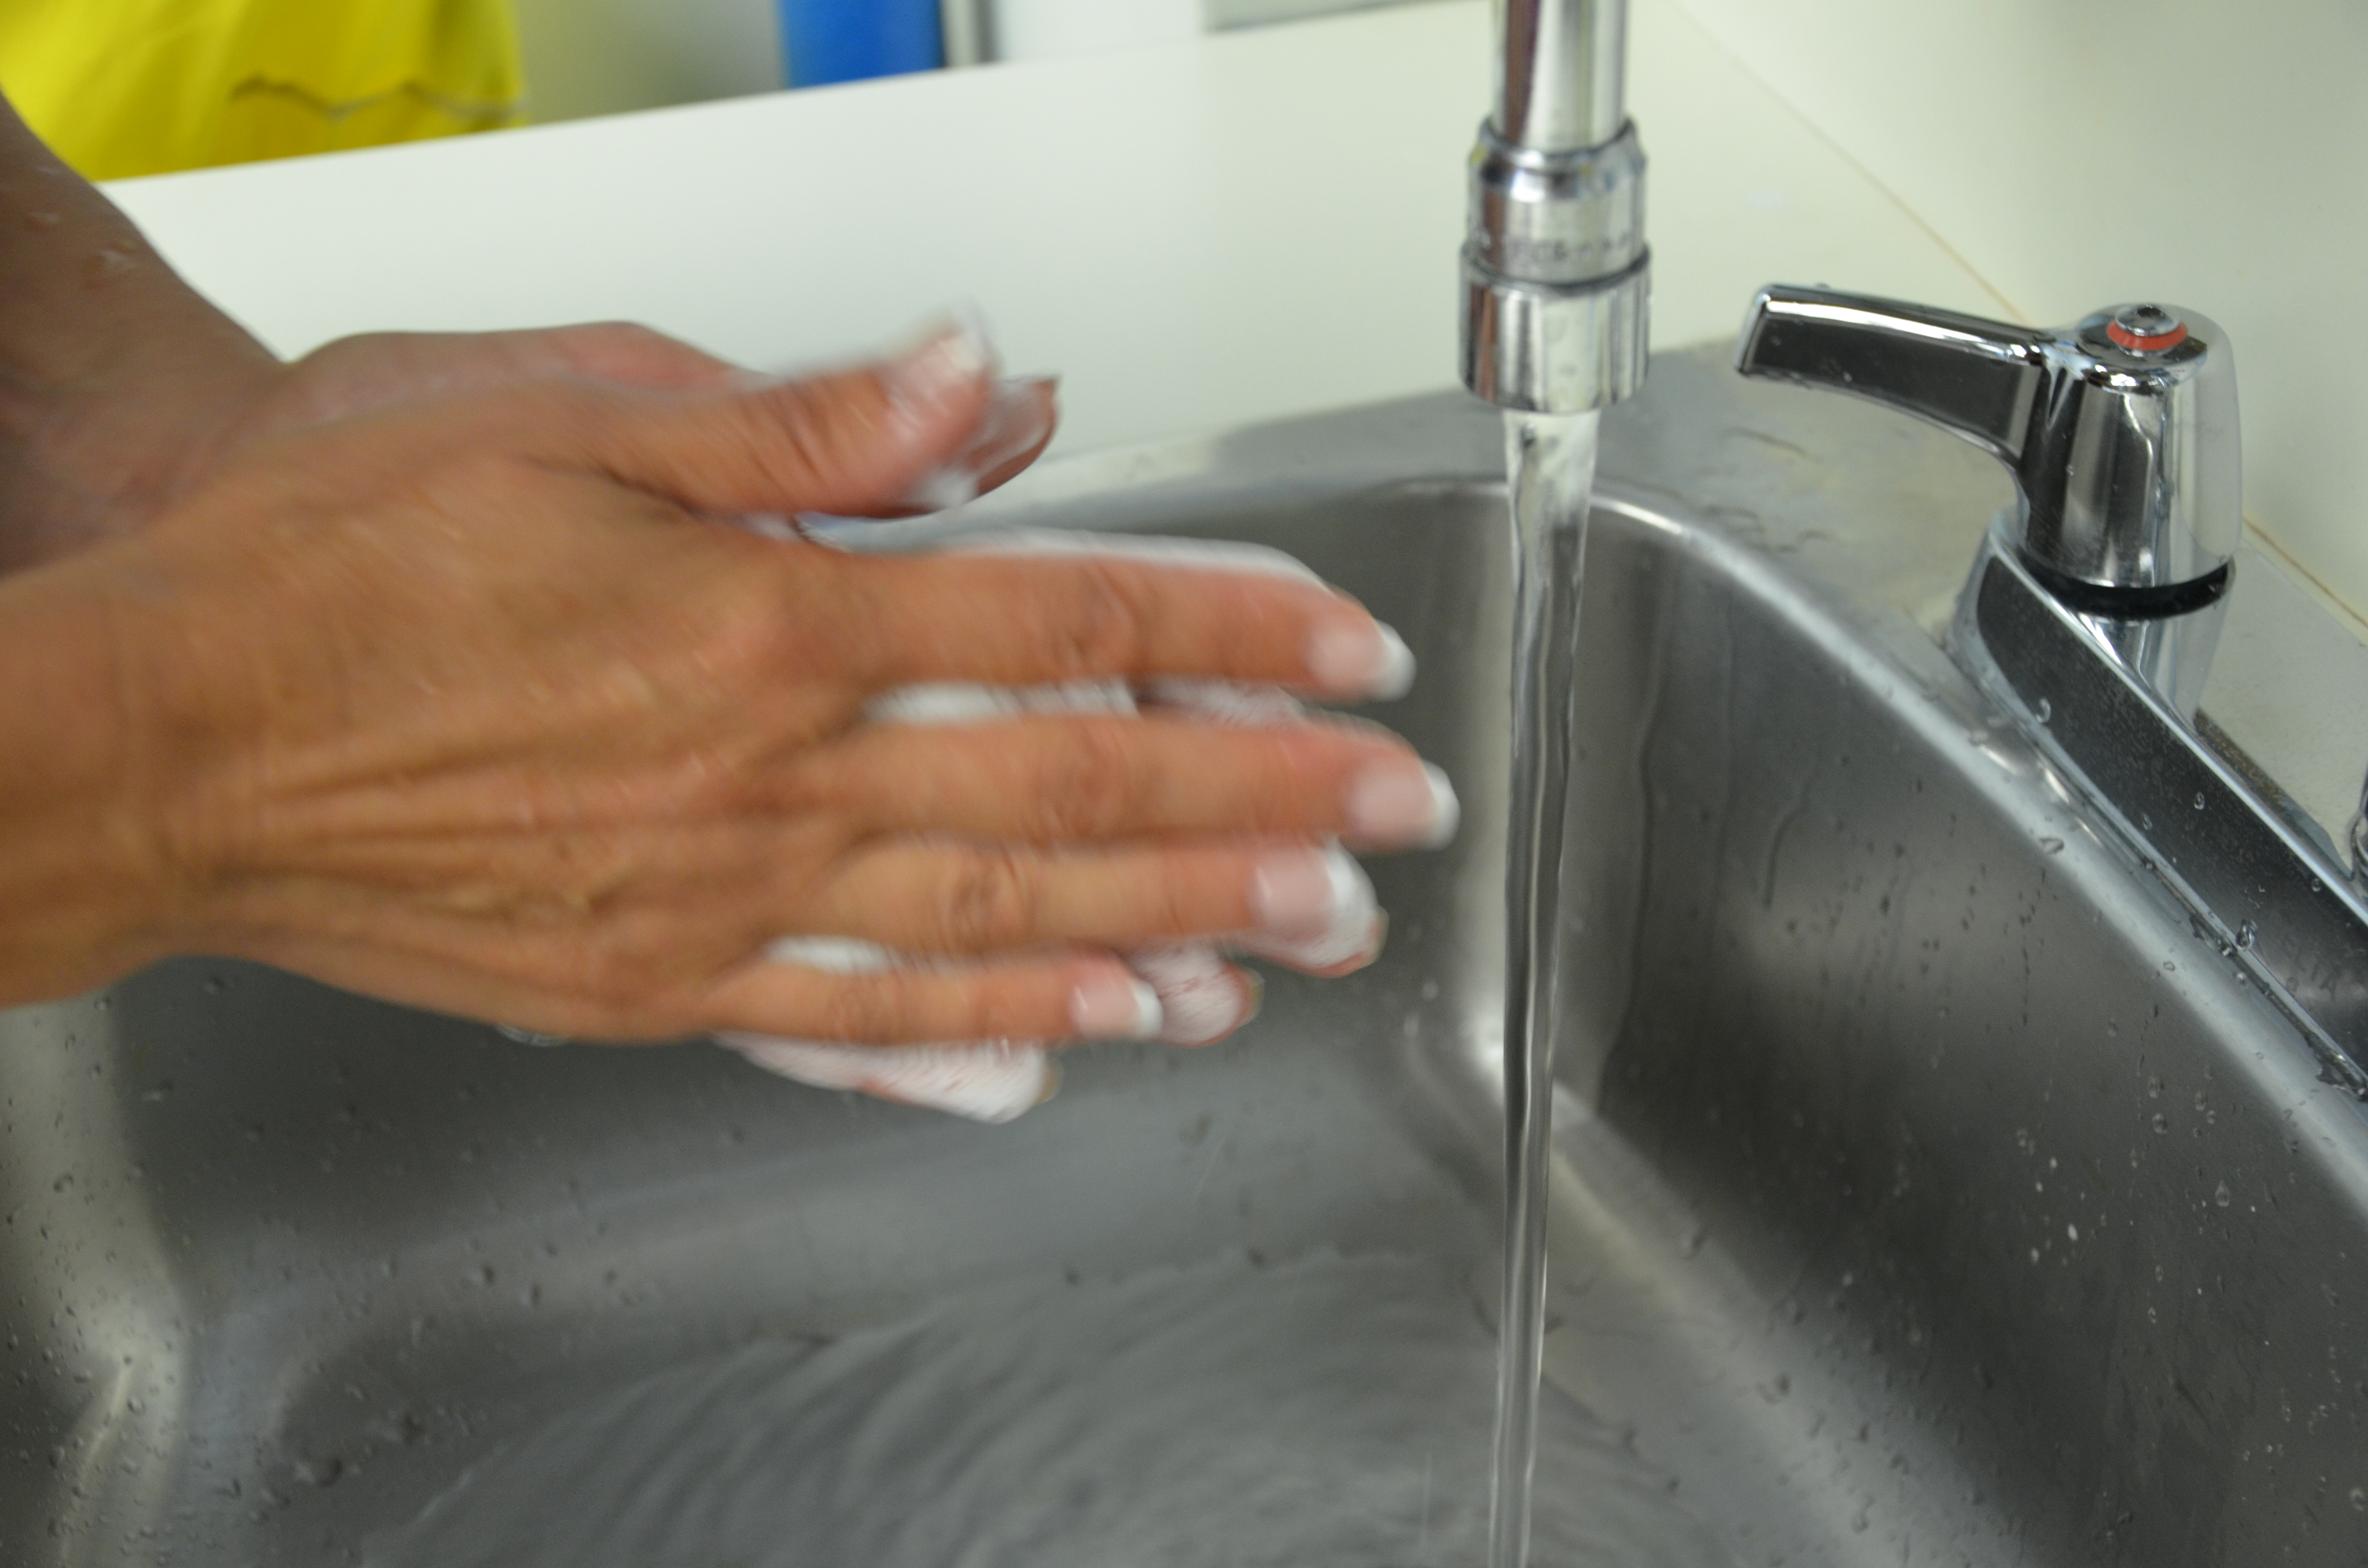
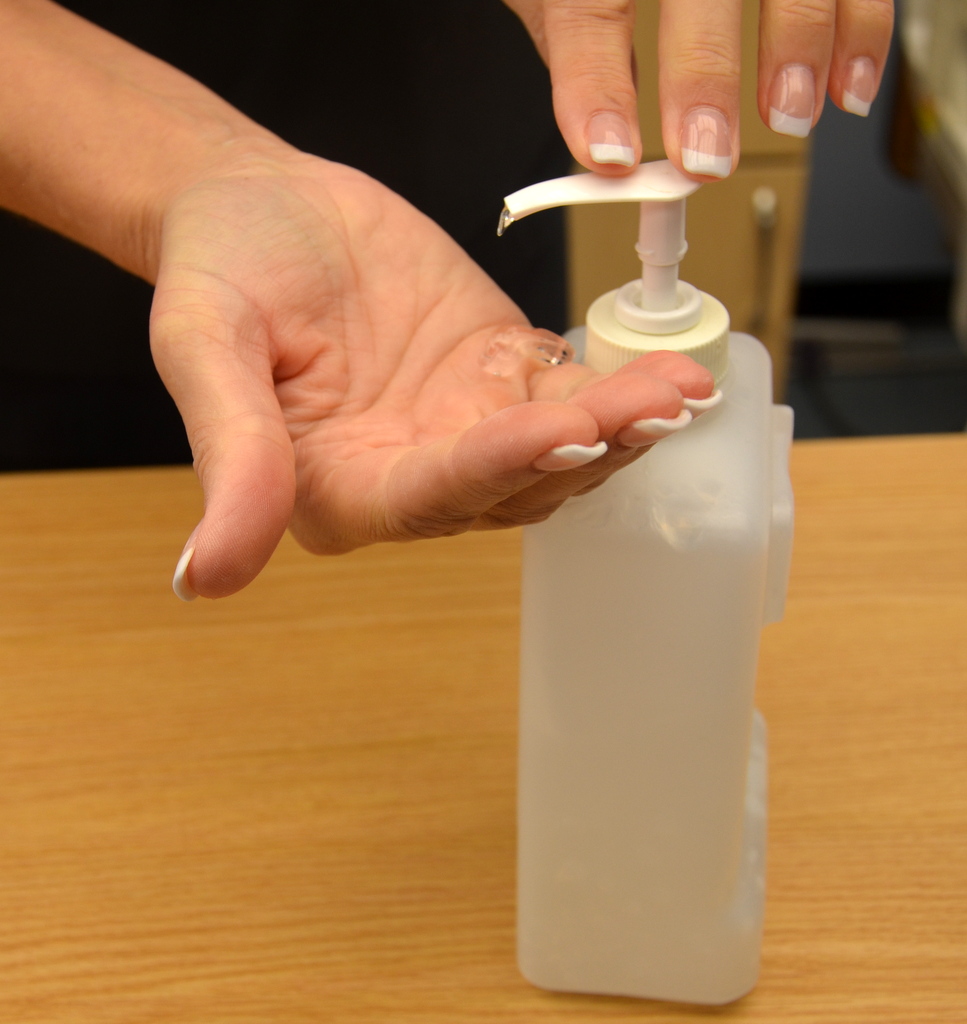
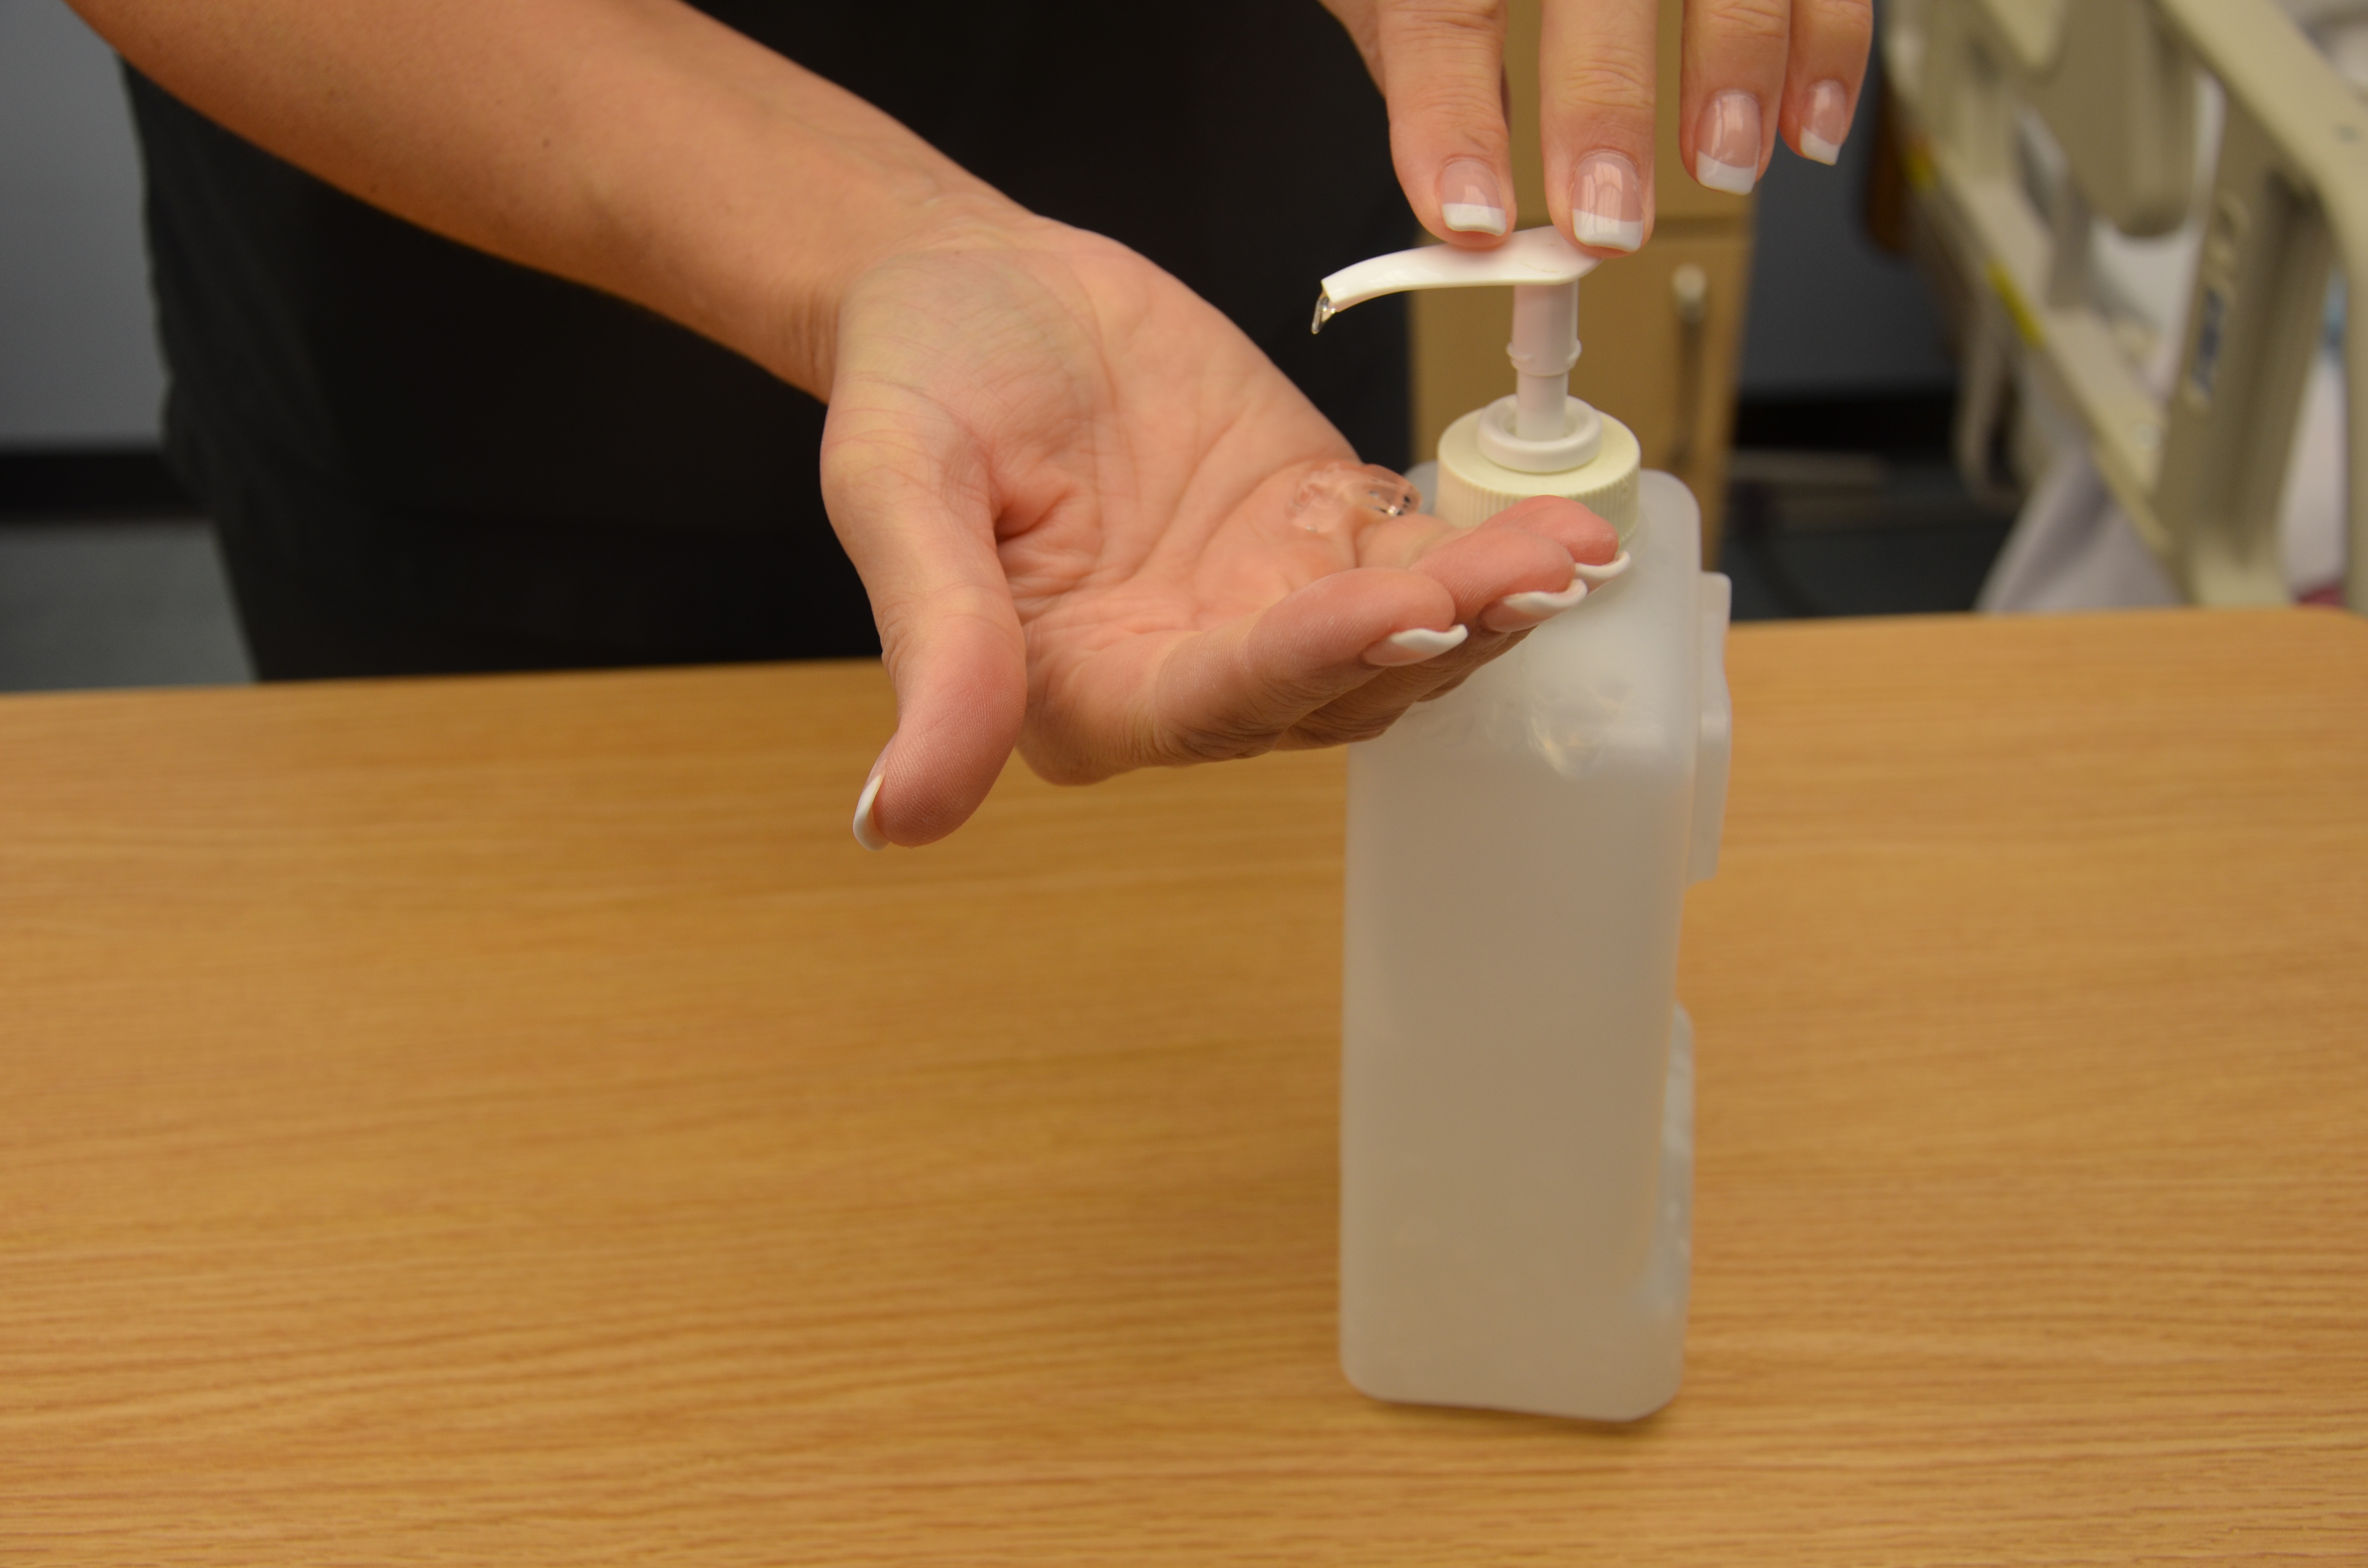
| 4. Perform hand hygiene. | Hand hygiene reduces the risk of infection.
 |
||
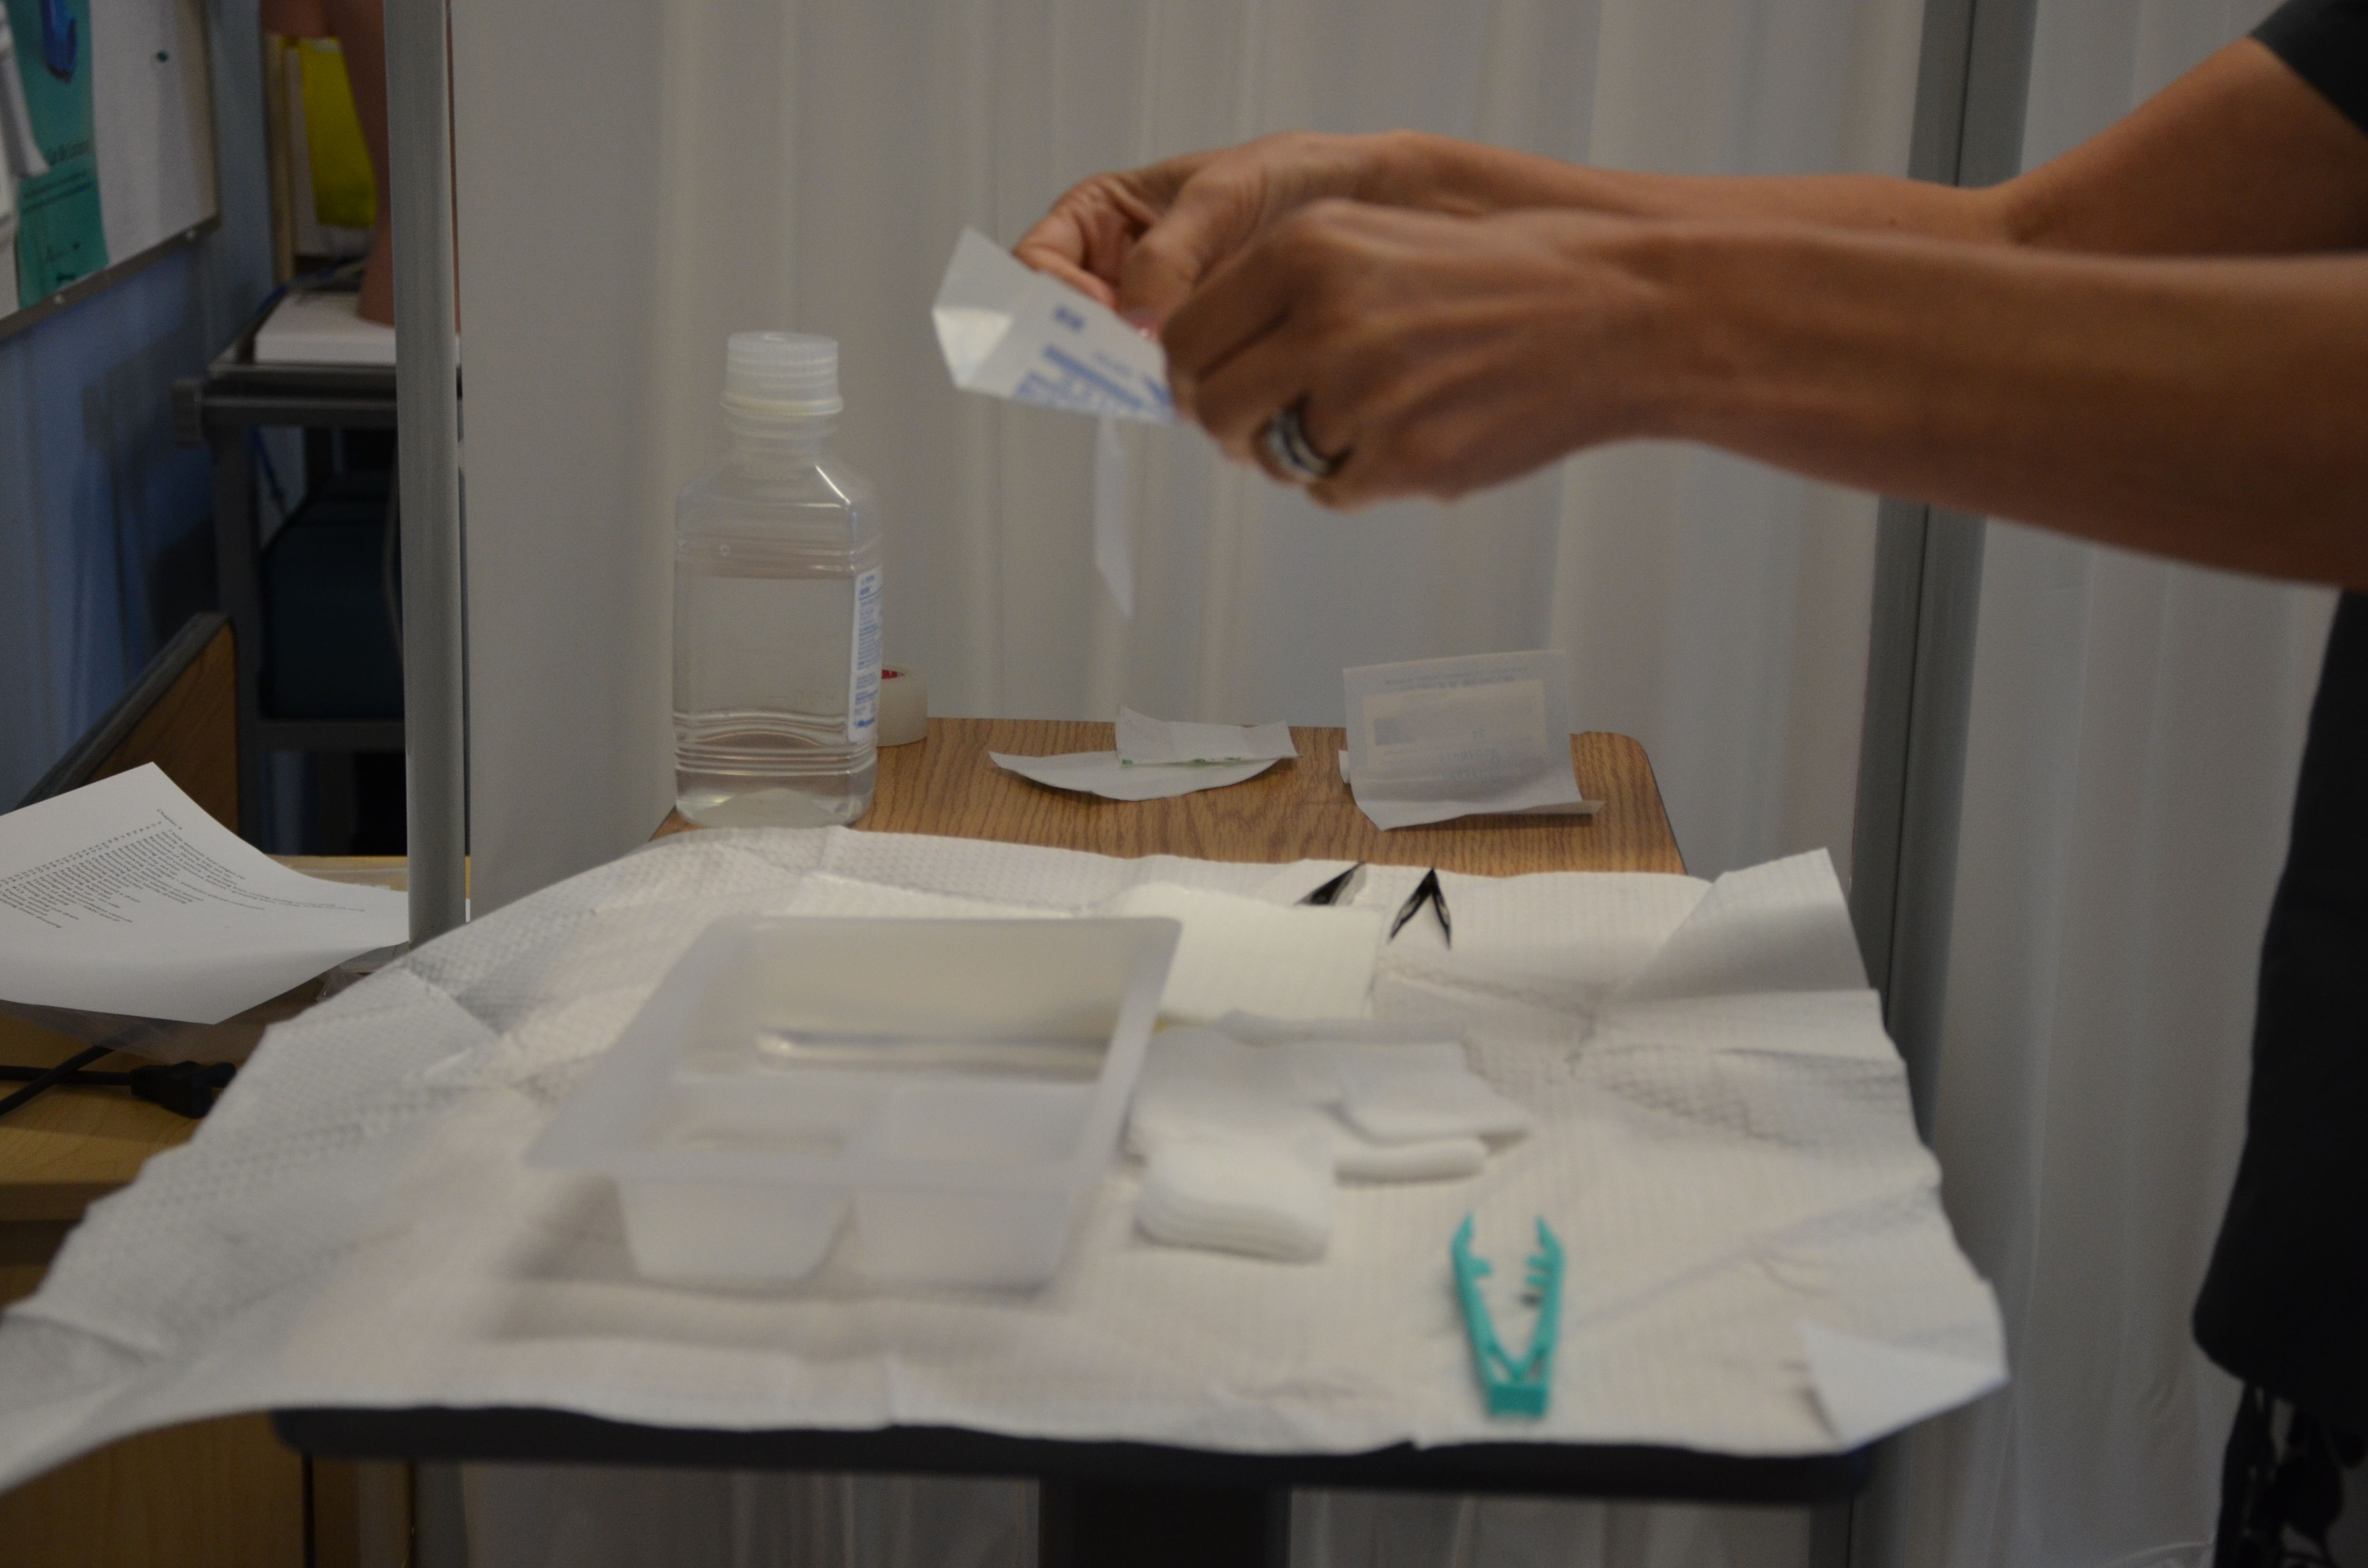
| 5. If this is a sterile procedure, prepare the sterile field and add necessary supplies in an organized manner.
Note: If this is a clean procedure, you simply need a clean surface for your supplies. Some of your equipment will come in its own sterile package. Think about how you can reduce waste but still ensure safety for the patient. |
This allows easy access to required supplies for the procedure.
 |
||
| 6. If present, remove dressing using non-sterile gloves and inspect the wound. | Visually assess the wound for uniform closure of the wound edges, absence of drainage, redness, and swelling.
Pain should be minimal. After assessing the wound, decide if the wound is sufficiently healed to have the sutures removed. If there are concerns, question the order and seek advice from the appropriate healthcare provider. 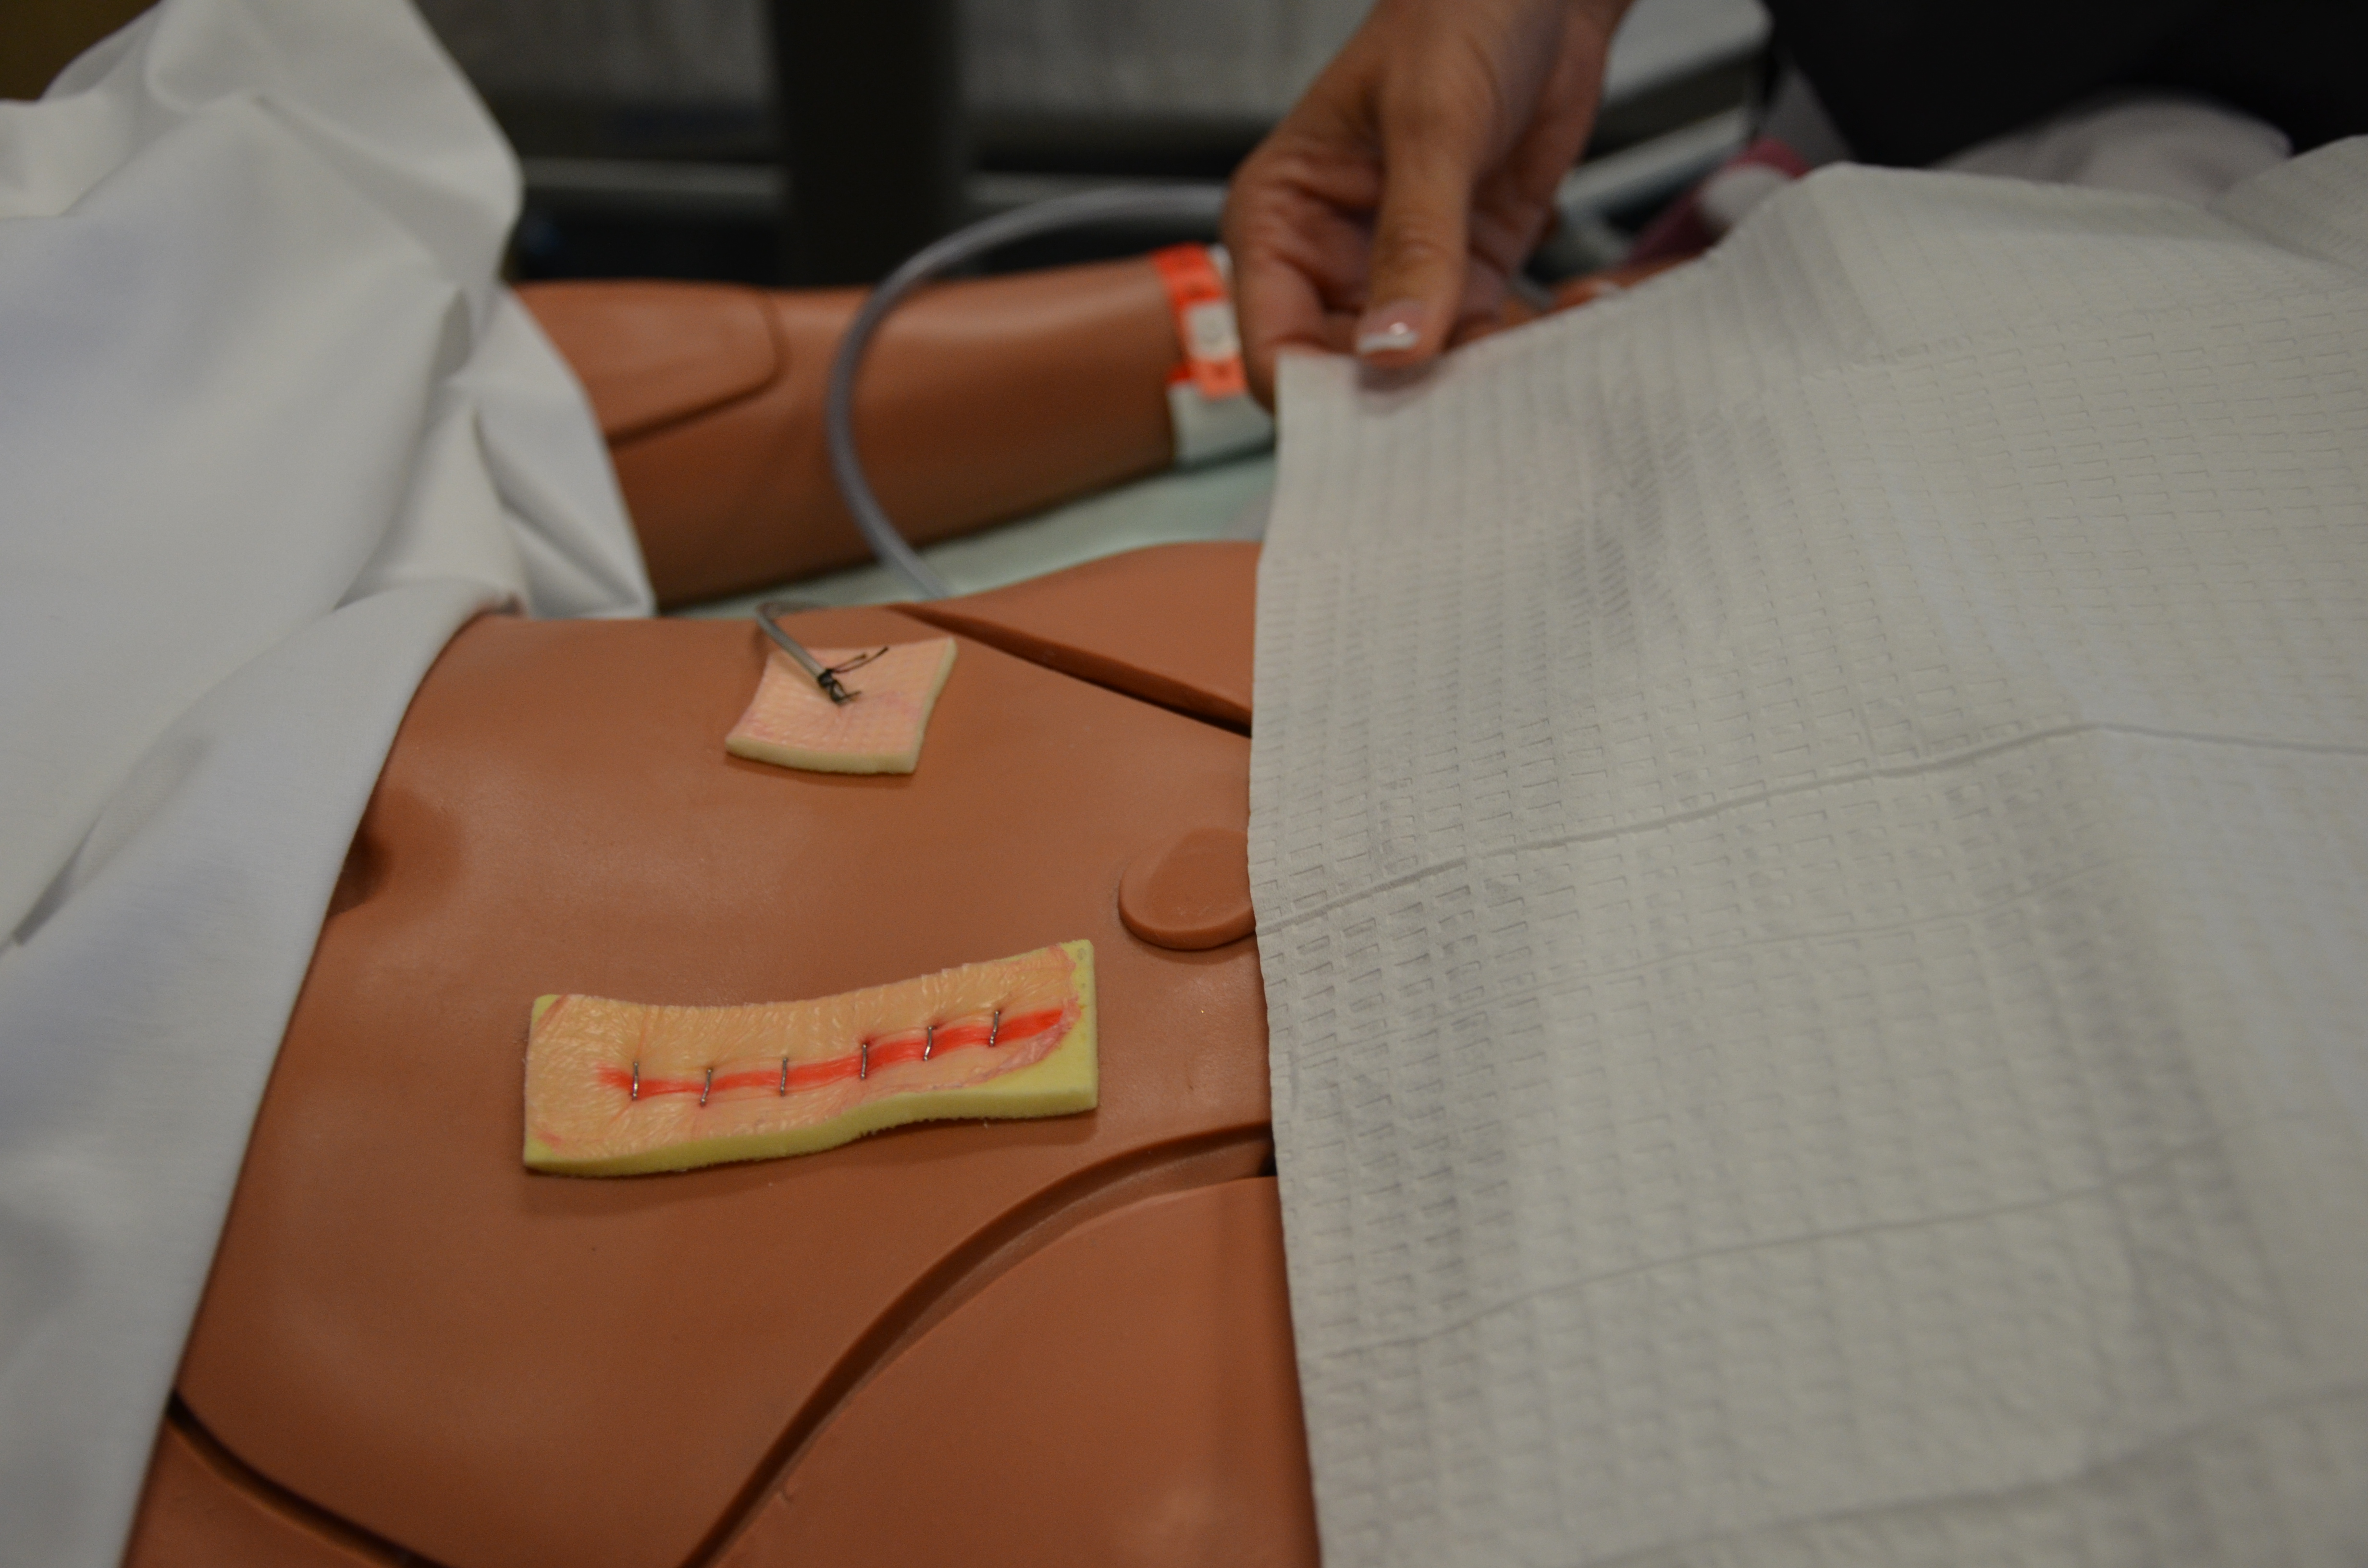 |
||
| 7. Remove non-sterile gloves and perform hand hygiene. | This prevents the transmission of microorganisms.
 |
||
| 8. If necessary, clean and dry the incision site according to agency policy.
Consider the purpose and need for cleaning a wound that has been exposed to air for an extended period. |
This step reduces risk of infection from microorganisms on the wound site or surrounding skin.
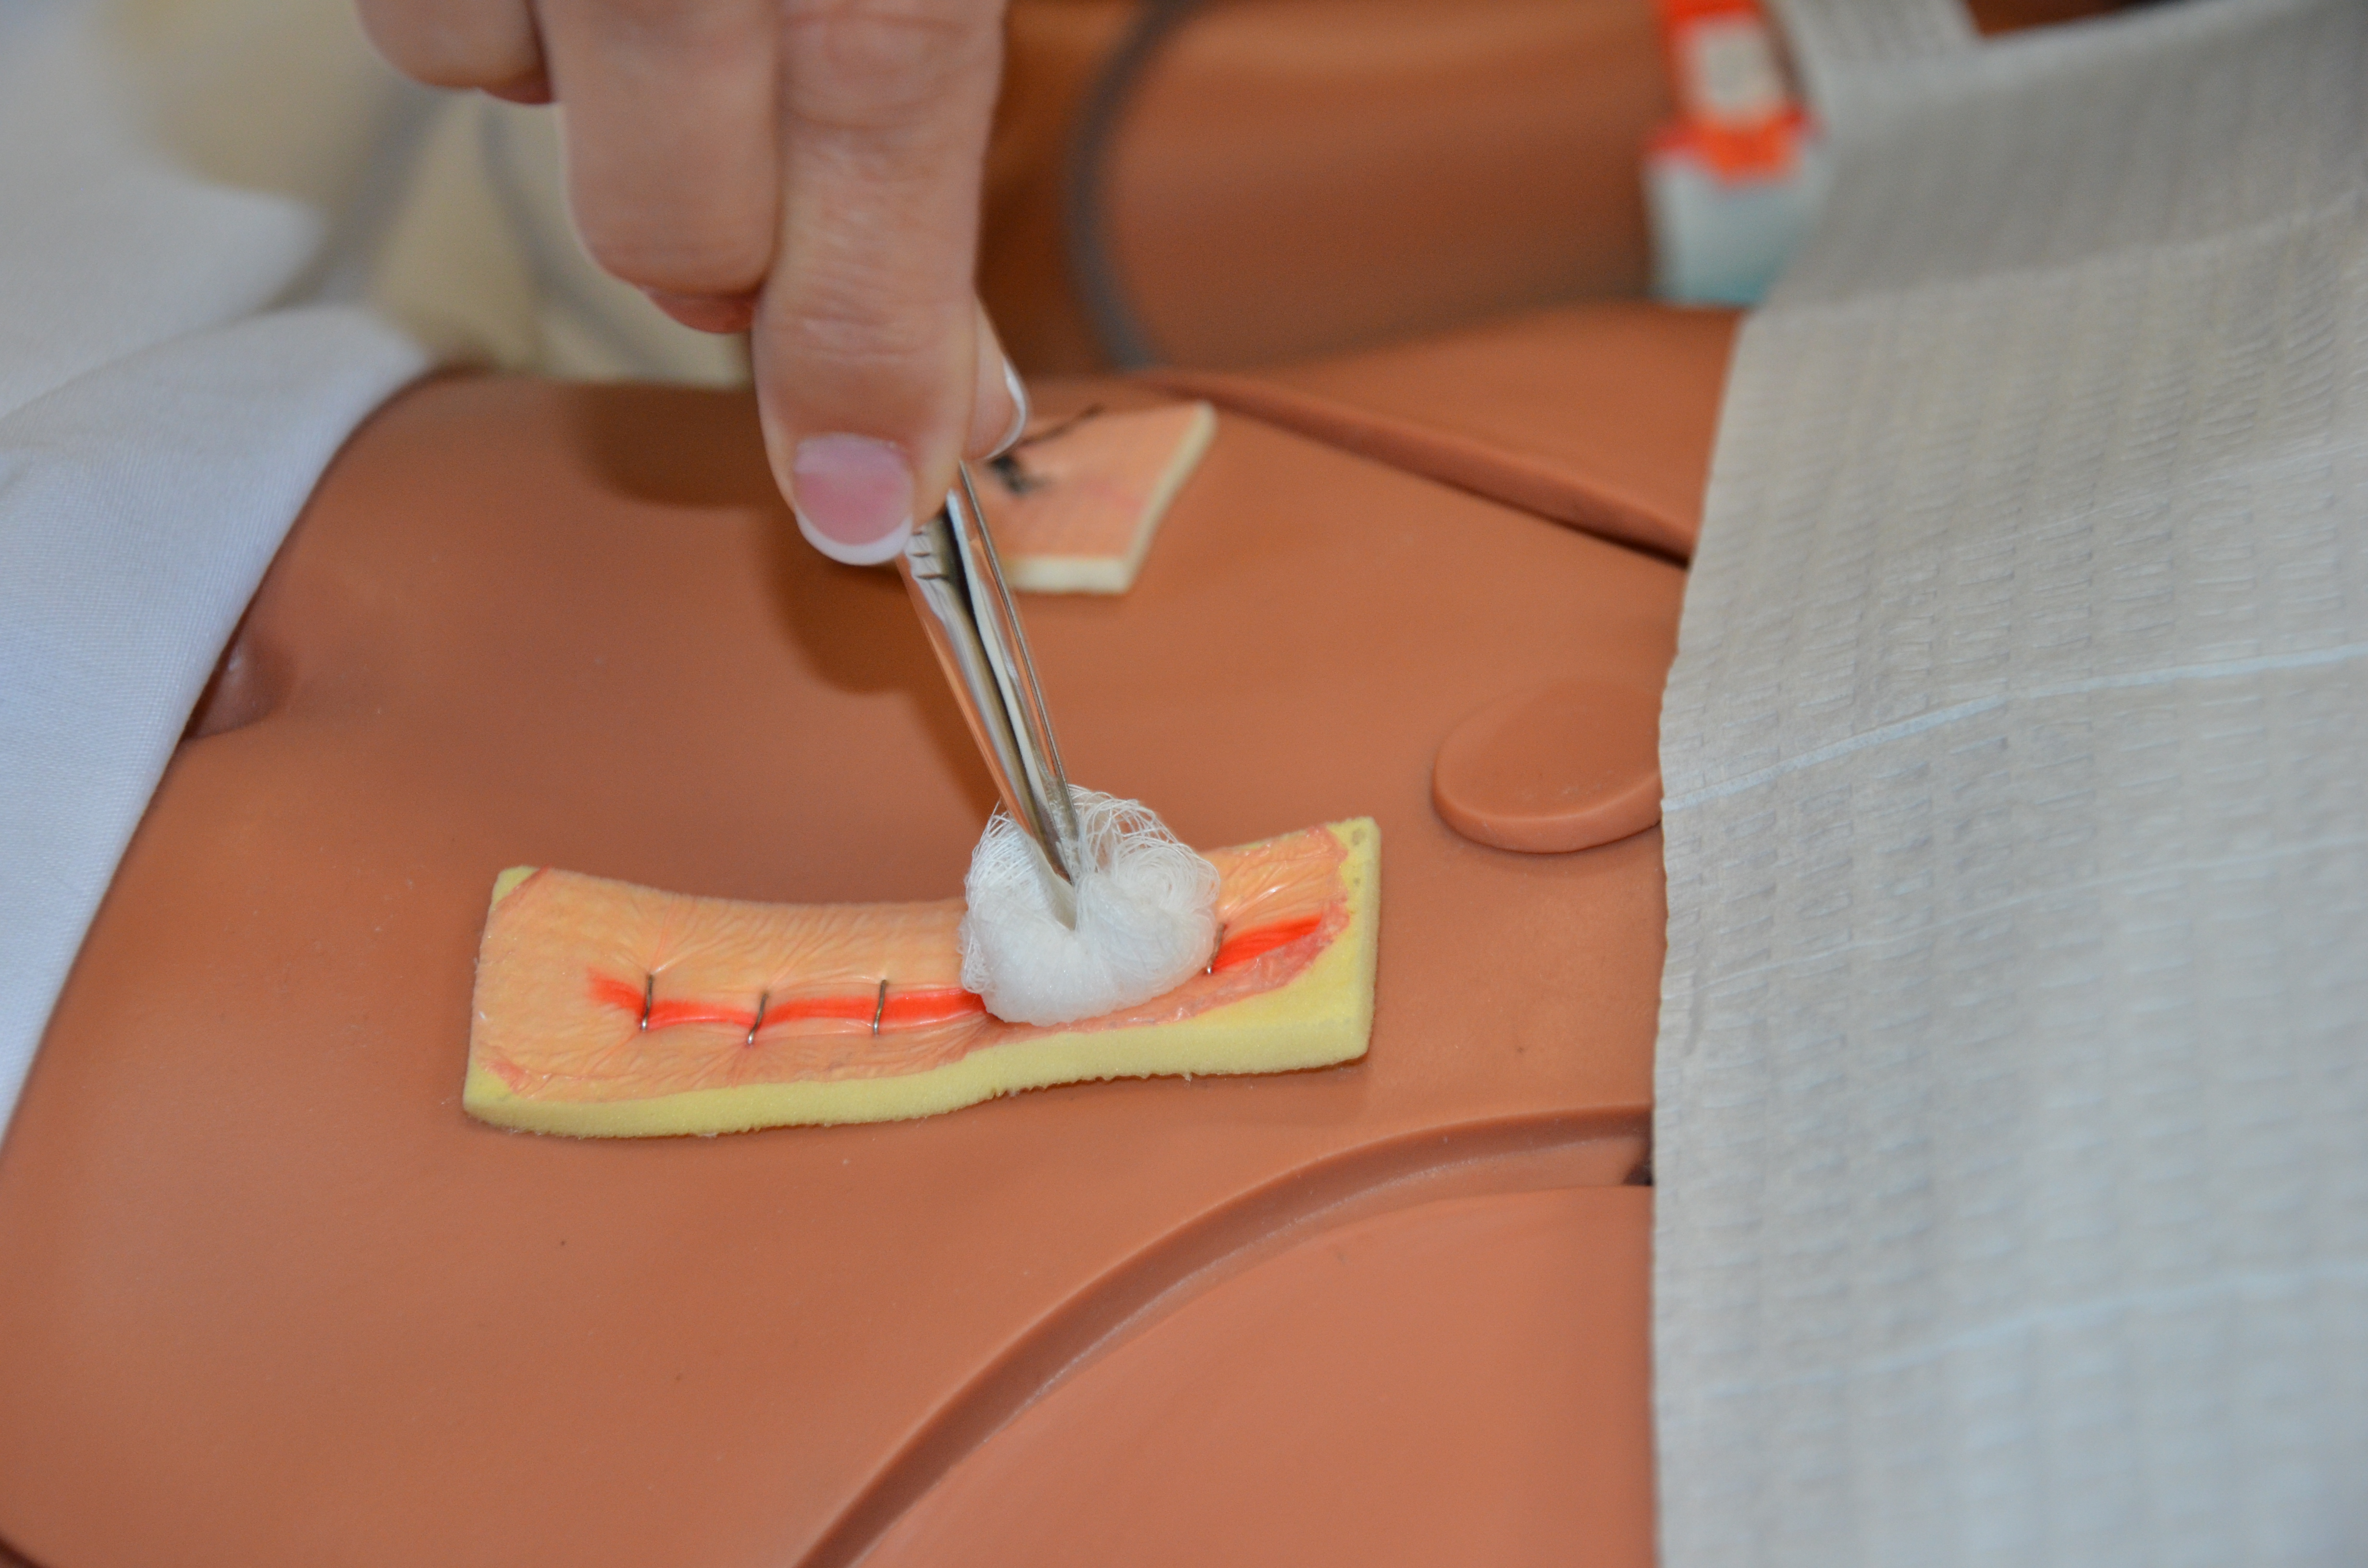 Cleaning also loosens and removes any dried blood or crusted exudate from the sutures and wound bed. |
||
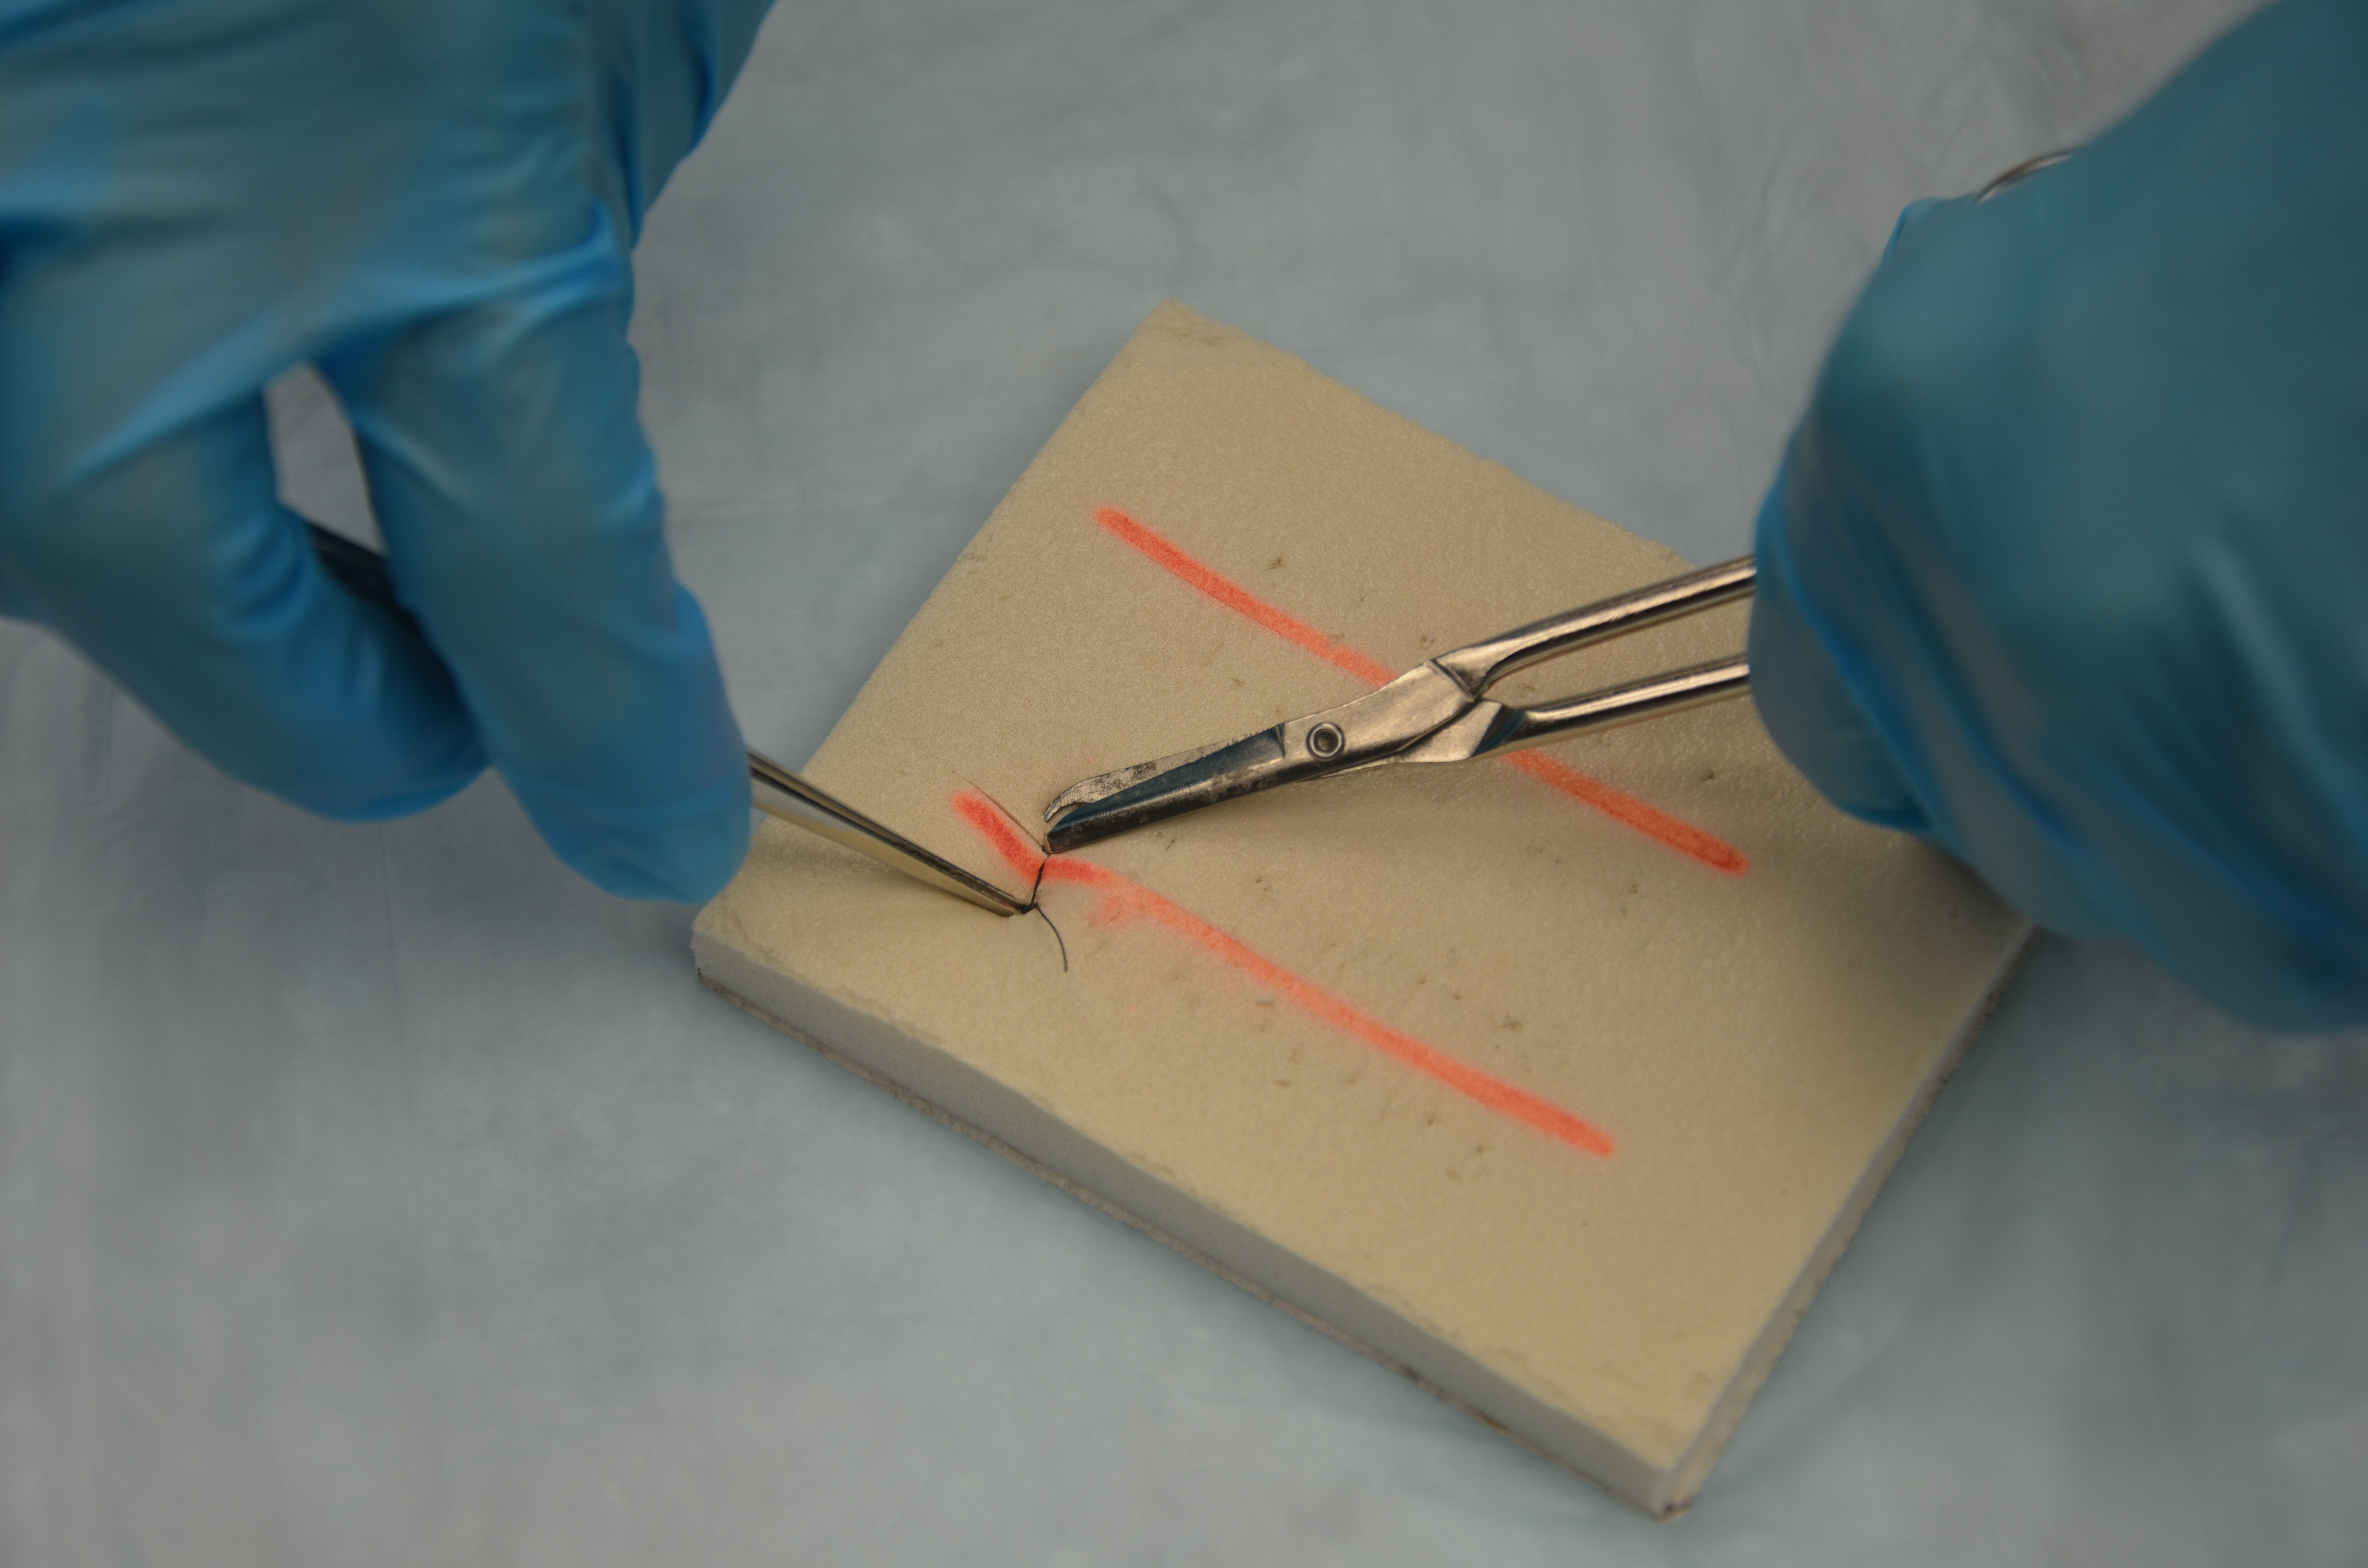
| 9. Perform a point of care risk assessment. Apply clean non-sterile gloves if indicated. Alternatively you can use no touch technique
To remove intermittent sutures, hold scissors / blade in dominant hand and forceps in non-dominant hand.
|
This allows for dexterity with suture removal.
 |
||
| 10. Grasp knot of suture with forceps and gently pull up knot. Note the entry / exit points of the suture material. Slip the tip of the scissors under suture near the skin. |  |
||
| 11. Cut under the knot as close as possible to the skin at the distal end of the knot. If using a blade to cut the suture, point the blade away from you and your patient. |
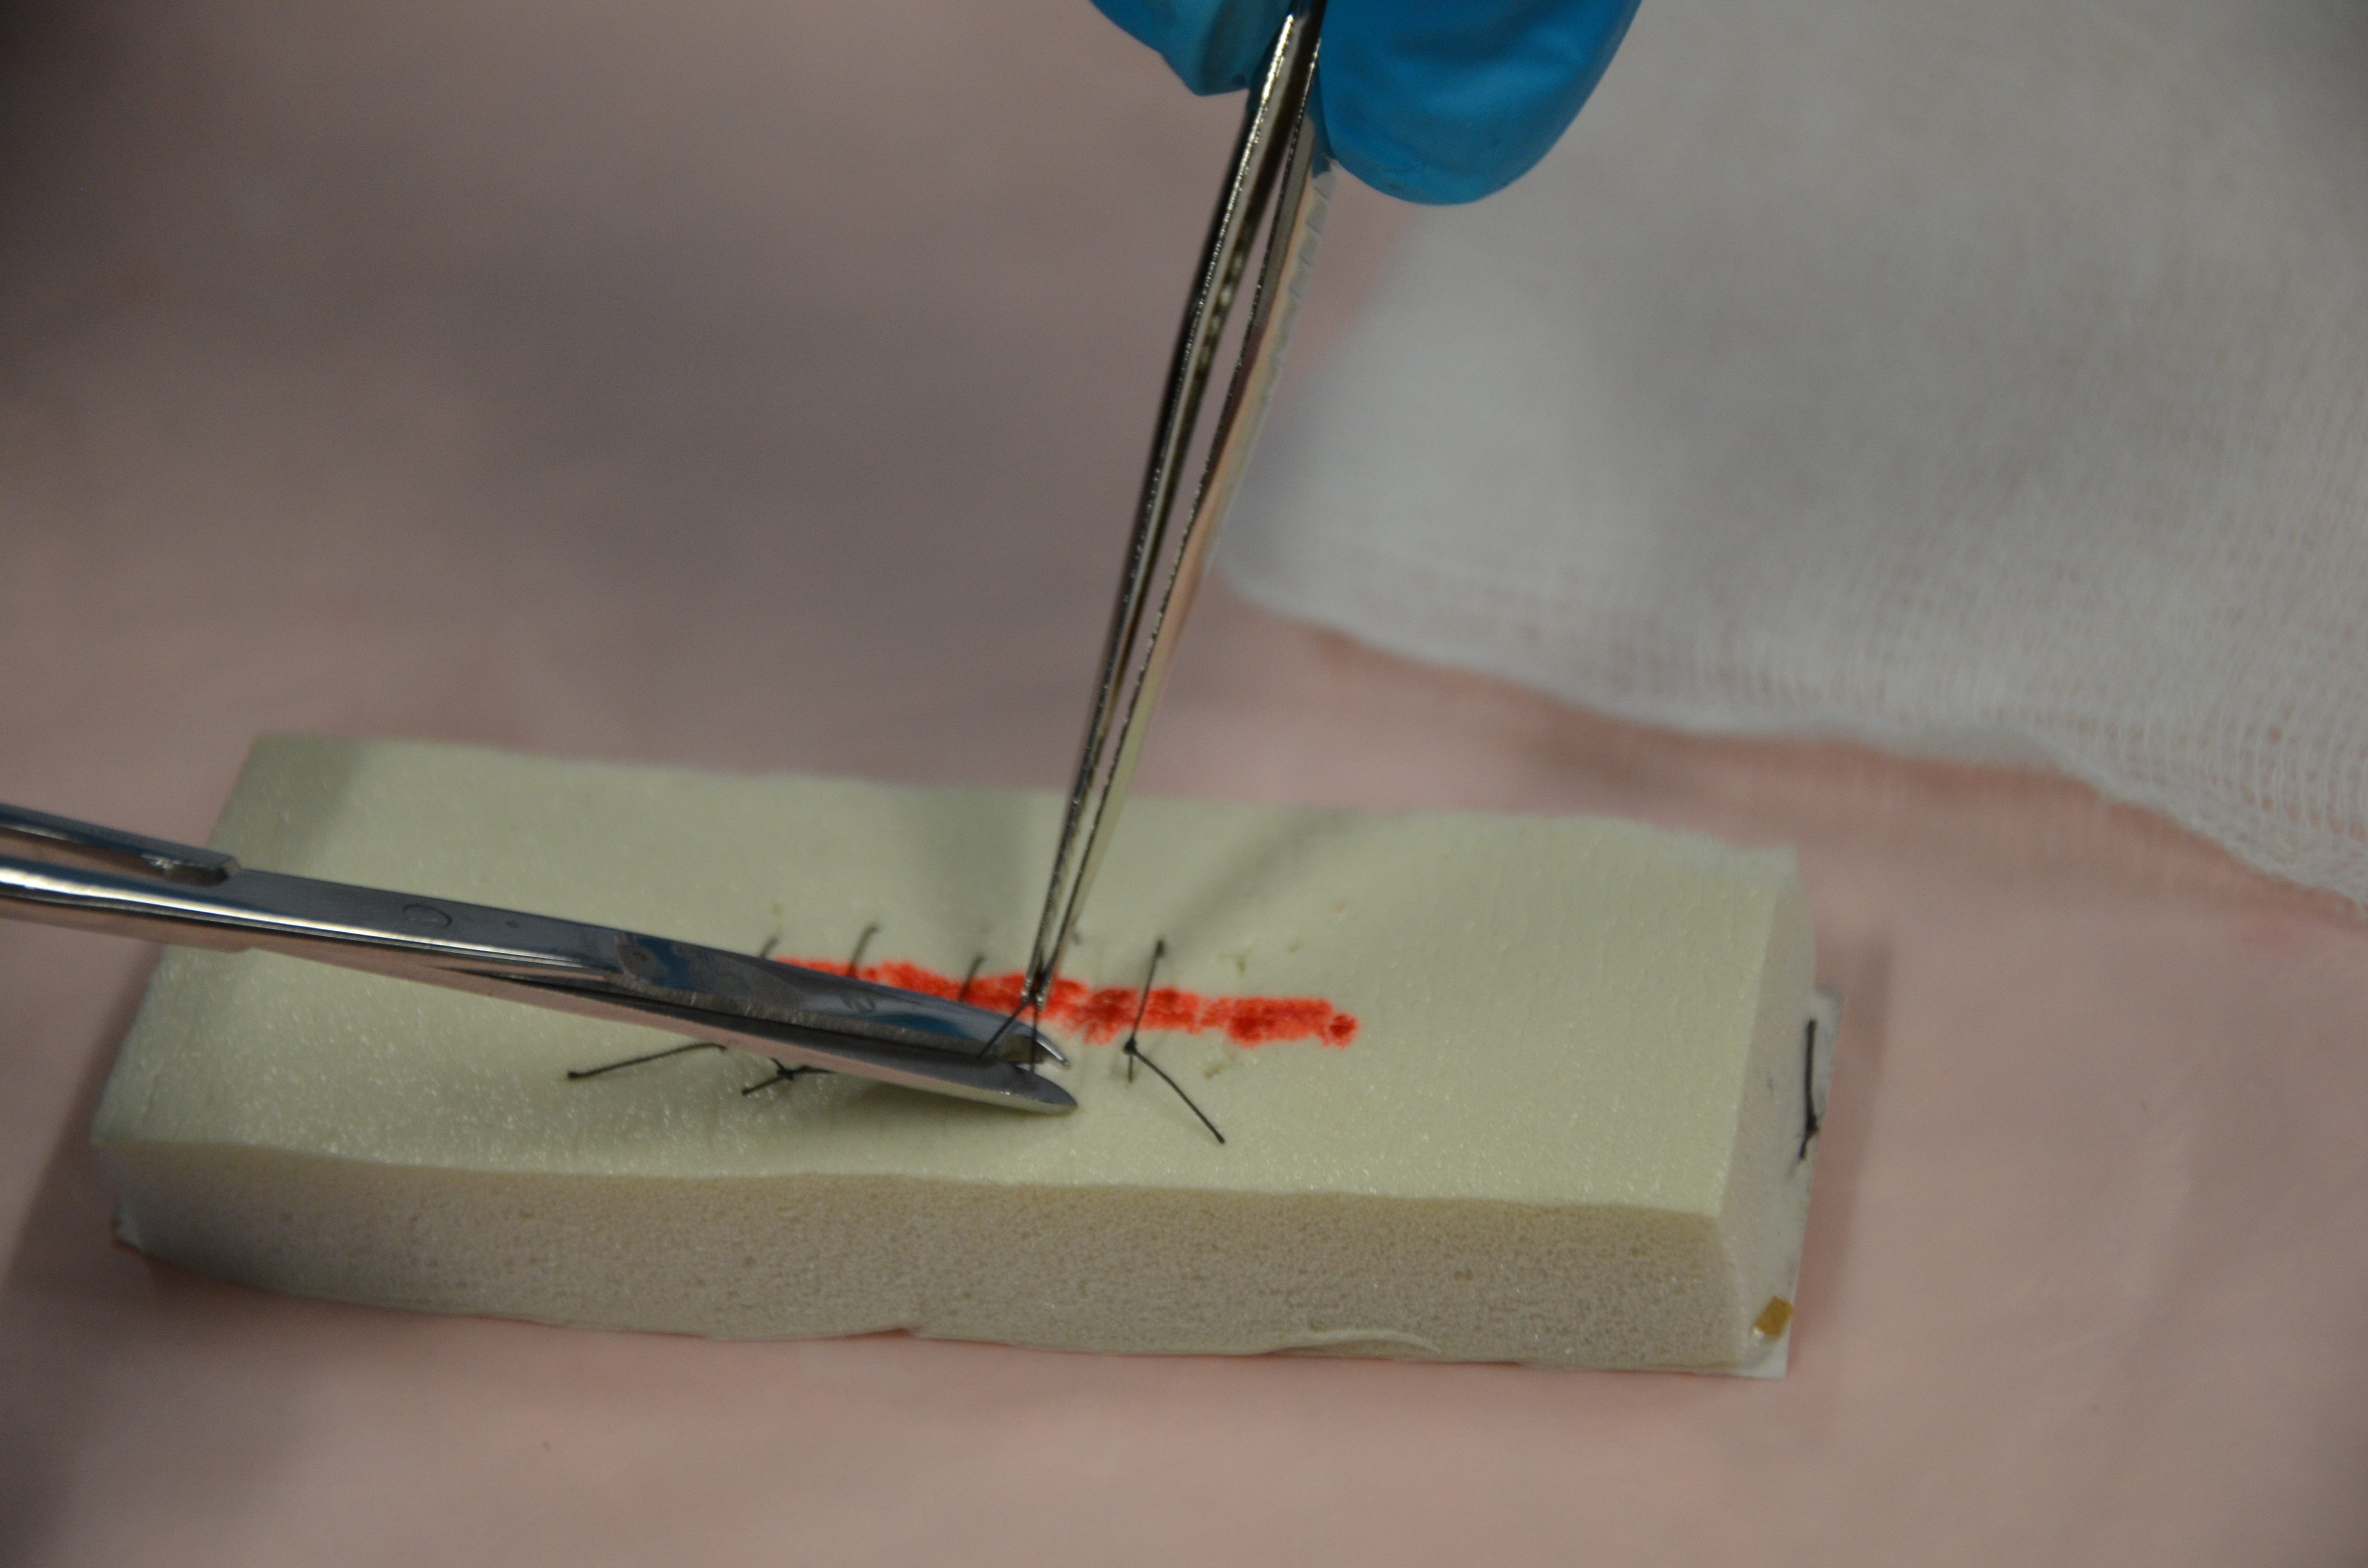 Key points:
|
||
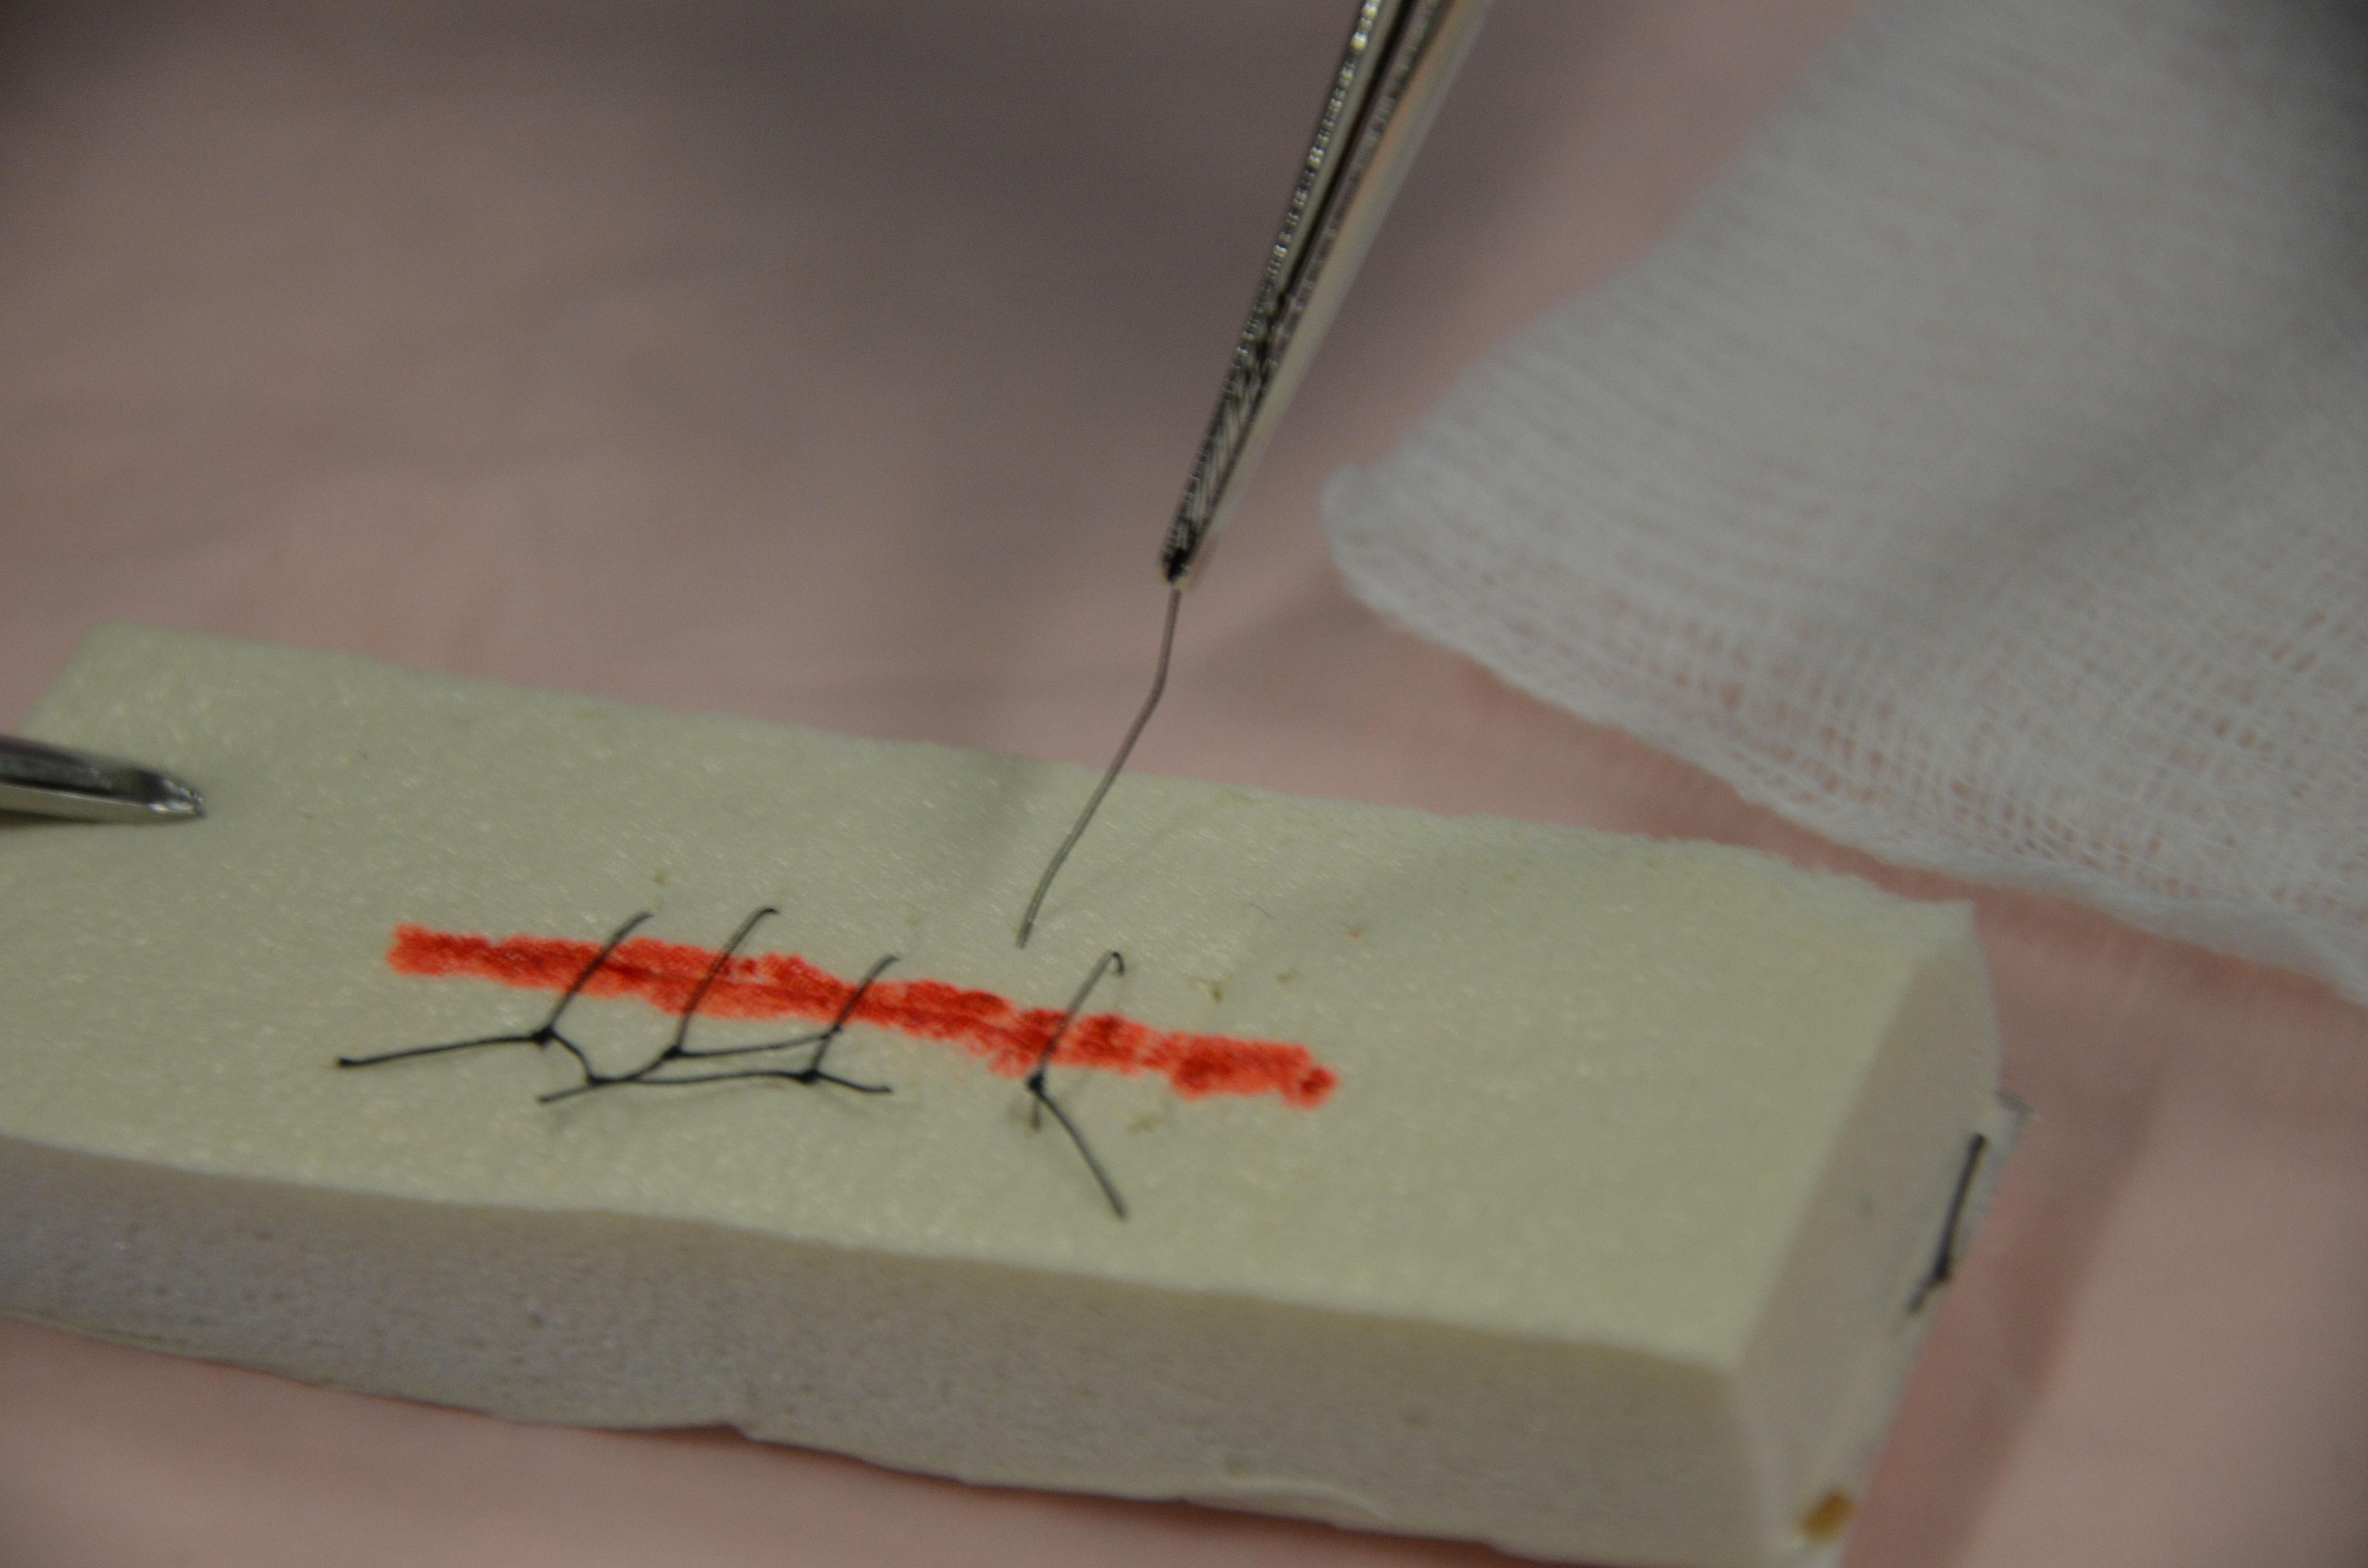
| 12. Grasp knotted end with forceps, and in one continuous action pull suture out of the tissue and place removed sutures into the receptacle |
 |
||
| 13. Remove every second suture until the end of the incision line. | Assess wound healing after removal of each suture to determine if each remaining suture will be removed. | ||
| If wound edges open, stop the procedure, apply Steri-Strips (using tension to pull wound edges together), cover the wound, and notify appropriate healthcare providers.
It is within the RN’s independent scope of practice to apply Steri-Strips to a wound without an order (BCCNP, 2019). |
|||
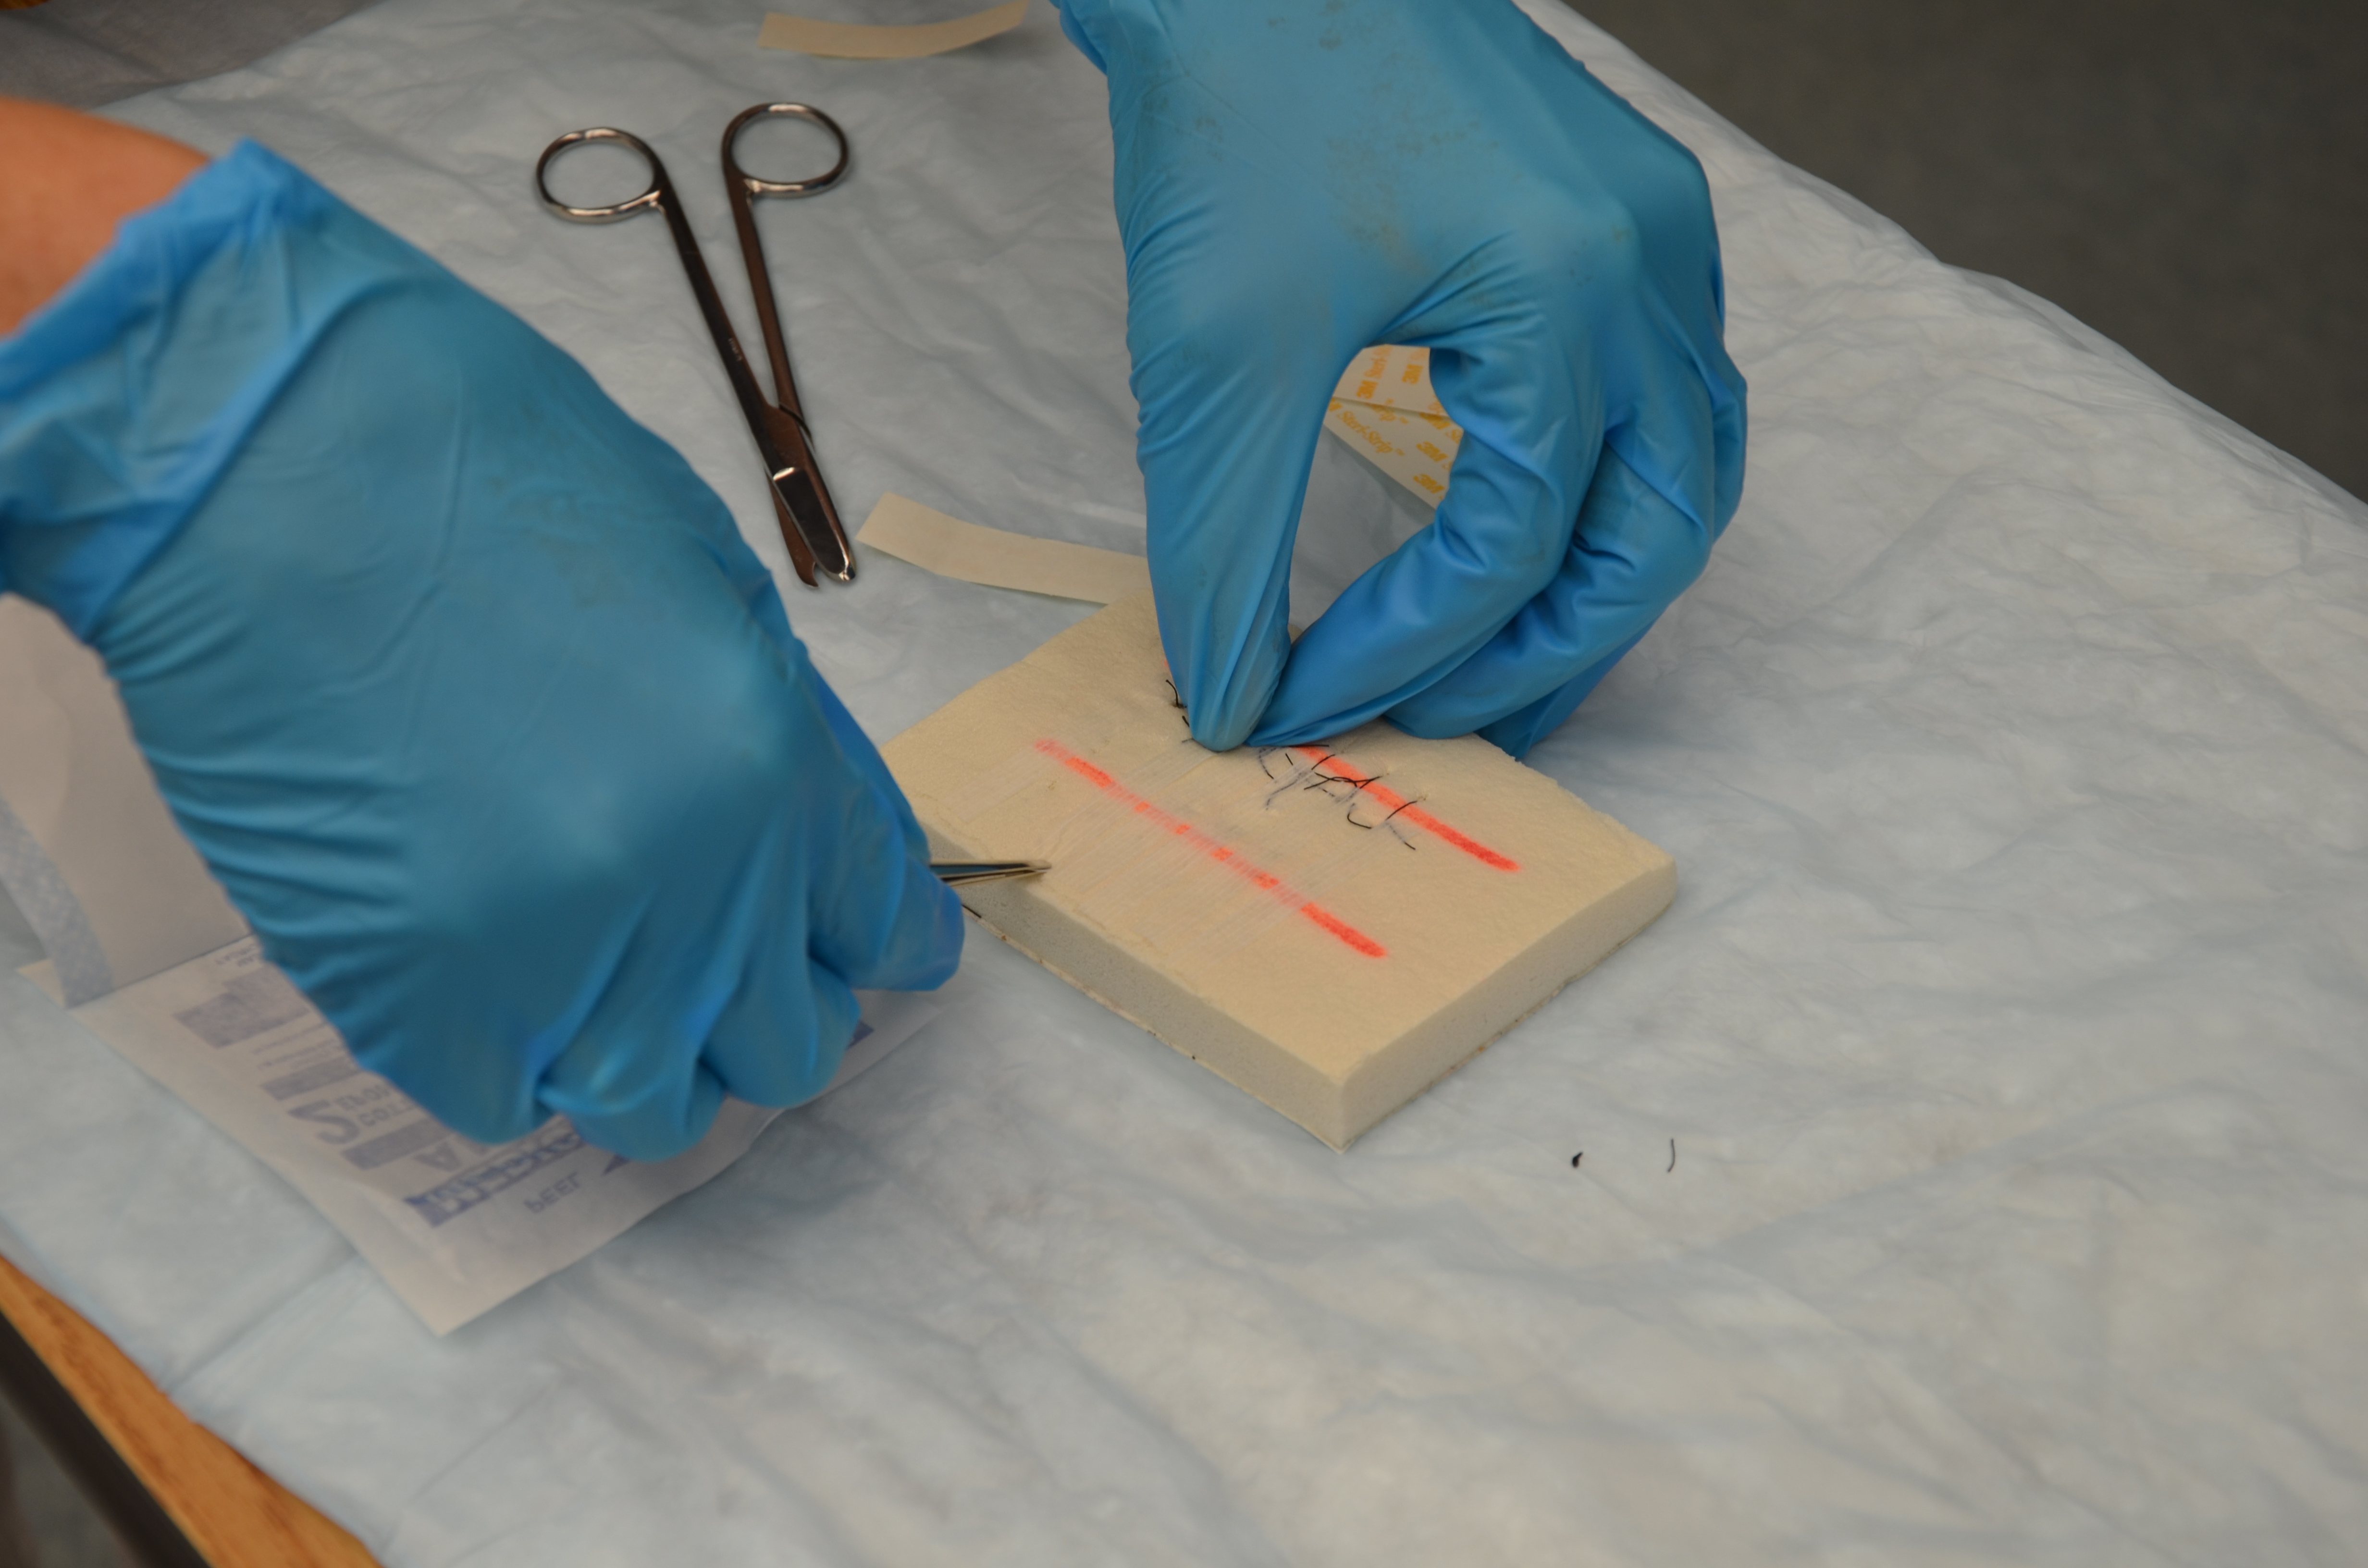
| 14. Using the principles of asepsis, place Steri-Strips perpendicular along the incision line with gaps of approximately 2 to 3 mm between each |
 |
||
| 15. Apply appropriate sized Steri-Strips to provide support on either side of the incision, generally 2.5 to 5 cm. | Steri-Strips support wound tension across wound and help to eliminate scarring.
 |
||
| 16. Remove remaining sutures.
|
Only remove remaining sutures if wound is well approximated.
 |
||
| 17. Place Steri-Strips on remaining areas of each removed suture along incision line. | The Steri-Strips will help keep the skin edges together.
 |
||
|
18. Complete patient teaching. |
Instruct patient regarding:
|
||
| 19. Perform hand hygiene. | Hand hygiene reduces risk of infection.
 |
||
| 20. Document procedures and findings according to agency policy. | Report any unusual findings or concerns to the appropriate healthcare professional.
Sample charting: date/ time. Right hip sutures removed. Wound well approximated. No redness. No swelling. Steri-Strips applied. Aware of S&S of infection and to observe wound for same and report any concerns to the healthcare provider. Discussed showering, eventual removal of Steri-Strips, activity limitations for next 4 weeks. —————GNhome RN |
||
| Data source: BCIT, 2010c; BCCNP 2019; Healthwise Staff, 2017; Perry et al., 2018 | |||
Critical Thinking Exercises
- Jasbir is going home with a lower abdominal surgical incision following a c-section. What patient teaching is important in relation to the wound?
- Acki is discharged from the clinic following removal of sutures in his knee following a mountain biking accident. What patient teaching is important in relation to the wound?
- What situations warrant staple / suture removal to be a sterile procedure? What situations warrant staple / suture removal to be a clean procedure?
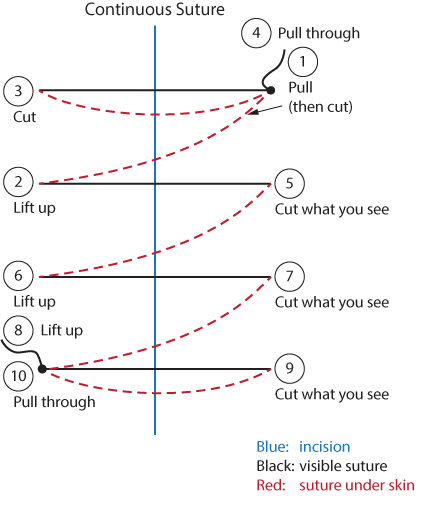
Checklist 39 outlines the steps to remove continuous and blanket stitch sutures.
Checklist 39: Continuous and Blanket Stitch Suture RemovalDisclaimer: Always review and follow your agency policy regarding this specific skill. |
|||
Safety considerations:
|
|||
Steps |
Additional Information |
||
| 1. Confirm prescriber’s order and explain procedure to patient. | Explaining the procedure will help prevent anxiety and increase compliance with the procedure.
Inform patient that the procedure is not painful, but the patent may feel some pulling of the skin during suture removal. |
||
| 2. Gather appropriate supplies after deciding if this is a clean or sterile procedure. Clean techniques suffice if wounds have been exposed to the air and the wound is approximated and healing. | You will need suture scissors or suture blade, forceps, receptacle for suture material (gauze, tissue, garbage bag), antiseptic swabs can be used for clean procedure, sterile dressing tray if this is a sterile procedure, Steri-Strips and outer dressing, if indicated. | ||
| 3. Position patient appropriately and create privacy for procedure. Offer analgesic. | Ensure proper body mechanics for yourself, and create a comfortable position for the patient. | ||
| 4. Perform hand hygiene. | Hand hygiene reduces the risk of infection.
|
||
| 5. If this is a sterile procedure, prepare the sterile field and add necessary supplies in an organized manner.
Note: If this is a clean procedure you simply need a clean surface for your supplies. Some of your equipment will come in its own sterile package. Think about how you can reduce waste but still ensure safety for the patient. |
This step allows for easy access to required supplies for the procedure.
|
||
| 6. If present, remove dressing with non-sterile gloves and inspect the wound. | Visually assess the wound for uniform closure of the wound edges, absence of drainage, redness, and swelling.
Pain should be minimal. 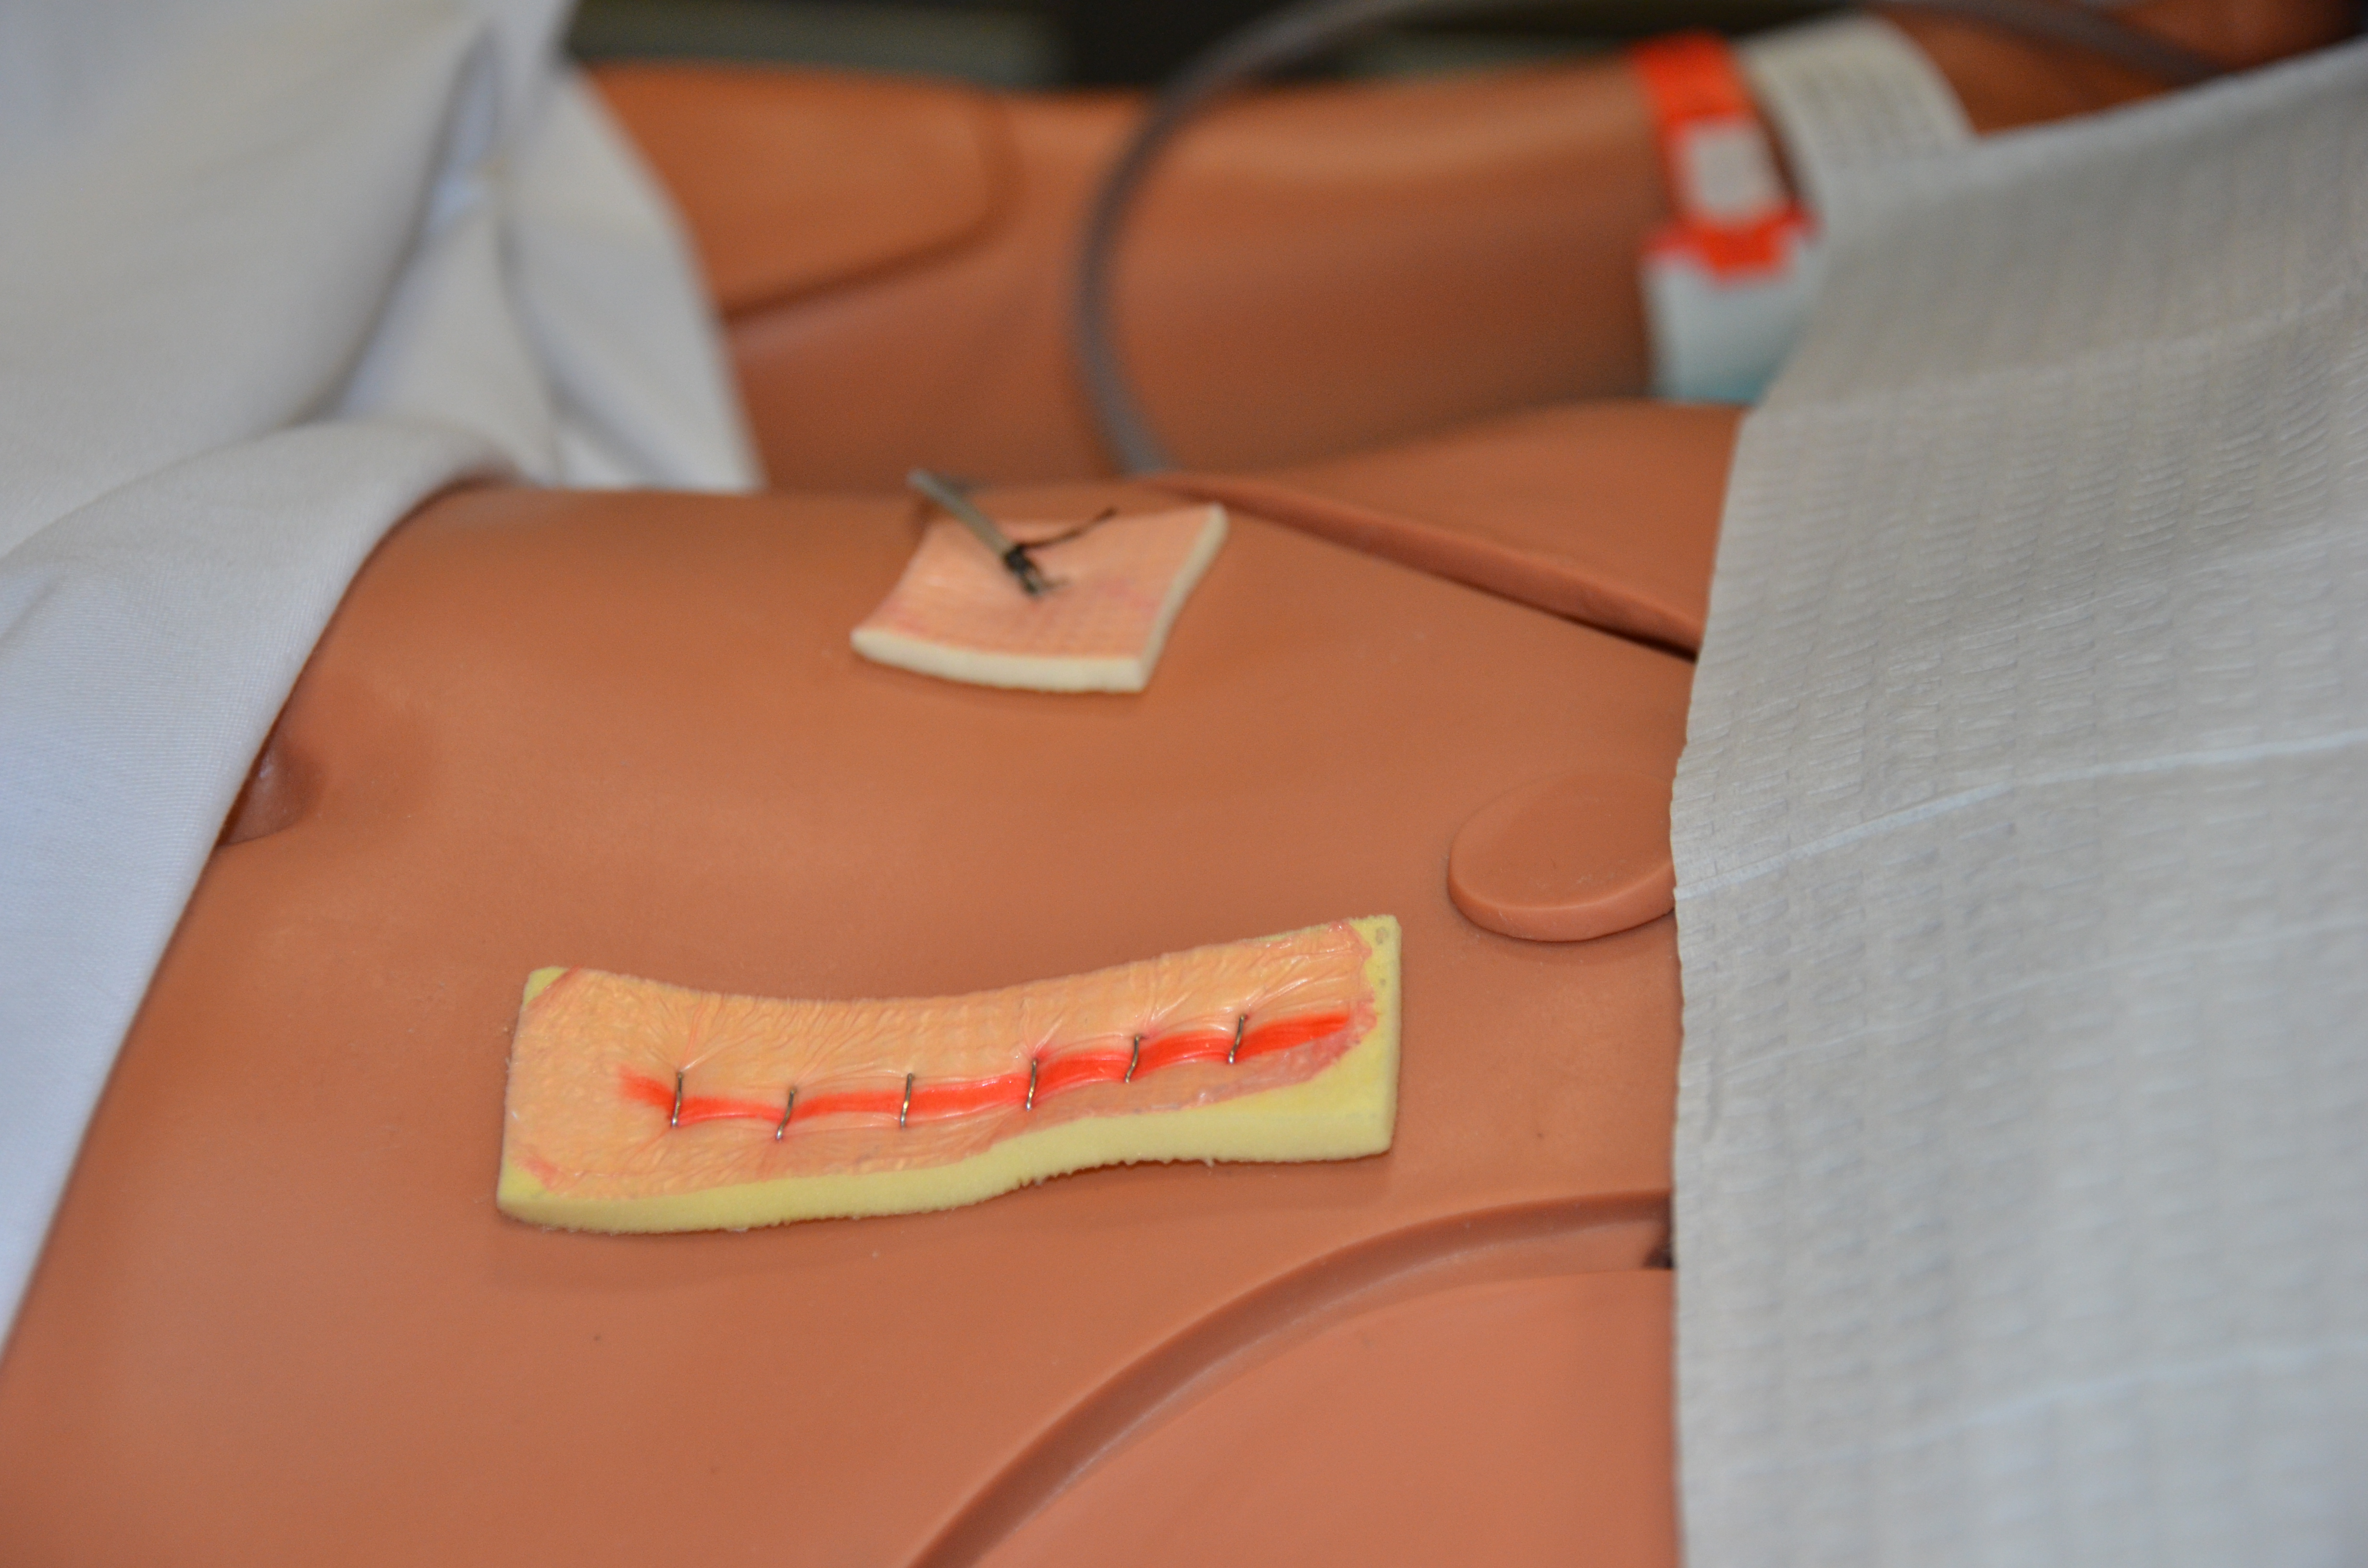 After assessing the wound, decide if the wound is sufficiently healed to have the sutures removed. If there are concerns, question the order and seek advice from the appropriate healthcare provider. |
||
| 7. Remove non-sterile gloves and perform hand hygiene. | This step prevents the transmission of microorganisms.
 |
||
| 8. If necessary, clean and dry the incision site according to agency policy. | This step reduces the risk of infection from microorganisms on the wound site or surrounding skin.
Cleaning also loosens and removes any dried blood or crusted exudate from the sutures and wound bed. |
||
| 9. Place receptacle close to suture line; grasp scissors in dominant hand and forceps in non-dominant hand. | This allows for dexterity with suture removal. | ||
| 10. Grasp the knot of the suture with forceps and gently pull up. Note the entry and exit points of the suture material.
Cut one of the suture strings. Gently pull on the knot to remove the suture. If suture isn’t removed, gently pull on suture material to determine the next entry / exit point. |
 |
||
| 11. Snip second suture on the same side. Grasp knotted end and gently pull out suture. Place suture into receptacle. | This action prevents the suture from being left under the skin. | ||
| 12. Continue cutting in the same manner until the entire suture is removed, inspecting the incision line during the procedure. | Inspection of incision line reduces the risk of separation of incision during procedure. | ||
| If separation occurs: Stop procedure, apply Steri-Strips and sterile dressing, and notify physician. | |||
| 13. Apply Steri-Strips to suture line, then apply sterile dressing or leave open to air. | This step reduces the risk of infection.
|
||
| 14. Position patient and lower bed to safe height; ensure patient is comfortable and free from pain. | This ensures patient safety. | ||
| 15. Complete patient teaching. | Instruct patient regarding:
|
||
| 16. Discard supplies according to agency policies for sharp disposal and biohazard waste. | In some agencies scissors and forceps may be disposed, in others they are sent for sterilization. | ||
| 17. Perform hand hygiene. | Hand hygiene reduces risk of infection.
|
||
| 18. Document procedures and findings according to agency policy. | Report any unusual findings or concerns to the appropriate healthcare professional. | ||
| Data source: BCIT, 2010c; Perry et al., 2014 | |||
Complications related to suture removal, including wound dehiscence, may occur if wound is not well healed, if the sutures are removed too early, or if excessive force (pressure) is applied to the wound. In addition, if the sutures are left in for an extended period of time, the wound may heal around the sutures, making extraction of the sutures difficult and painful. Table 4.9 lists additional complications related to wounds closed with sutures.
Table 4.9 Complications of Suture Removal |
|||
Complication |
Solution |
||
| Unable to remove suture from tissue | Contact physician for further instructions. | ||
| Wound dehiscence: Incision edges separate during suture removal; wound opens up | Stop removing sutures.
Apply Steri-Strips across open area and perpendicular to the wound. Notify physician. |
||
| Patient experiences pain when sutures are removed | Allow small rest breaks during removal of sutures.
Use distraction techniques (wiggle toes / slow deep breaths). Offer analgesic. Provide opportunity for the patient to deep breathe and relax during the procedure. |
||
| Wound becomes red, painful, with increasing pain, fever, drainage from wound | These changes may indicate the wound is infected. Report findings to the primary healthcare provider for additional treatment and assessments. | ||
| Scarring related to sutures | All wounds form a scar and will take months to one year to completely heal. Scarring may be more prominent if sutures are left in too long. | ||
| Keloid formation | A keloid formation is a firm scar-like mass of tissue that occurs at the wound site. The scarring tends to extend past the wound and is darker in appearance. | ||
| Hypertrophic scars | Hypertrophic scars are scars that are bulky but remain within the boundaries of the wound. These scars can be minimized by applying firm pressure to the wound during the healing process using sterile Steri-Strips or a dry sterile bandage. | ||
| Data sources: BCIT, 2010c; Perry et al., 2014 | |||
Critical Thinking Exercises
5. What is the purpose of applying Steri-Strips to the incision after removing sutures?
6. Which healthcare provider is responsible for assessing the wound prior to removing sutures?
7. What factors increase risk of delayed wound healing?
8. What patient teaching points should be included as ways to support wound healing?
Attributions
Figure 4.2 Suture techniques. Adapted from World Health Organization. Emergency & Essential Surgical Care Programme. [2018]. Emergency and Trauma Care Module 2: Basic surgical skills: Practical suture techniques. Used under the CC BY-NC-SA 3.0 IGO license.
Figure 4.3 Intermittent plain sutures by Jones, S. is used under the CC BY-SA 2.0 license.
