Chapter 4. Wound Care
4.8 Staple Removal
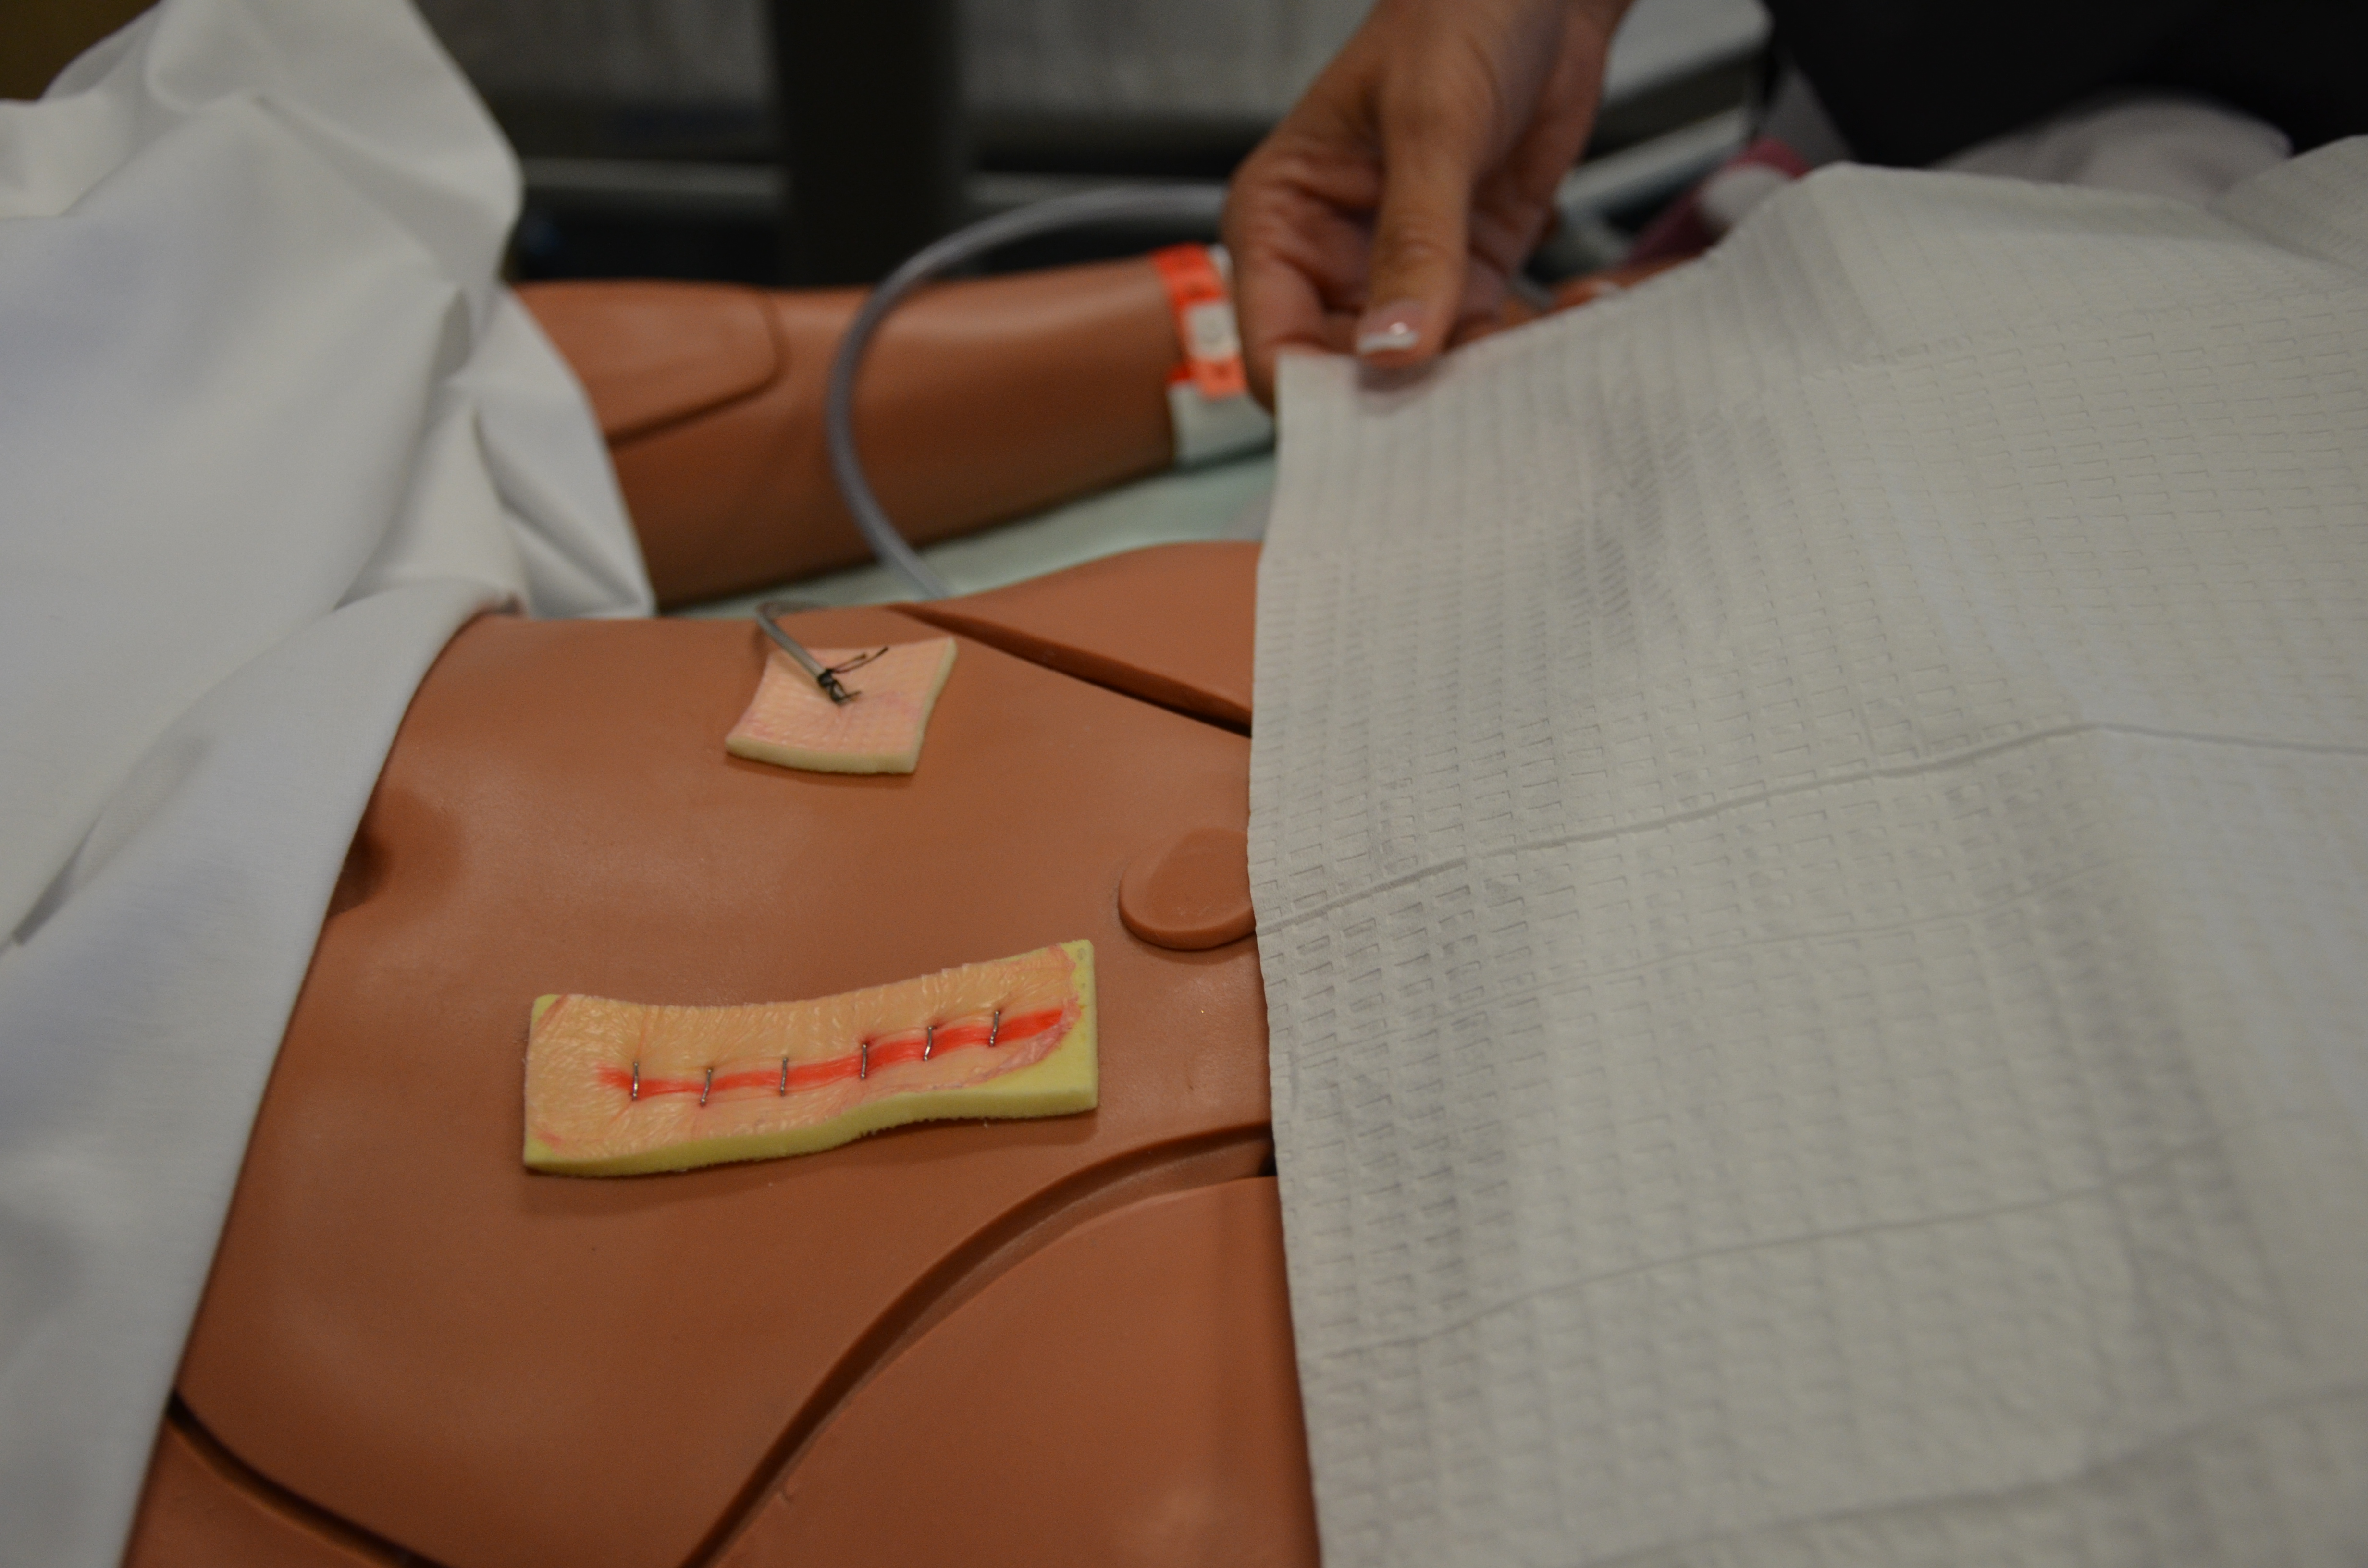
Staples are made of stainless steel wire and provide strength for wound closure. Staples are strong, quick to insert, and simple to remove.
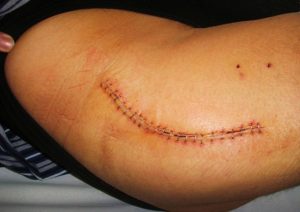
Removal of staples requires aseptic considerations and a staple extractor. An order to remove the staples, and any specific directions for removal (i.e., remove alternate staples only), must be obtained prior to the procedure. The healthcare professional performing the removal must also inspect the wound prior to the procedure to ensure the wound is adequately healed to have the staples removed. Usually every second staple is removed initially; then the remainder are removed at a later time (Perry et al., 2014). In general, staples are removed within 7 to 14 days.
Checklist 39 outlines the steps for removing staples from a wound.
Checklist 39: Staple RemovalDisclaimer: Always review and follow your agency policy regarding this specific skill. |
|||
Safety considerations:
|
|||
Steps |
Additional Information |
||
| 1. Confirm prescriber’s orders, and explain procedure to patient. | Explanation helps prevent anxiety and increases compliance with the procedure. Inform patient the procedure is not painful, but the patent may feel some pulling or pinching of the skin during staple removal. | ||
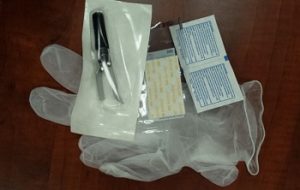
| 2. Gather appropriate supplies after deciding if this is a clean or sterile procedure. Clean techniques suffice if wounds have been exposed to the air and the wound is approximated and healing. | You will need staple remover, receptacle for suture material (gauze, tissue, garbage bag), antiseptic swabs can be used for clean procedure, sterile dressing tray if this is a sterile procedure. Steri-Strips and outer dressing, if indicated.
 |
||
| 3. Position patient appropriately and create privacy for procedure. | Ensure proper body mechanics for yourself, and create a comfortable position for the patient. | ||
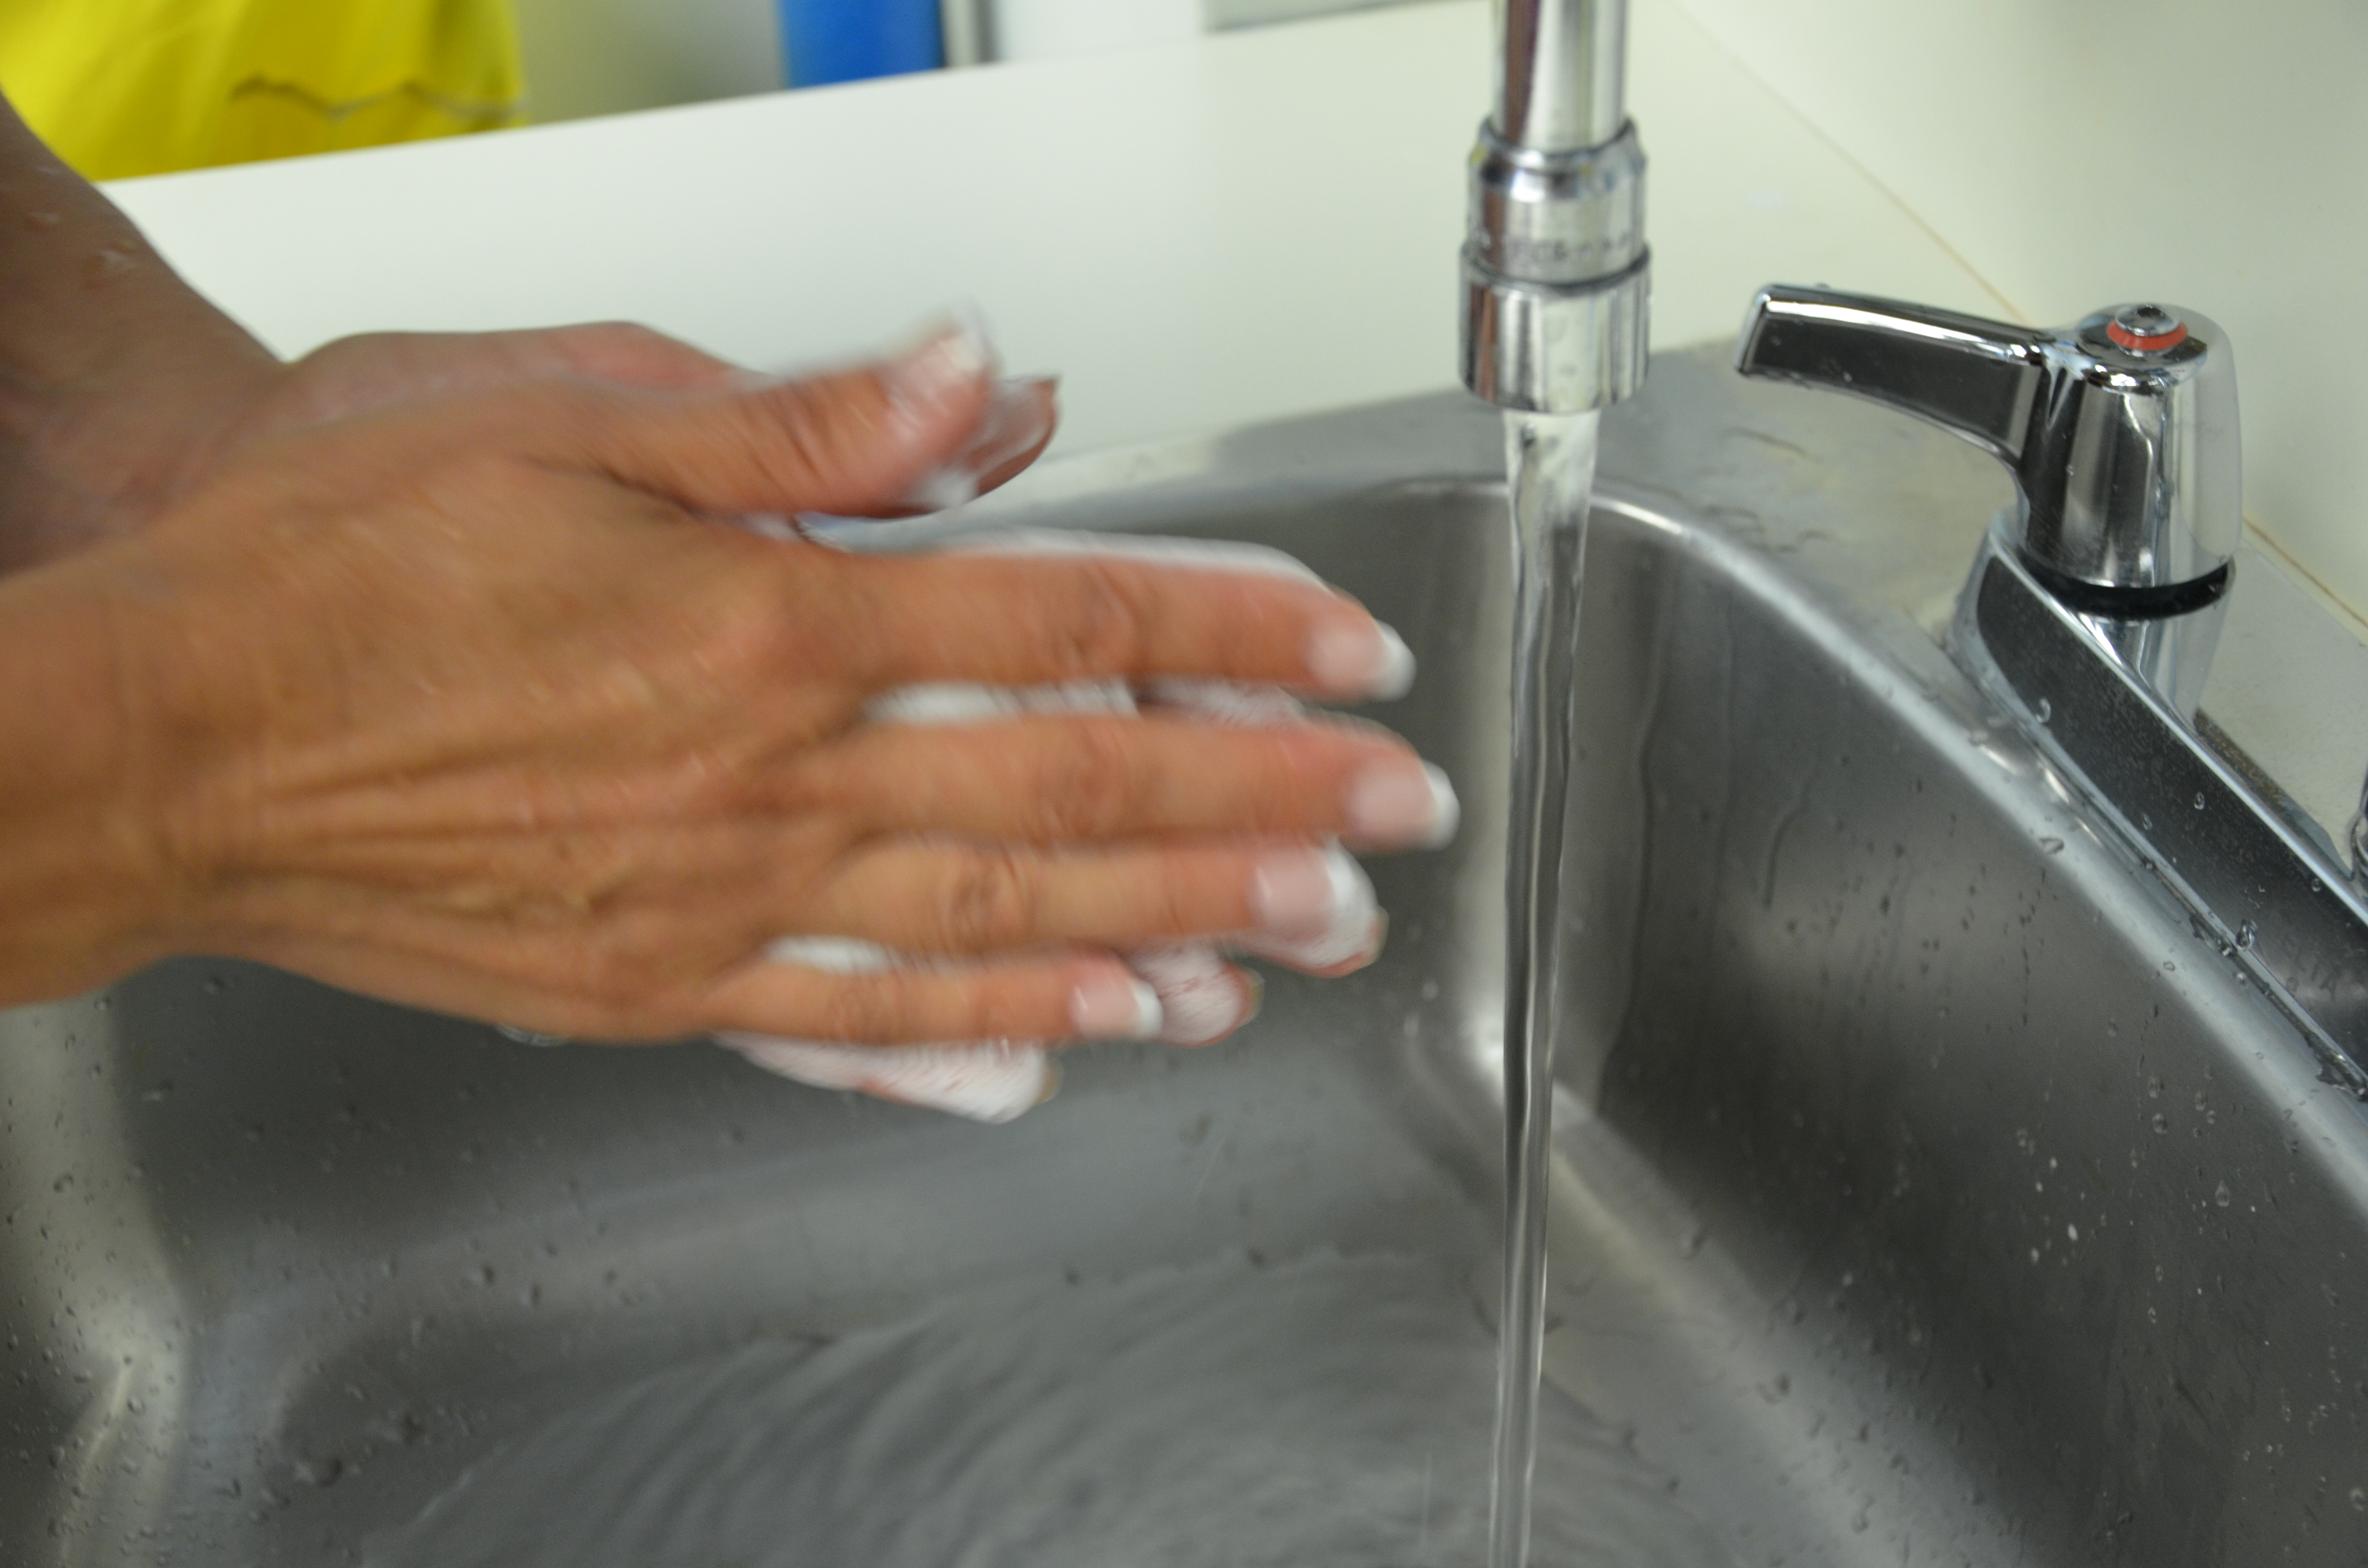
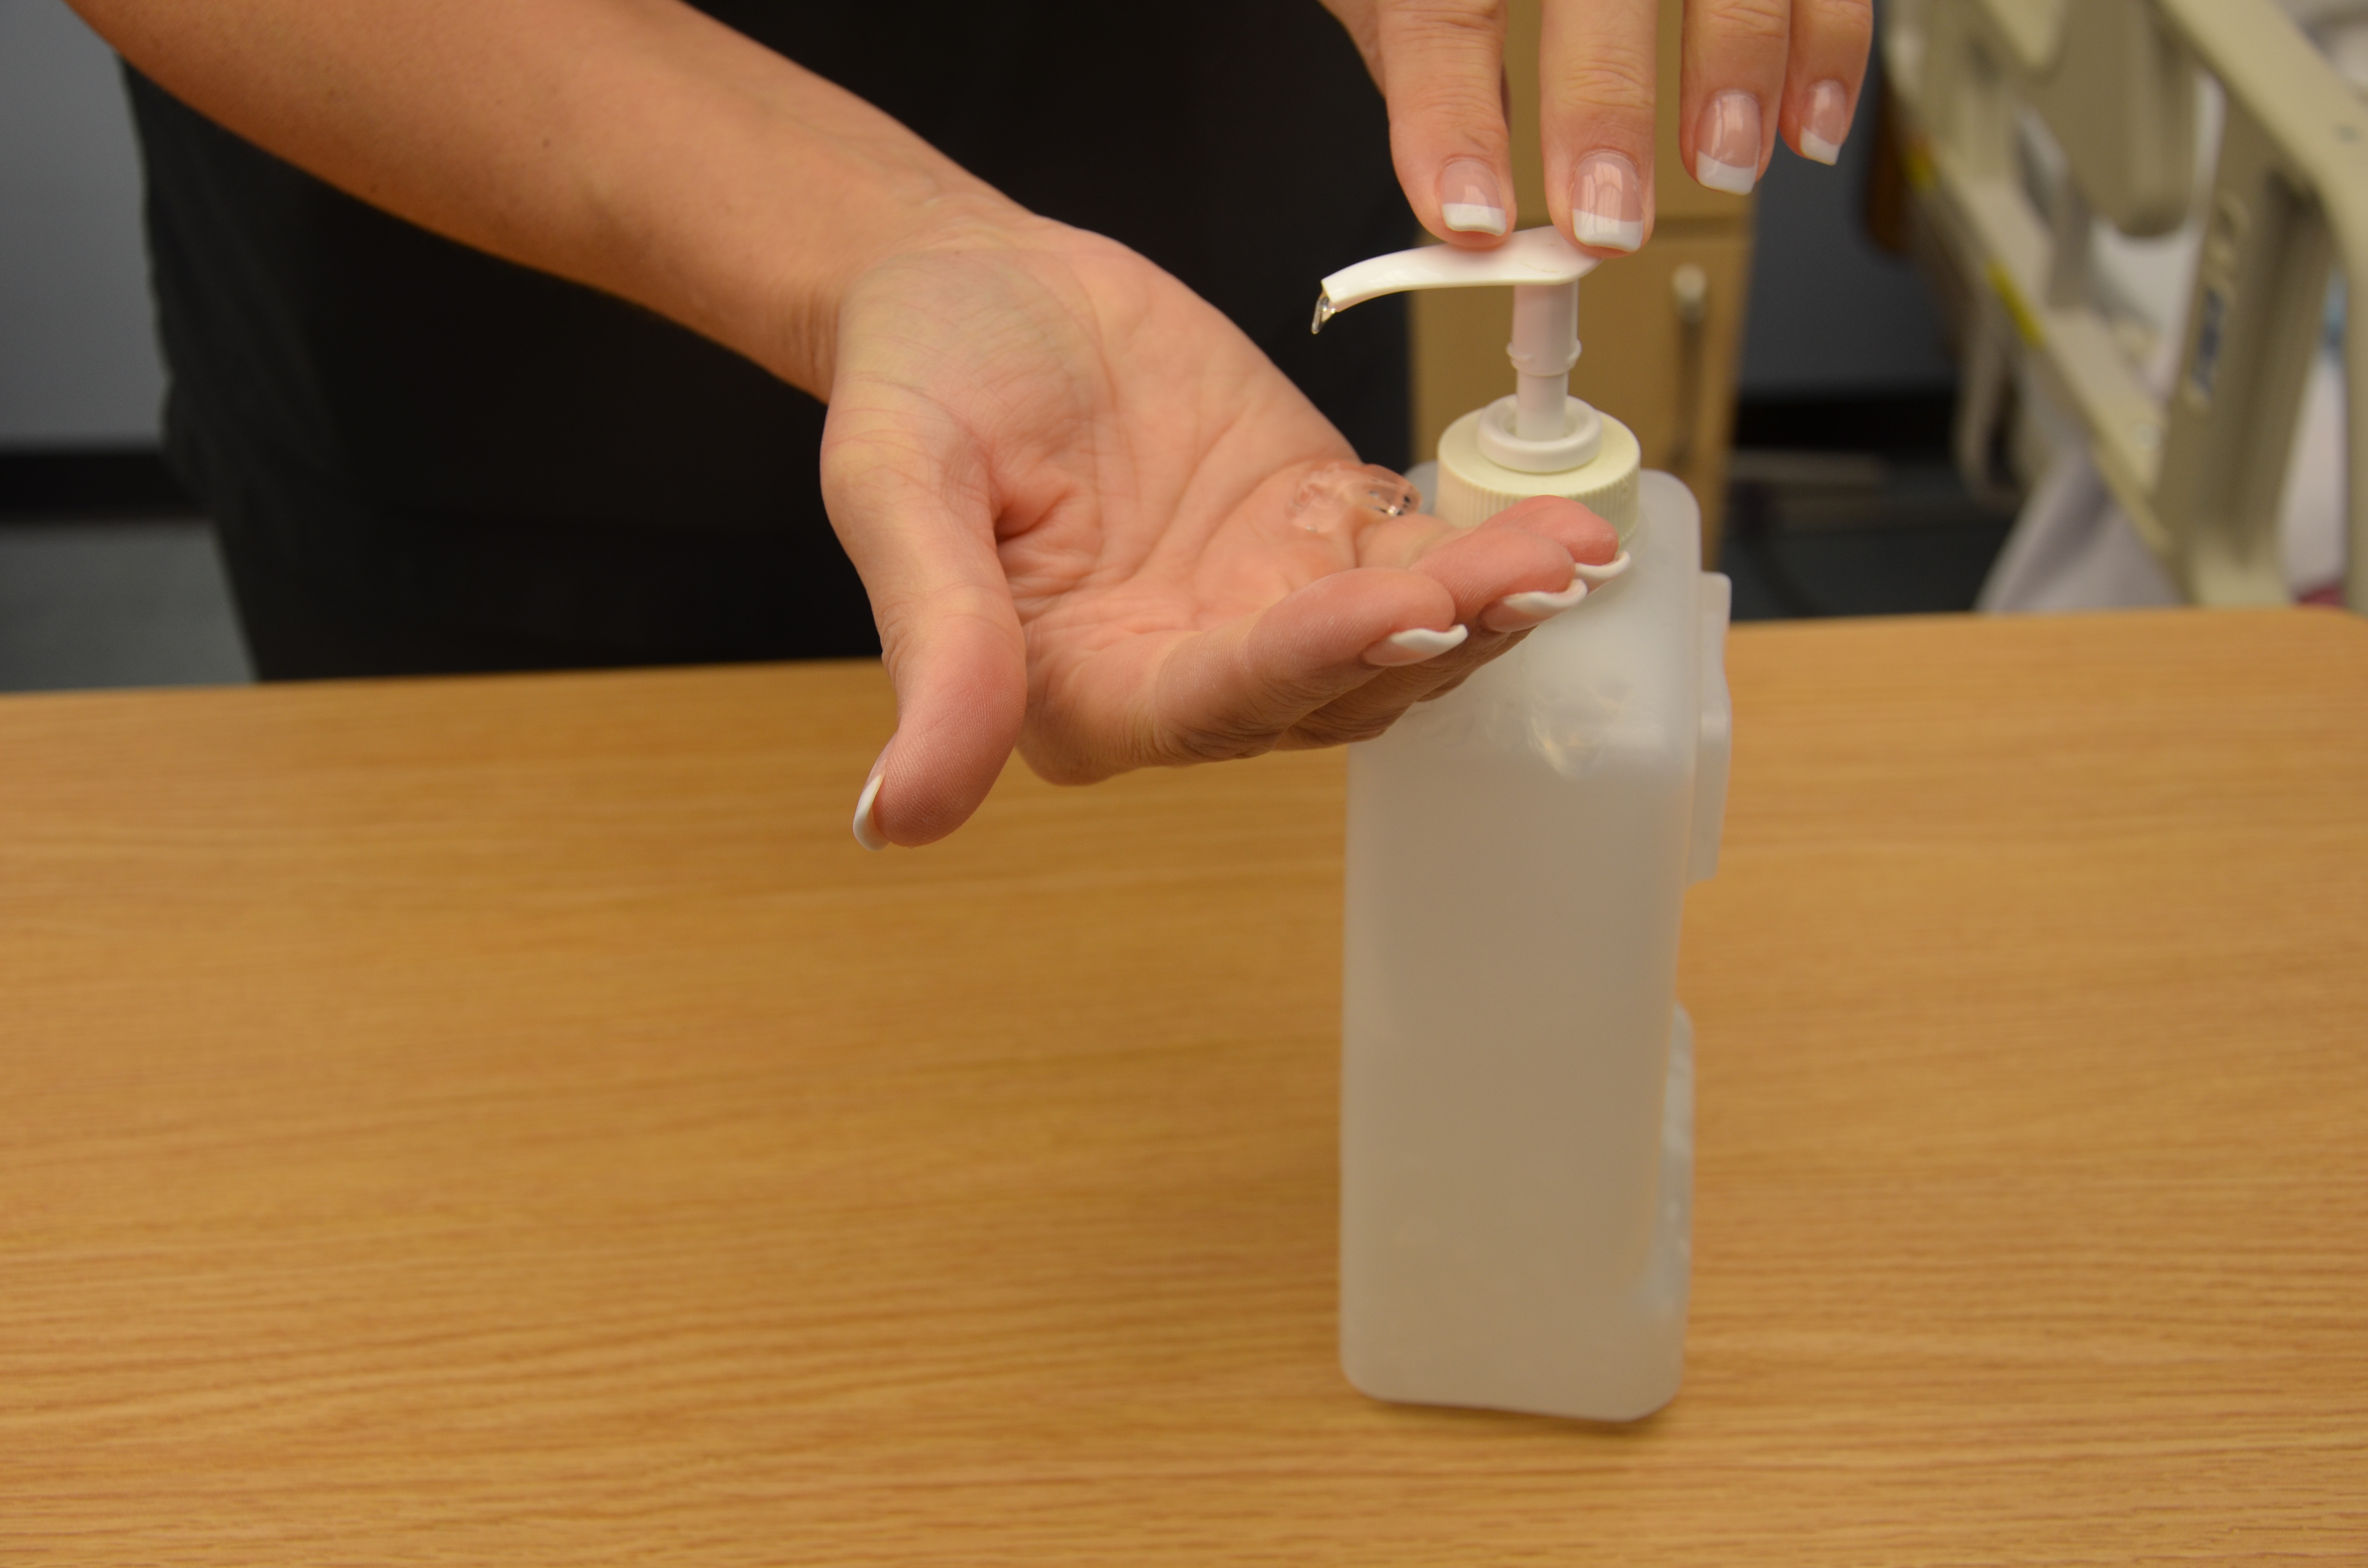
| 4. Perform hand hygiene. | This reduces the risk of infection.
 |
||
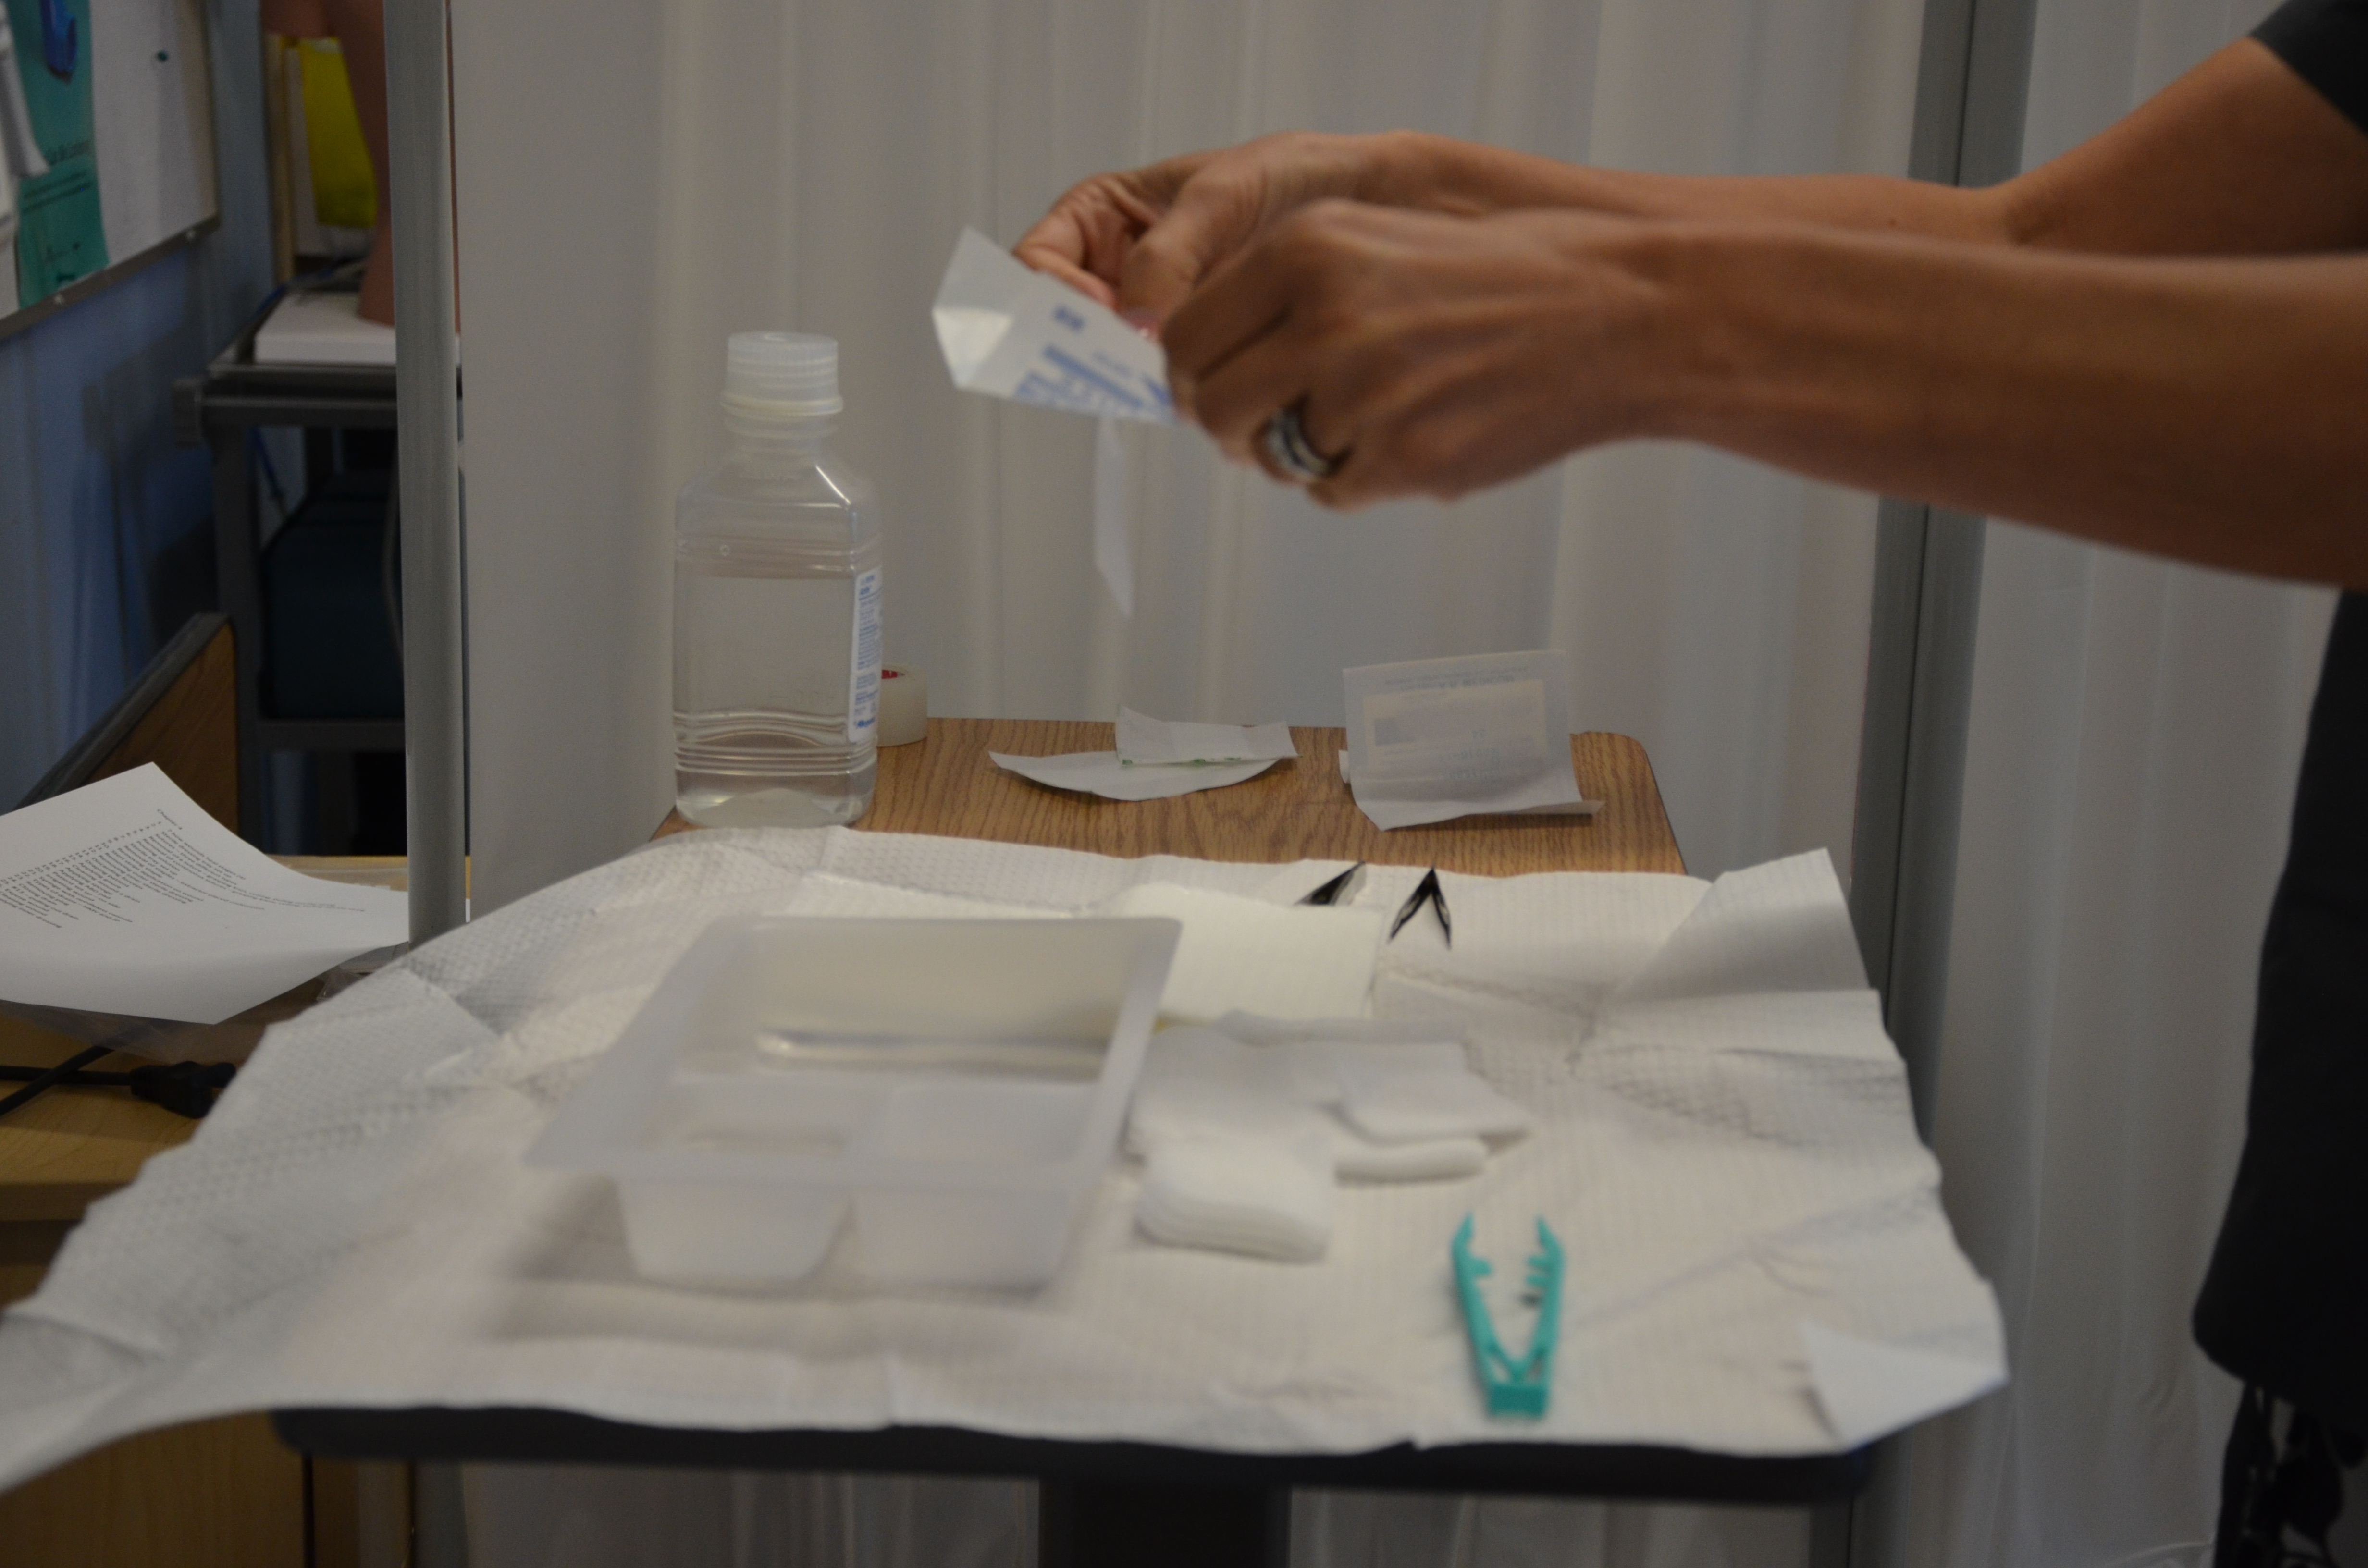
| 5. If necessary prepare the sterile field and add necessary supplies (staple extractor).
Note: If this is a clean procedure you simply need a clean surface for your supplies. Some of your equipment will come in its own sterile package. Think about how you can reduce waste but still consider safety for the patient. |
This step allows easy access to required supplies for the procedure.
 |
||
| 6 Apply non-sterile gloves.
If present, remove dressing and inspect the wound. |
Visually assess the wound for uniform closure of the edges, absence of drainage, redness, and inflammation.
 After assessing the wound, determine if the wound is sufficiently healed to have the staples removed. If concerns are present, question the order and seek advice from the appropriate healthcare provider. |
||
| 7. If necessary, clean incision site according to agency policy. | This reduces the risk of infection from microorganisms on the wound site or surrounding skin.
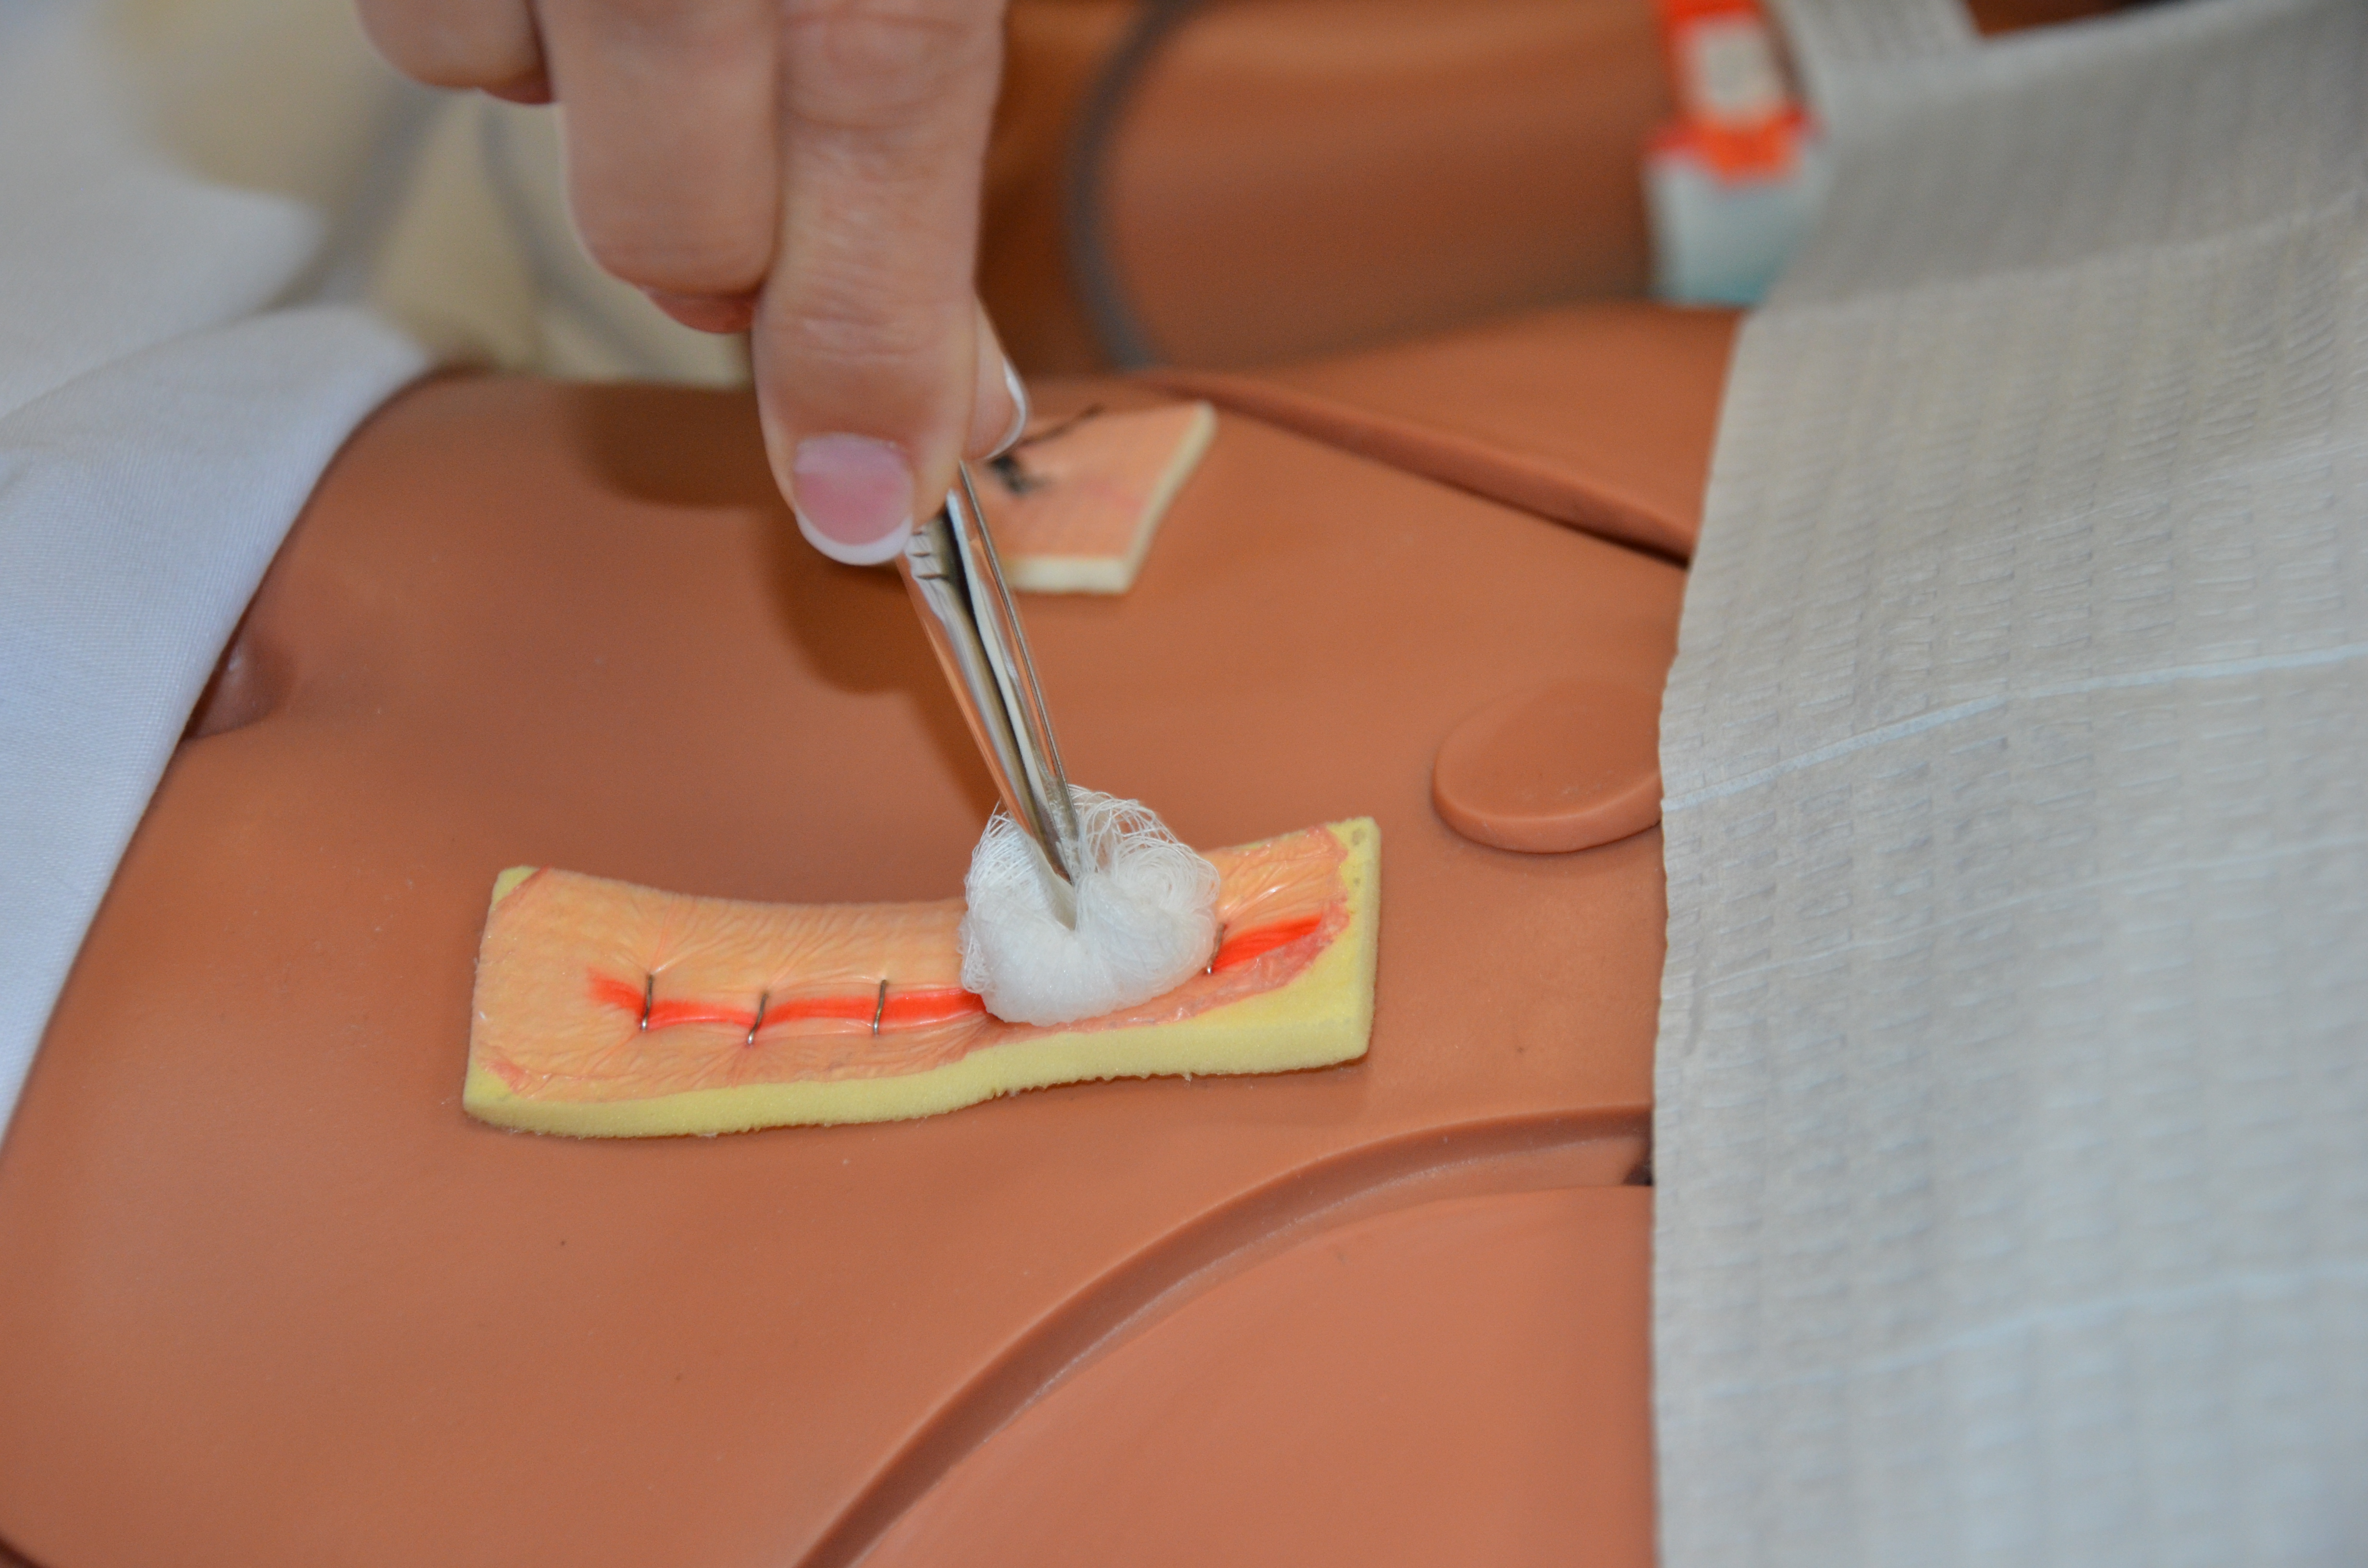 Cleaning also loosens and removes any dried blood or crusted exudate from the staples and wound bed. |
||
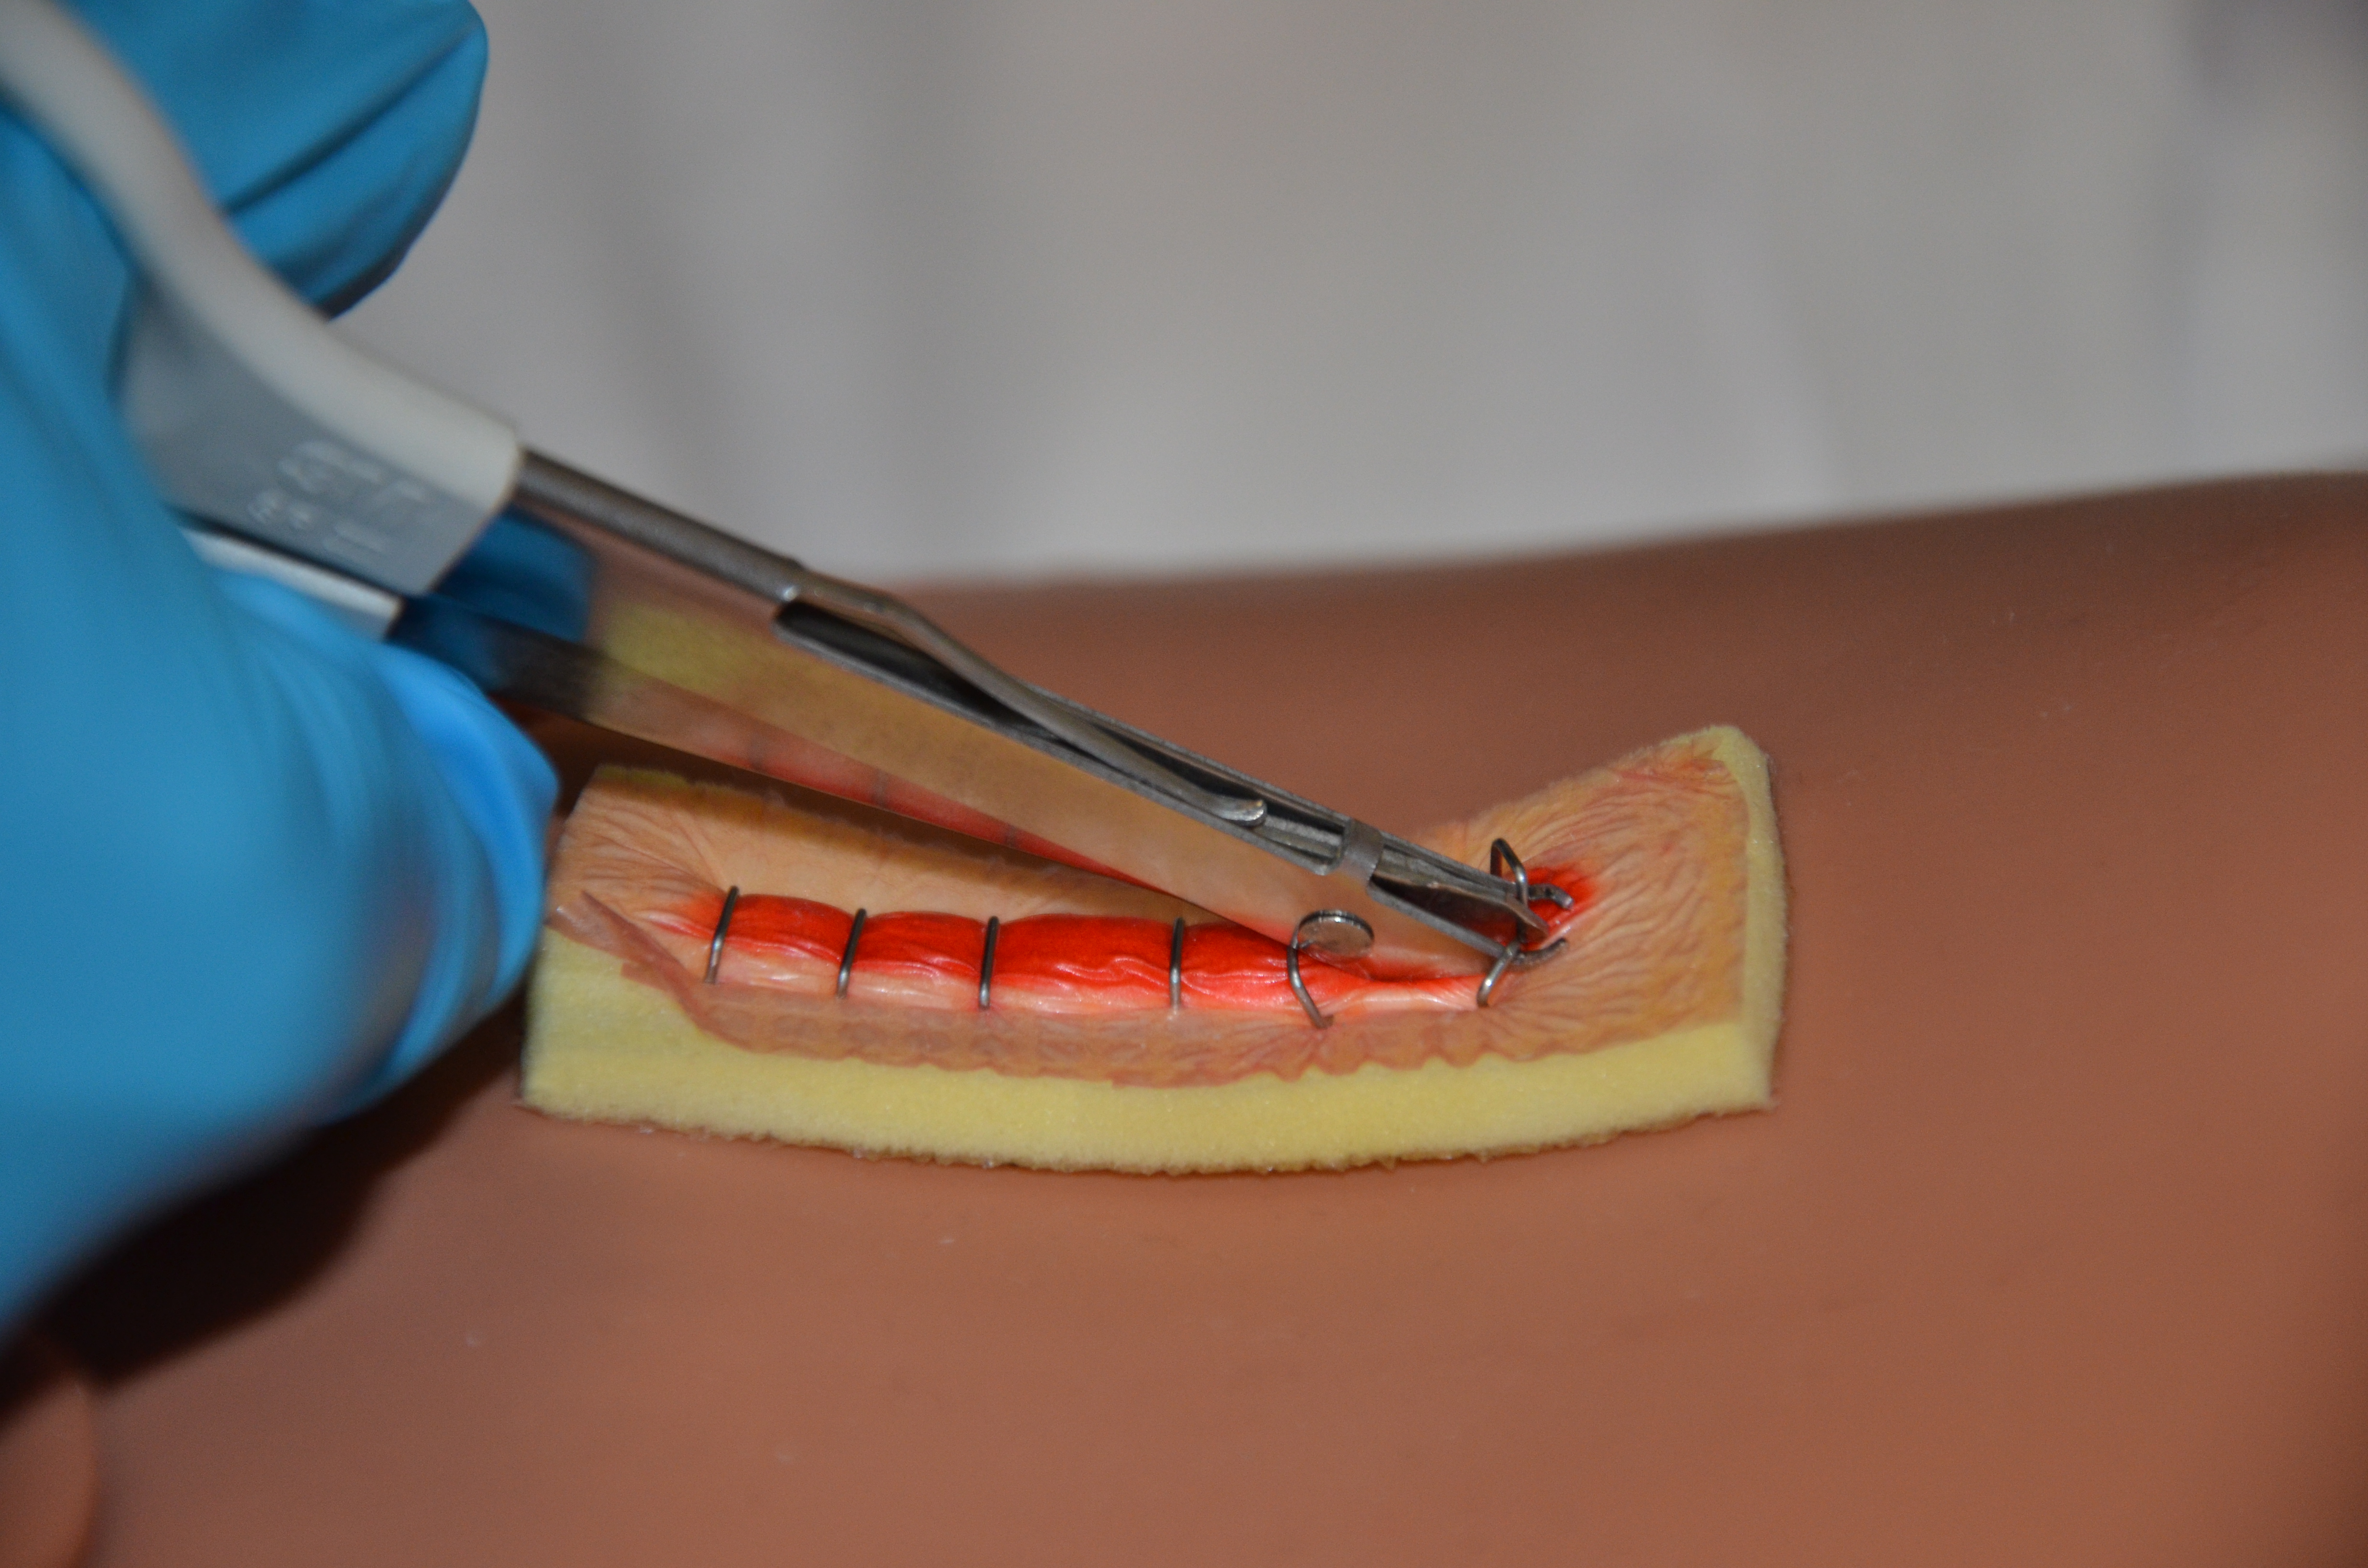
| When removing staples, remove every other one first. | |||
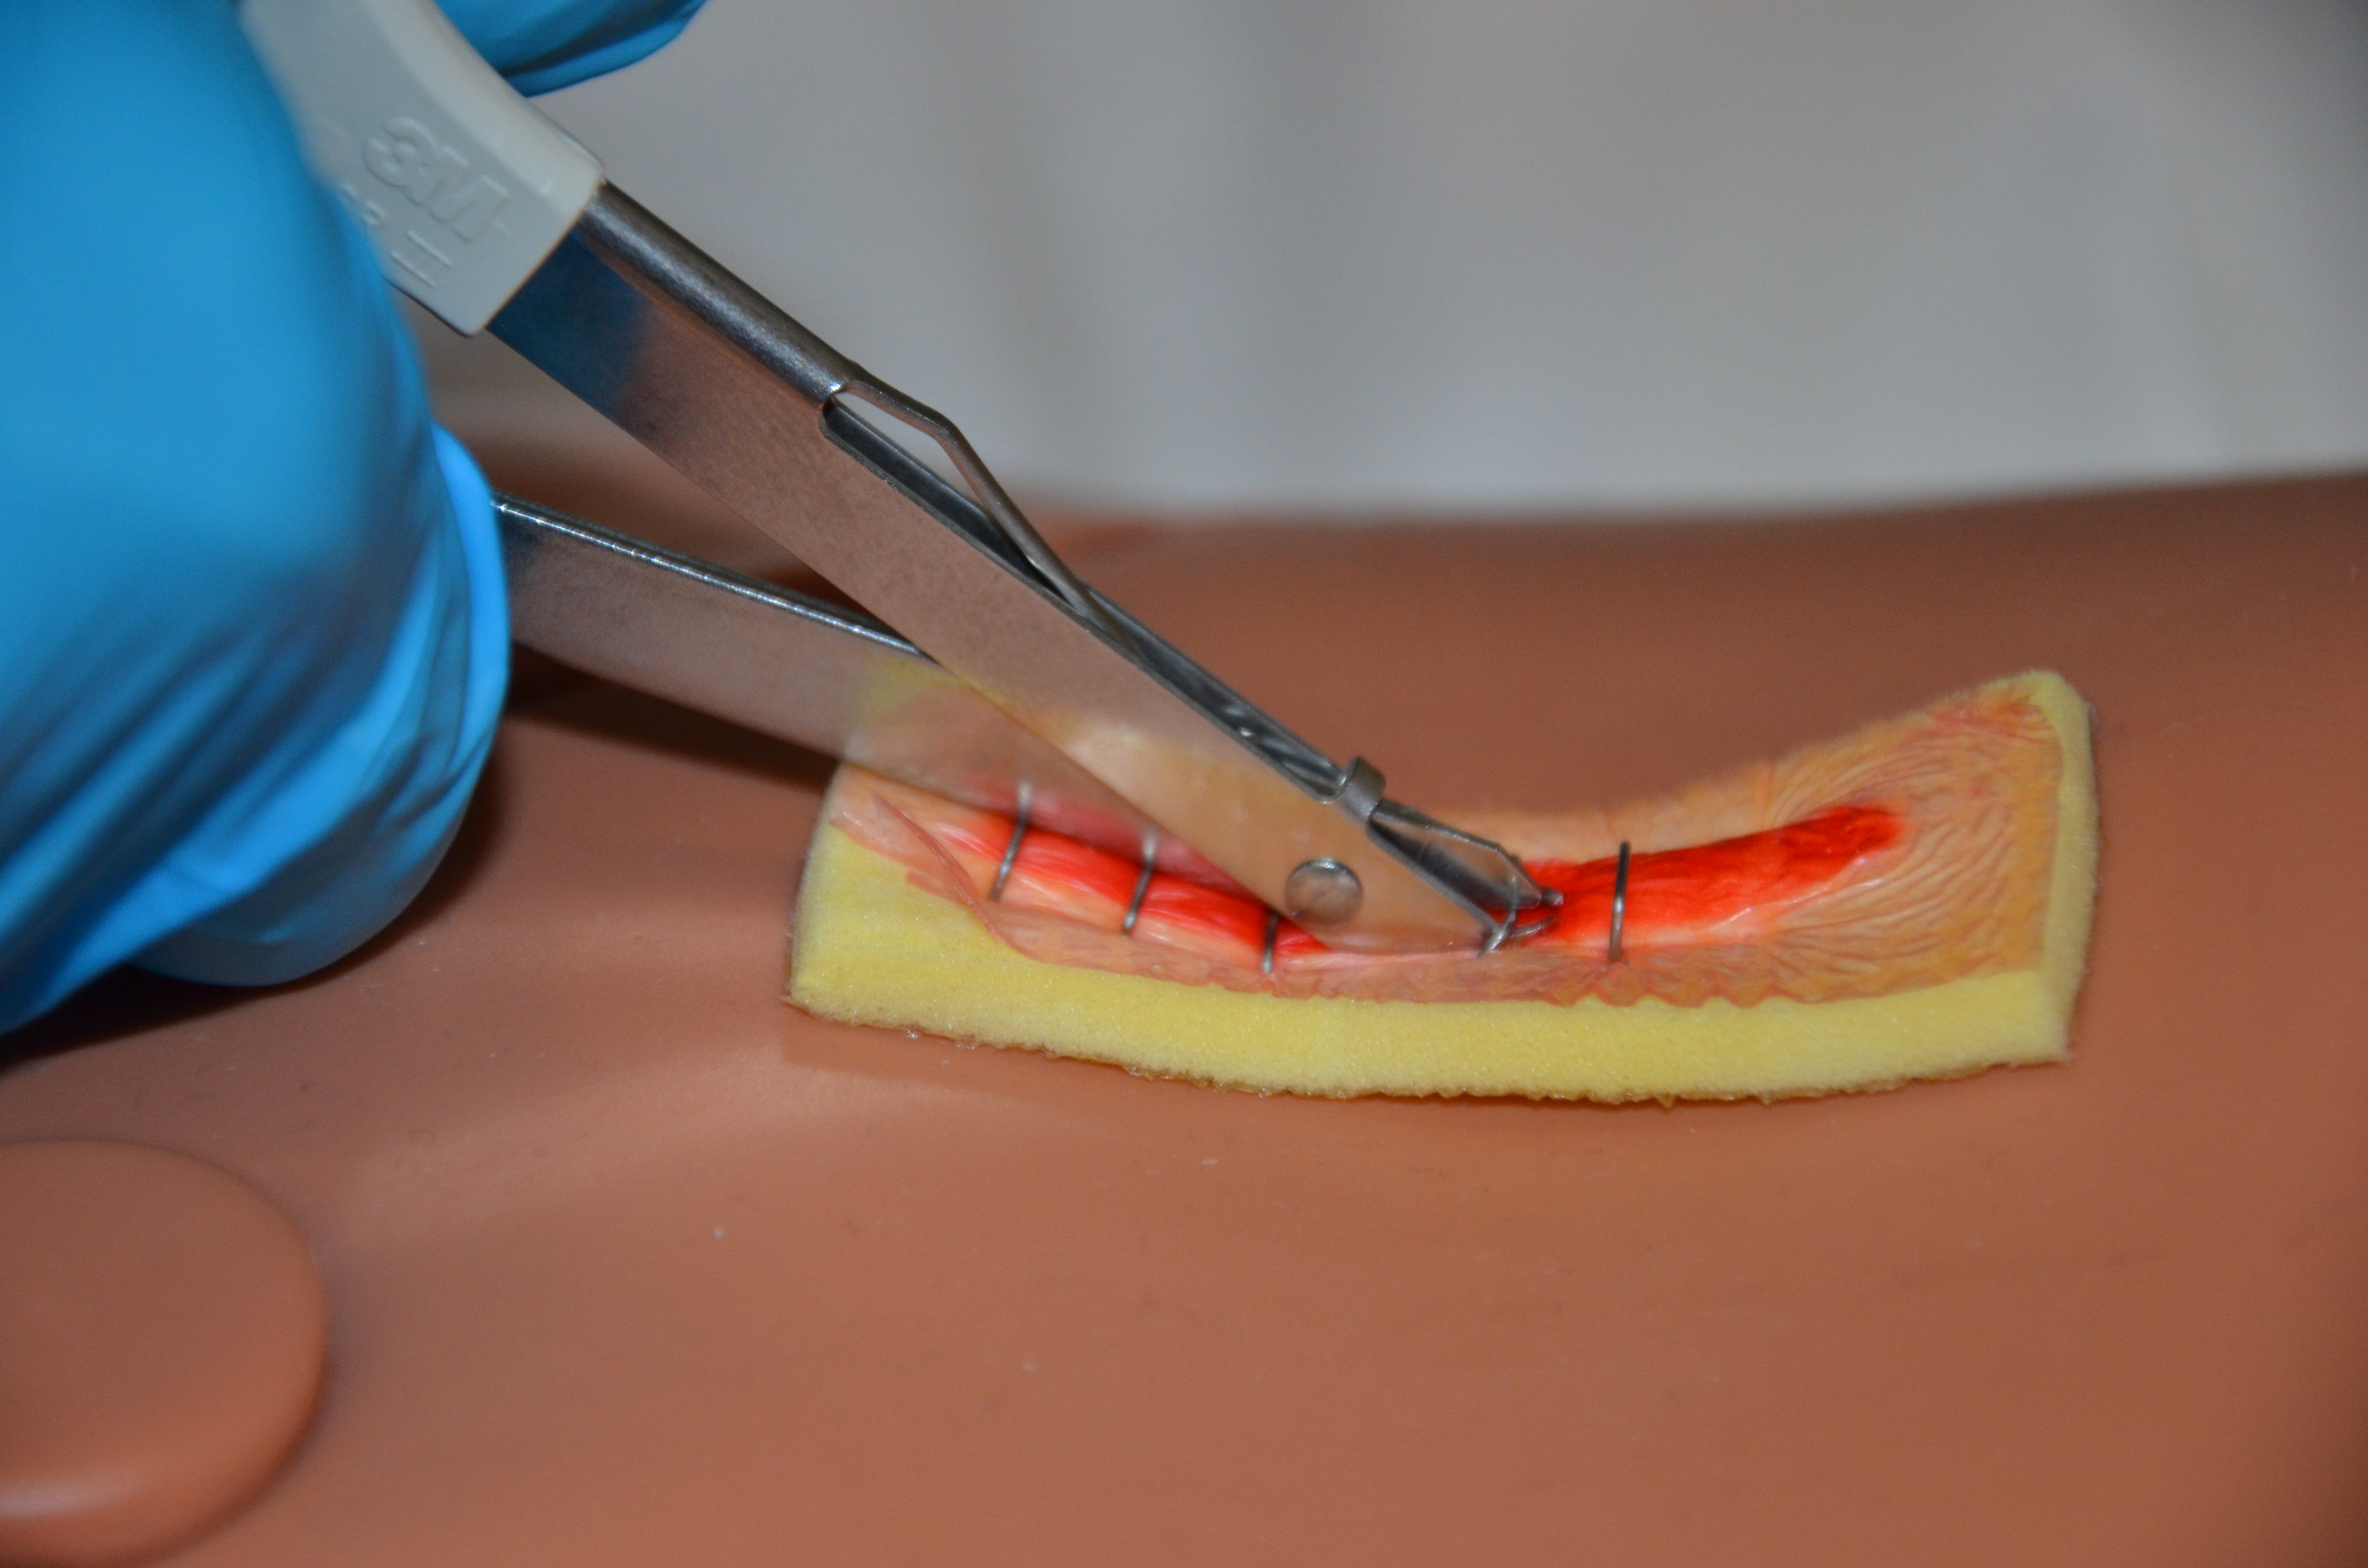
| 8. With the staple remover at an angle of less than 30º to the skin, place lower tip of staple extractor beneath the staple.
Do not pull up while depressing handle on staple remover or change the angle of your wrist or hand. Close the handle, observe the staple ends lifting out of the skin. If necessary, gently move the staple side to side to remove. |
The closed handle depresses the middle of the staple causing the two ends to bend outward and out of the top layer of skin.
 |
||
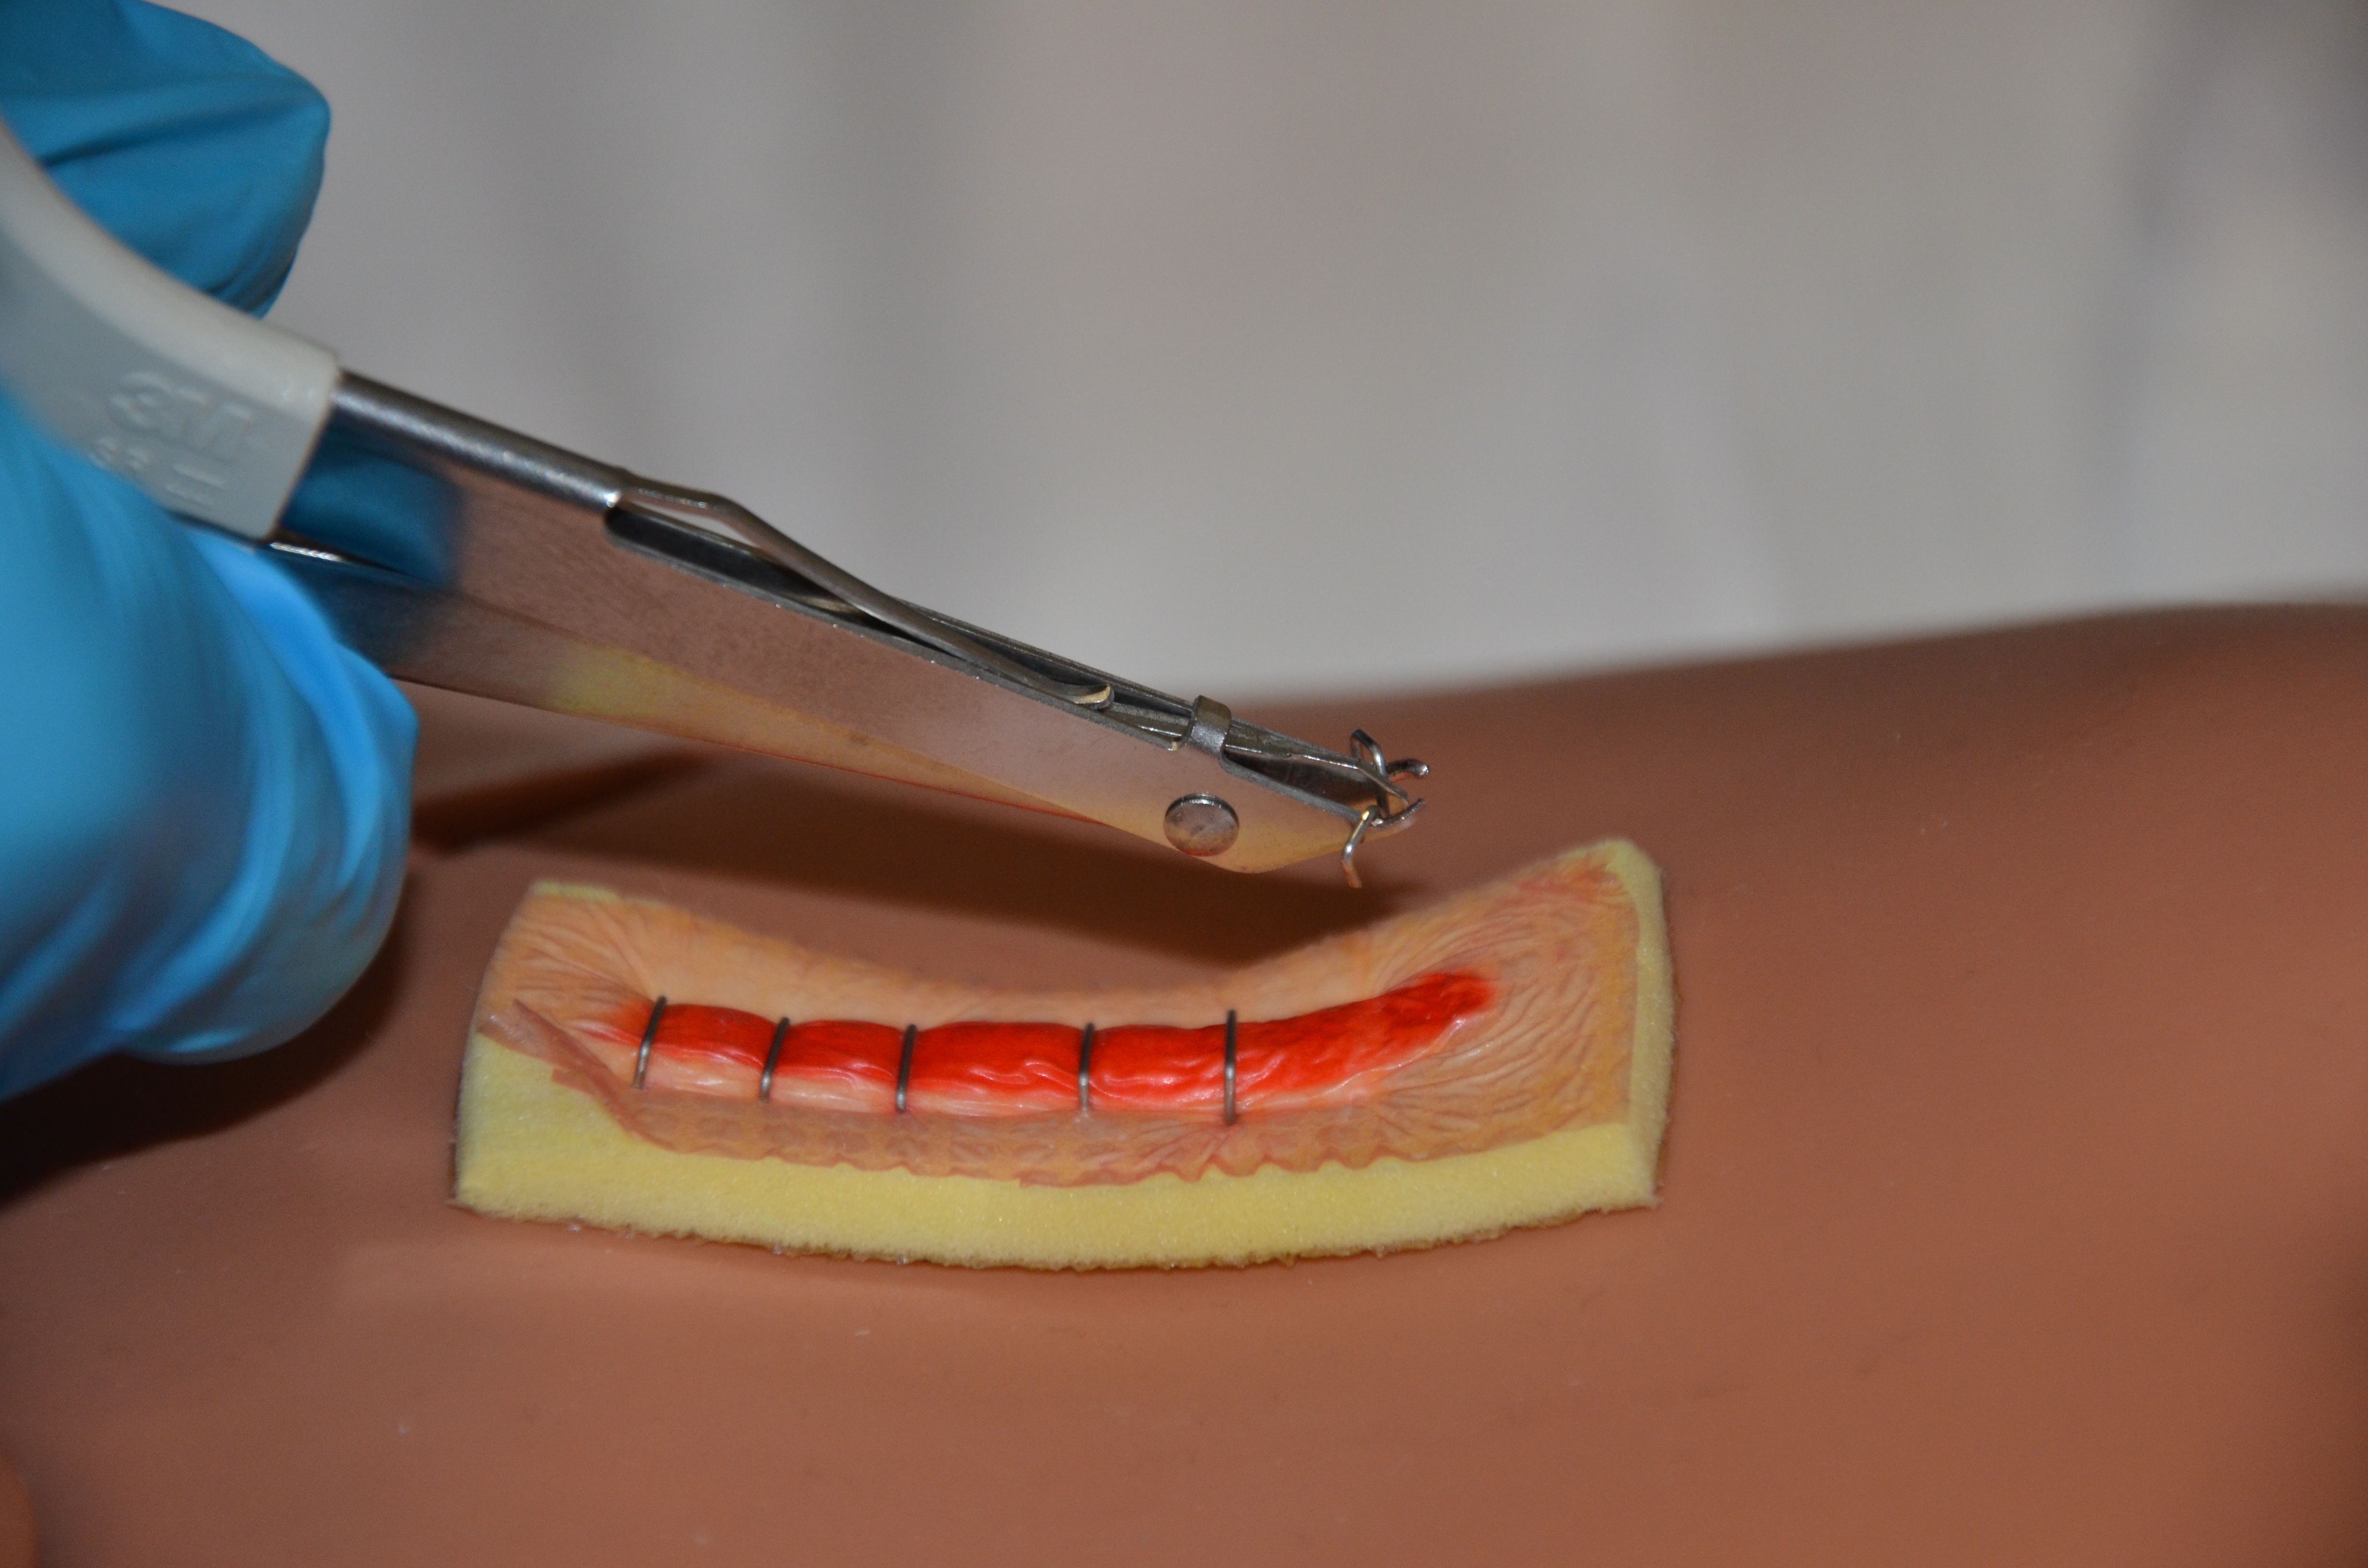
| 9. When both ends of the staple are visible, move the staple extractor away from the skin and place the staple on a receptacle by releasing the handles on the staple extractor. | This avoids pulling the staple out prematurely and avoids putting pressure on the wound. It also prevents scratching the skin with the sharp staple.
 |
||
| 10. Continue to remove every second staple to the end of the incision line. | Alternating removal of staples provides strength to incision line while removing staples and prevents accidental separation of incision line.
 |
||
| 11. If necessary, apply Steri-Strips.
Apply appropriate sized Steri-Strips to provide support on either side of the incision, generally 1 to 2 in long. Using the principles of asepsis, place Steri-Strips perpendicular along the incision line with gaps of approximately 2 to 3 mm between each.
|
Steri-Strips support wound tension across wound and eliminate scarring.
This allows wound to heal by primary intention. 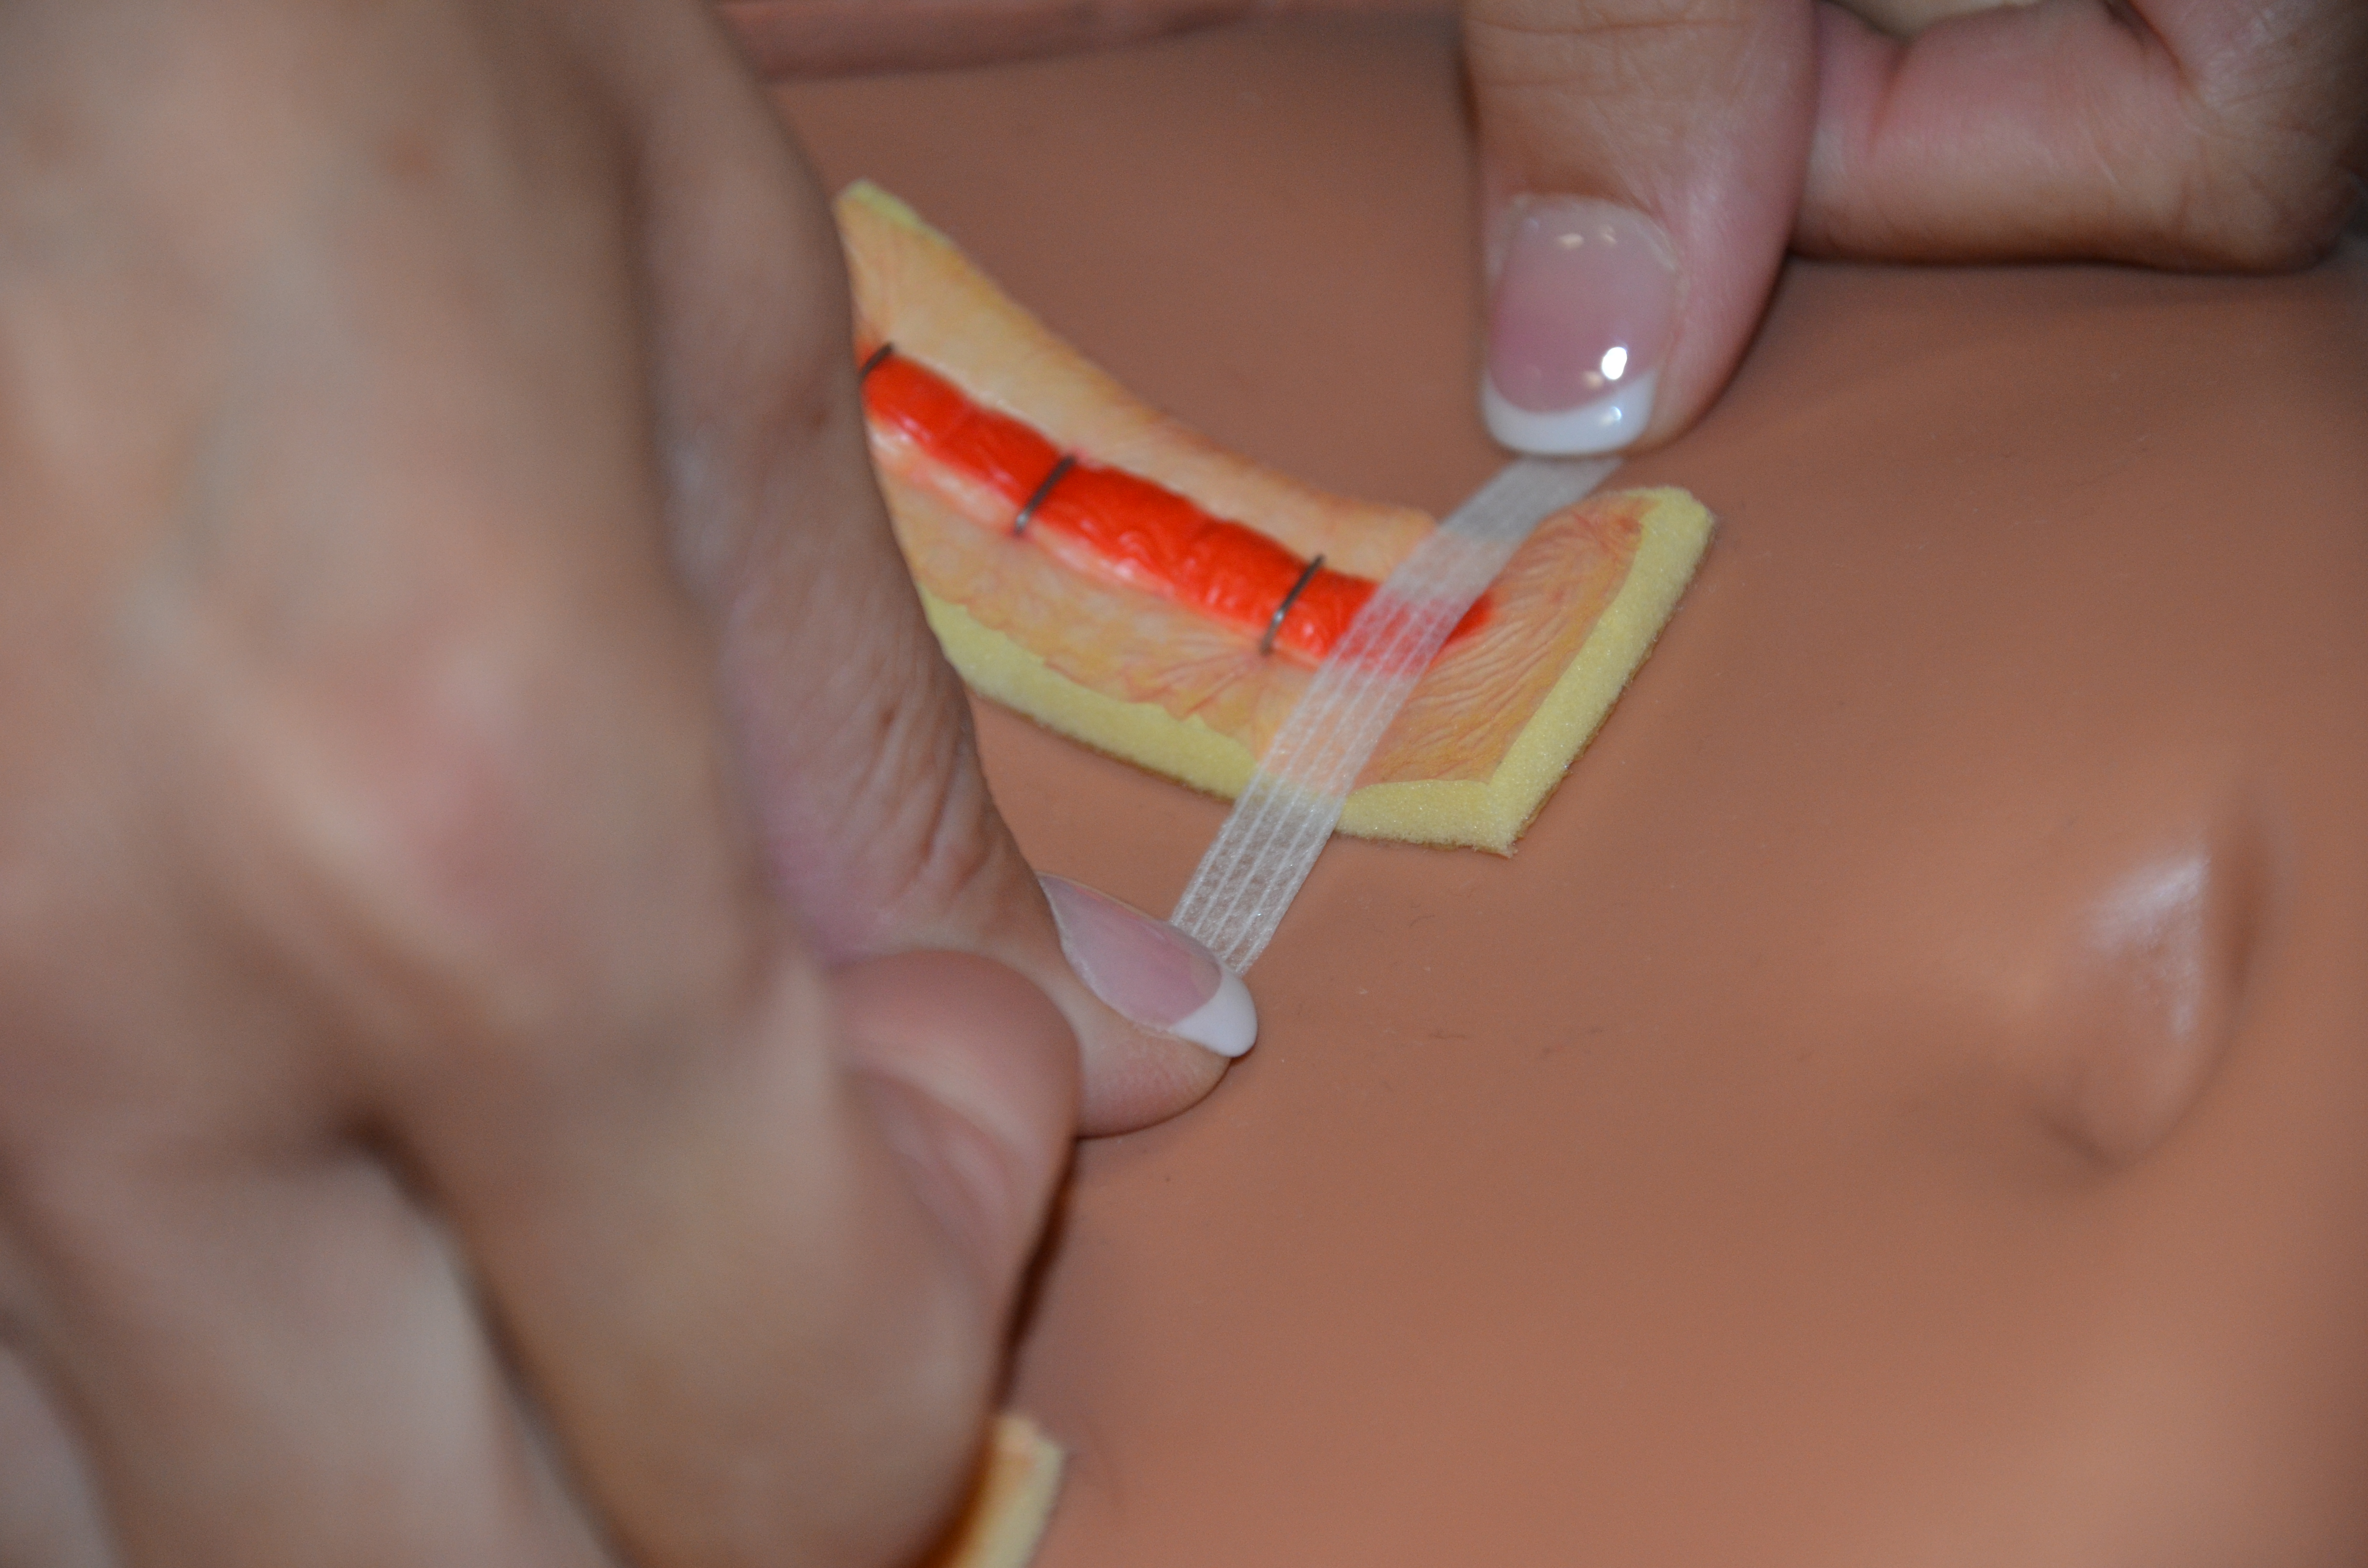 |
||
| 12. Remove remaining staples, followed by applying Steri-Strips along the incision line. | Steri-Strips support wound tension across wound | ||
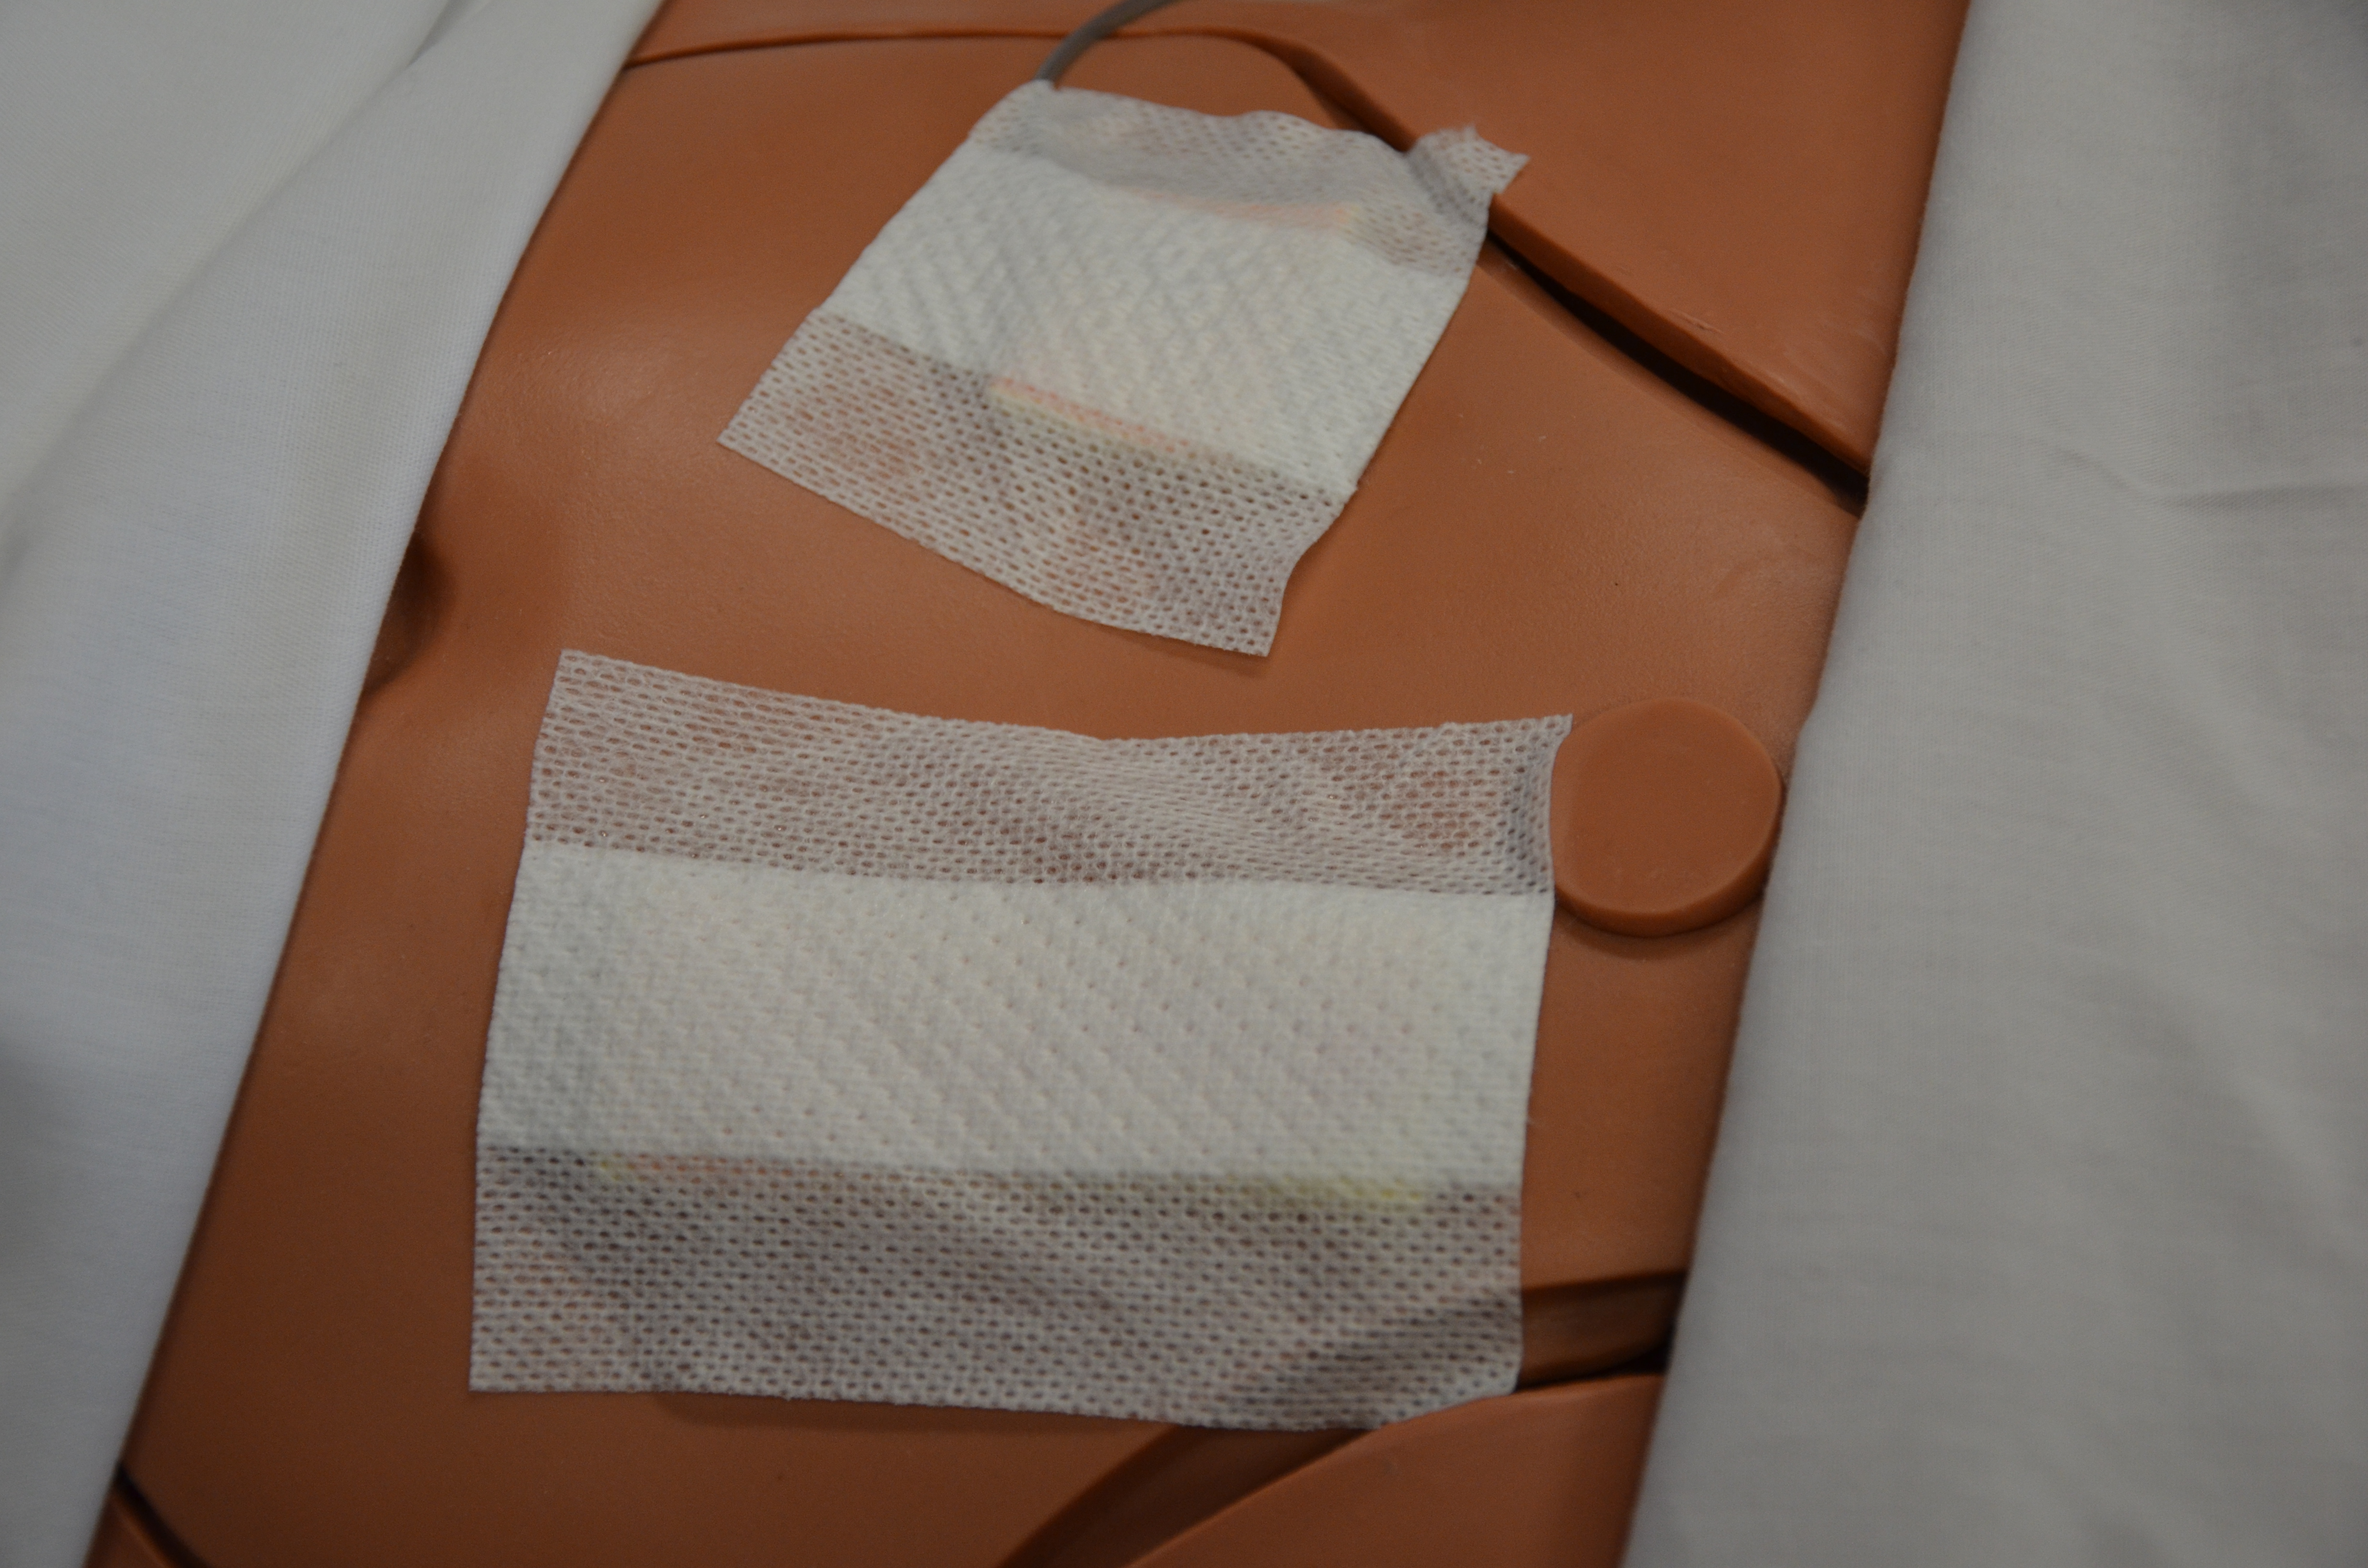
| 13. If necessary, apply dry, sterile dressing on incision site or leave exposed to air if wound is not irritated by clothing, or according to physician orders. | This reduces risk of infection.
 |
||
| 14. Position patient, lower bed to safe height, and ensure patient is comfortable and free from pain. | This provides patient with a safe, comfortable place, and attends to pain needs as required. | ||
| 15. Complete patient teaching. | Instruct patient regarding:
|
||
| 16. Discard supplies according to agency policies for sharps disposal and biohazard waste. | Staple extractor may be disposed of or sent for sterilization. | ||
| 17. Perform hand hygiene and document procedure and findings according to agency policy. Report any unusual findings or concerns to the appropriate healthcare professional. | Hand hygiene reduces the risk of infection.
 |
||
| Data source: BCIT, 2010c; Perry et al., 2014 | |||
Staple removal may lead to complications for the patient. When removing staples, consider the length of time the staples have been in situ. Wound dehiscence, a mechanical failure of wound healing, remains a problem and can be affected by multiple factors (Spiliotis et al., 2009). Obese patients (greater than 30 kg/m2) have a higher risk of dehiscence than patients with a normal BMI. Additional risk factors for dehiscence include age over 75 years, COPD, diagnosis of cancer, use of steroids, malnutrition, anemia, sepsis, obesity, diabetes, tobacco use, and previous administration of chemotherapy or radiotherapy (Spiliotis et al., 2009).
Table 4.10 lists other complications of removing staples.
Table 4.10 Potential Complications of Staple Removal |
|||
Complication |
Solution |
||
| Unable to remove staple from tissue | Contact physician for further instructions. | ||
| Dehiscence: Incision edges separate during staple removal | Stop removing staples.
Apply Steri-Strips across open area. Notify physician. |
||
| Patient experiences pain when staples are removed | Allow small breaks during removal of staples.
Use distraction techniques. Provide opportunity for the patient to deep breathe and relax during the procedure. |
||
| Data source: BCIT, 2010c; Perry et al., 2018 | |||
Critical Thinking Exercises
- You are about to remove your patient’s abdominal incision staples according to the prescriber’s orders. As you start to remove the staples, you notice that the skin edges of the incision line are separating. What would be your next steps?
- Your patient informs you that he is feeling significant pain as you begin to remove his staples. What would you do next?
Attributions
Figure 4.4 Surgical staples after total hip replacement by Karl-Heinz Wellmann, Wikipedia is used under the CC BY 3.0 license.
