Chapter 4. Wound Care
4.6 Advanced Wound Care: Wet to Moist Dressing, and Wound Irrigation and Packing
Traditionally, when wounds required debridement wet to dry dressings were used. This involved applying moist saline or other solution (i.e., Dakin’s) to gauze, placing it into a wound bed, allowing it to dry, and then removing it. As the dressing is removed, so is the unhealthy tissue. The belief was that the removal of the dead tissue facilitated healing. As we have come to understand more about wound healing, we now know that this practice disrupts healthy tissue. Besides being detrimental to wound healing, it can also be painful for the patient. As such, this is not current best practice (Kerr et al., 2014).
We have come to understand that wound beds need a moist environment to heal. Wet to moist dressings provide a moist healing environment, but they can require several dressing changes each day to maintain that moisture. These frequent dressing changes come with personal cost to the patient, financial cost in terms of nursing time and supplies, risk of infection associated with frequent dressing changes, and potential damage to the wound bed if the dressing is allowed to dry out (Kerr et al., 2014).
A wet to moist dressing can be selected for a wound bed until further direction is given by someone with knowledge about wound products. The type of wound dressing used depends not only on the characteristics of the wound, but also on the goal of the wound treatment and ability to access products. Recalling factors that influence wound healing, the skill and knowledge of the healthcare professional (HCP) and their ability to diagnose, select appropriate treatments, and correctly implement treatments are important considerations in relation to wound care (Norton et al., 2018; Harris et al., 2018).
Wet to Moist Dressing
A wet to moist dressing involves a primary dressing that directly touches the wound bed, and a secondary dressing covering it.
Important: Ensure pain is well managed prior to a dressing change to maximize patient comfort.
Checklist 36 outlines the steps for performing a wet to moist dressing change.
Checklist 36: Wet to Moist Dressing ChangeDisclaimer: Always review and follow your agency policy regarding this specific skill. |
|||
Safety considerations:
|
|||
Steps |
Additional Information |
||
| 1. Check present dressing using non-sterile gloves if necessary. | This provides an opportunity for assessment and to determine required supplies for the procedure. | ||
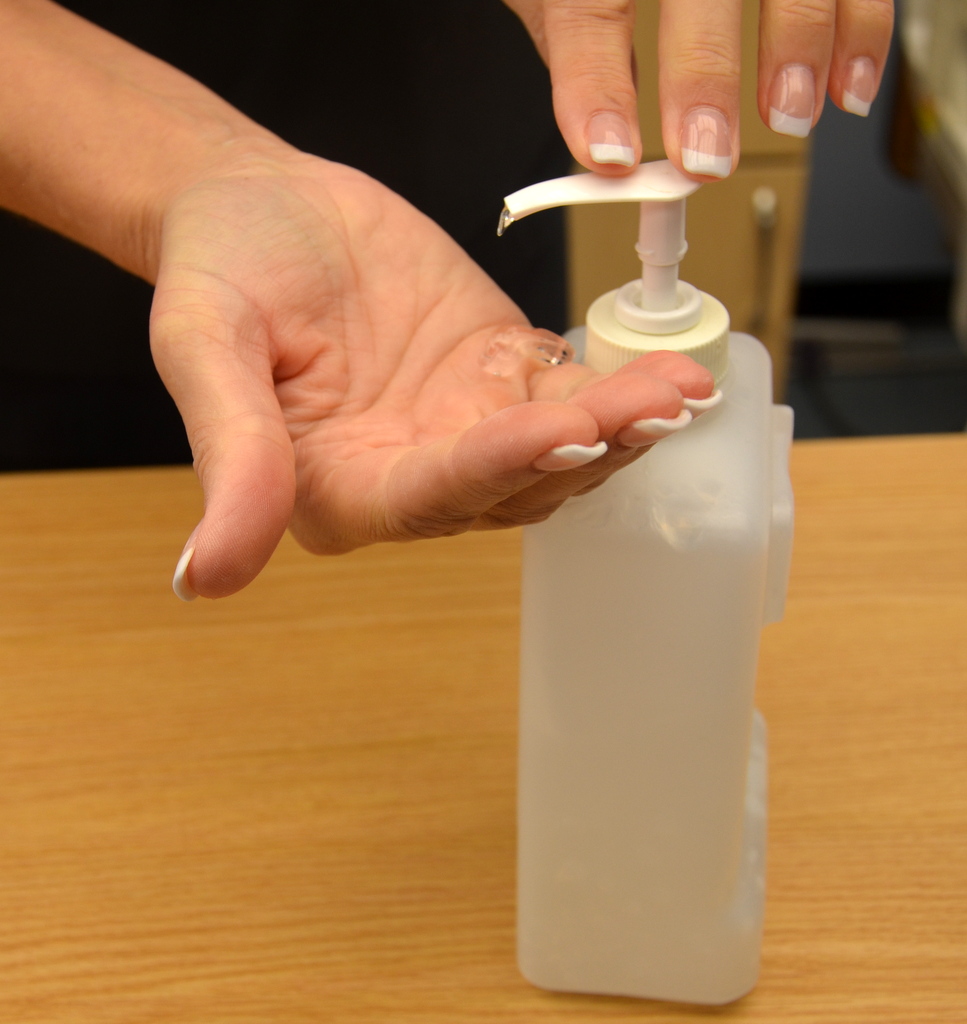
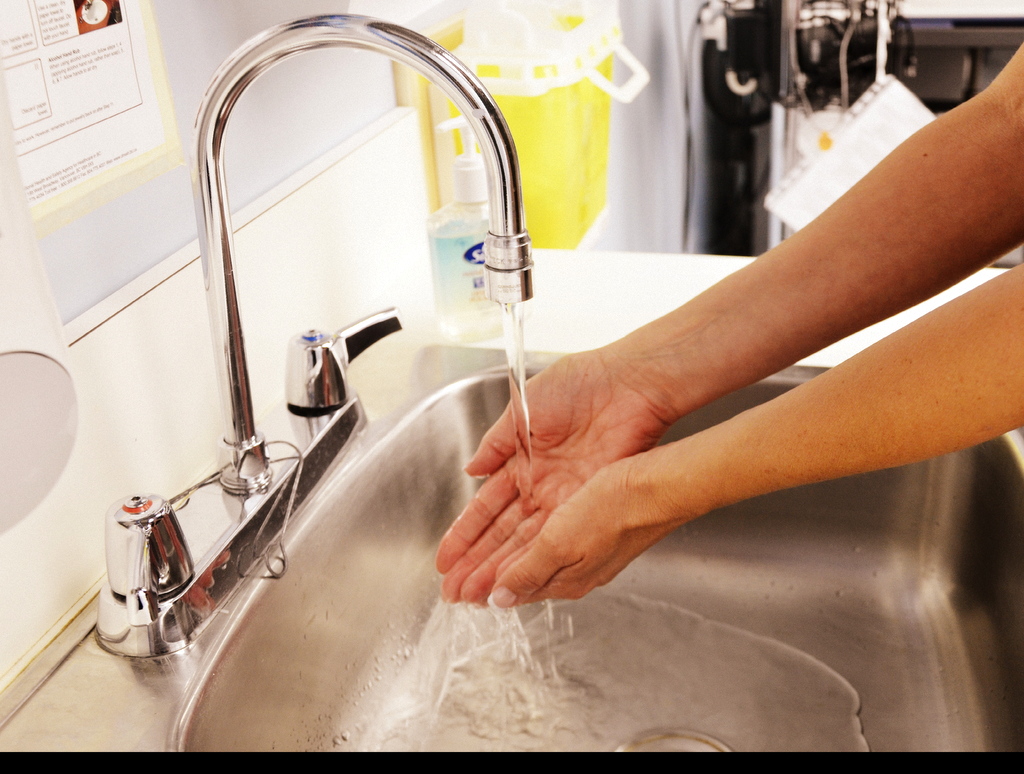
| 2. Perform hand hygiene. | Hand hygiene reduces the risk of infection.
 |
||
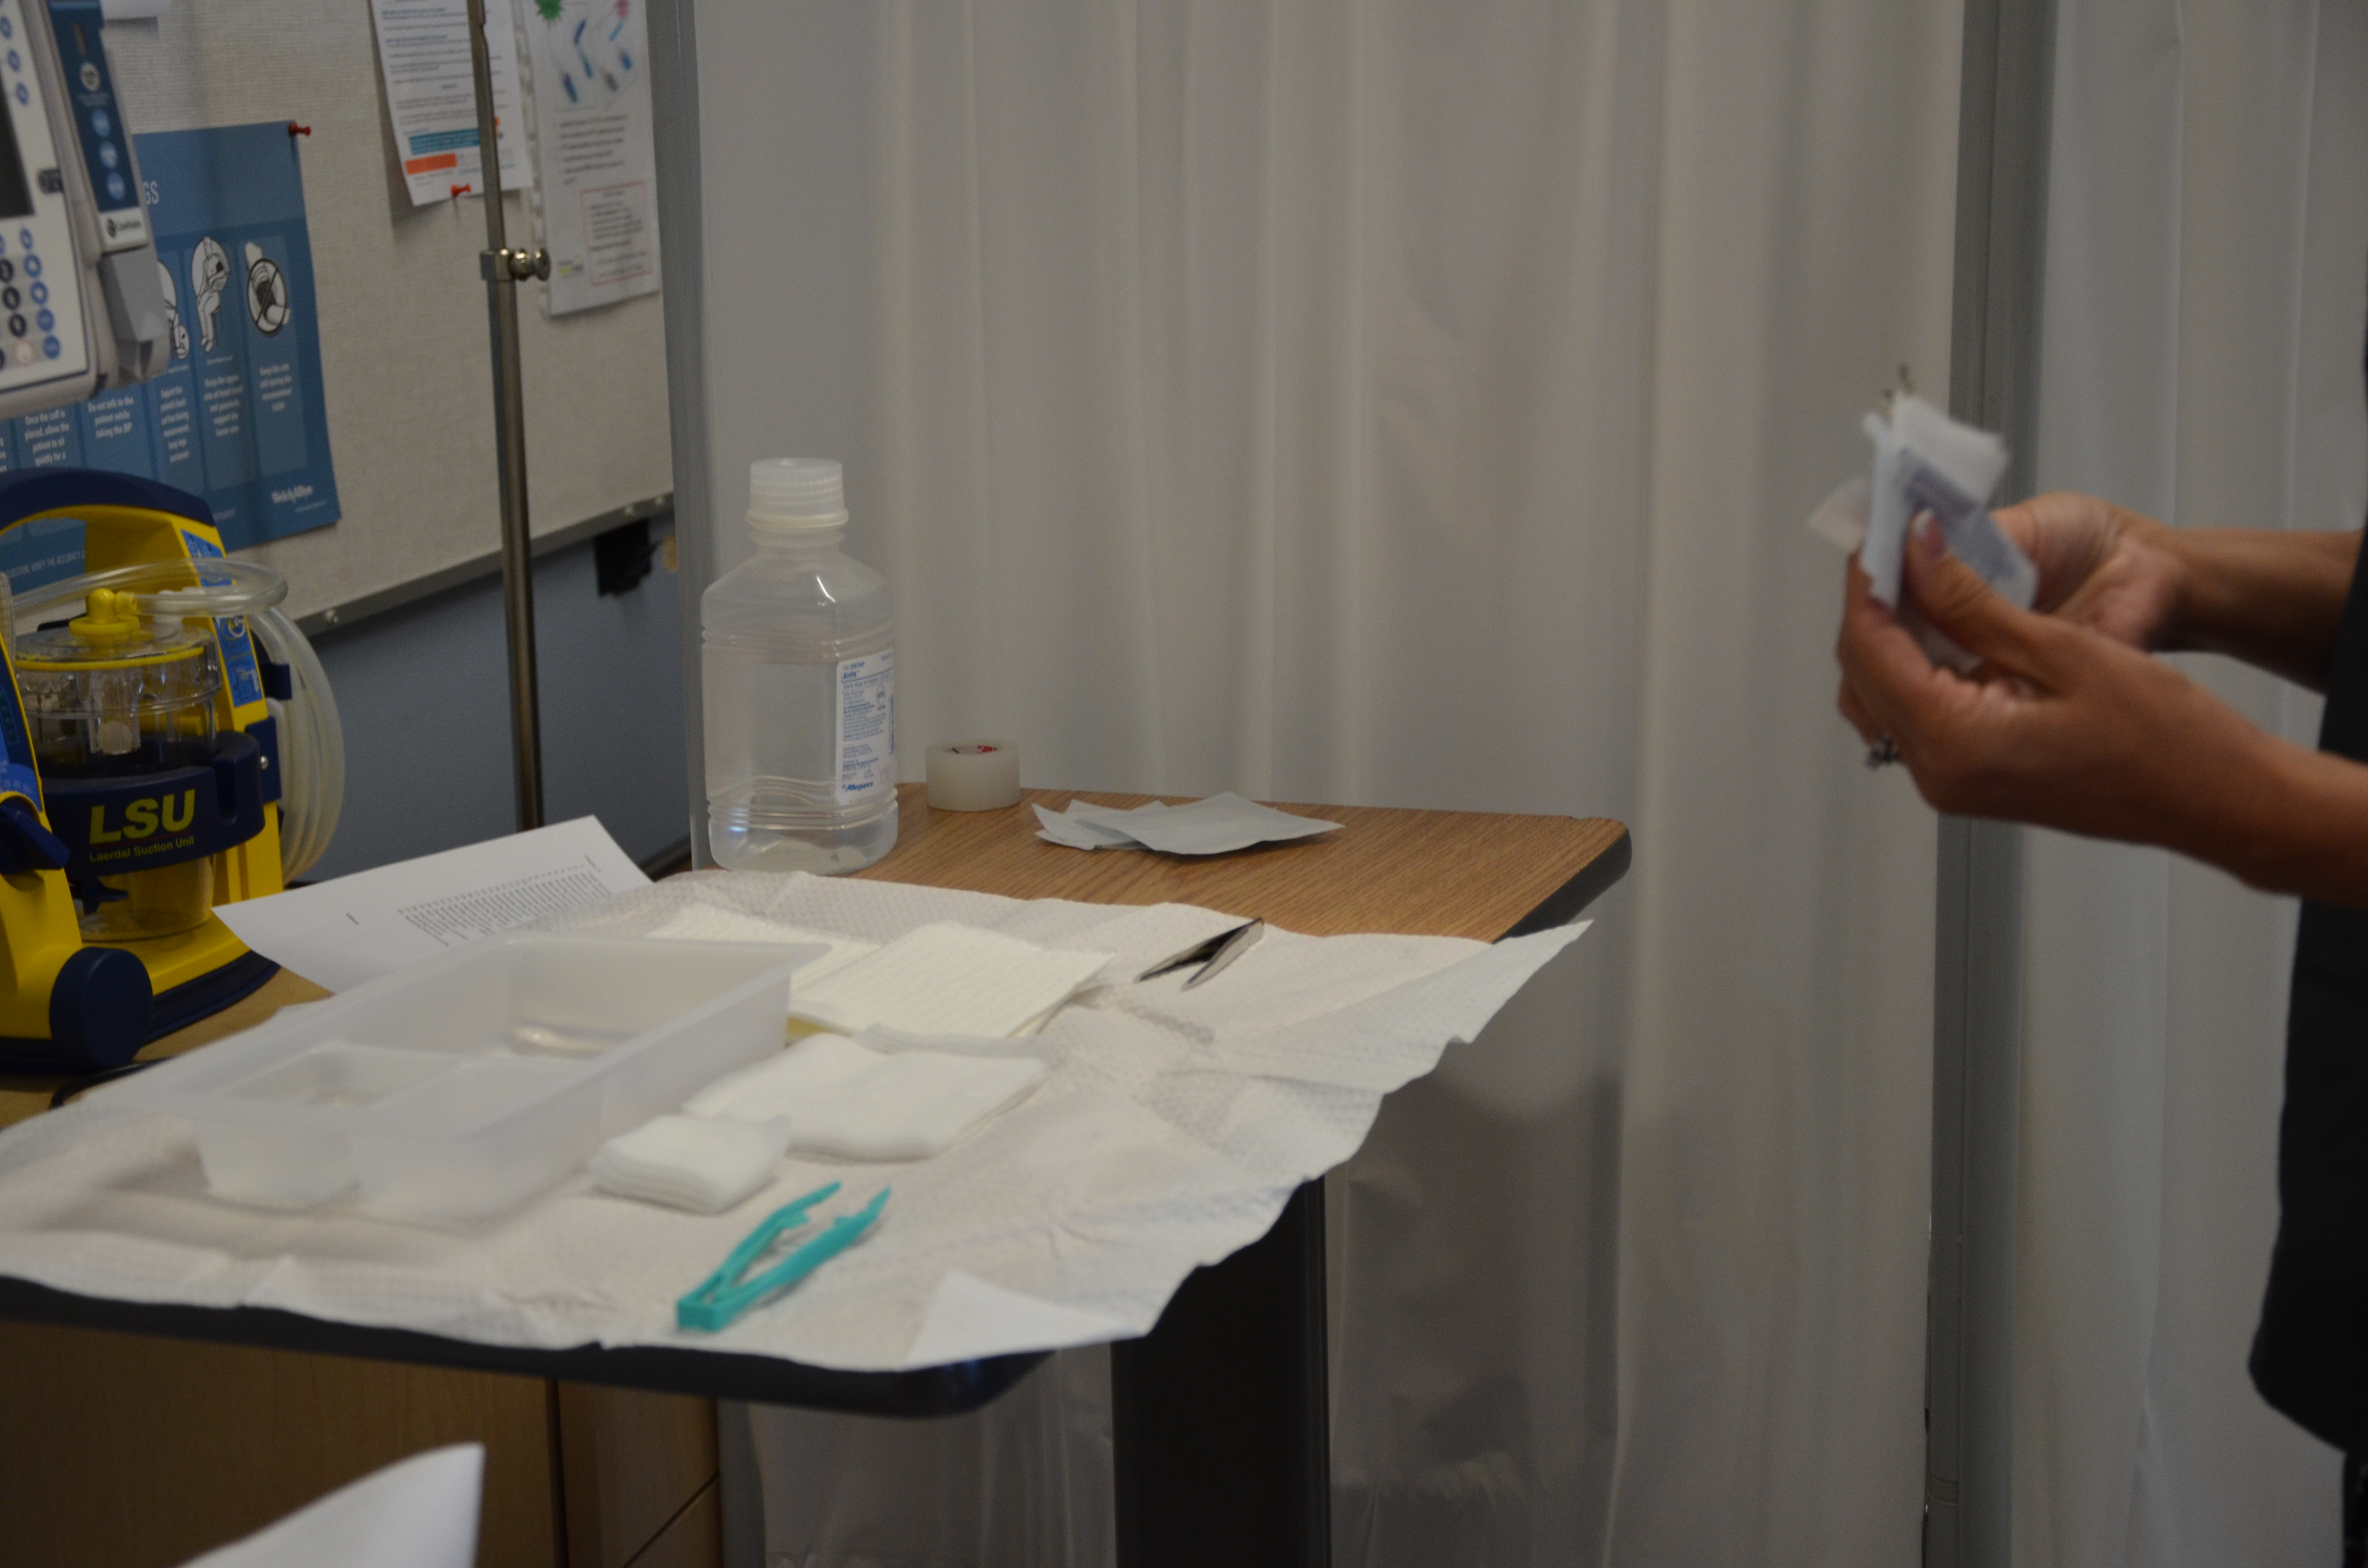
| 3. Gather necessary equipment and supplies. | Being organized will help with efficiency and expedite the procedure, minimizing the length of time the patient experiences discomfort. | ||
| 4. Prepare environment; position patient; adjust height of bed; turn on lights; and sanitize working surface. | This helps prepare patient and bedside for procedure. | ||
| 5. Perform hand hygiene. | Hand hygiene reduces the risk of infection.
 |
||
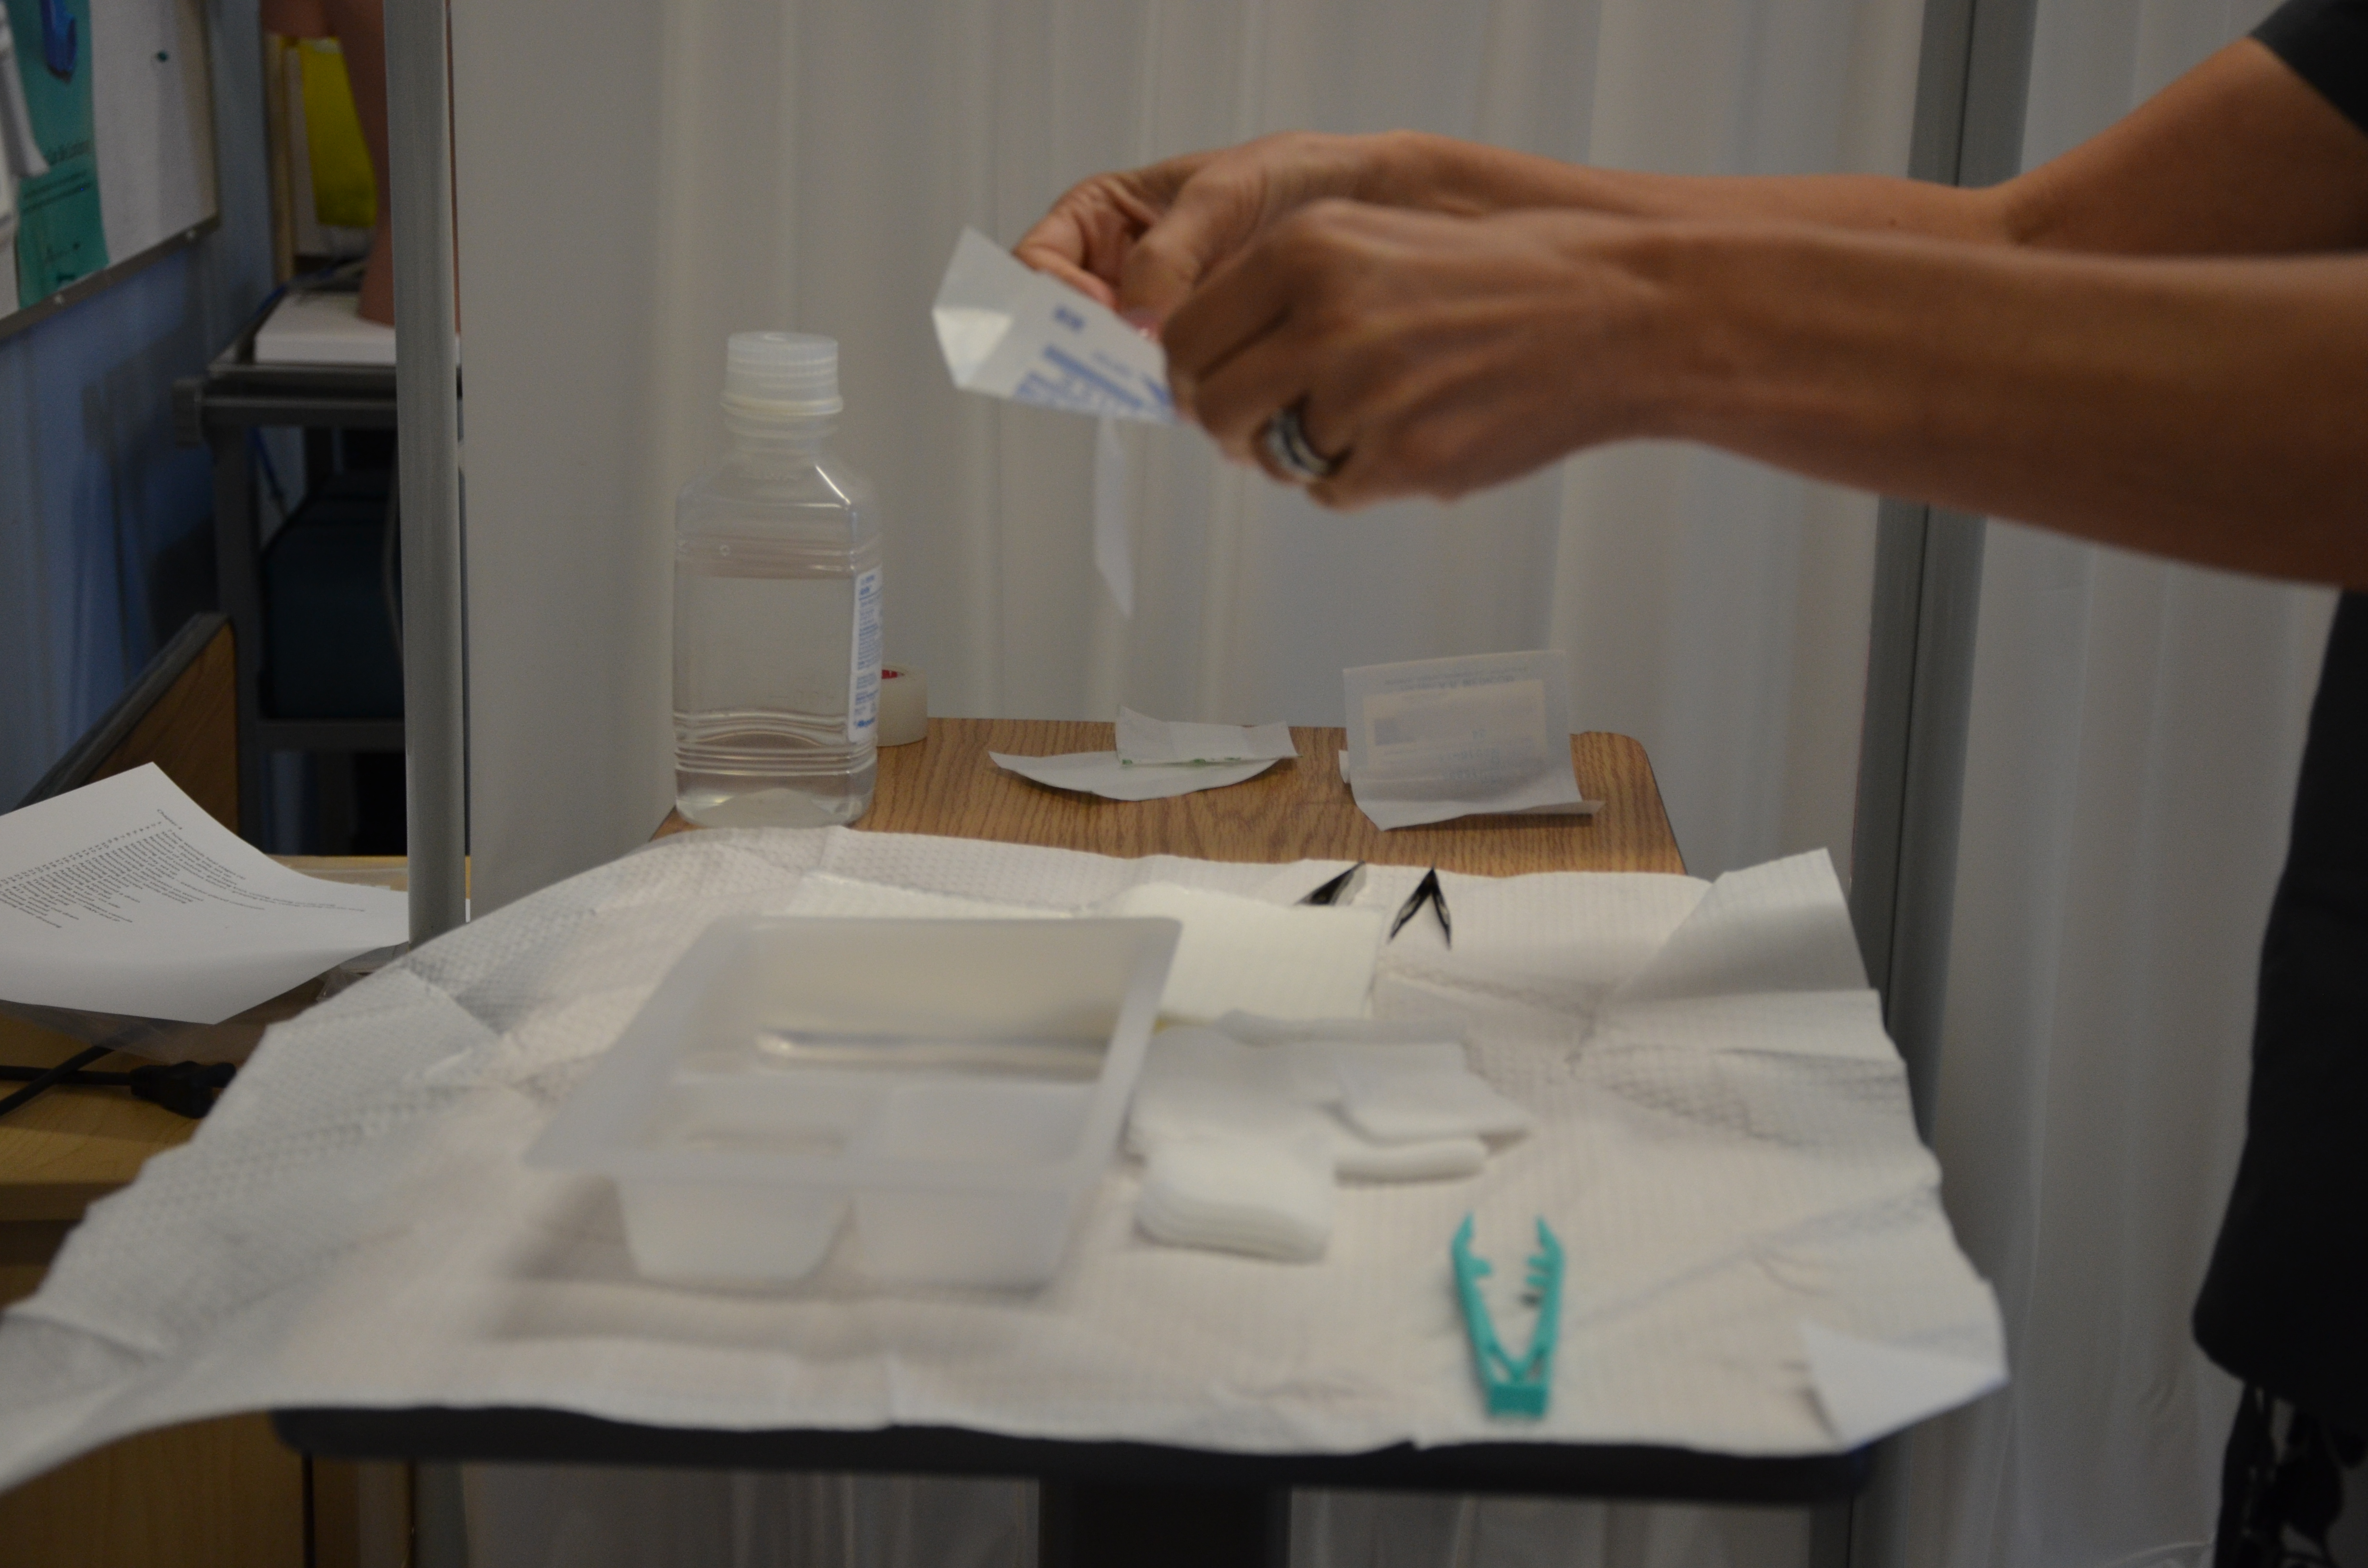
| 6. Decide if this is a clean or sterile procedure. If a clean procedure, use non-sterile gloves. If a sterile procedure, use sterile gloves and follow principles of asepsis.
Prepare field. |
 Whether this is a sterile or clean procedure, always reduce risk of transmitting microorganisms to patients |
||
| 7. Add necessary sterile supplies. If this is a sterile procedure, use sterile saline.
If you are irrigating the wound, you will need irrigation equipment (10 ml syringe and wound irrigation catheter). |
 |
||
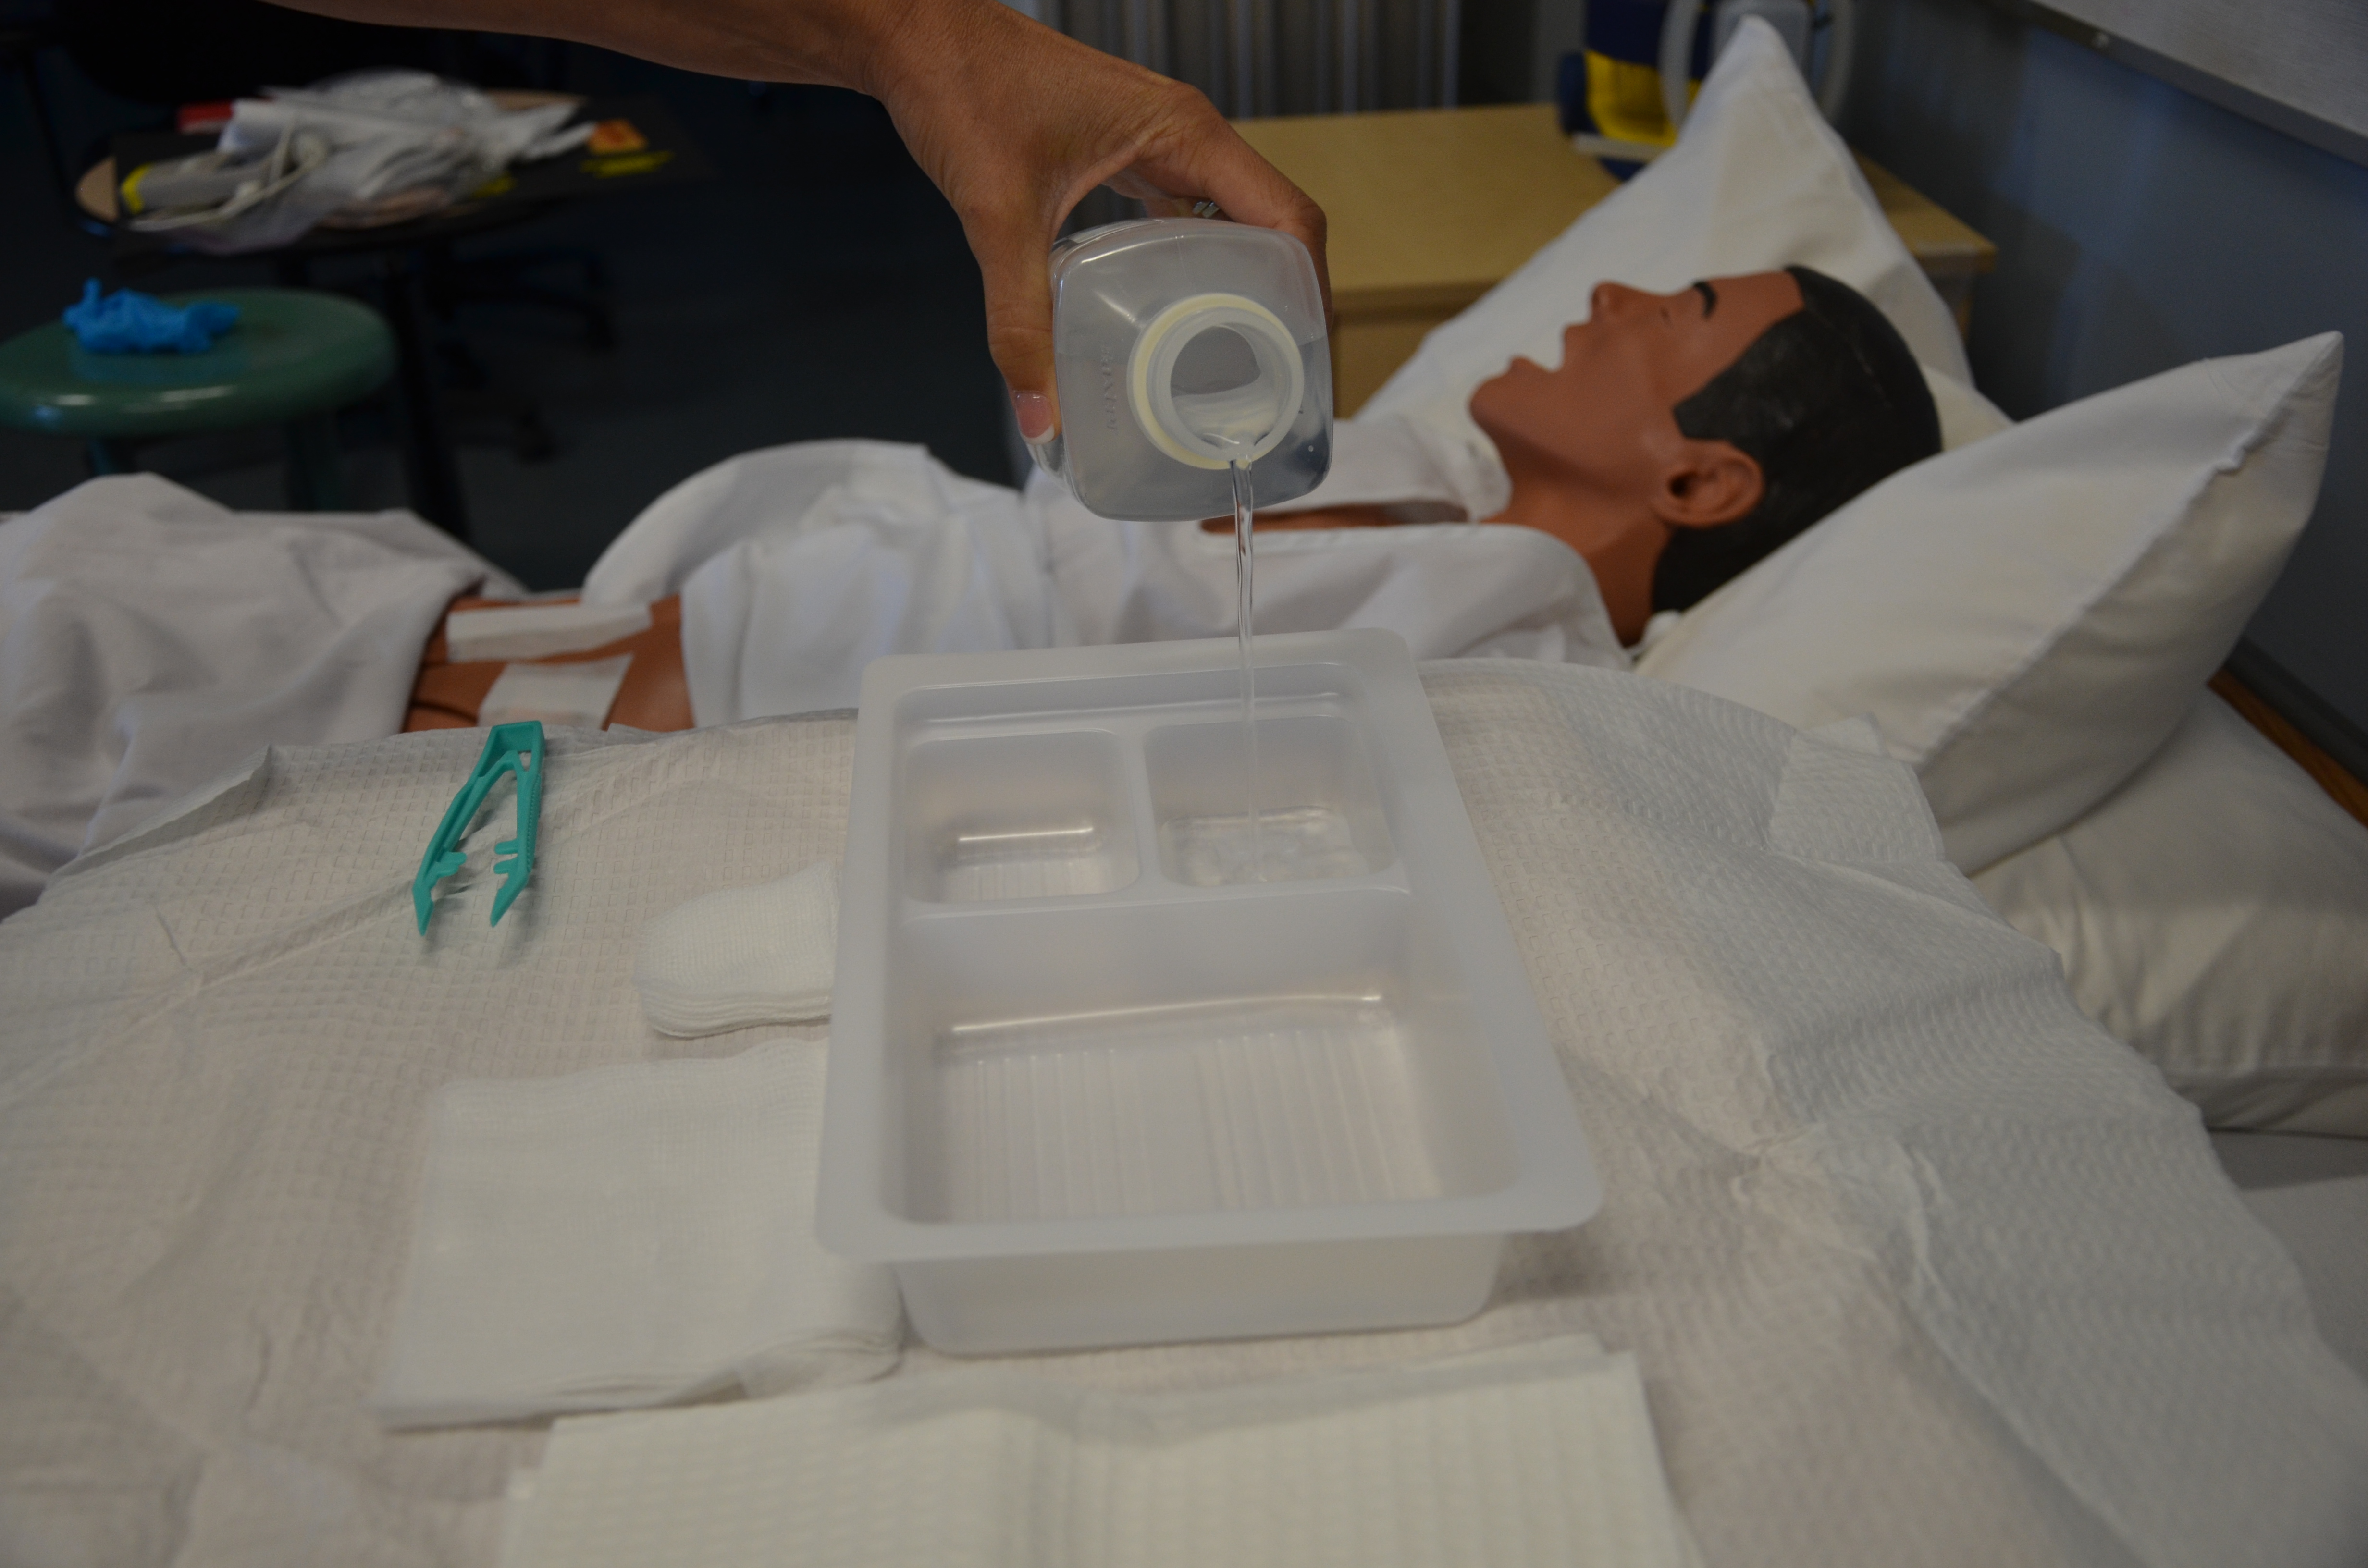
| 8. Pour cleansing solution into two separate compartments.
Place gauze and saline to be used for wound packing in its own compartment. |
 |
||
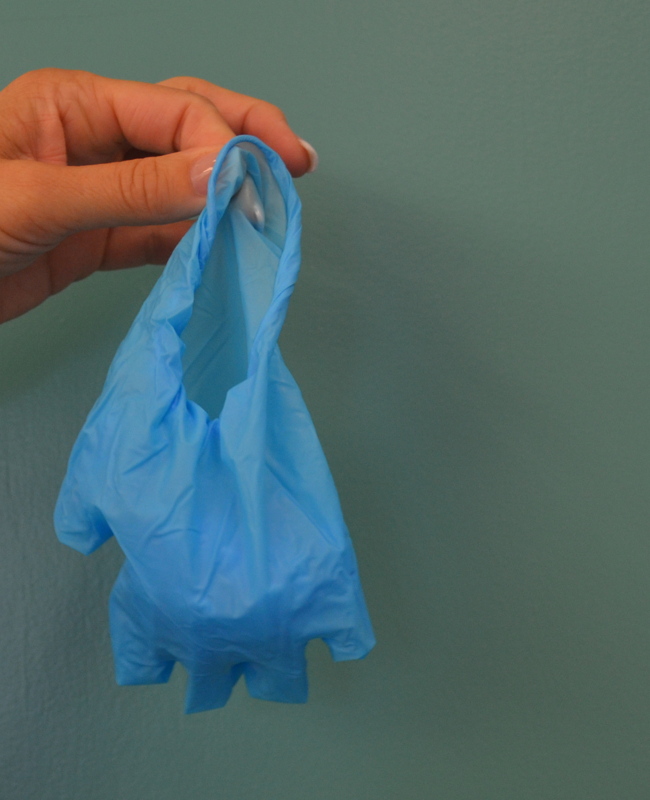
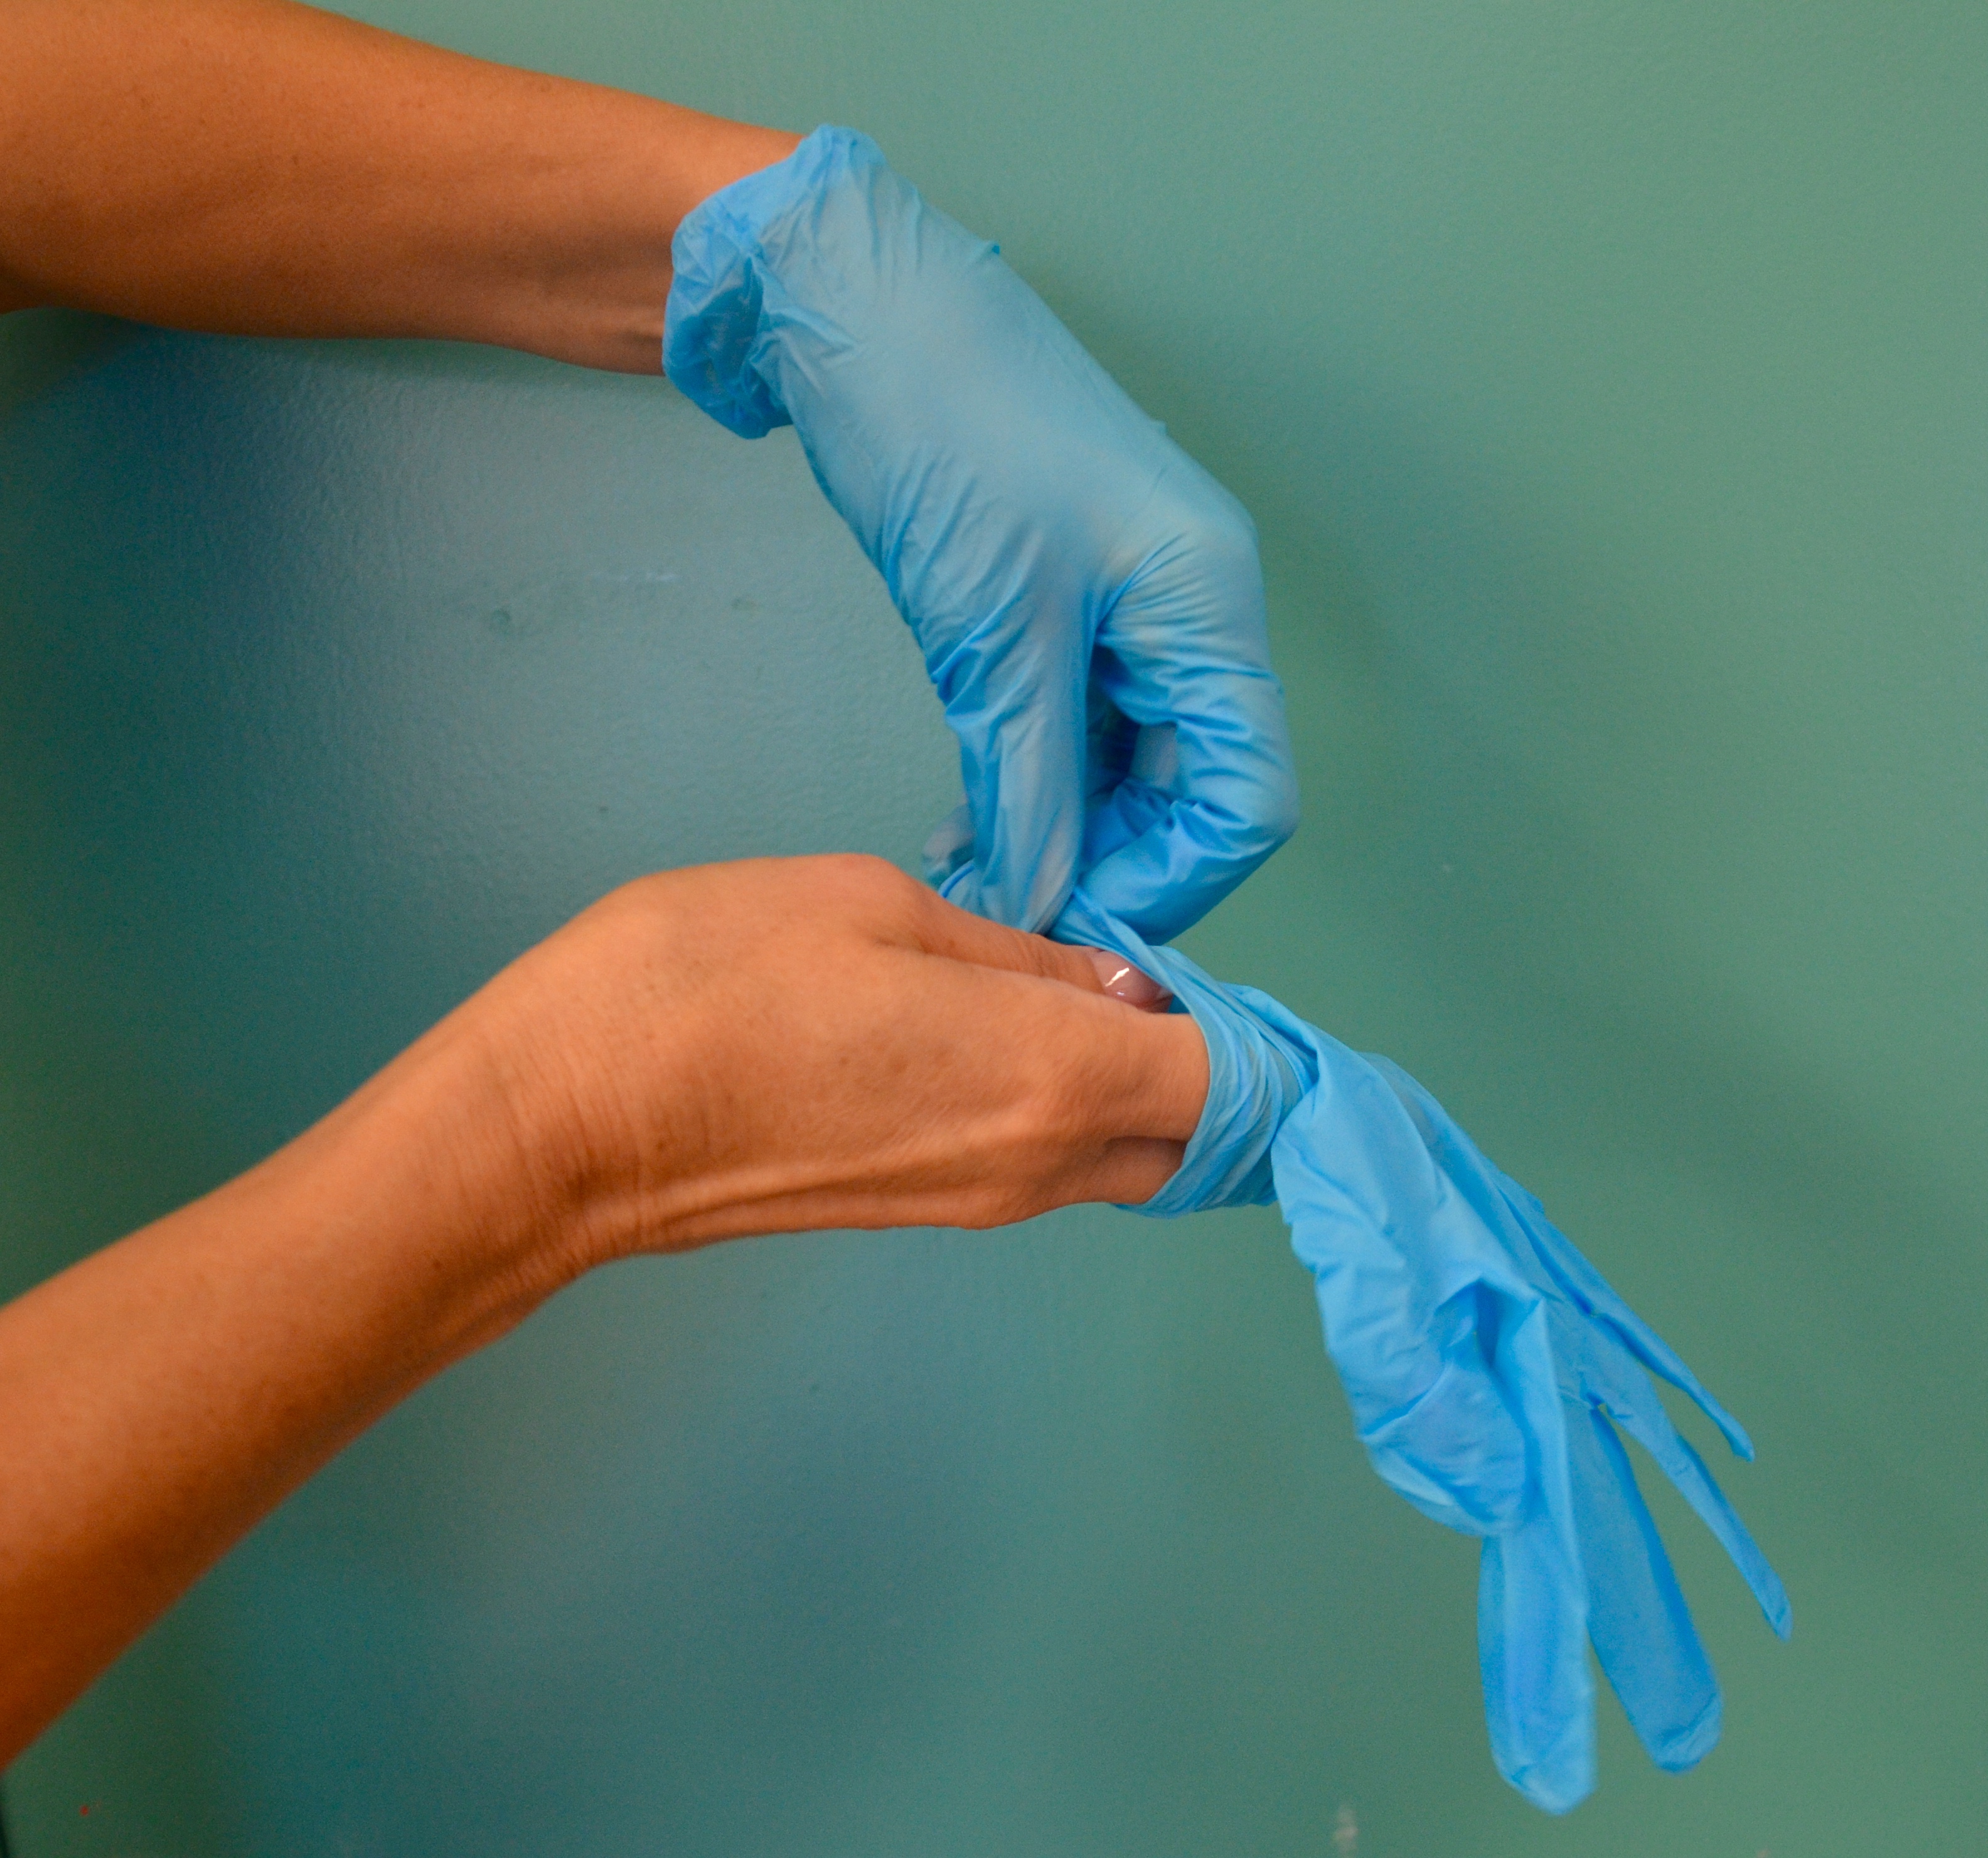
| 9. Apply non-sterile gloves. | This reduces the risk of contaminating your hands with the patient’s blood and other body fluids.
It also reduces the risk of germ transmission from you to the patient and vice versa, as well as from one patient to another. 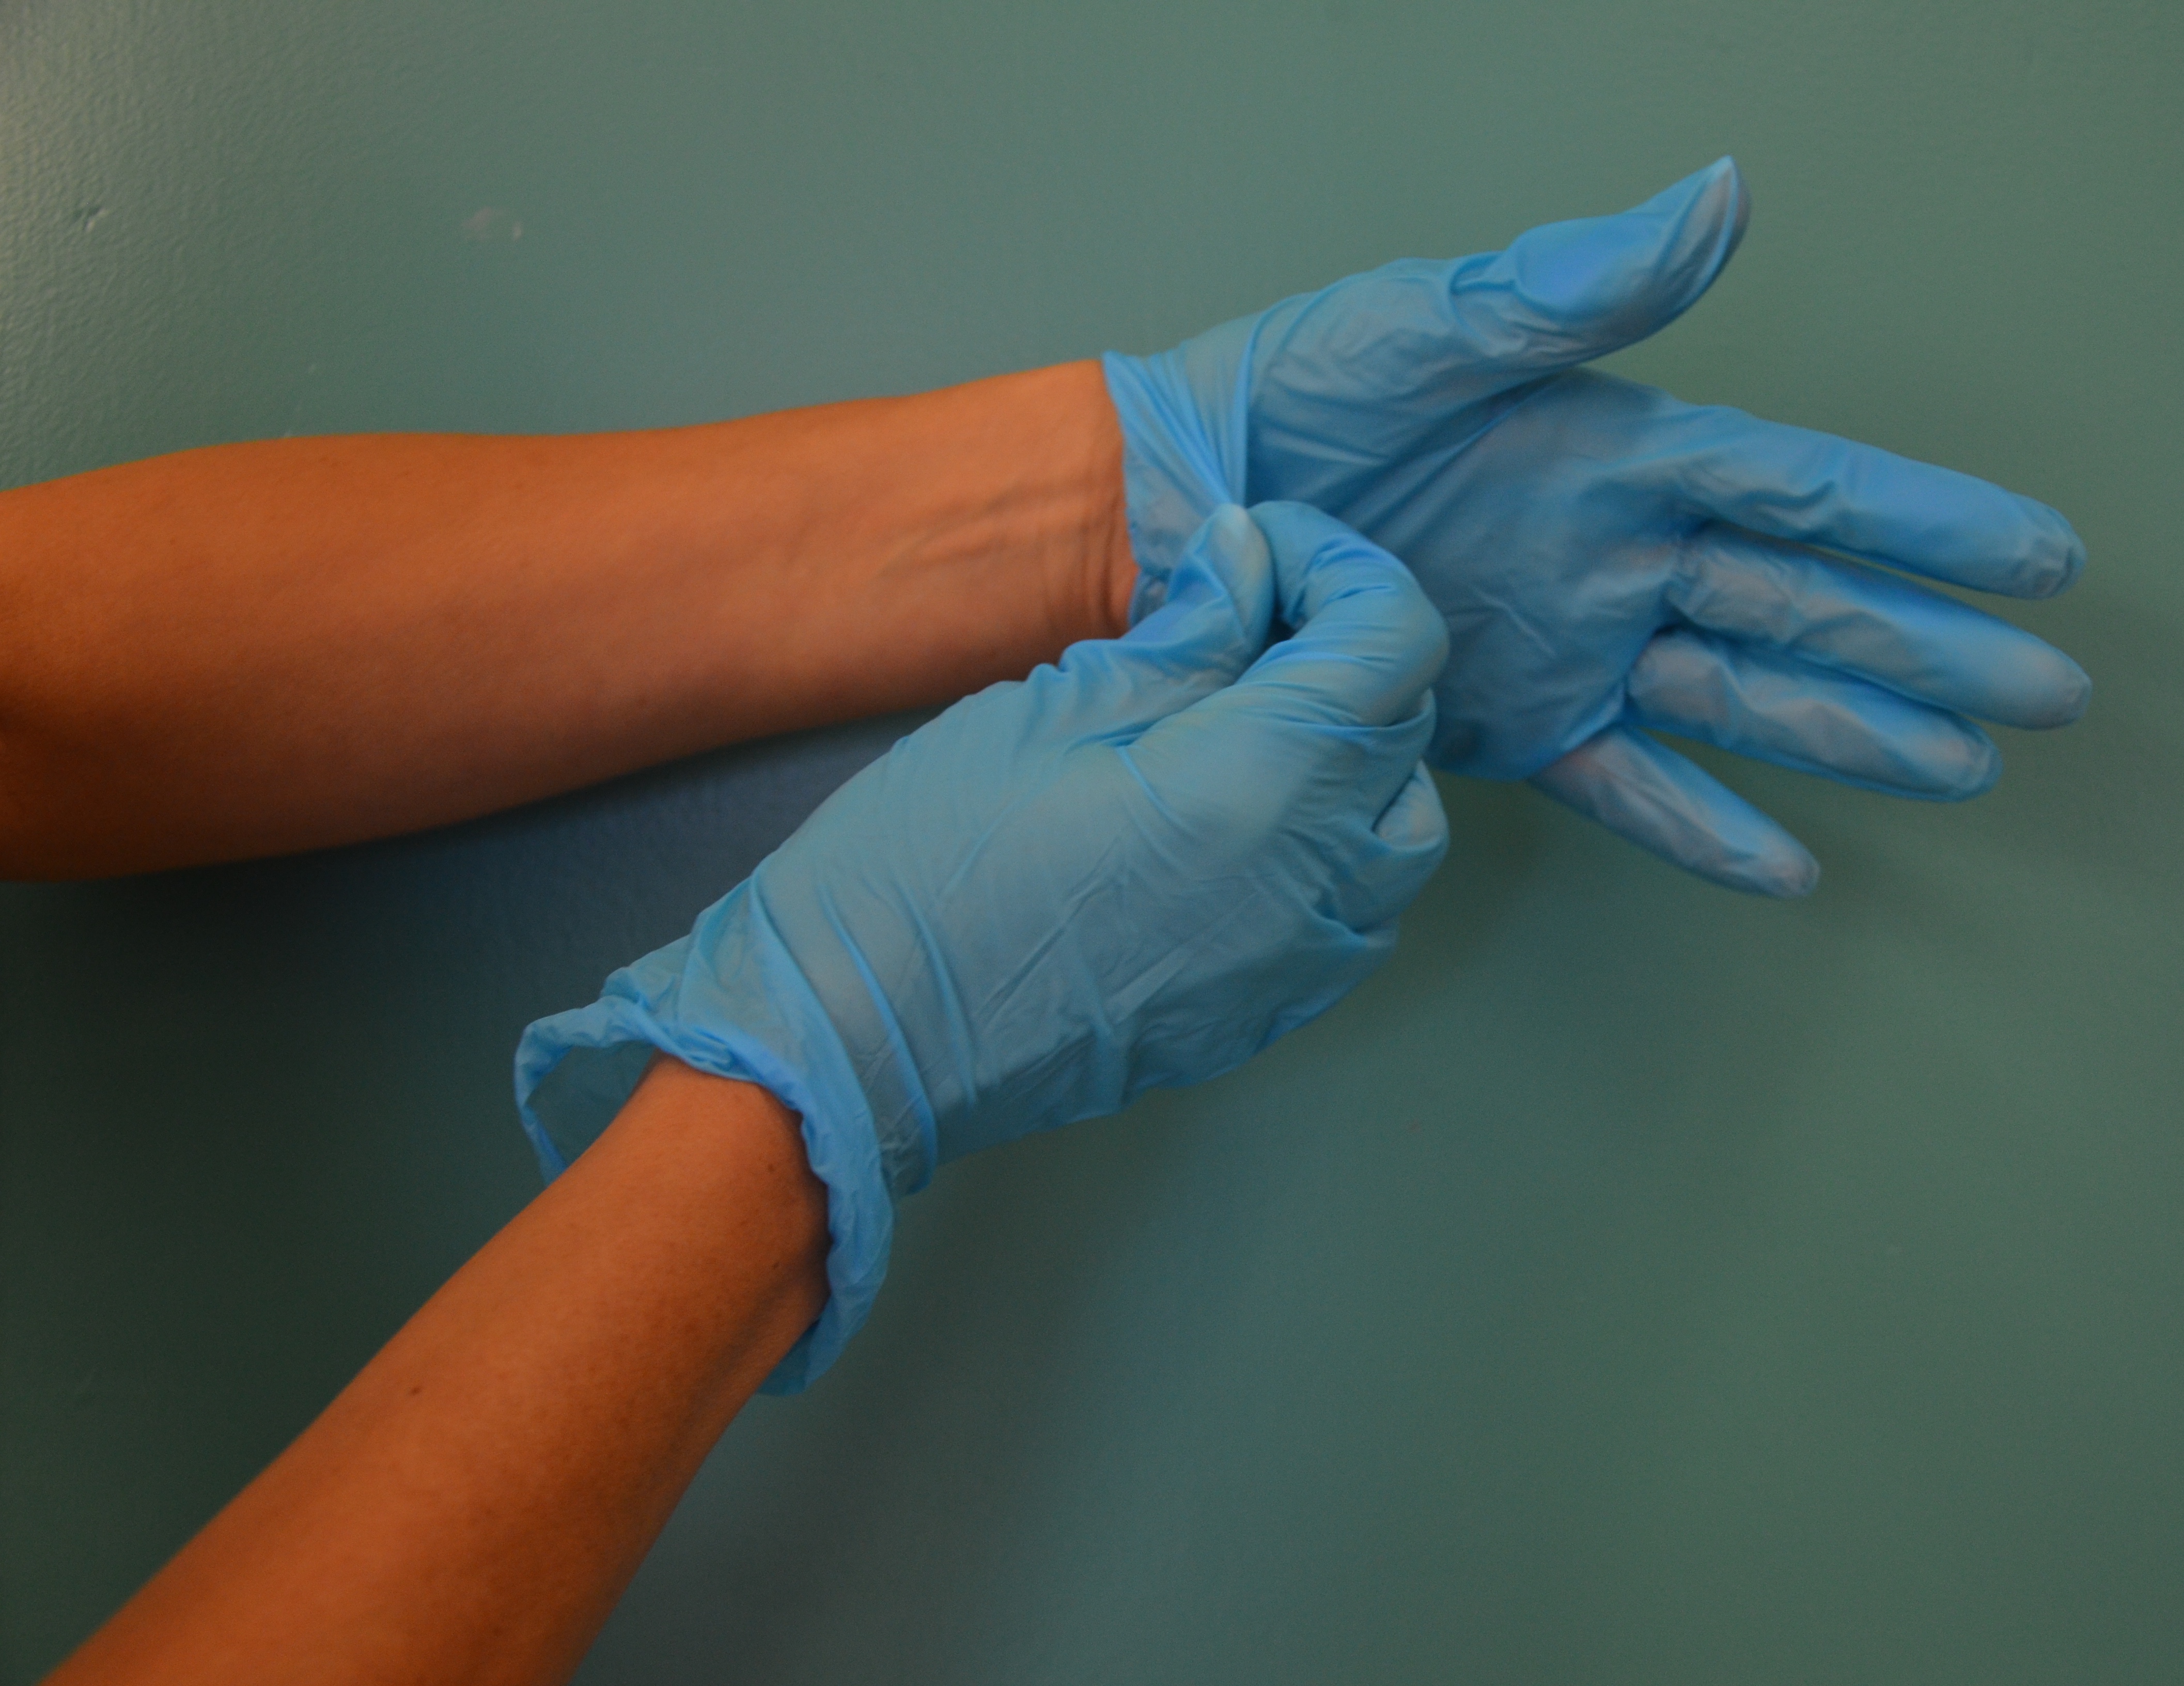 |
||
| 10. Remove outer dressing with non-sterile gloves. |
 |
||
| 11. Remove inner dressing with transfer forceps, and assess the old dressing and the wound. |
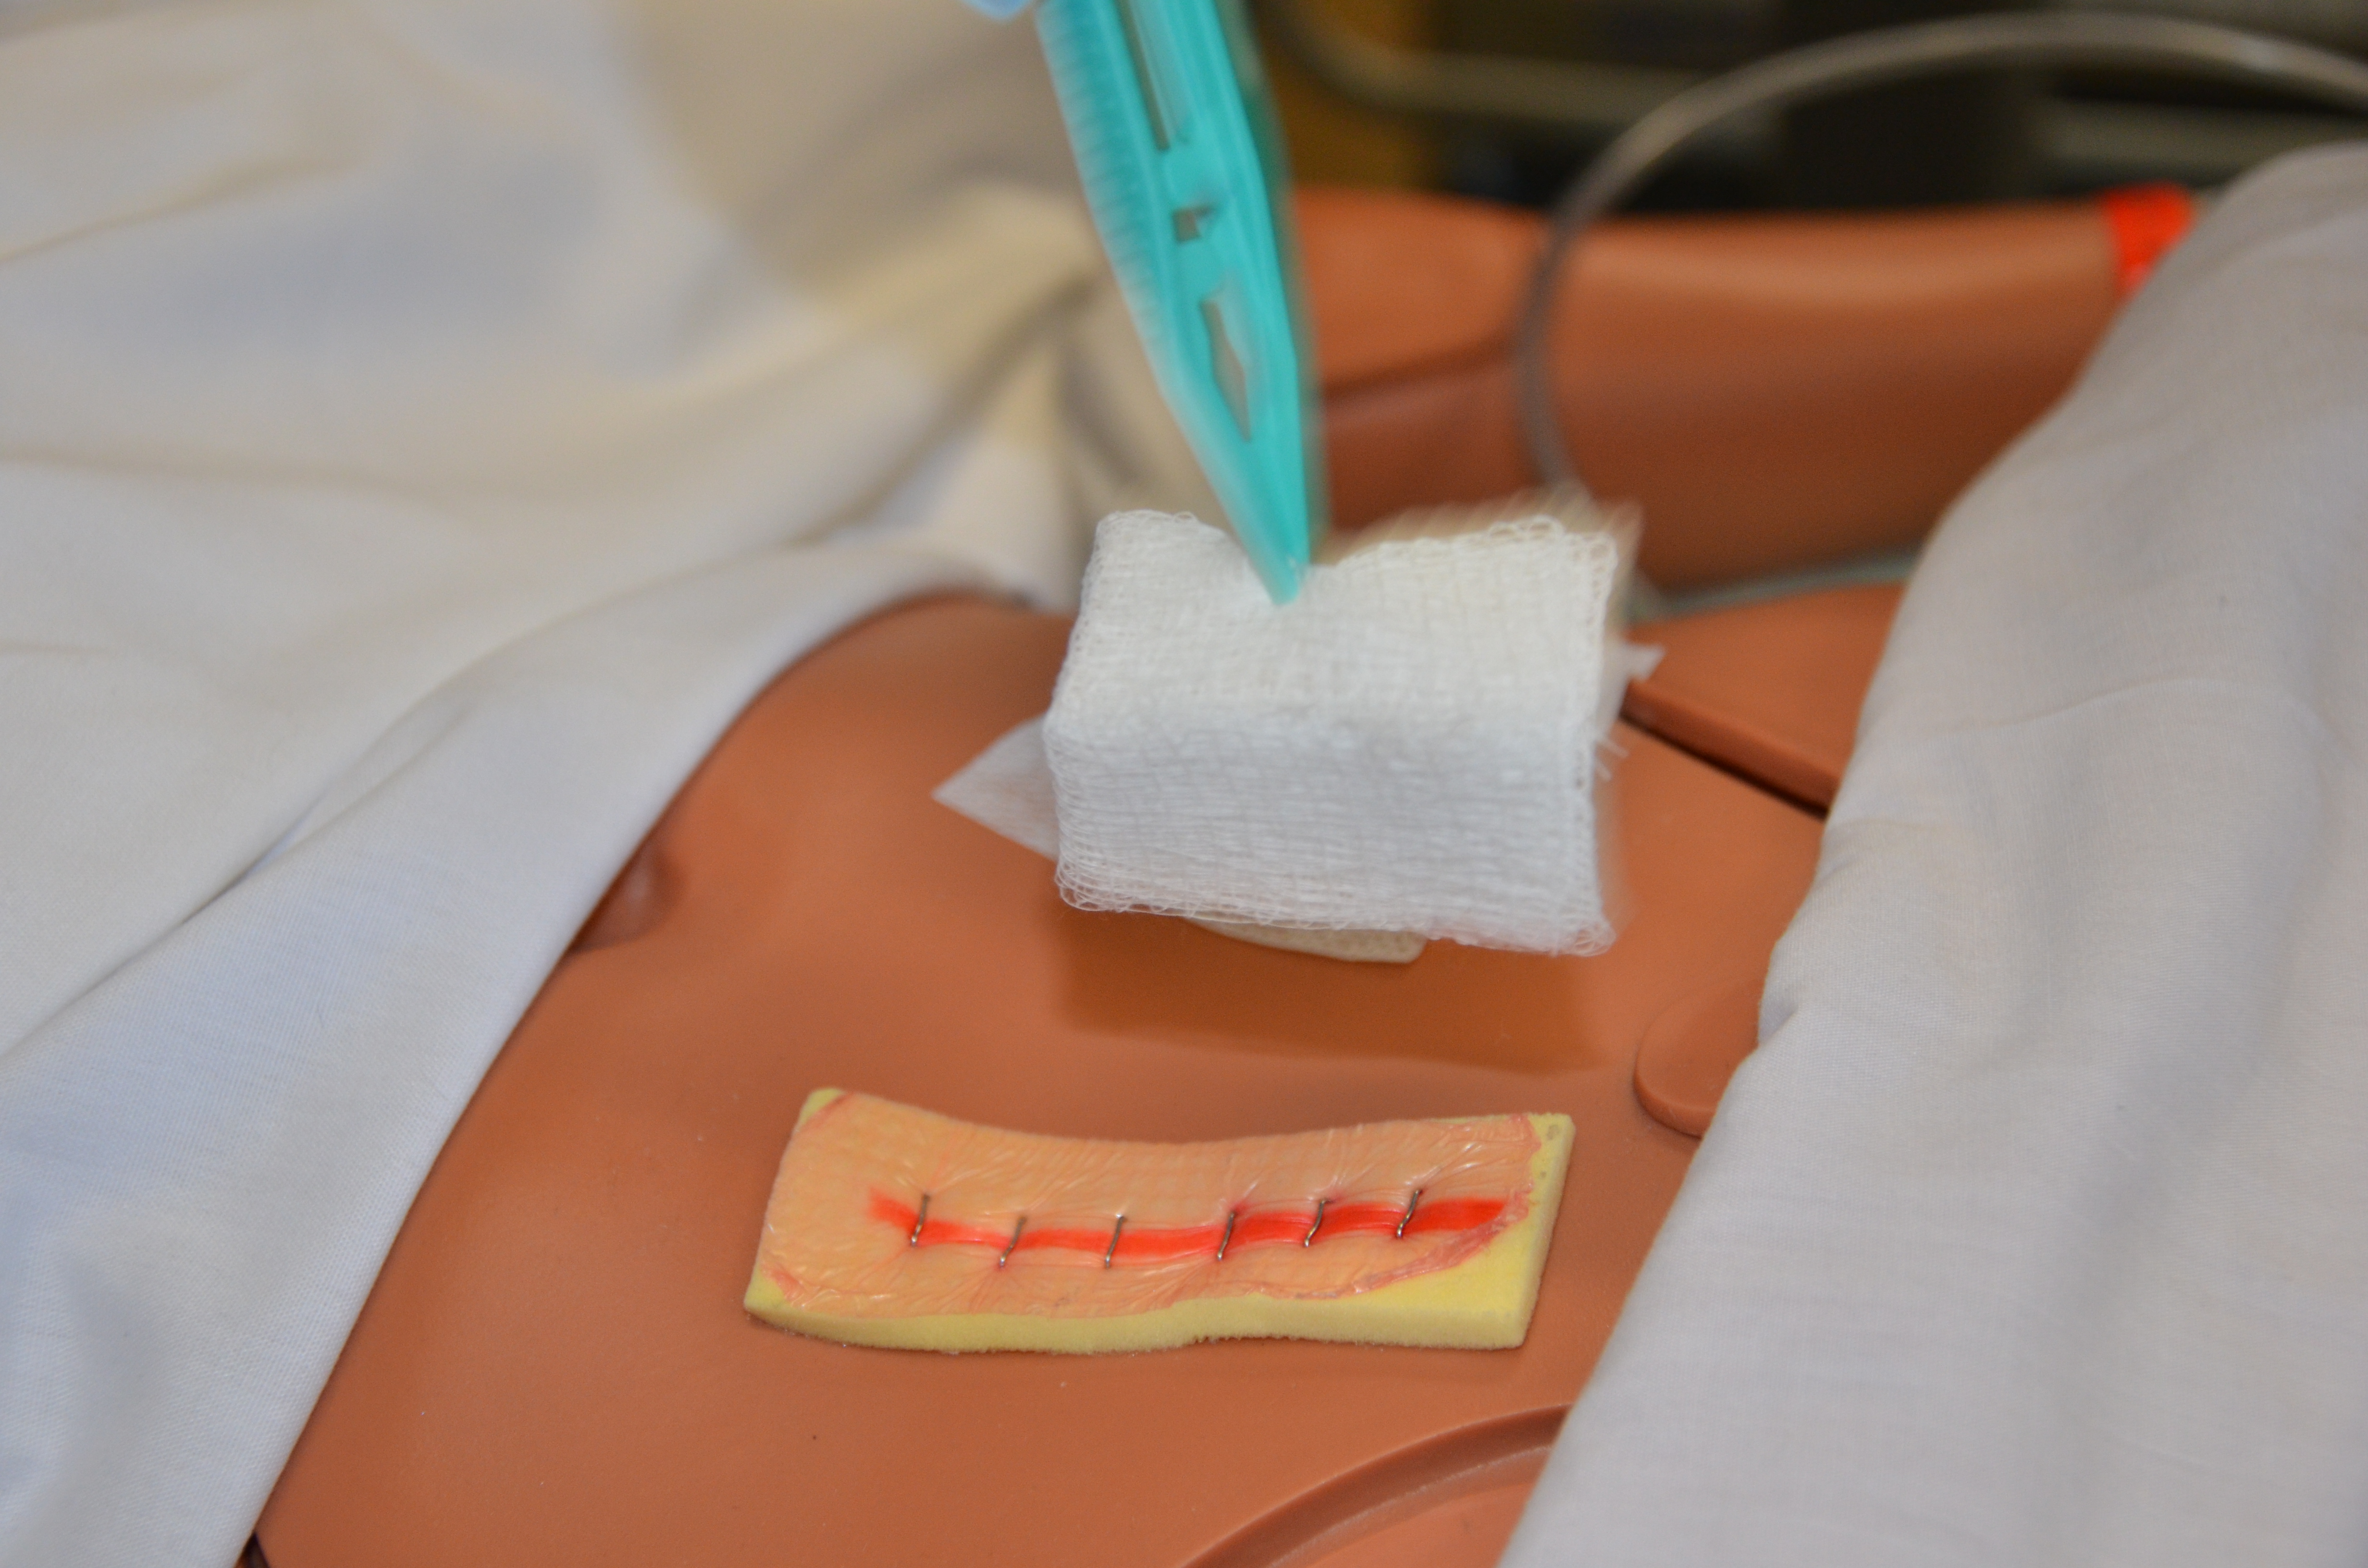 Inspect wound for evidence of healing or complications including the amount and type of drainage, odor, presence of staples / sutures, wound approximation, peri skin condition. |
||
| 12. Discard transfer forceps and non-sterile gloves. |
 |
||
| 13. Drape patient with underpad (optional). |
 |
||
| 14. Clean the peri-wound skin and clean the wound bed either by irrigating or with sterile gauze and saline. | Irrigating with 10 pounds per square inch (PSI) and/or wiping gently with sterile gauze helps to lift slough and clean the wound bed. | ||
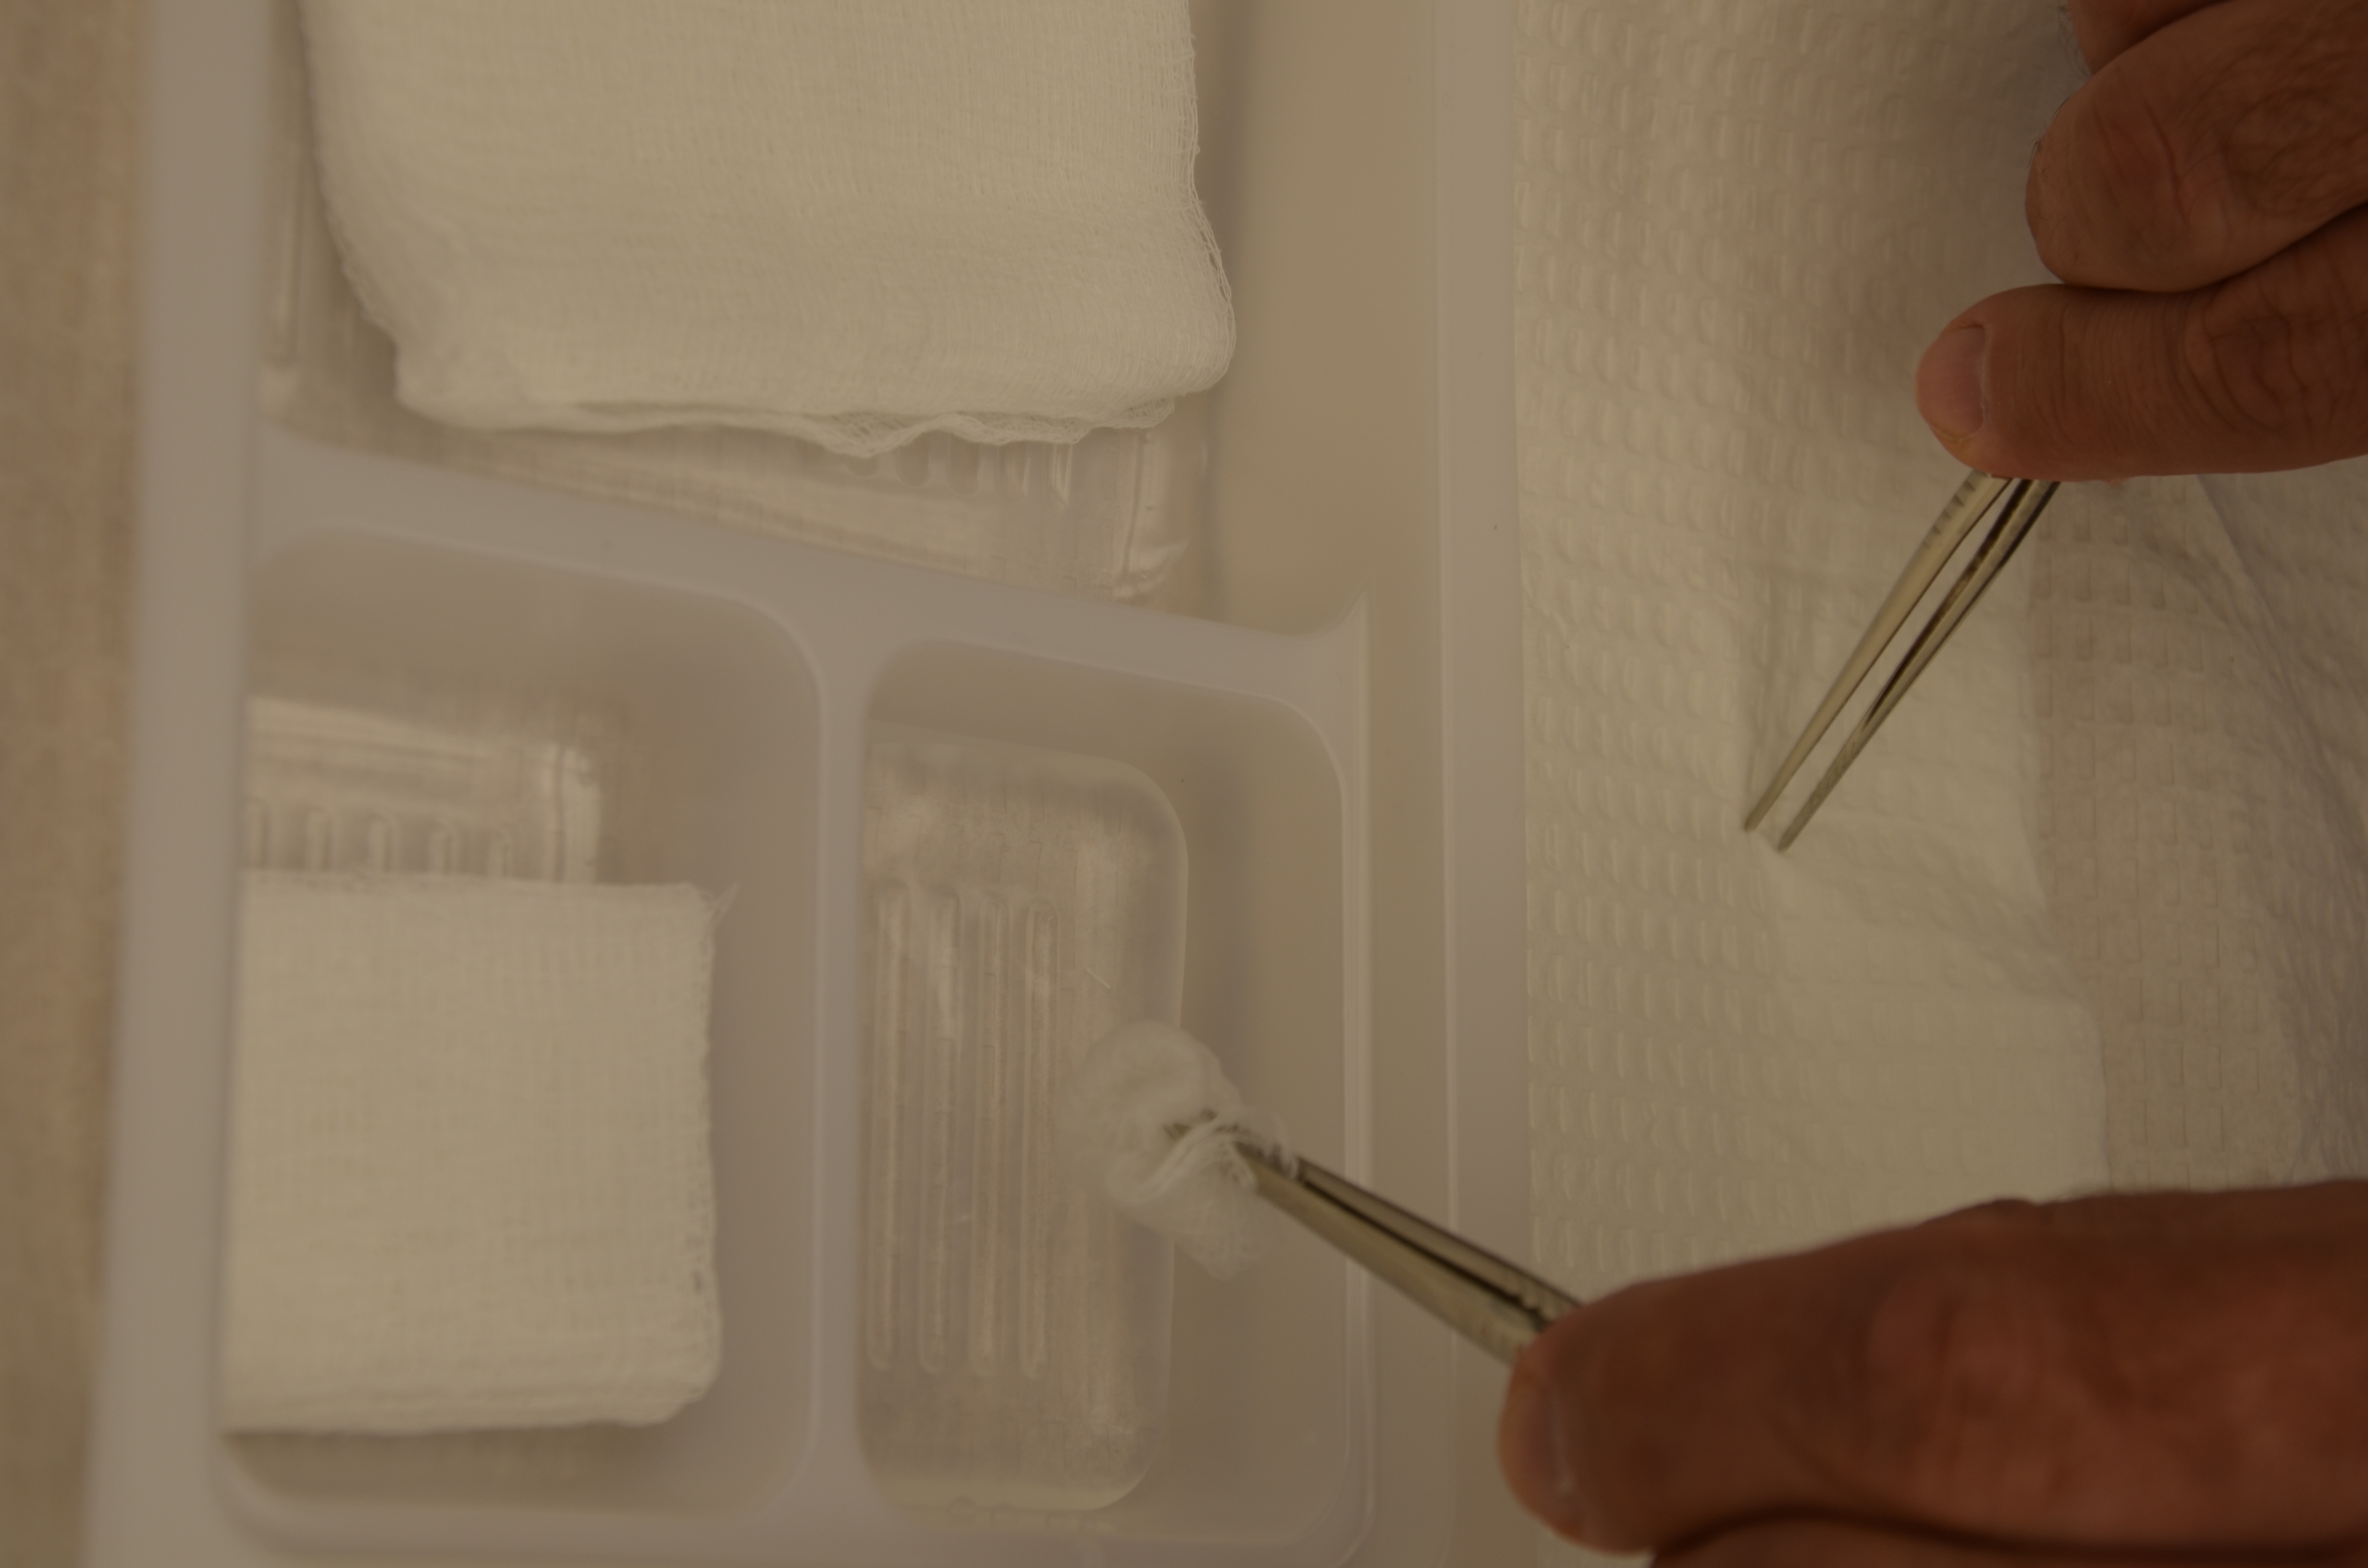
| 15. Apply sterile or clean gloves (depending if the nature of the wound calls for a clean or sterile procedure).
Wring-out excess solution from the gauze to be used for packing. “Not too wet and and not too dry … just like your eye” (author unknown) |
Use enough saline to saturate gauze. Too much moisture can cause the peri-wound skin to become macerated.
 |
||
| 16. Fluff up the moist gauze. Place into wound ensuring the wound bed is in contact with the moisture. Ensure gauze does not touch peri-wound skin. | Apply skin preparation to peri-wound skin if there is risk of skin breakdown.
|
||
| 17. Apply cover dressing. Secure with tape, stockinette, or kling. | Select a cover dressing that will help the gauze to remain moist until the next dressing change (i.e., one that won’t wick away all of the moisture and cause the gauze to dry out). | ||
| 18. Discard gloves according to agency policy, and perform hand hygiene. | Hand hygiene reduces the risk of infection.
 |
||
19. Next:
|
These steps ensure the patient’s continued safety. | ||
| 20. Document procedure and findings according to agency policy.
Report any unusual findings or concerns to the appropriate healthcare professional. |
Record dressing change: time, place of wound, wound characteristics, presence of staples or sutures, size, drainage type and amount, type of cleansing solution and dressing applied.
Sample charting: date / time. Right lateral ankle dressing changed. Large amount of sero purulent drainage. No odor. Wound approx 2 cm × 3 cm × 0.5 cm. Wound bed 90 % yellow slough 10% red. Irrigated with 30 ml normal saline. Packed with 4×4 gauze moist with saline. Covered with ABD pad and secured with stockinette. Peri-wound skin intact. Tolerated well. —————T Rex RN |
||
| Data sources: Perry et al., 2018; WHO, 2009 | |||
Wound Irrigation and Packing
Wound irrigation and packing refer to the application of fluid to a wound to remove exudate, slough, necrotic debris, bacterial contaminants, and dressing residue without adversely impacting cellular activity vital to the wound healing process (British Columbia Provincial Nursing Skin and Wound Committee, 2014, 2017).
Any wound that has a cavity, undermining, sinus, or a tract will require irrigation and packing. Open wounds require a specific environment for optimal healing from secondary intention. The purpose of irrigating and packing a wound is to remove debris and exudate from the wound, and encourage the growth of granulation tissue to prevent premature closure and abscess formation (Saskatoon Health Region, 2013). Depending on the severity of the wound, it can take weeks to months or years to complete the healing process. Packing should only be done by a trained healthcare professional and according to agency guidelines.
Contraindications to packing a wound include a fistula tract, a wound with an unknown endpoint to tunneling, a wound sinus tract or tunnel where irrigation solution cannot be retrieved, or a non-healing wound that requires a dry environment (Saskatoon Health Region, 2013).
The type of packing for the wound is based on a wound assessment, goal for the wound, and wound care management objectives. The packing material should fill the dead space and conform to the cavity to the base and sides. It is important to not over-pack or under-pack the wound. If the wound is over-packed, there may be excessive pressure placed on the tissue causing pain, impaired blood flow, and, potentially, tissue damage. If the wound is under-packed and the packing material is not touching the base and the sides of the cavity, undermining, sinus tract, or tunnel, there is a risk of the edges rolling and abscess formation (British Columbia Provincial Nursing Skin and Wound Committee, 2014).
The gauze used to pack a wound may be soaked with normal saline, ointment, or hydrogel, depending on the needs of the wound. Other types of packing material include gauze impregnated with polyhexaamethylene biguanide (PHMB), iodine (povidone and cadexomer), ribbon dressing, hydro-fiber dressing, alginate antimicrobial dressing, and a negative pressure foam or gauze dressing. Table 4.7 lists some wound care products and indications for each. If using ribbon gauze from a multi-use container, ensure each patient has their own container to avoid cross-contamination (British Columbia Provincial Nursing Skin and Wound Committee, 2014).
Additional guidelines to irrigating and packing a wound are listed in Table 4.8.
Wound Care Products
Table 4.7 Wound Care Products |
|
Type |
Indications |
| Non-adherent contact layer (i.e., Telfa, silicone, petroleum-based woven dressings) | Allows the wound to drain with minimal disruption to the wound bed when the dressing is removed. Requires an outer dressing. |
| Hydrocolloid |
|
| Hydrogel |
|
| Calcium alginates |
|
| Foams |
|
| Charcoal |
|
| Anti-microbials |
|
| Negative Pressure Wound Therapy (NPWT) |
|
| BHMB |
|
| Silver impregnated gauze / foams |
|
| Combination products |
|
| Data sources: Alavi et al., 2015; Eberlein & Assadian, 2010; Kerr et al., 2014; Munteanu et al, 2016; Wiegand et al., 2015 | |
Table 4.8 General Guidelines for Irrigating and Packing a Complicated Wound |
|||
Guideline |
Additional Information |
||
| Aseptic technique | Sterile technique or no-touch technique may be used for irrigating and packing a wound. The use of a specific technique is based on agency policy, condition of the client, heal-ability of the wound, invasiveness, and goal of the wound care. Sterile technique or no-touch technique must be used in all acute care settings. Clean technique may be used for chronic wounds in long-term-care and home settings. | ||
| Type of solution for irrigation | The most common solution used is normal saline at room temperature, unless otherwise ordered. Check prescriber’s / wound care specialist’s orders.
Non-potable water should never be used for cleansing of post operative wounds. Boiled and cooled water is an acceptable alternative (Johanna Briggs Institute, 2006, as cited in Harris et al., 2018) |
||
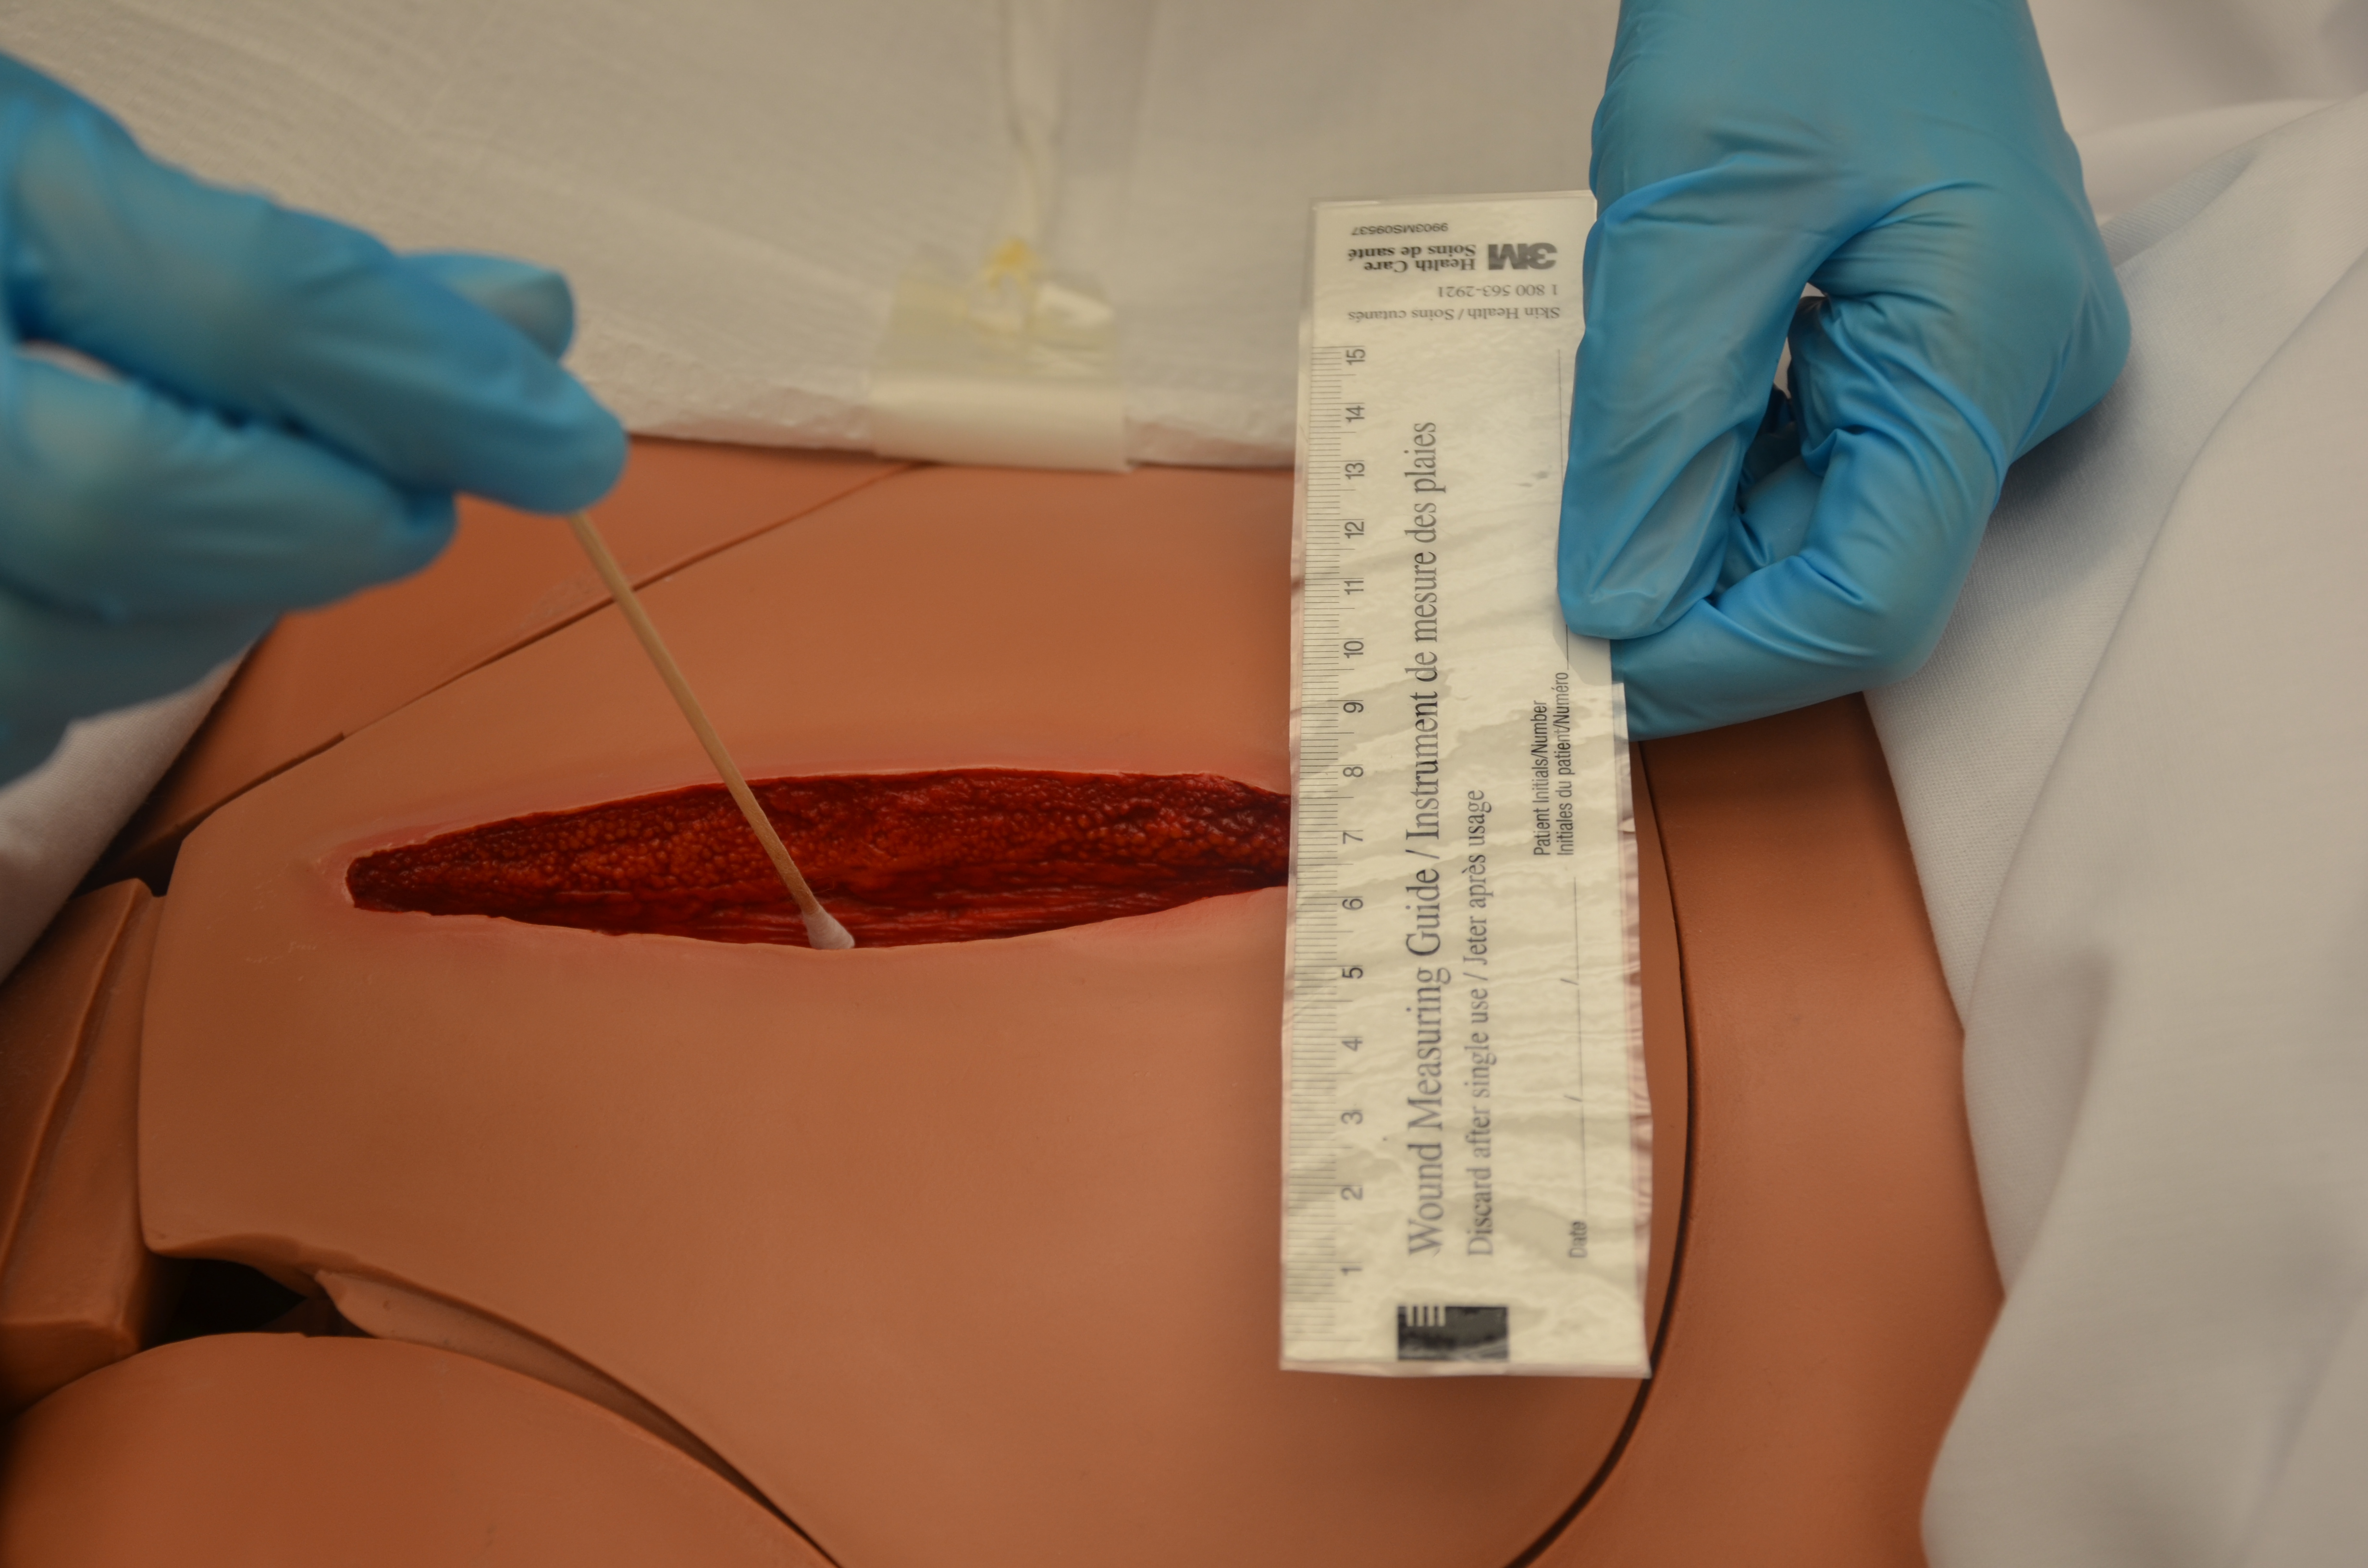
| Wound irrigation | The wound is irrigated each time the dressing is changed. See specific wound guidelines about volume used to irrigate. The volume of irrigation solution is dependent on the size of wound and amount of exudate. Usually “irrigate until clear.” The majority of irrigation fluid should be recovered. If not, stop and consult the prescriber or wound care specialist. Begin irrigation at one part of the wound and move methodically looking for tunnels whilst irrigating. Note the placement of the tunnel (using a clock face i.e. 12 o’clock) and note the depth of each tunnel. | ||
| Irrigation pressure | The pressure of irrigating must be strong enough to remove debris but not damage the new tissue. Generally, a 35 ml syringe with a 19 gauge blunt tip will provide sufficient PSI for irrigation. | ||
| Wound assessment | Wound assessment must be done with each dressing change to ensure the product is adequately meeting the needs of the wound. | ||
| Swabbing the wound | Swab for culture, if required. Always swab a wound after irrigation. See agency protocols for how to obtain a wound C&S. | ||
| Packing material | Packing material must be removed with each dressing change. Only one piece of gauze or dressing material should be used in wounds with sinus tracts or tunneling to avoid the risk of retaining dressing/packing material. If there is a concern that packing is retained in the wound, contact the wound specialist or physician for follow-up.
Always leave a “tail” of the packing strip outside the wound. If more than one piece of packing is used, leave the tails outside the wound by securing the tails to the skin with a piece of Steri-Strip if needed. |
||
| Documentation | Wound assessment and dressing change must be documented each time. Each wound requires a separate wound care sheet. Type and quantity of packing material (length or pieces), along with the number of inner and outer dressings should be recorded as per agency policy. For any cavity, undermining, sinus tract, or tunnel with a depth greater than 1 cm (> 1 cm), count and document the number of packing pieces removed from the wound, and the number of packing pieces inserted into the wound. | ||
| Communication | A copy of the most recent wound care assessment and dressing change should be sent with patient upon transfer to another healthcare facility. | ||
| Use of sterile gloves for packing | Sterile gloves may be used if packing a large or complex wound. | ||
| Data sources: British Columbia Provincial Nursing Skin and Wound Committee, 2014; Harris, 2017; Saskatoon Health Region, 2013 | |||
The healthcare professional chooses the method of cleansing (a squeezable sterile normal saline container or a 10 to 60 cc syringe with a wound irrigation tip catheter) and the type of wound cleansing solution to be used based on the presence of undermining, sinus tracts or tunnels, necrotic slough, and local wound infection.
Agency policy will determine the wound cleansing solution, and/or product to be used to impregnate the gauze to be packed into the wound. Generally sterile normal saline and sterile water are the solutions of choice. Warmed solutions may increase patient comfort (Harris et al., 2018)
Undermining, sinuses, and tunnels can only be irrigated when there is a known endpoint. Do not irrigate undermining, sinuses, or tunnels that extend beyond 15 cm unless directed by a physician or nurse practitioner (NP). If fluid is instilled into a sinus, tunnel, or undermined area and cannot be removed from the area, stop irrigating and refer to a wound specialist, physician, or NP.
Checklist 37 outlines the steps for irrigating and packing a wound.
Checklist 37: Wound Irrigation and PackingDisclaimer: Always review and follow your agency policy regarding this specific skill. |
|||
Safety considerations:
|
|||
Steps |
Additional Information |
||
| 1. Review order for wound care. | Confirm that prescriber’s orders are appropriate to wound assessment. | ||
| 2. Perform hand hygiene. | Hand hygiene reduces the risk of infection.
|
||
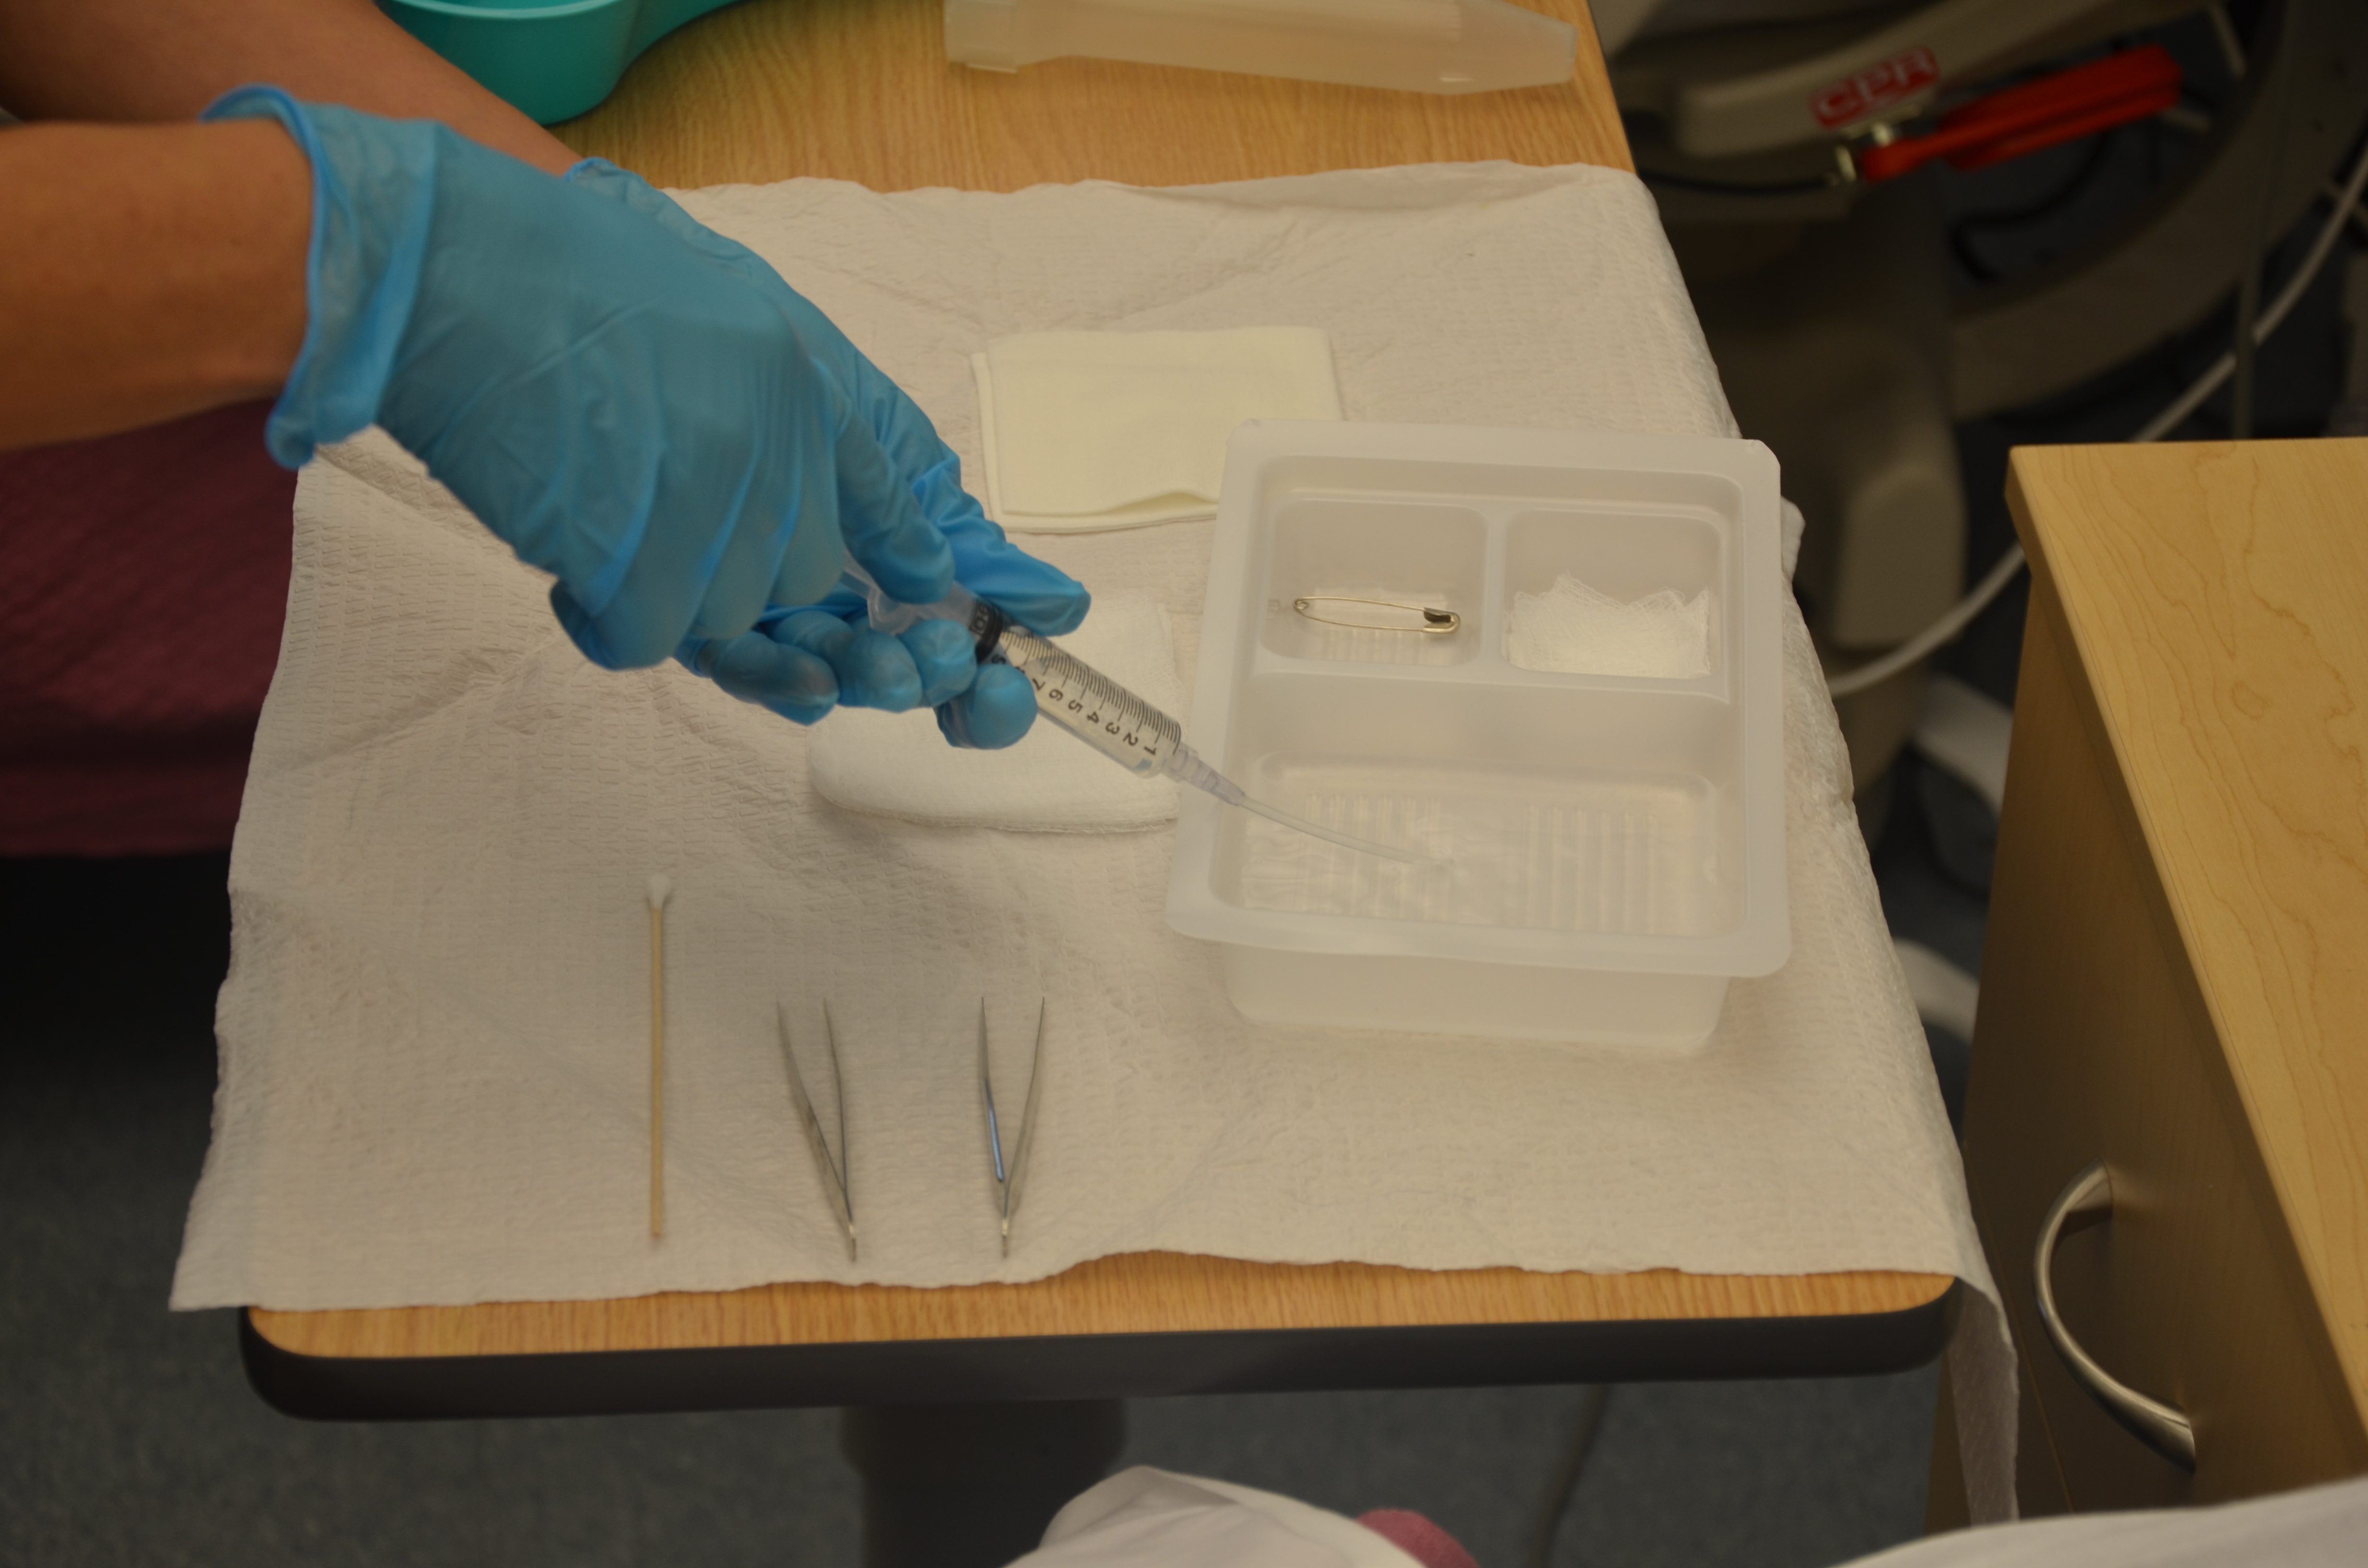
3. Gather necessary equipment and supplies:
Some agencies provide a prepackaged sterile irrigation tray. |
Being organized will help with efficiency and expedite the procedure, minimizing the length of time the patient experiences discomfort.
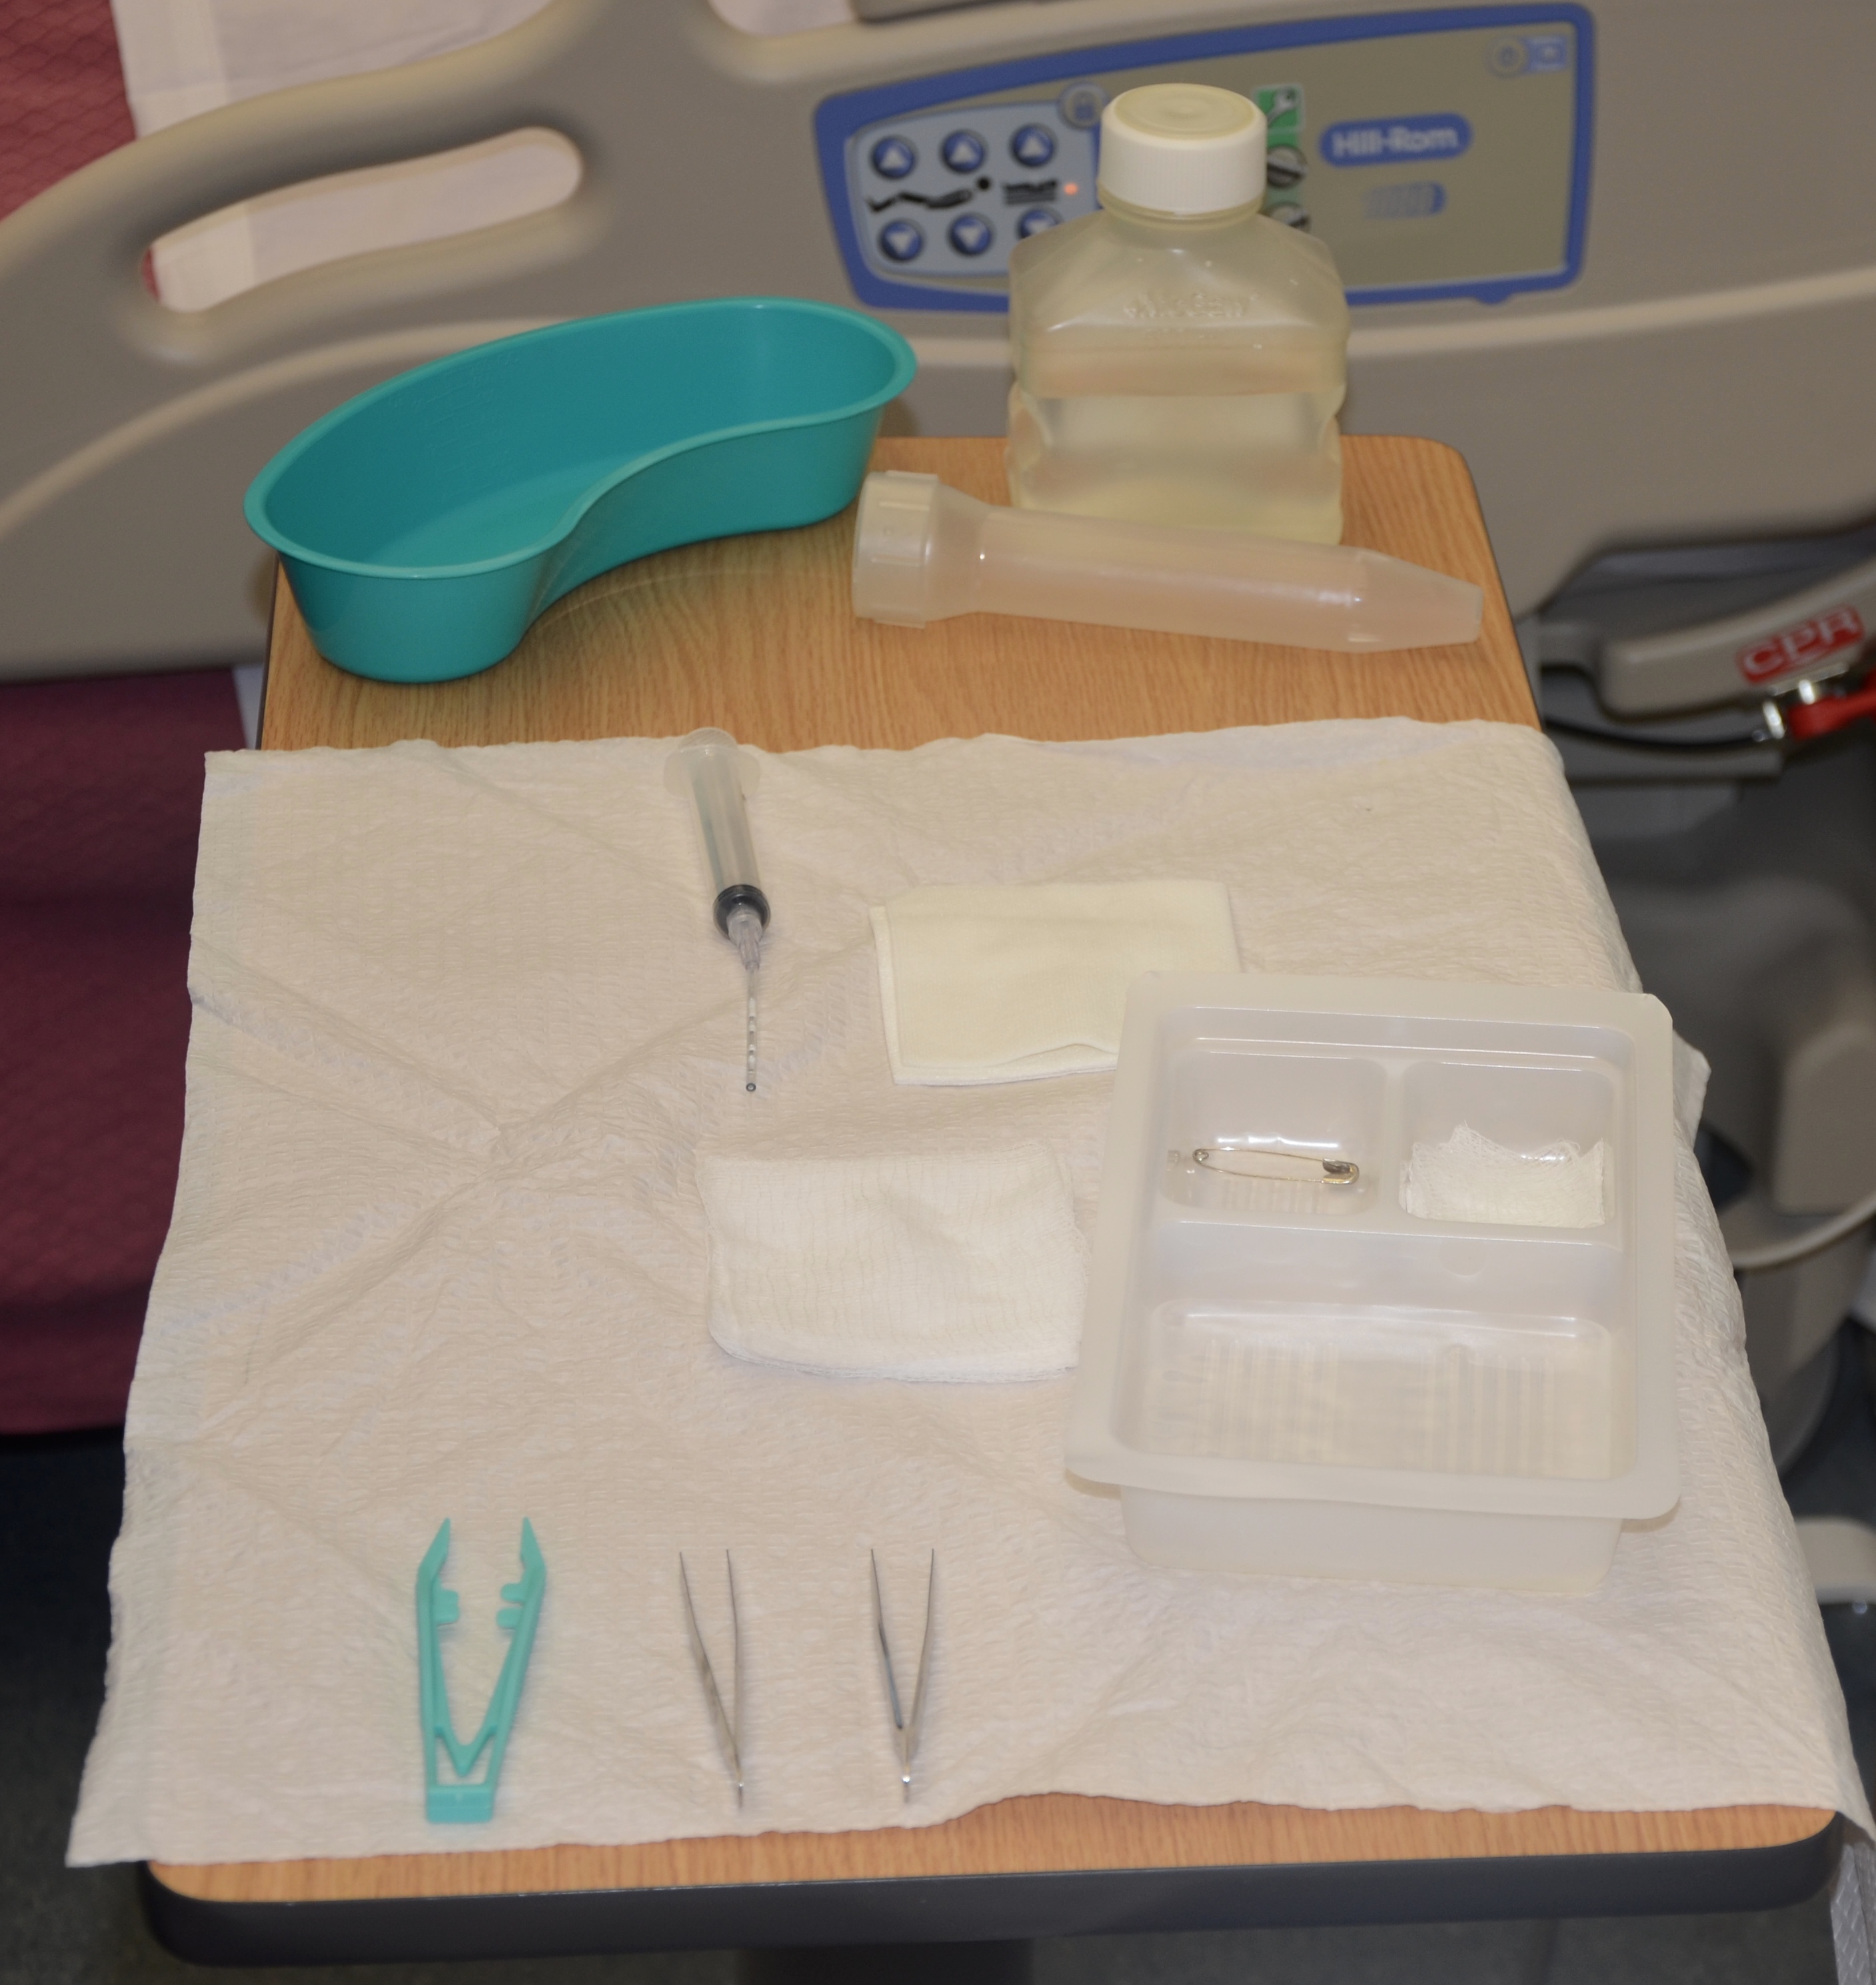 |
||
| 4. Position patient to allow solution to flow off patient.
Position patient so wound is vertical to the collection basin. |
 |
||
| 5. Place waterproof pad under patient.
Set up sterile field and supplies. |
Protect patient’s clothing and bedding from irrigation fluid. | ||
| 6. Remove outer dressing with non-sterile glove.
Using transfer forceps, remove inner dressing (packing) from the wound. If the packing sticks, gently soak the packing with normal saline or sterile water and gently lift off the packing. Confirm the quantity and type of packing is the same as recorded on previous dressing change. |
 Removing packing that adheres to the wound bed without soaking can cause trauma to the wound bed tissue. If packing material cannot be removed, contact the physician, NP, or wound clinician. If packing adheres to the wound, reassess the amount of wound exudate and consider a different packing material. 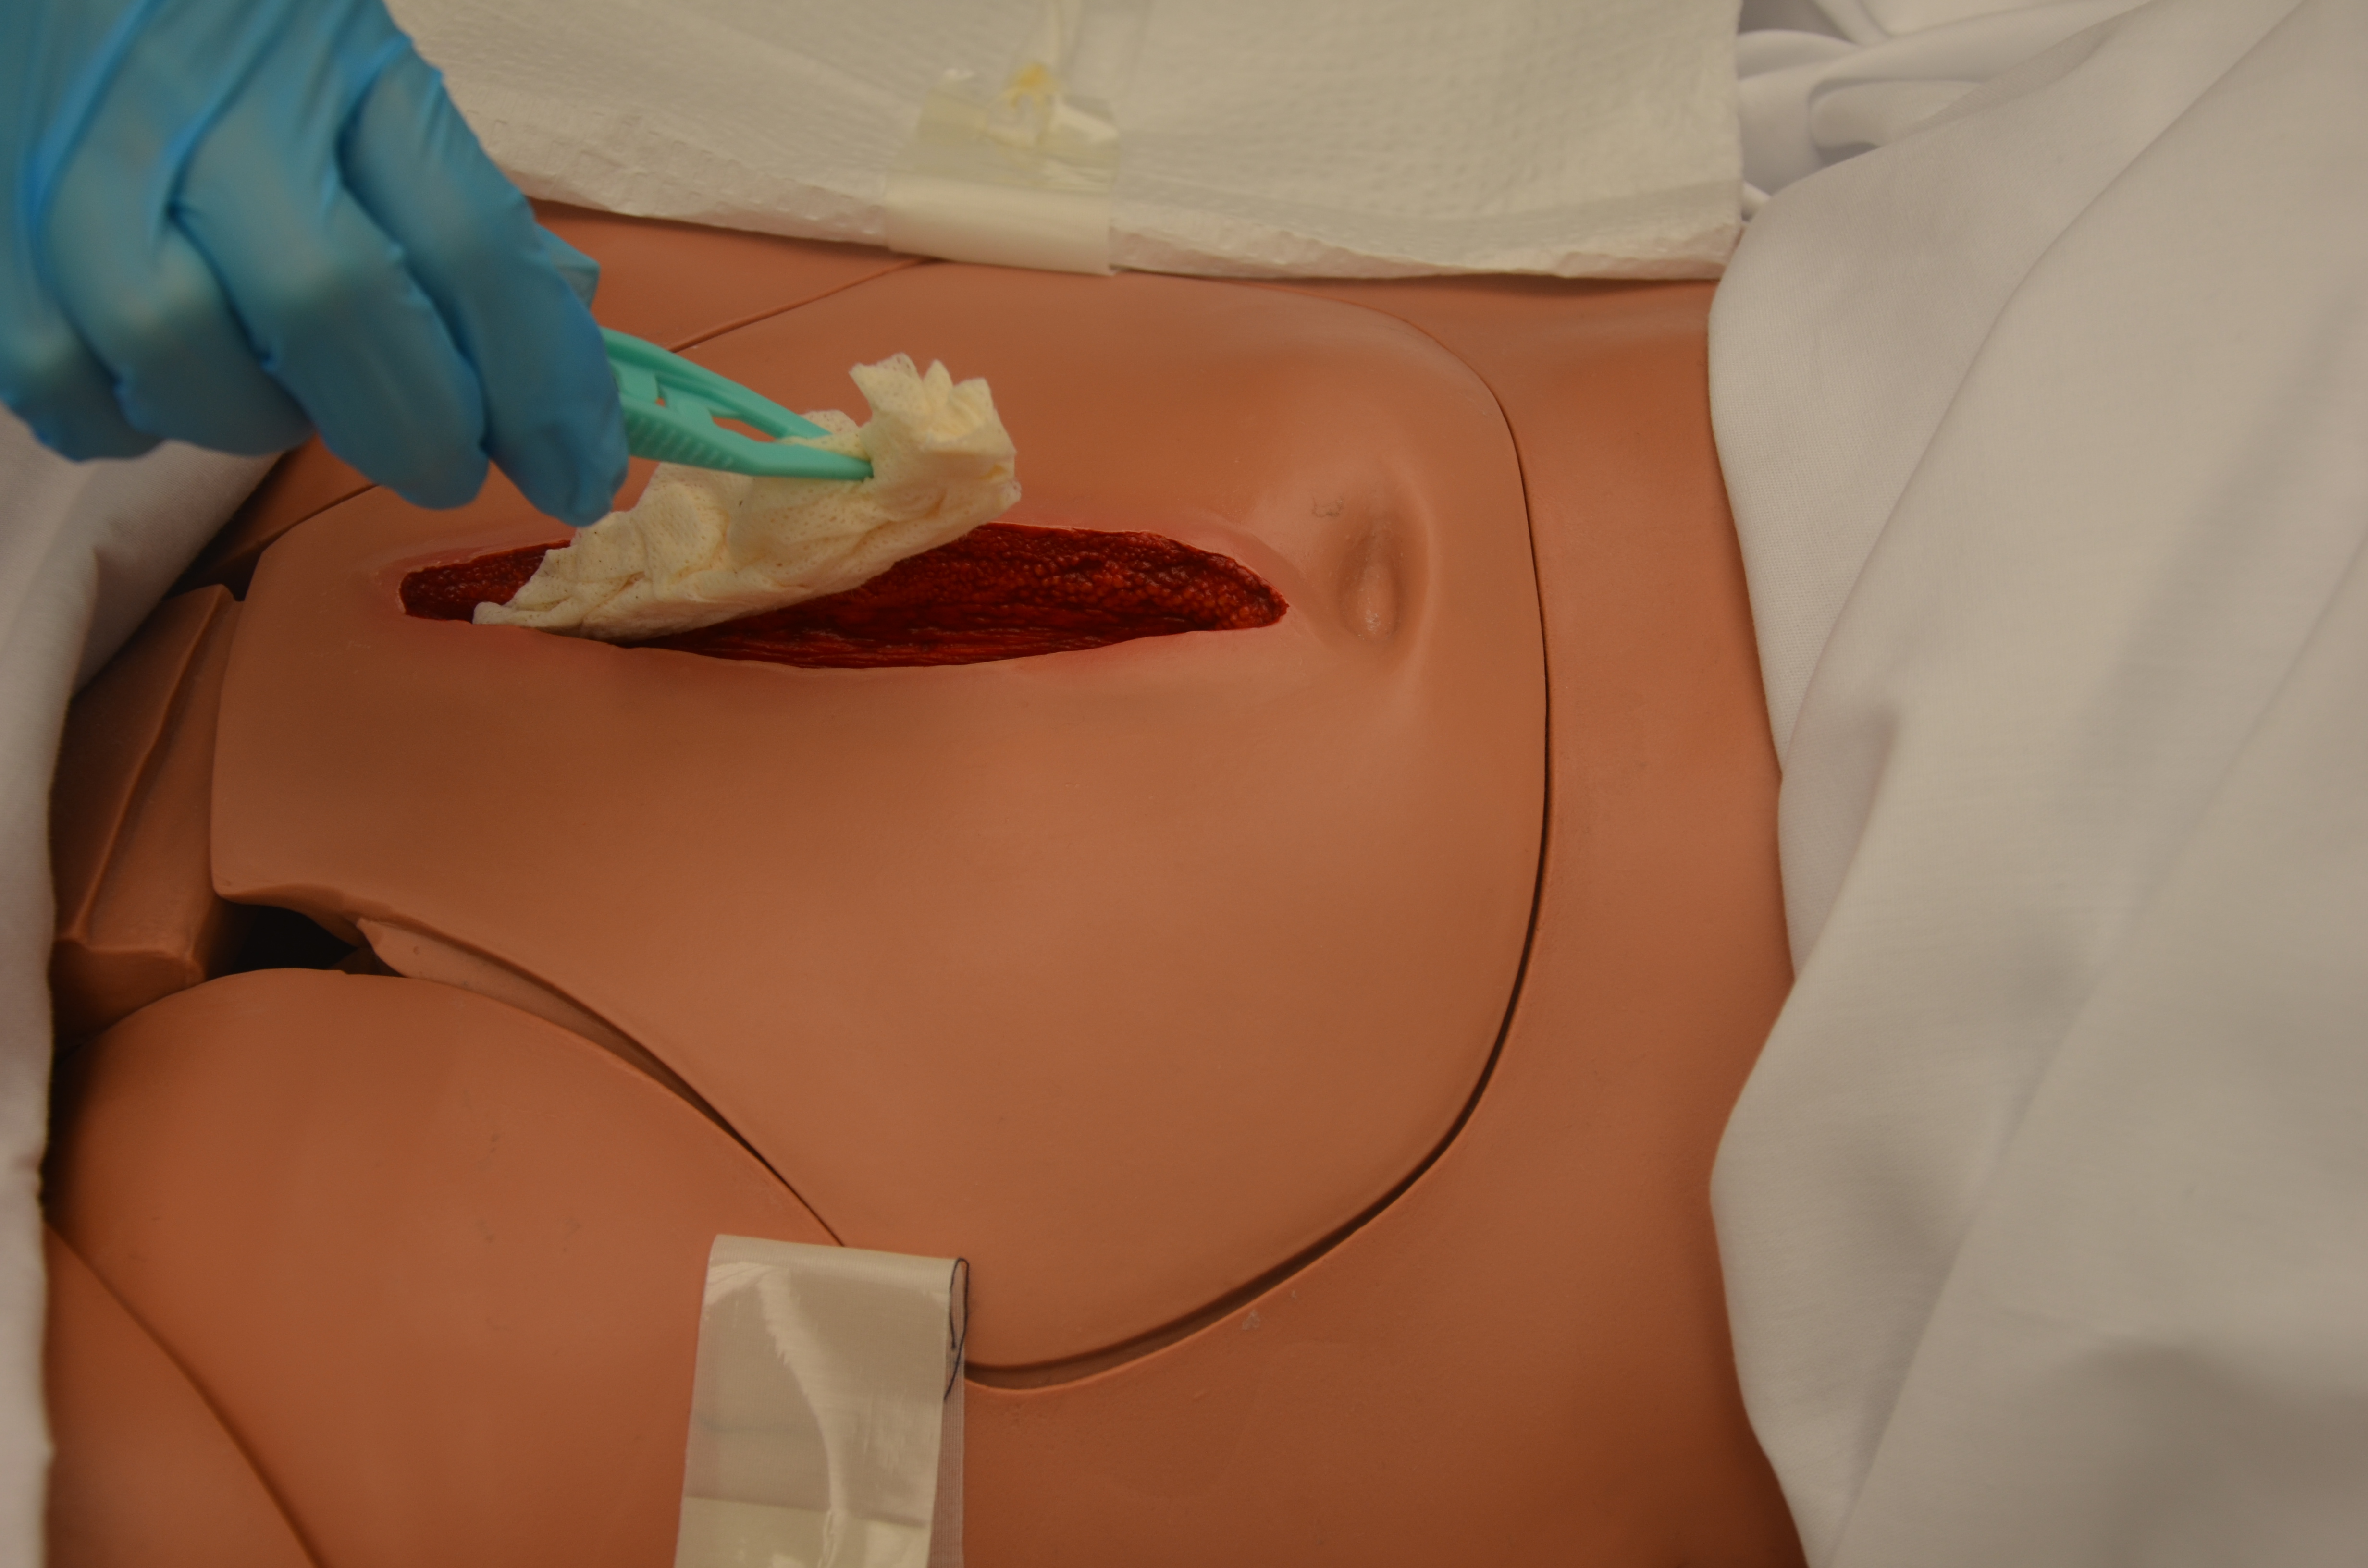 All packing must be removed with each dressing change. |
||
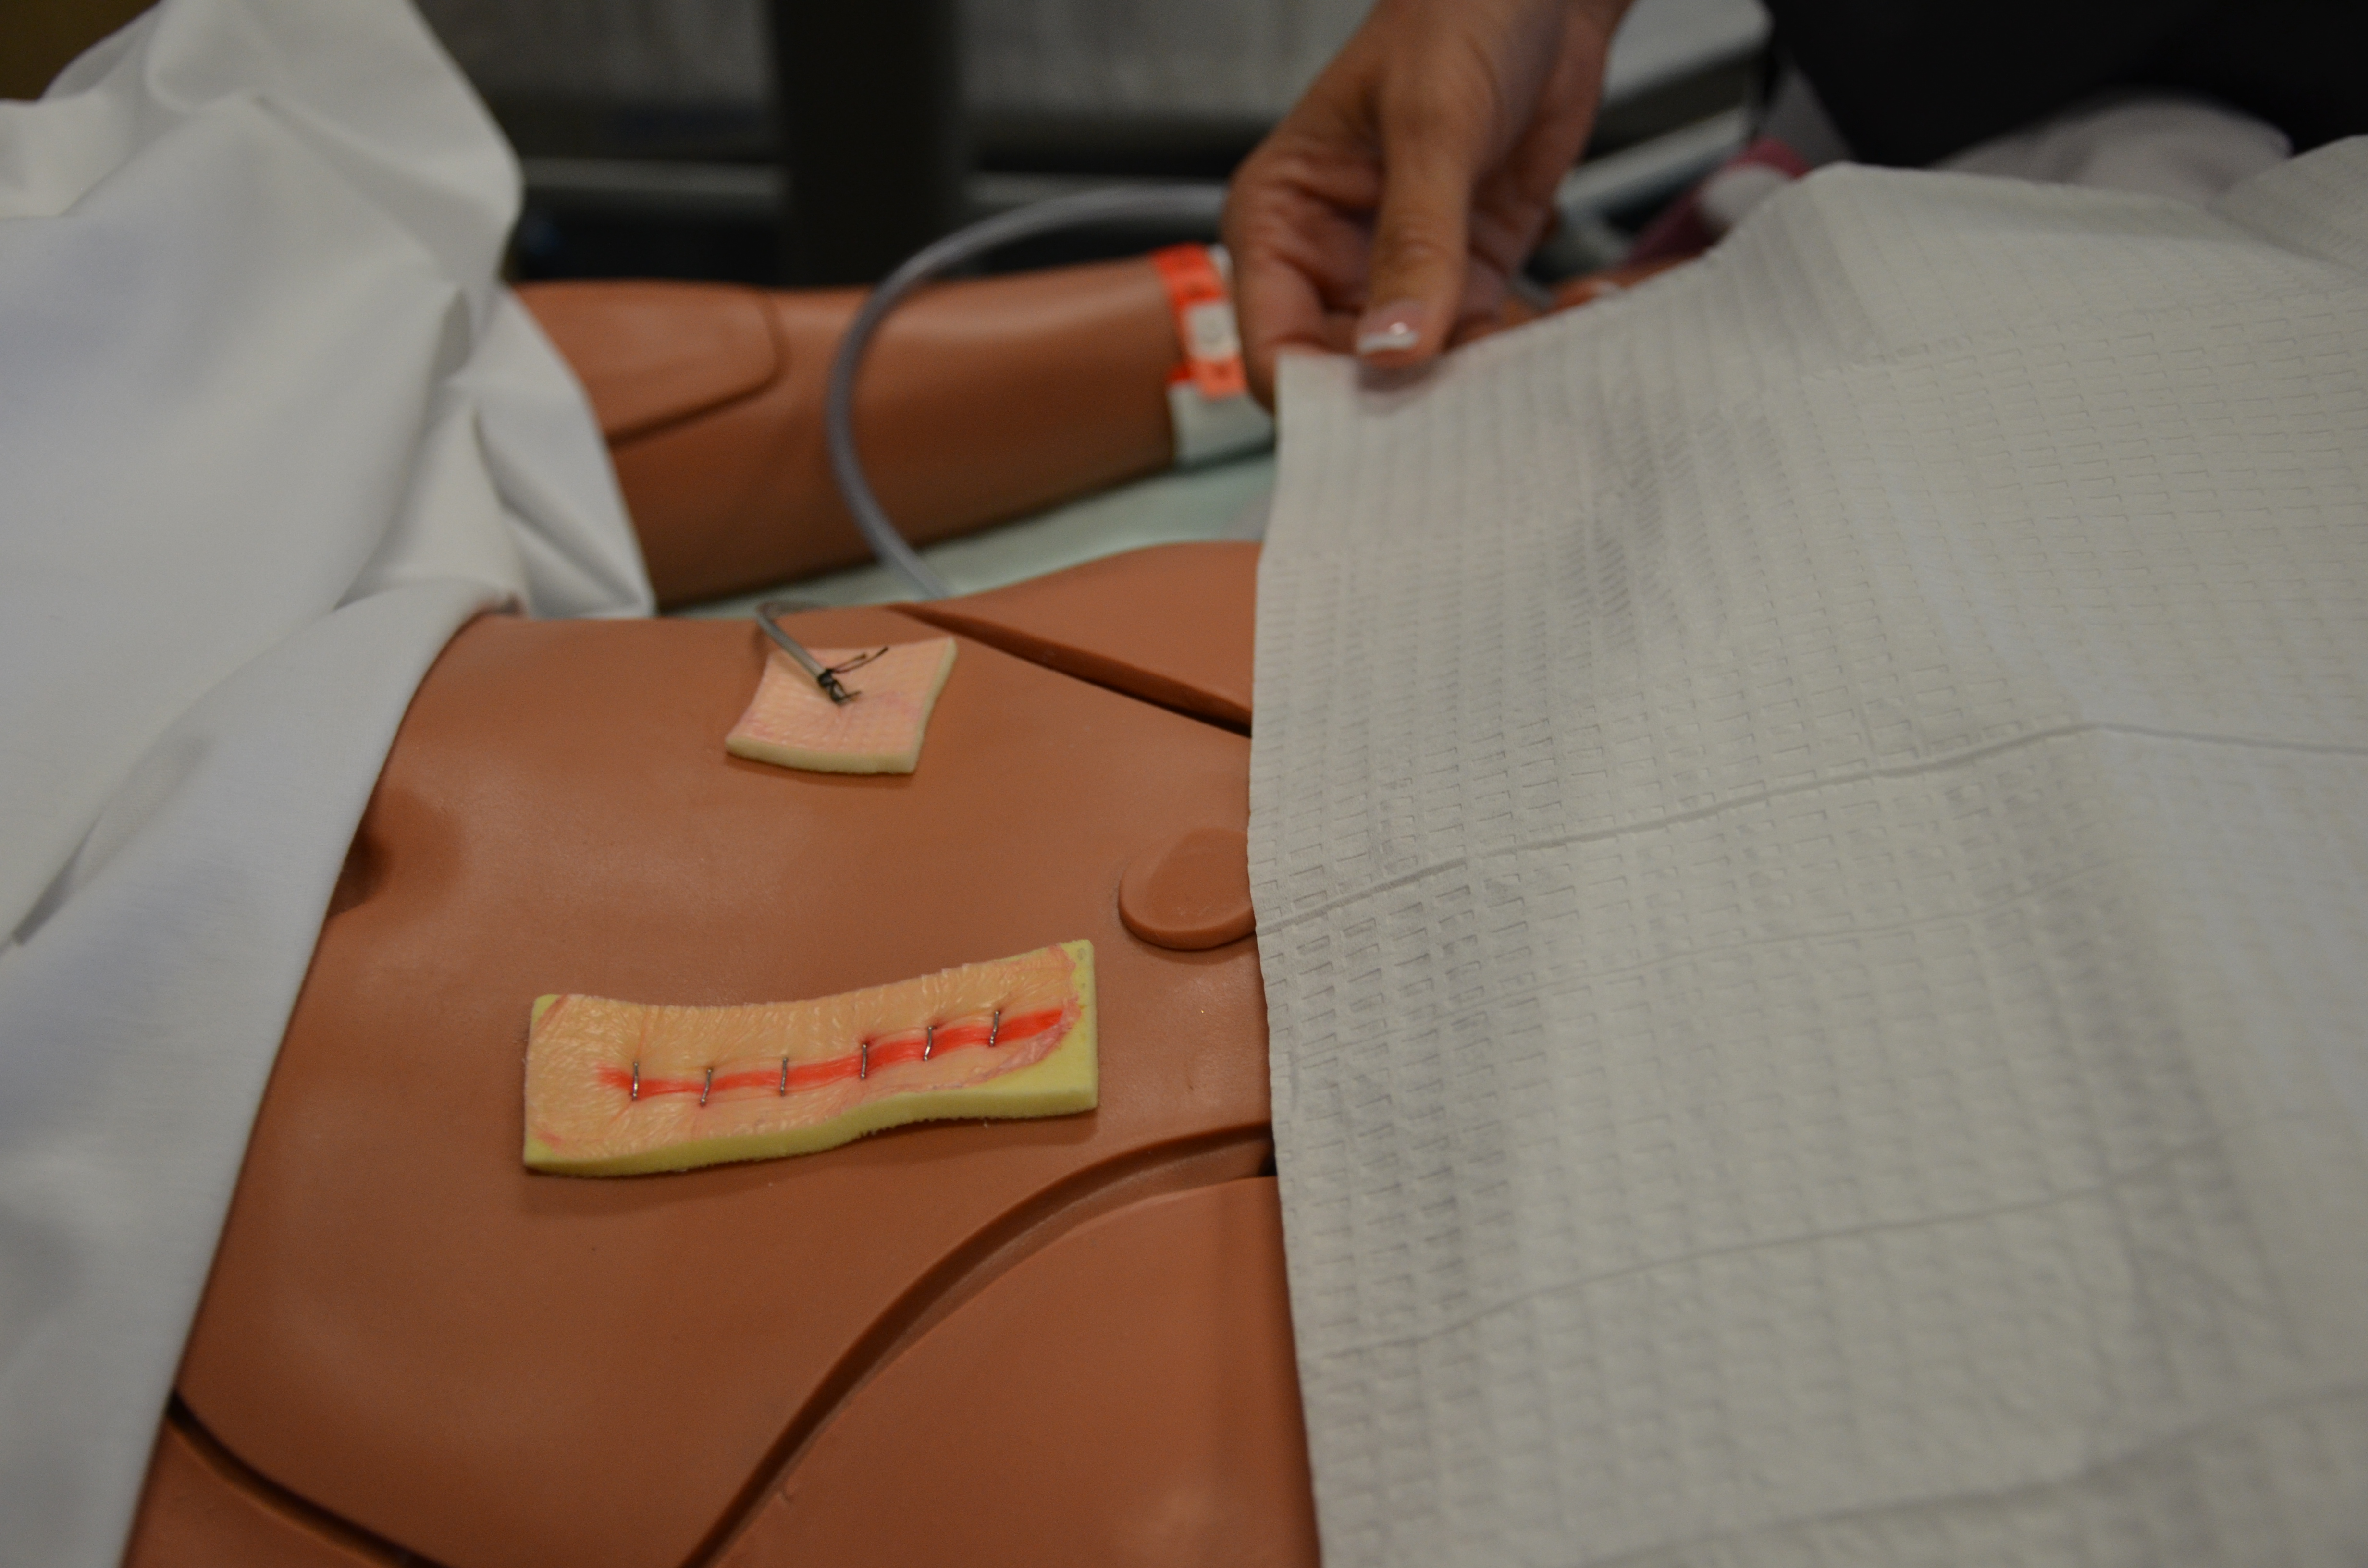
7. Assess the wound.
|
 Wound assessment helps identify if the wound care is effective. Always compare the current wound assessment with the previous assessment to determine if the wound is healing, delayed, worsening, or showing signs of infection. |
||
| 8. Apply non-sterile gloves, gown, and goggles or face shield according to your point of care risk assessment. | The use of personal protective equipment (PPE) reduces the risk of your exposure to BBF
 |
||
| 9. Fill 35 to 60 ml syringe with sterile water or irrigating solution, and attach an irrigation tip to the end of syringe. |
 |
||
| 10. Hold the irrigation tip very close to the wound and flush wound using gently continuous pressure until returns run clear into the basin.
If irrigating a deep wound with a very small opening, attach an irrigation tip catheter to the syringe. Insert the tip searching for undermining and tunnels, measuring and noting the location and depth of each. Use slow continuous pressure to flush wound. Repeat flushing procedure until returns run clear into the basin. If the majority of the irrigation fluid is not recovered stop and consult the prescriber. |
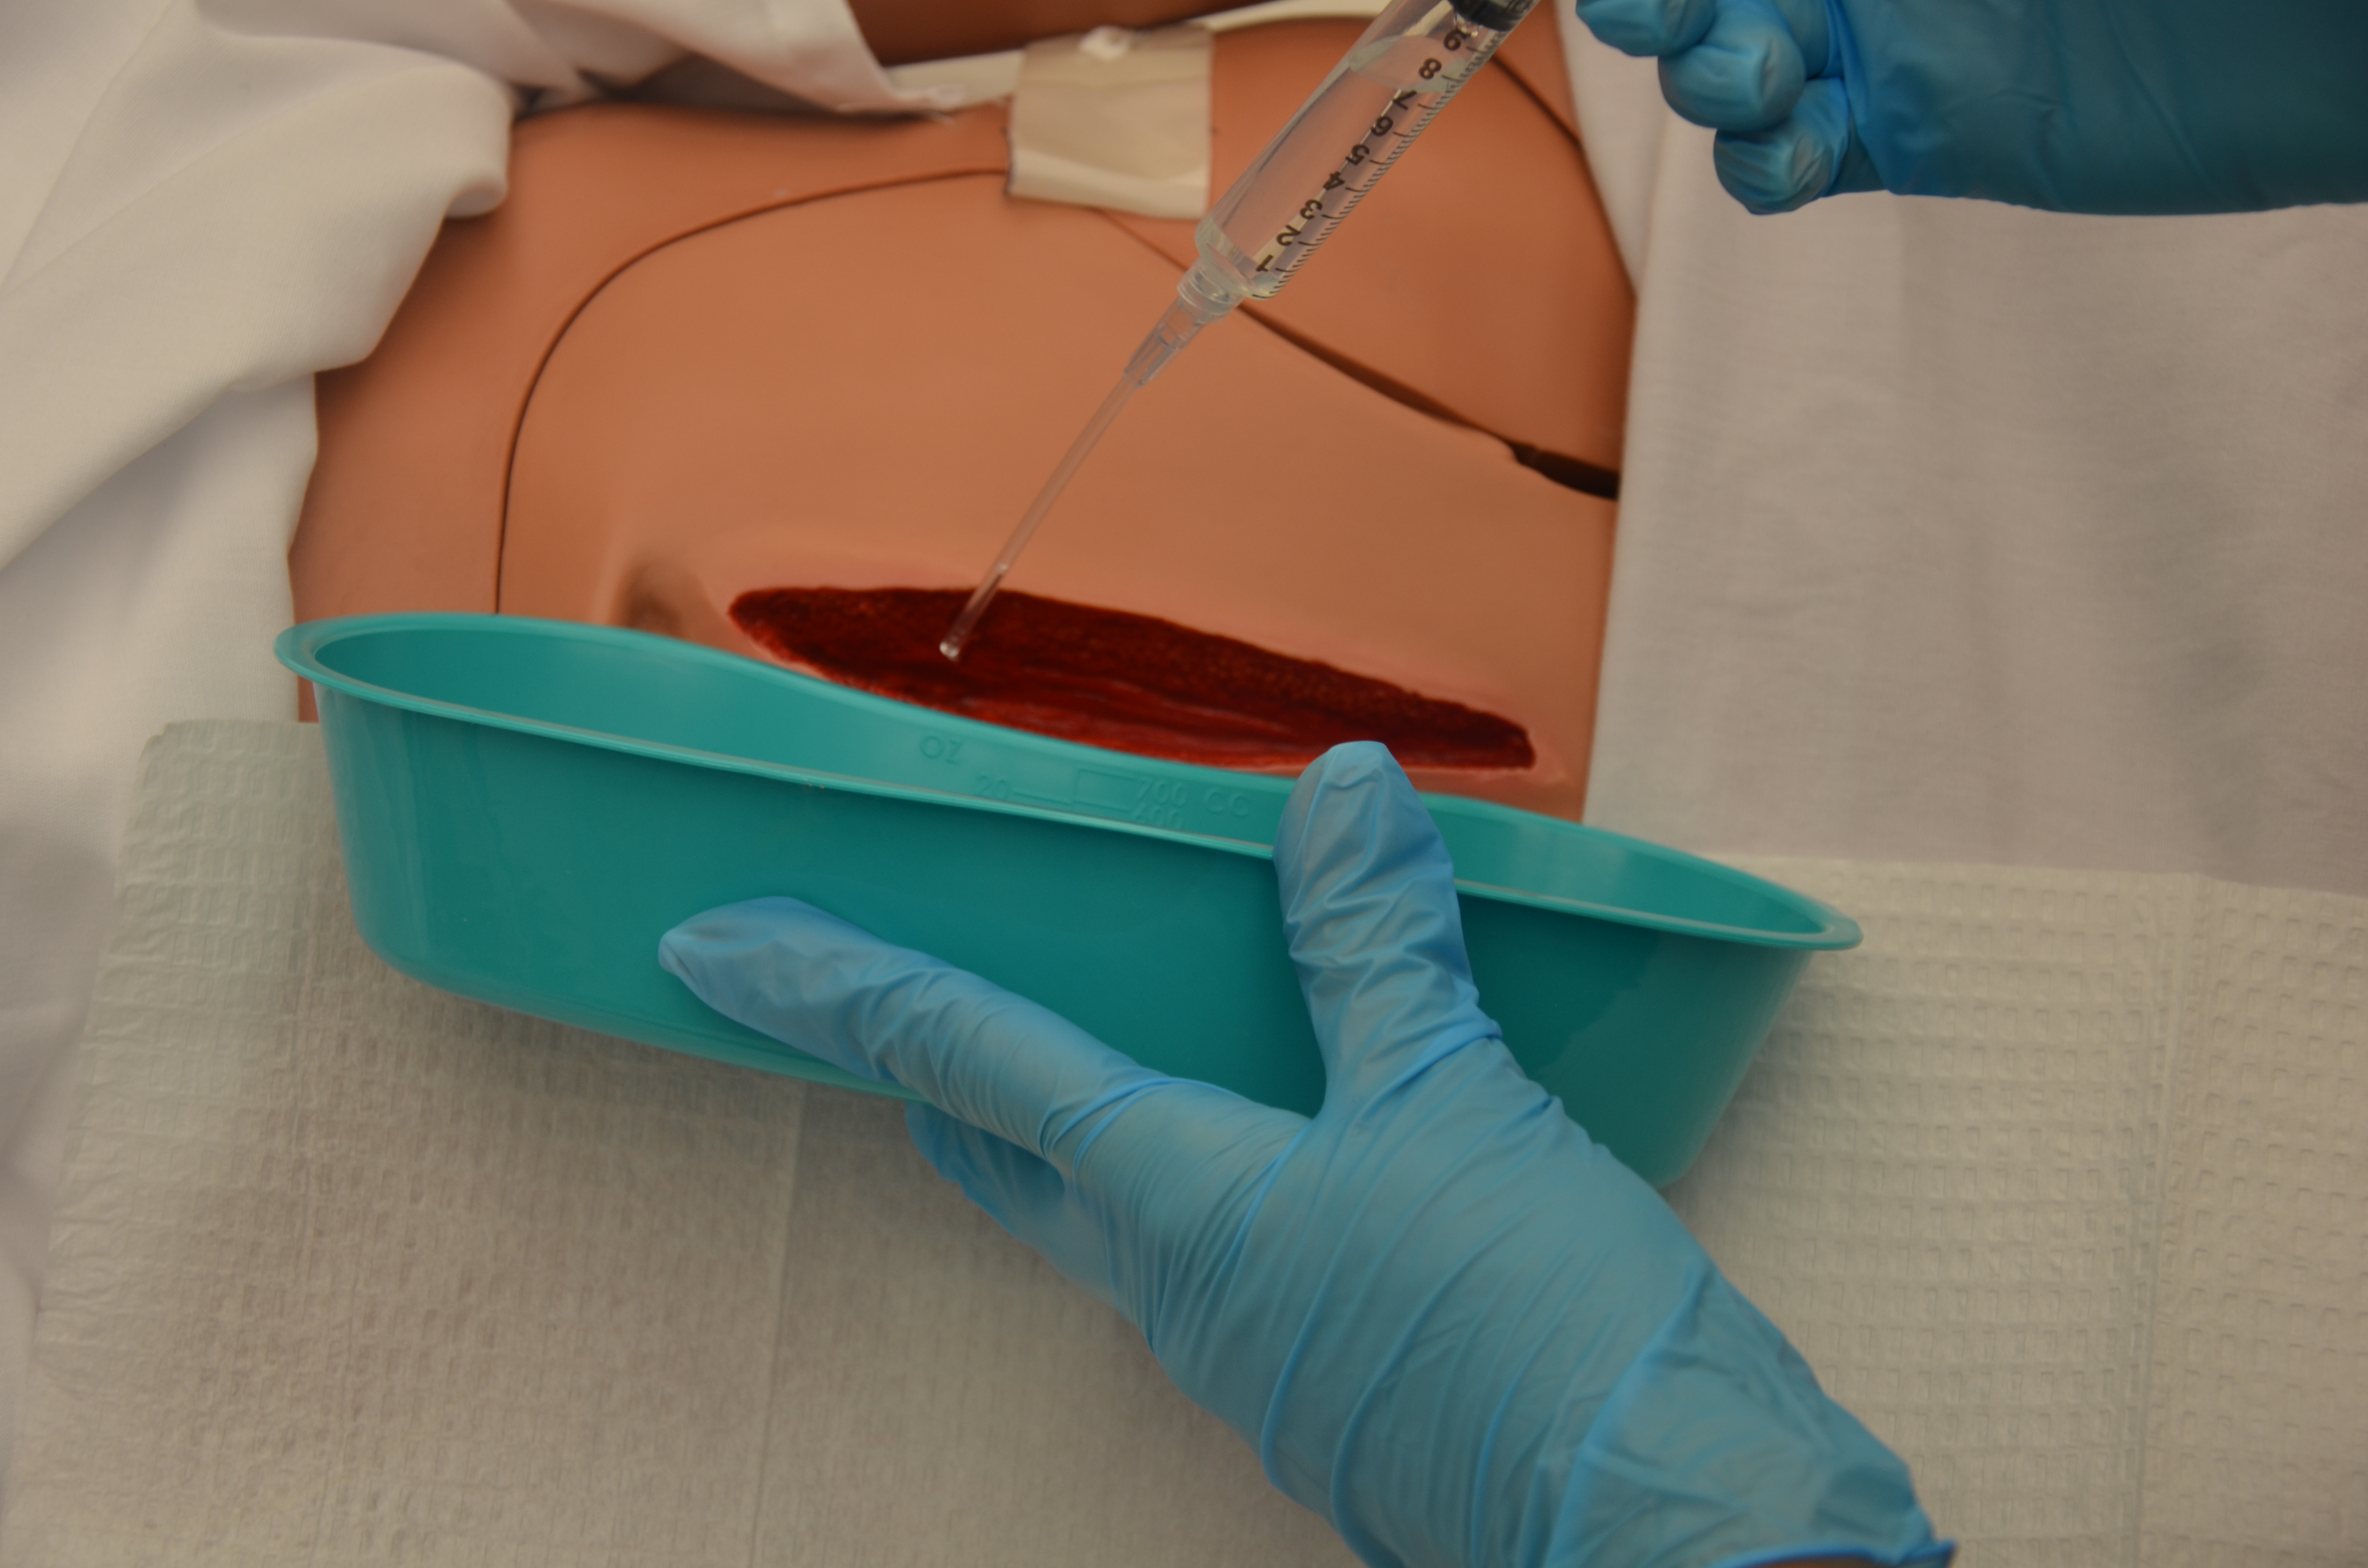 Irrigation should be drained into basin. Retained irrigation fluid is a medium for bacterial growth and subsequent infection. Irrigation should not increase patient discomfort. The irrigation tip controls the pressure of the fluid, not the force of the plunger. |
||
| 11. Clean and dry wound edges with sterile gauze using sterile forceps. |
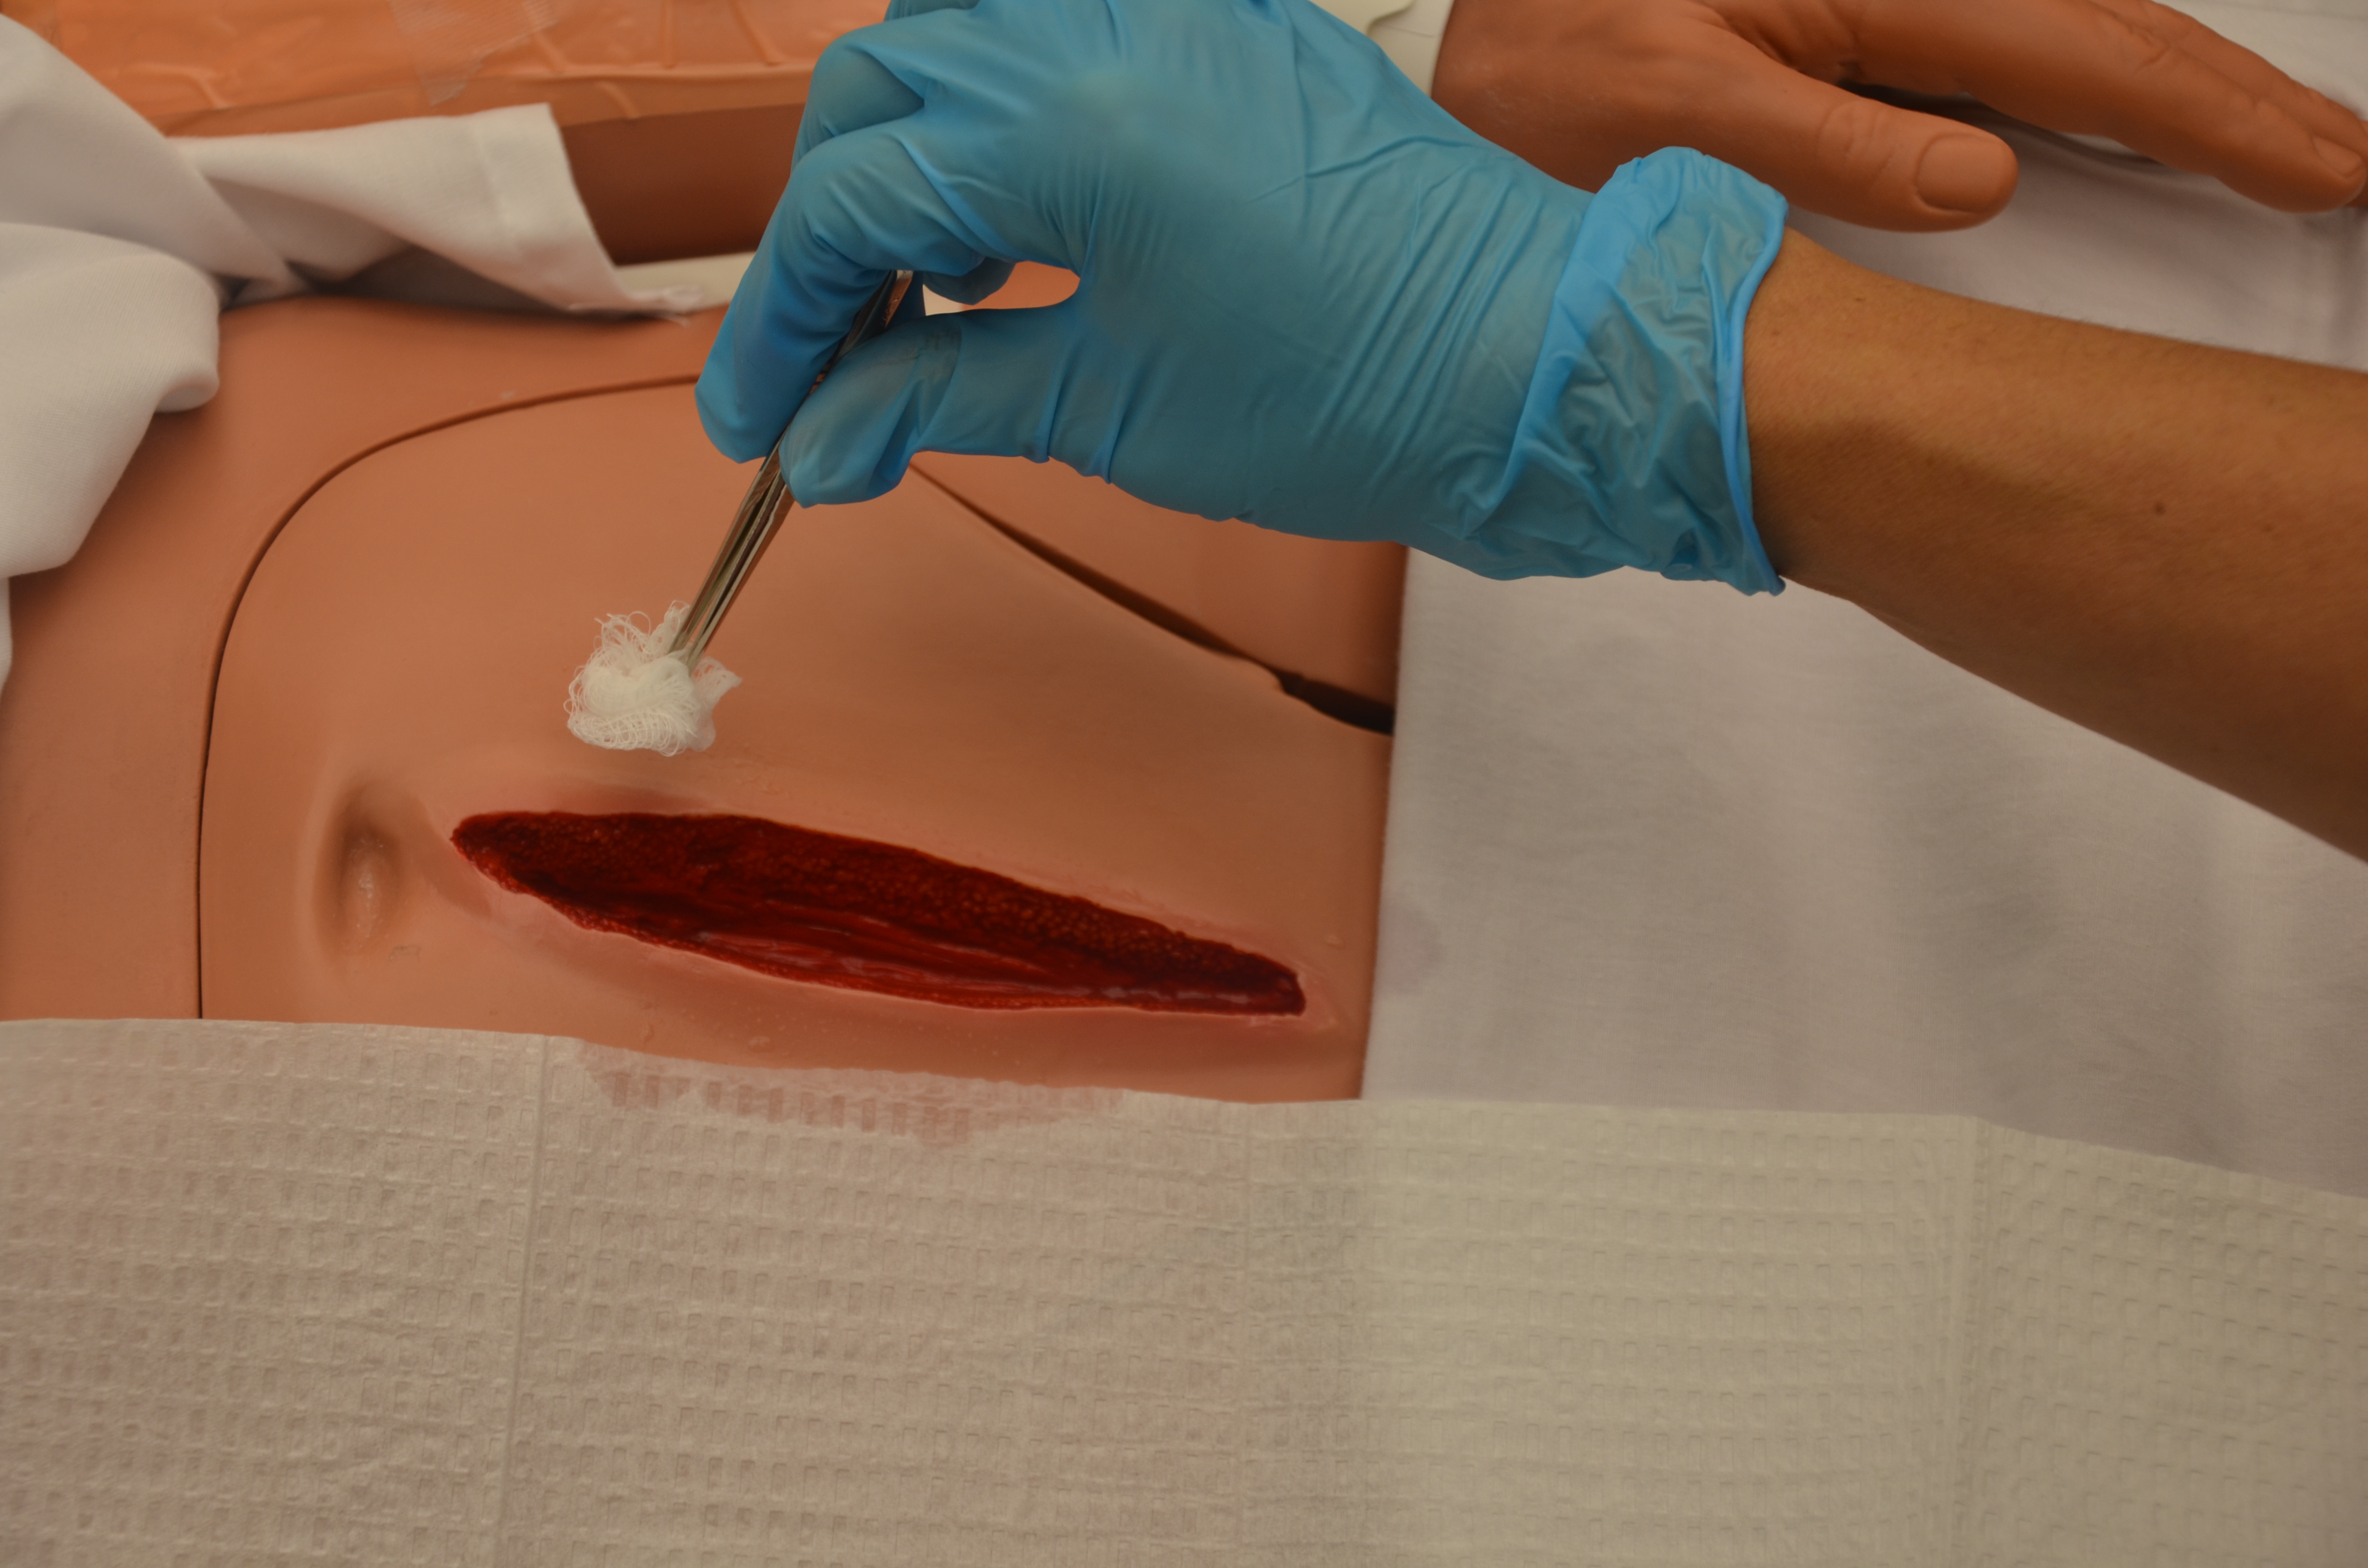 This step prevents maceration of surrounding tissue from excess moisture. |
||
| 12. Remove goggles or face shield. | |||
| 13. Perform hand hygiene and apply sterile gloves (if not using sterile forceps) or non-sterile gloves. | Hand hygiene reduces the risk of infection.
|
||
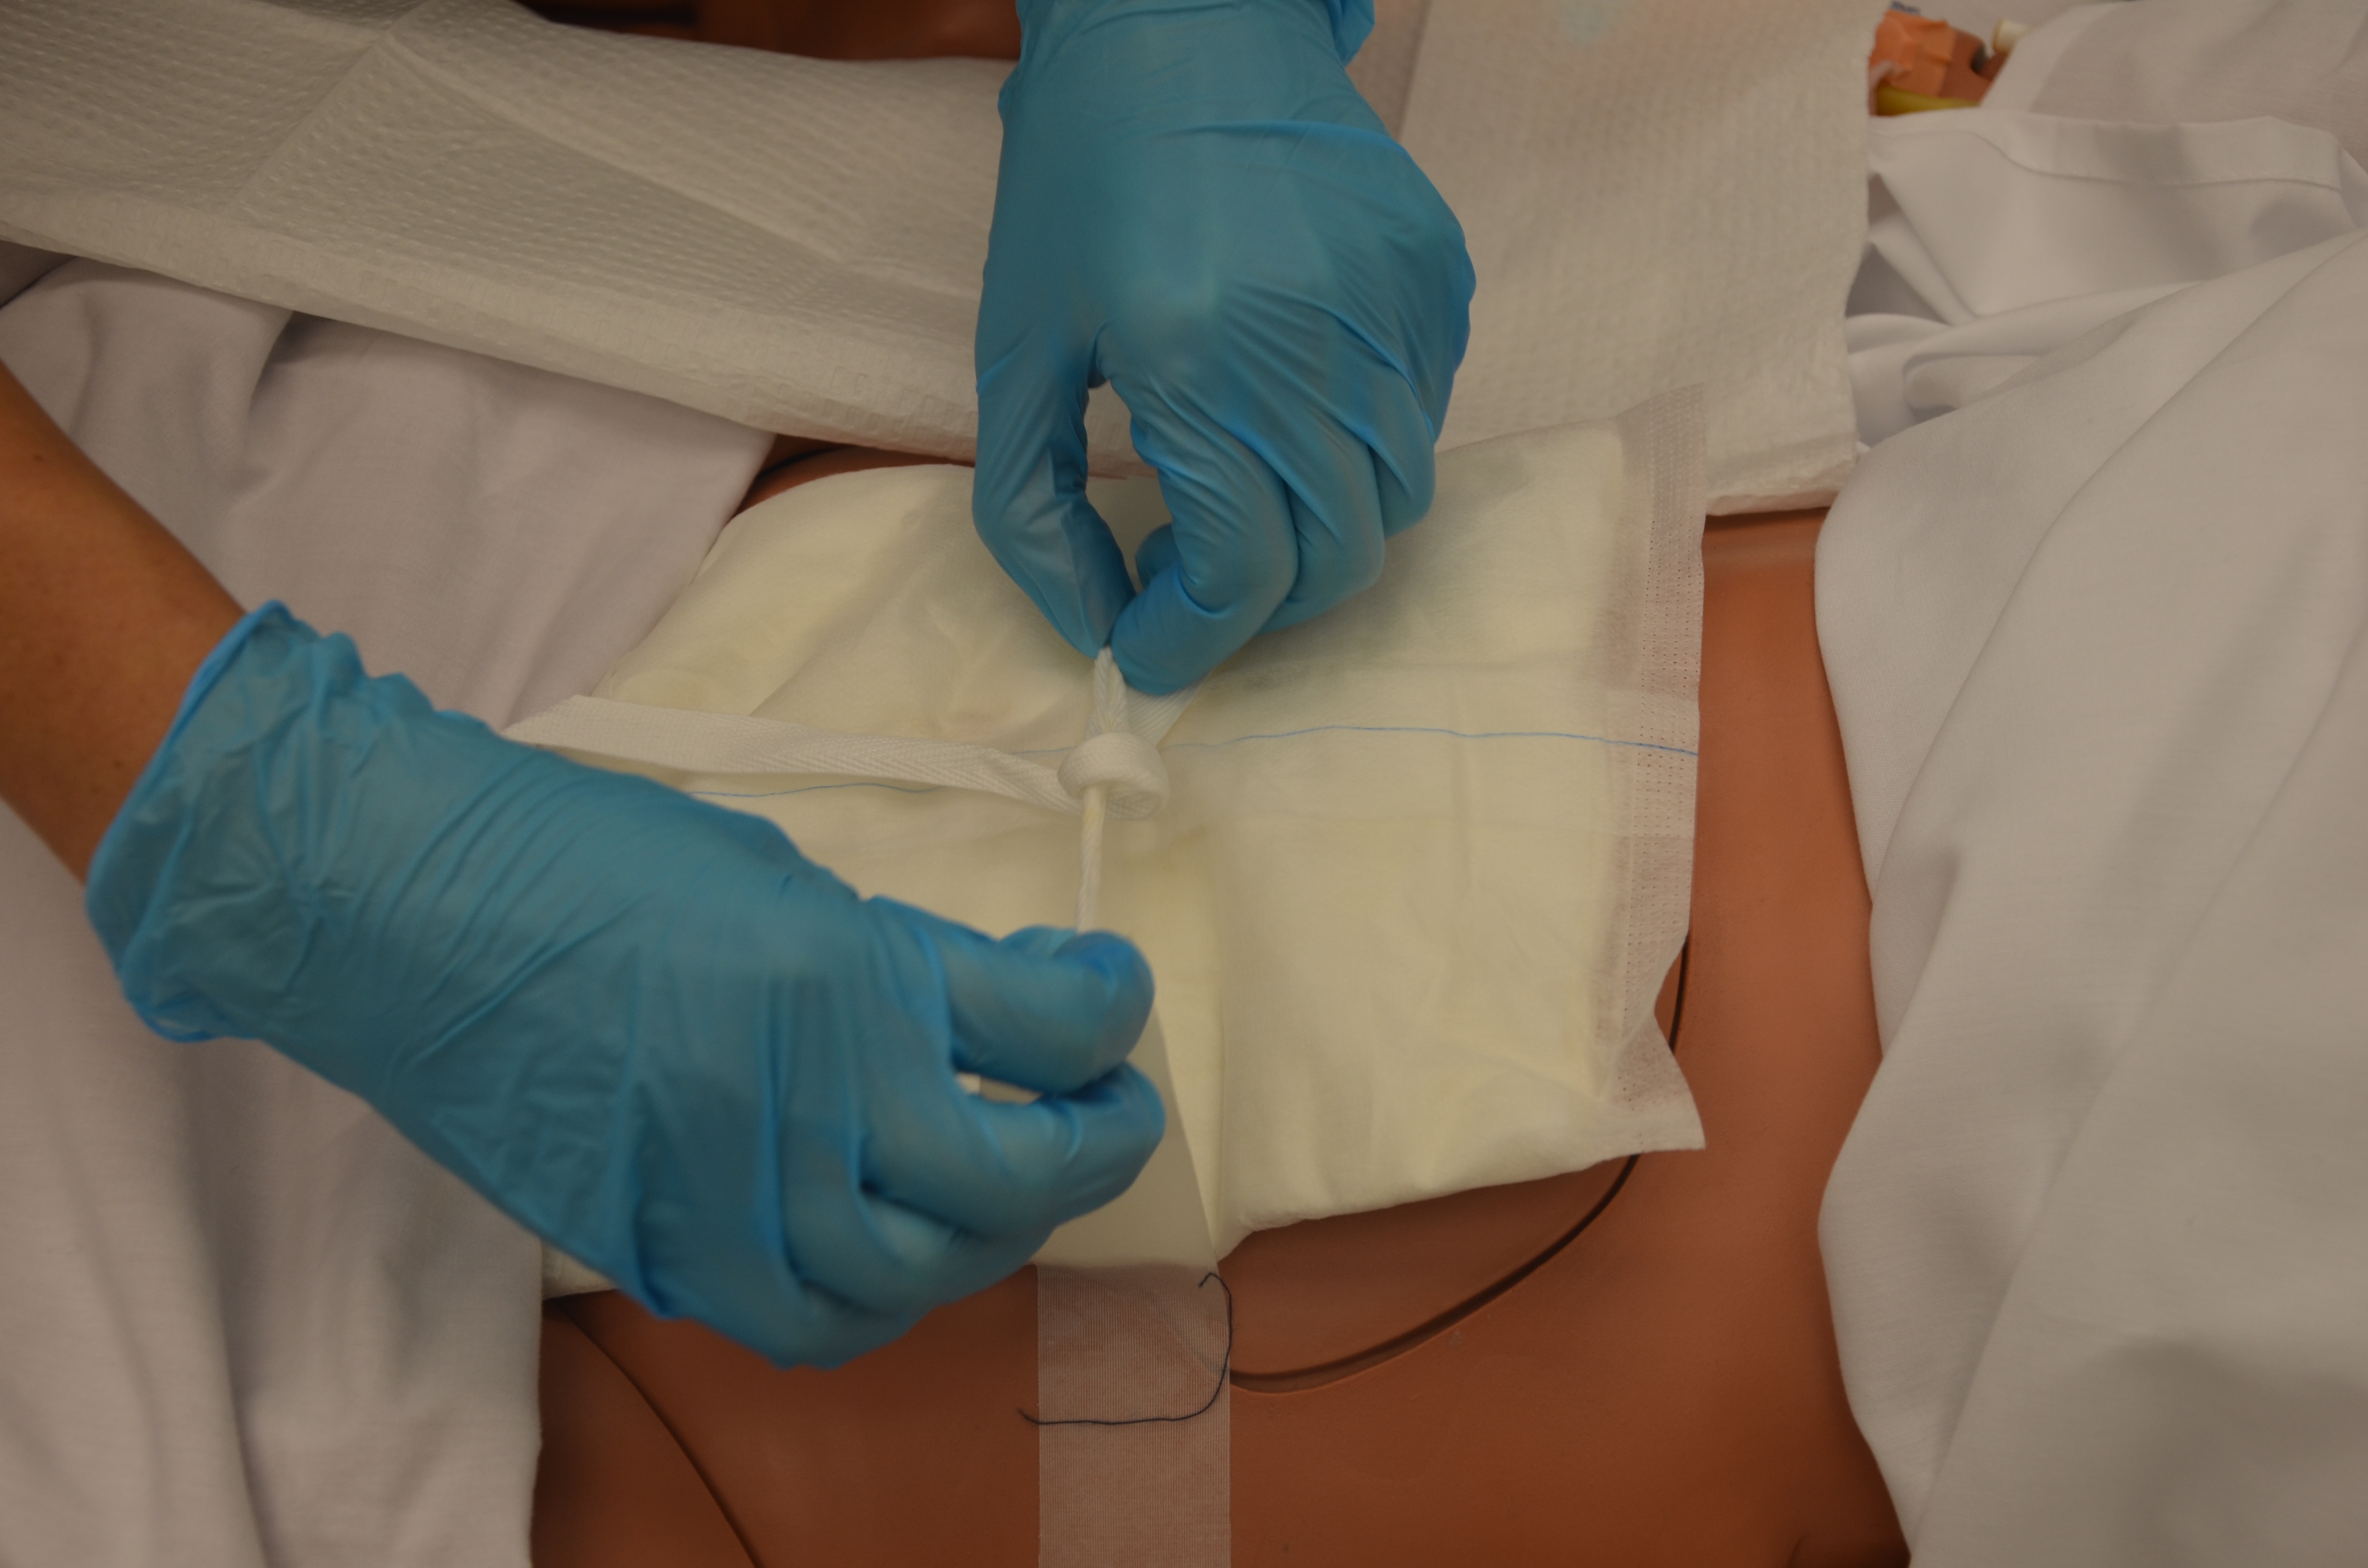
14. For normal saline gauze packing:
For other packing materials (e.g., hydrogel, iodine [povidone & cadexomer], PHMB), see the specific product information.
|
The wound must be moist, not wet, for optimal healing. Gauze packing that is too wet can cause tissue maceration, and it reduces the absorbency of the gauze.
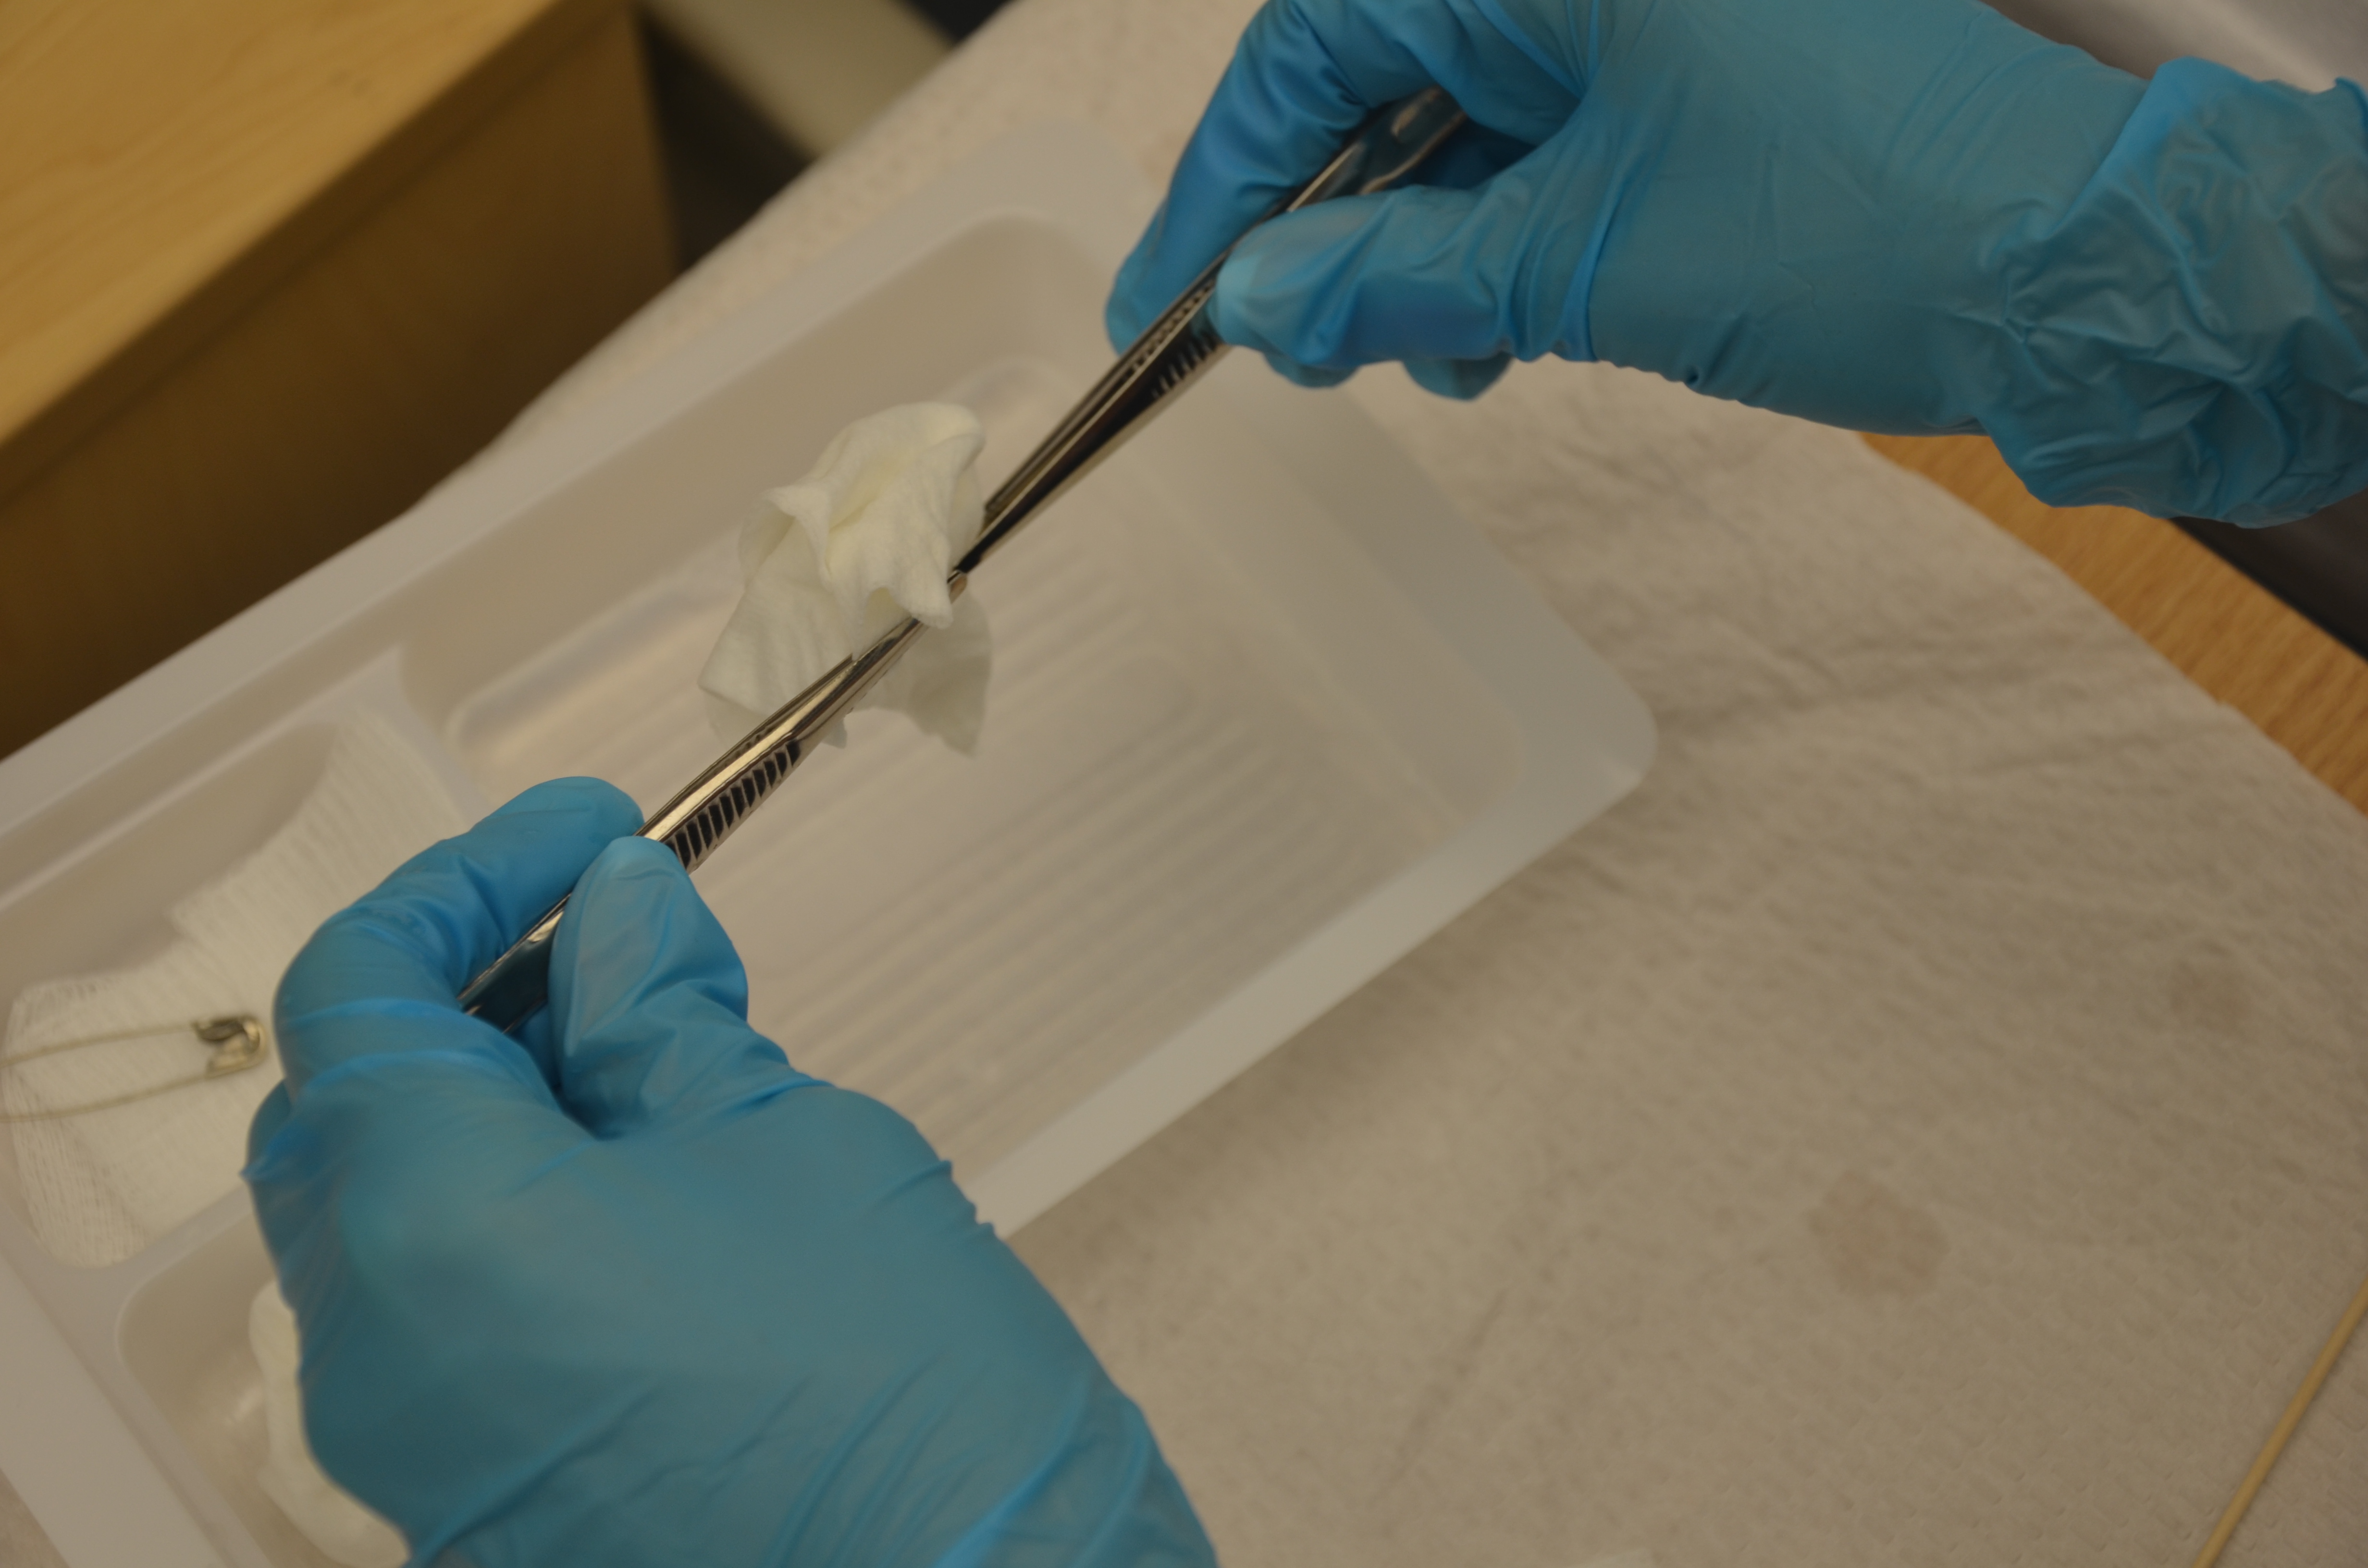 If using normal saline gauze packing, it needs to be changed often throughout the day to prevent the gauze from drying out. If it is necessary to use more than one ribbon packing piece, the pieces must be tied together using sterile gloves; ensure the knot(s) is secure. |
||
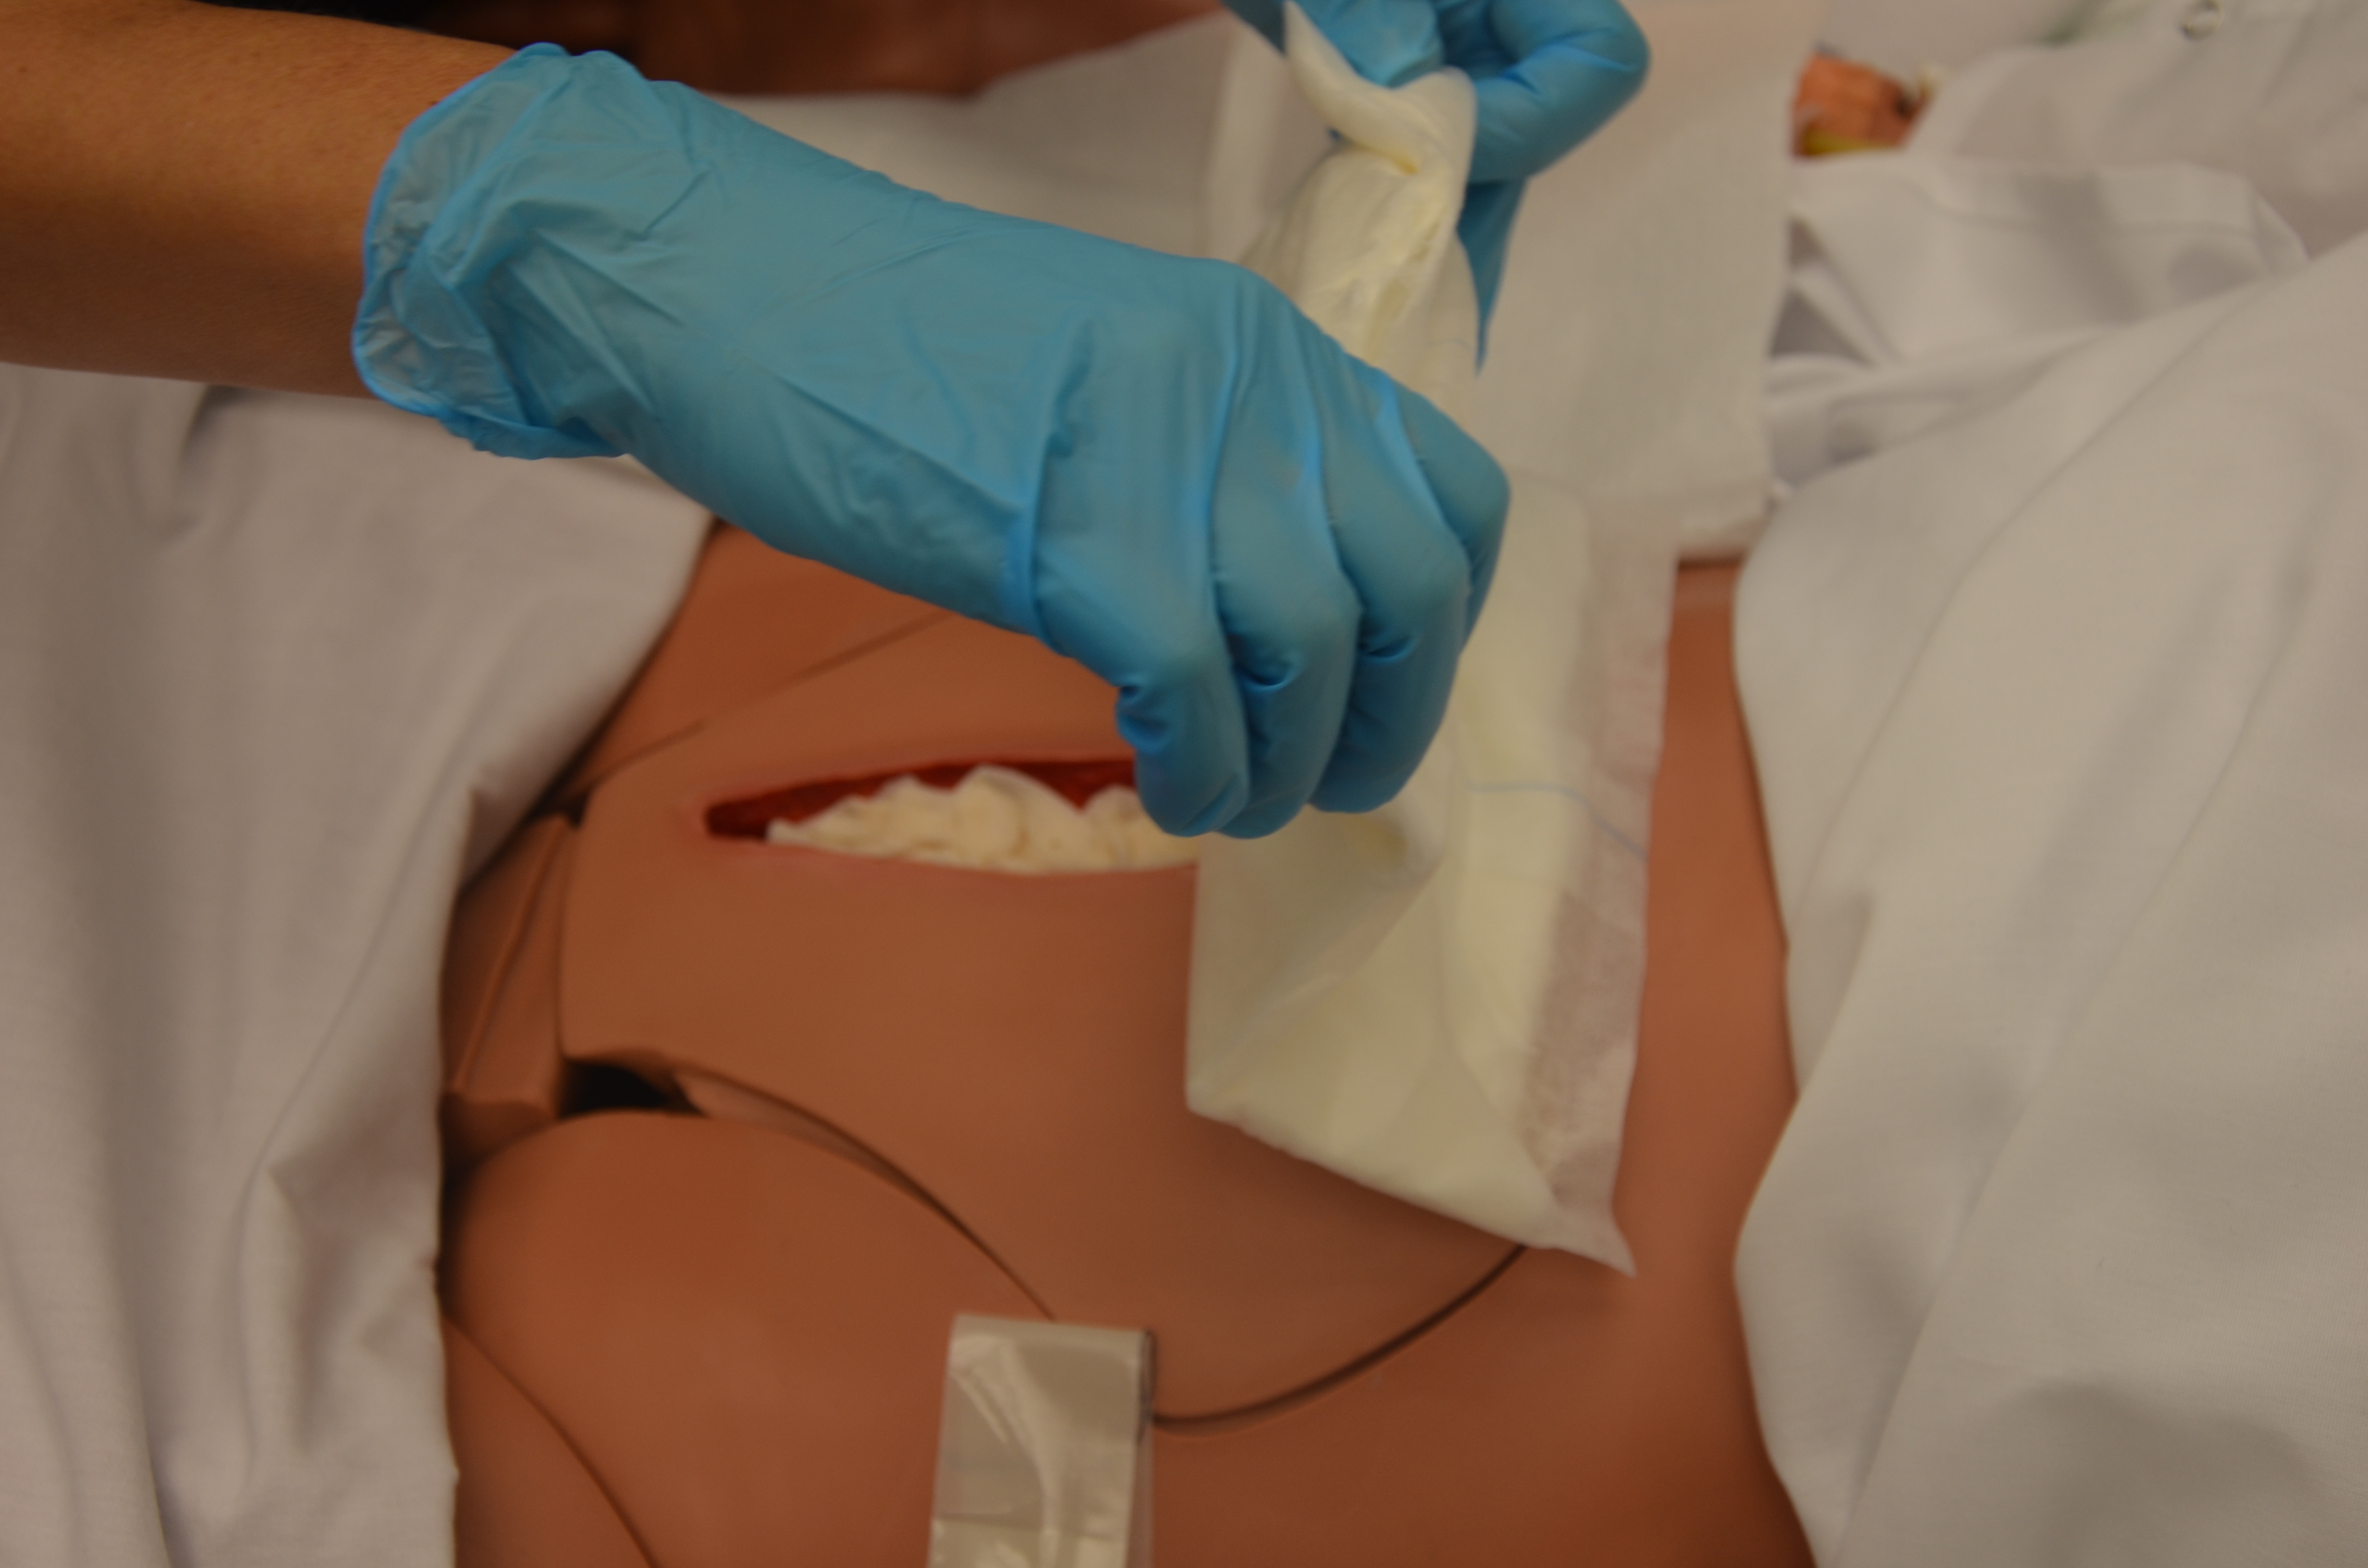
| 15. Open gauze and gently pack it into wound using either forceps, the tip of a cotton swab stick, or sterile gloved hands. Begin with the deepest part of the wound and finish at the surface.
Ensure the wound is not over-packed or under-packed as this may diminish the healing process. Apply skin protectant to peri-wound skin. |
Continue to pack the wound until all wound surfaces are in contact with gauze.
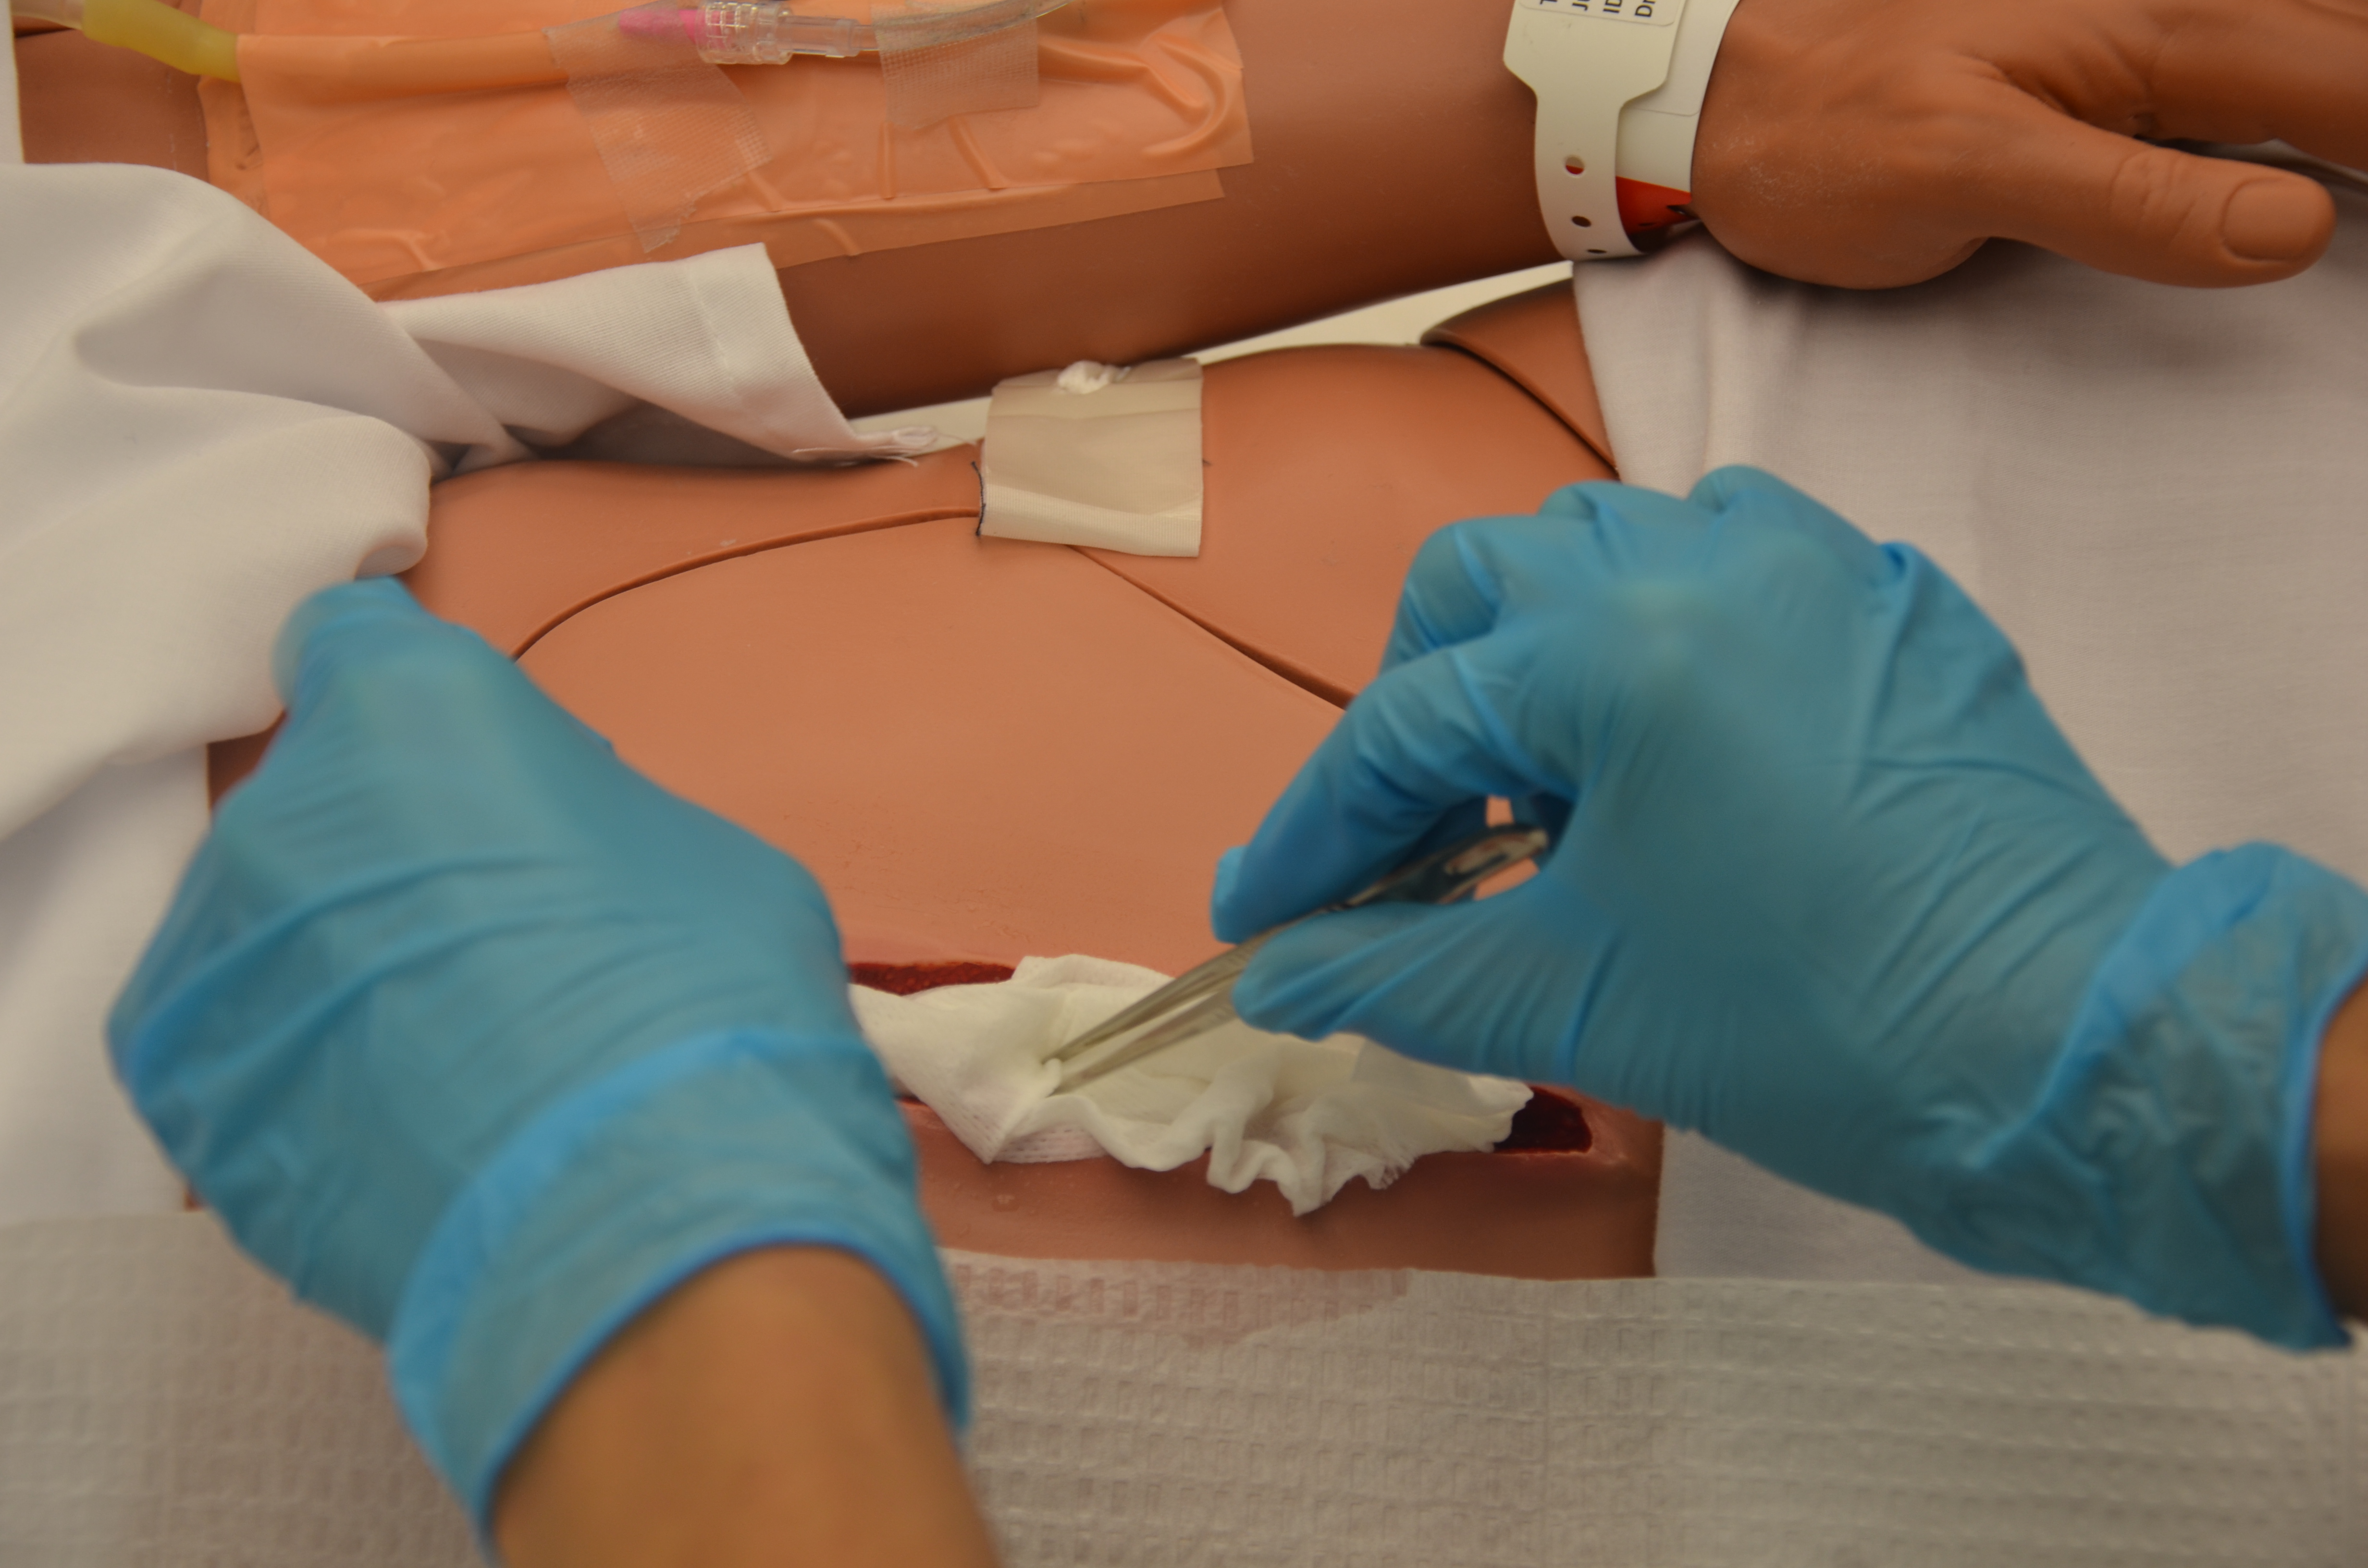 Keep the moist dressing off of the peri-wound skin. Saturated packing materials and/or wound exudate may macerate or irritate unprotected peri-wound skin. |
||
| 16. Always leave a “tail” of packing materials either clearly visible in the wound cavity or on the peri-wound skin.
Use a Steri-Strip to secure the packing tail to the peri-wound skin. If two or more packing pieces have been knotted together, ensure that the knots are placed in the wound cavity, not in the undermining, sinus tract, or tunnel. |
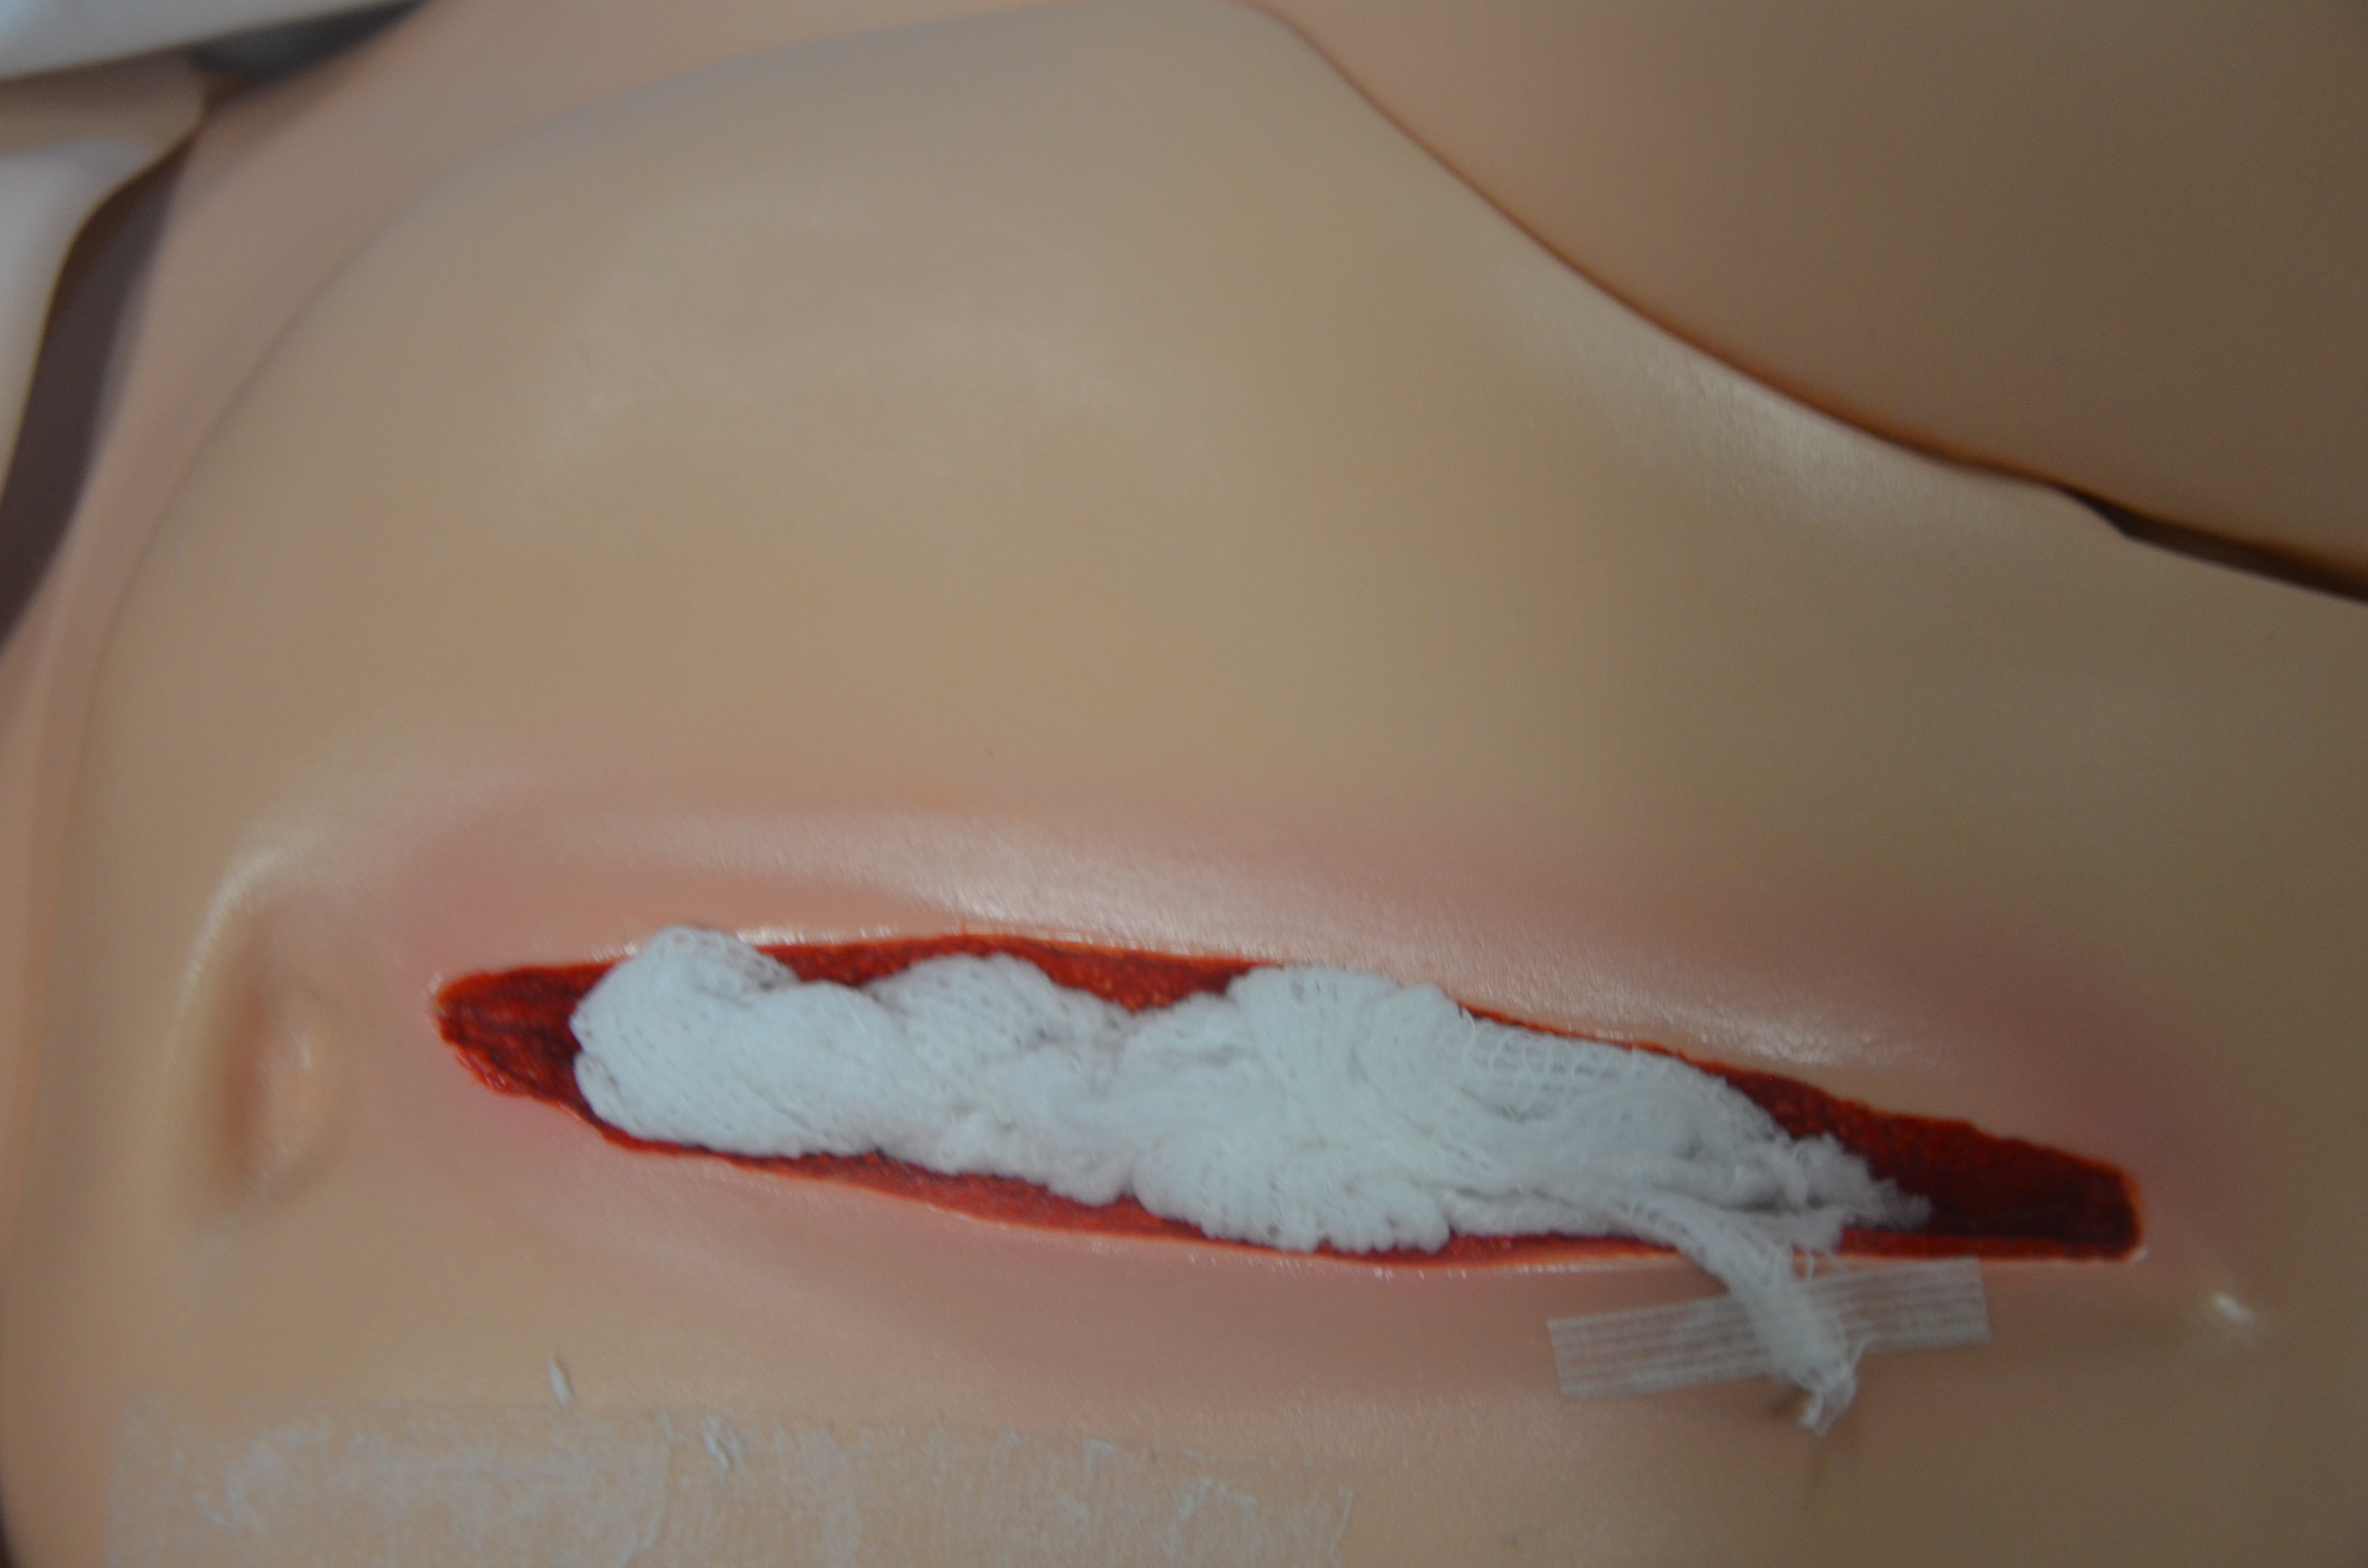 If the knot is visible in the wound, it is less likely that a packing piece will be lost if the knot comes undone. A knot exerting pressure on the wound surface may impair blood flow and potentially cause necrosis in the wound. |
||
| 17. Apply an appropriate outer dry dressing, depending on the frequency of the dressing changes and the amount of exudate from the wound. Secure the dressing. | The dressing on the wound must remain dry on the outside until the next dressing change to reduce risk of introducing more microorganisms into the wound.
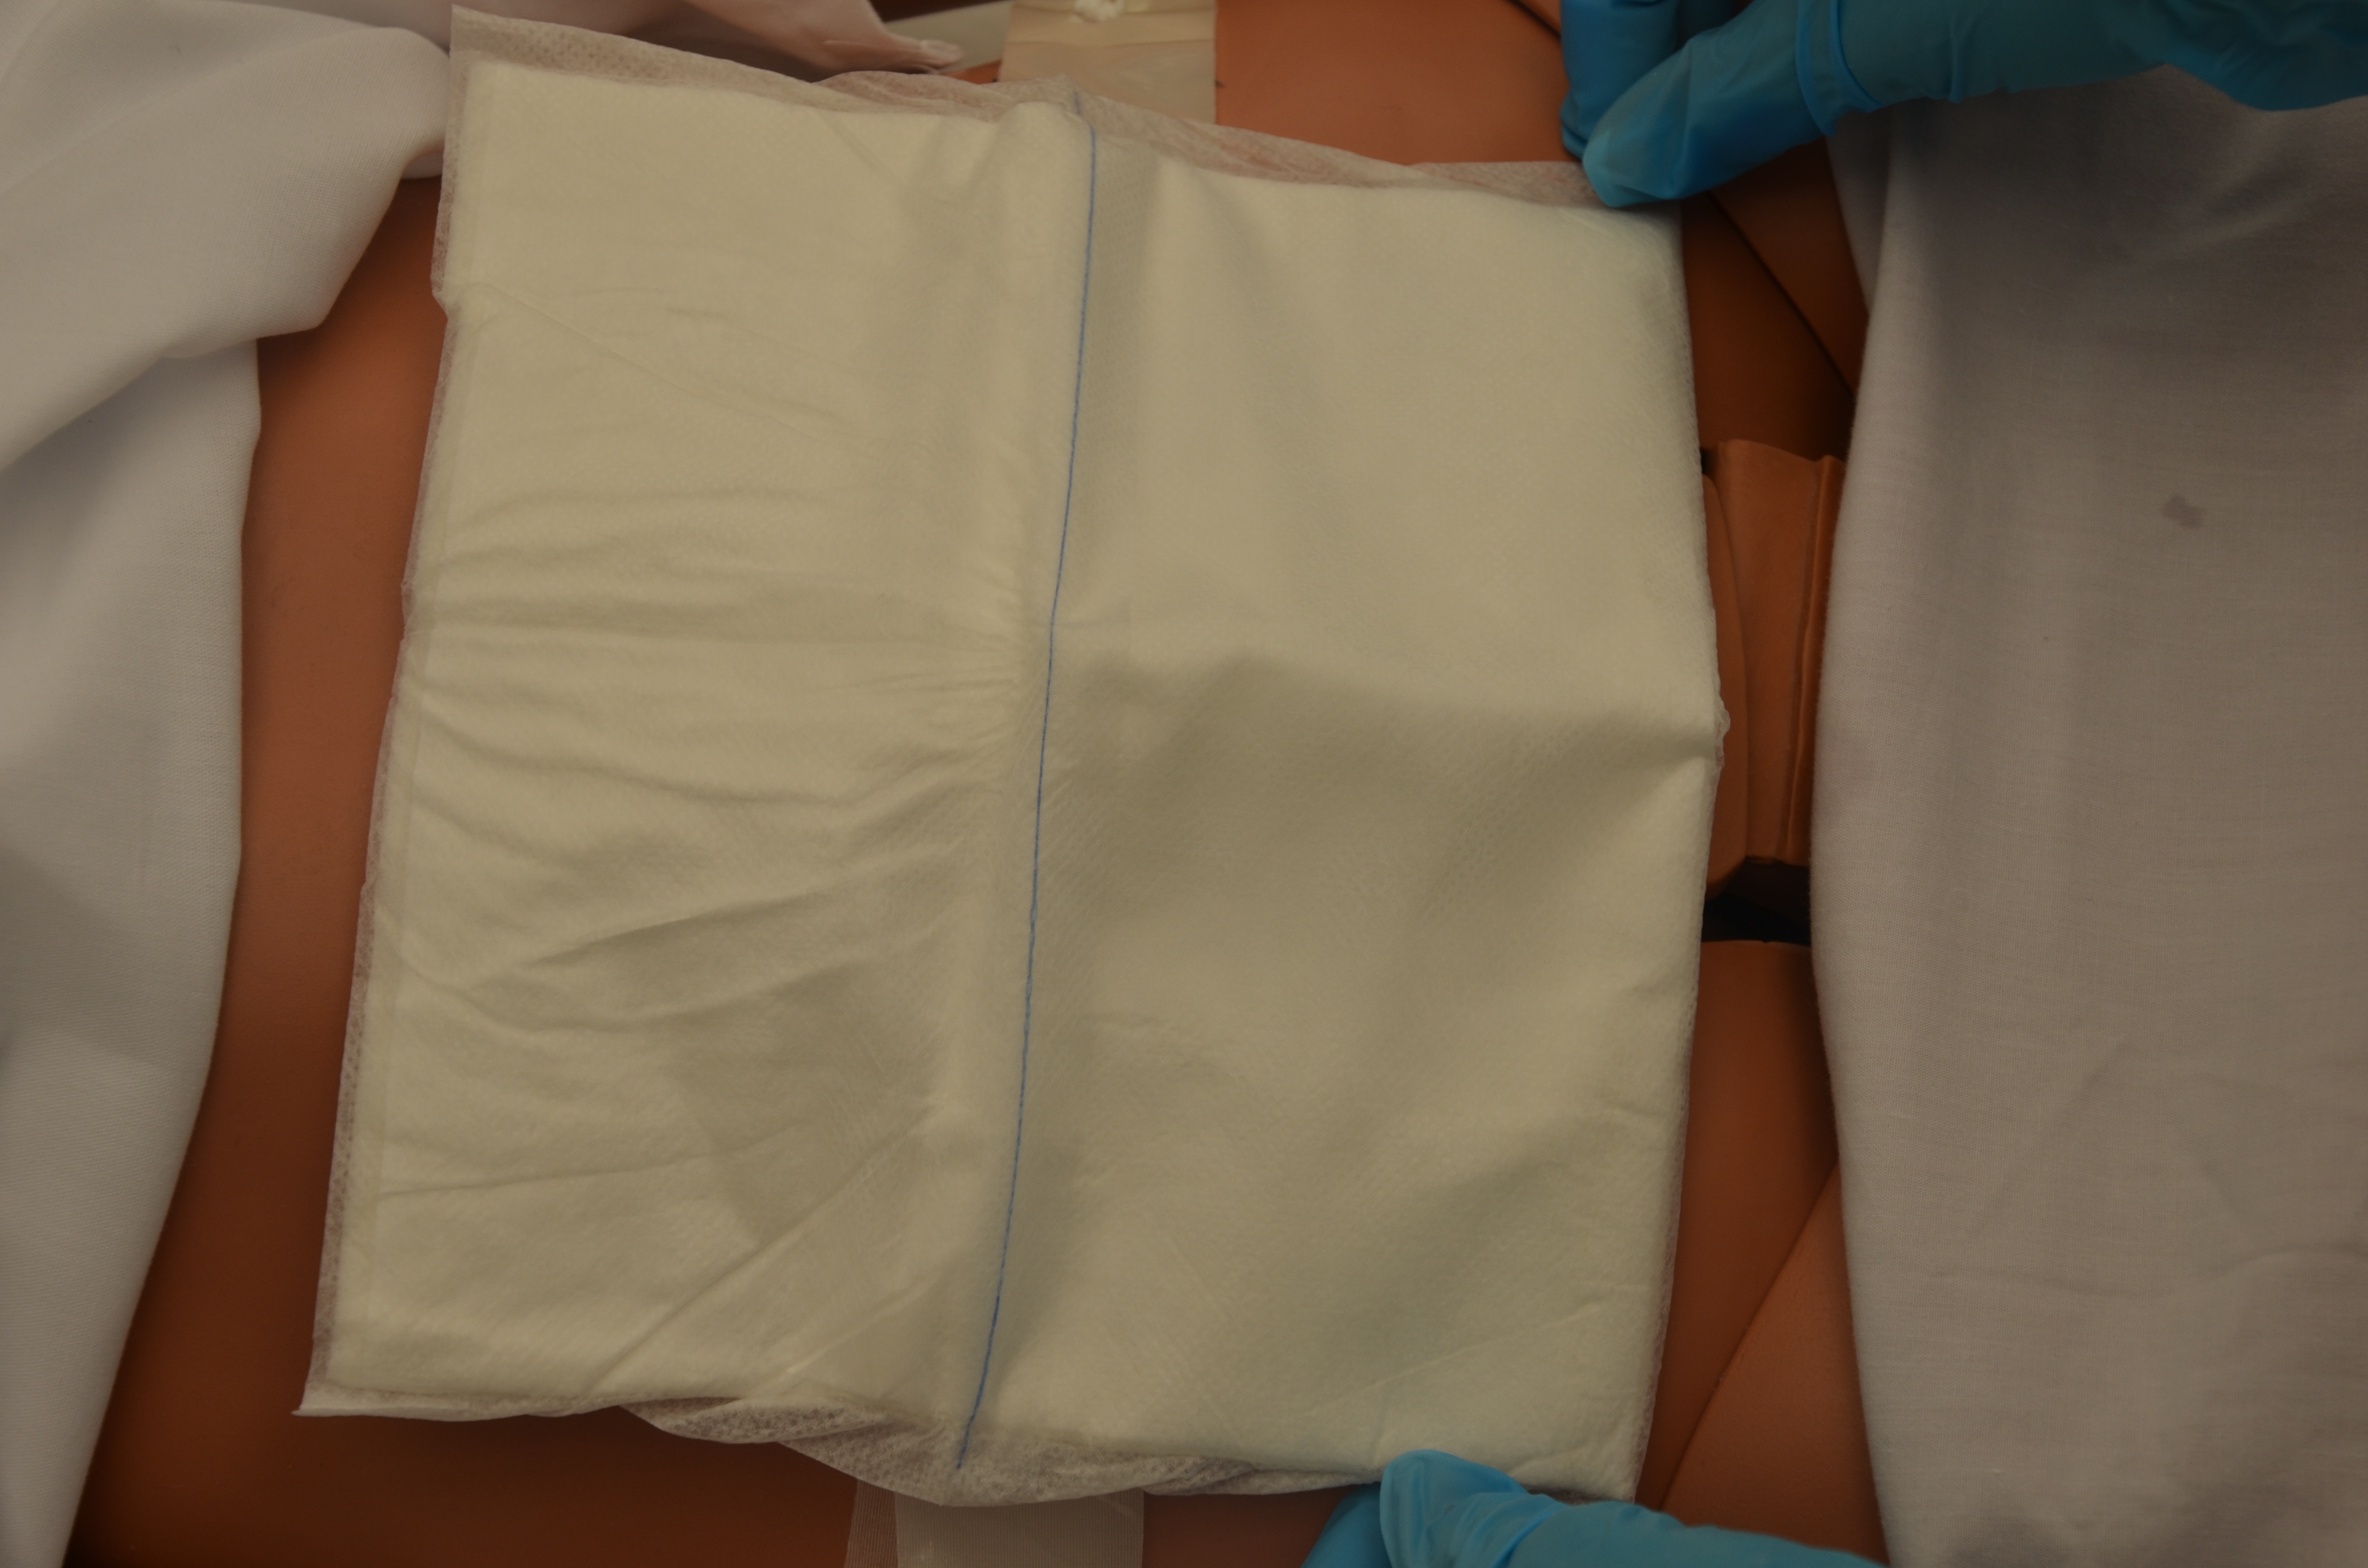 |
||
| 18. Discard supplies and perform hand hygiene. | This prevents the transfer of microorganisms.
 |
||
| 19. Help patient back into a comfortable position, and lower the bed. | This step optimizes patient safety. | ||
| 20. Document wound assessment, irrigation solution, dressings used for packing, and patient response to the procedure.
Documentation should include date and time of procedure. Report any unusual findings or concerns to the appropriate healthcare professional. |
This allows for effective communication between healthcare providers.
Notify required healthcare providers if wound appears infected or is not healing as expected. Sample charting: date / time. Abdominal wound dressing changed. Large amount foul smelling purulent drainage present. wound irrigated with 60 ml NS using irrigation tip catheter and syringe. 2 cm tunnel at 12 o’clock and 4 cm tunnel at 5 o’clock. Wound bed approx 1.5 cm × 2 cm × 0.5 cm. Wound bed 50 % red 50% yellow slough. Tunnels and wound bed packed with hydrogel soaked ribbon gauze approx 20 cm in total. Peri-wound skin macerated extending approx. 3 cm. Skin prep applied to same. Covered with ABD pad. Tolerated with some voiced discomfort.———————–YIkes RN |
||
| Data sources: BCIT, 2010b; Perry et al., 2018 | |||
The following links provide additional information about wound packing and wound measuring.
Critical Thinking Exercises
- Provide a rationale for selecting PPE when performing wound irrigation (eye protection; gown; non-sterile gloves; sterile gloves).
- Which elements are important to consider when assessing a closed surgical incision?
- What elements are important to consider when assessing an open wound?
