Chapter 5. Oxygen Therapy
5.9 Oropharyngeal suctioning
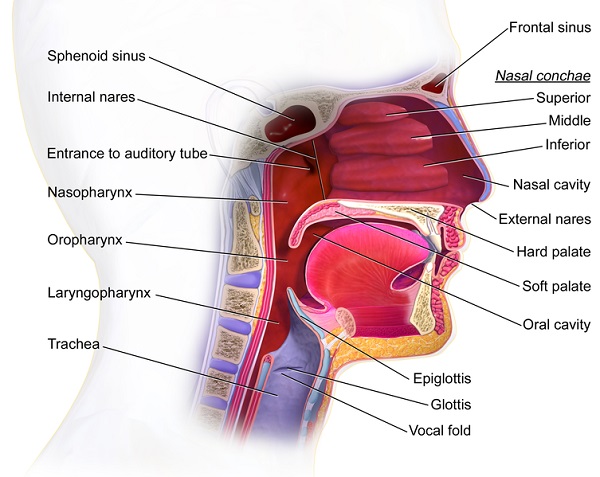
Oropharyngeal / Naso Pharyngeal Suctioning
Oral suctioning involves the mouth. Oropharyngeal involves the mouth and the pharynx and sometimes the trachea. The pharynx and trachea can also be reached through the nose. Suctioning via all of these routes are indicated when the patient has secretions in the pharynx and upper airway that they cannot clear independently. The choice of route will depend on patient factors like facial trauma, presence of airways, and the urgency of the situation. Symptoms to suggest the patient may need tracheal suctioning include visible secretions in the airway, coarse gurgling breath sounds, diminished breath sounds, suspected aspiration of gastric or upper airway secretions, increased work of breathing, deteriorating SaO2 or SpO2, restlessness (AARC, 2004). Because the suctioning occurs deeper into the respiratory tract, there is increased risk of respiratory infection. As such the procedure must be sterile and thus observe principles of asepsis. Other risks associated with oropharyngeal / tracheal suctioning include hypoxia, trauma, laryngospasm, increased intracranial pressure for persons with head injury, cardiac dysrhythmias, and death (Strickland et al., 2013).
Respiratory assessment should always include underlying pathology including respiratory, neuromuscular, musculoskeletal factors influencing respiratory status. Recent surgery, or trauma to face or nose may influence the need and/or ability to insert suction catheters (Perry et al., 2018). Consider reasons why the patient is unable to clear secretions independently and consider strategies that may reduce the need for tracheal suctioning (i.e., humidity may help to liquefy secretions, sitting in chair and/or ambulation may help the patient to clear secretions independently) (Strickland et al., 2013). Checklist 44 describes the procedure for oropharyngeal suctioning.
Checklist 44: Oropharyngeal SuctioningDisclaimer: Always review and follow your agency policy regarding this specific skill. |
|||
Safety considerations:
|
|||
Steps |
Additional Information |
||
| 1. Assess the need for suctioning including respiratory assessment, signs of hypoxia, inability to clear own secretions adequately, alterations in oxygenation levels | Perform baseline respiratory assessment including SpO2.
Assess for additional factors that might influence procedure, i.e., recent surgery; head, chest, or neck tumors; facial or nasal trauma; and neuromuscular diseases. Determine if the patient is on any medications that increase risk of bleeding |
||
| 2. Explain the procedure in calm reassuring manner explaining the benefits to remove secretions to make breathing easier. | Procedure can cause patient anxiety. This is part of the consent procedure. Allow the patient an opportunity to ask questions. | ||
| 3. Position the patient in semi to high Fowler’s – unless contraindicated. Drape chest with towel or disposable pad. | Promotes lung expansion and promotes secretion clearance. | ||
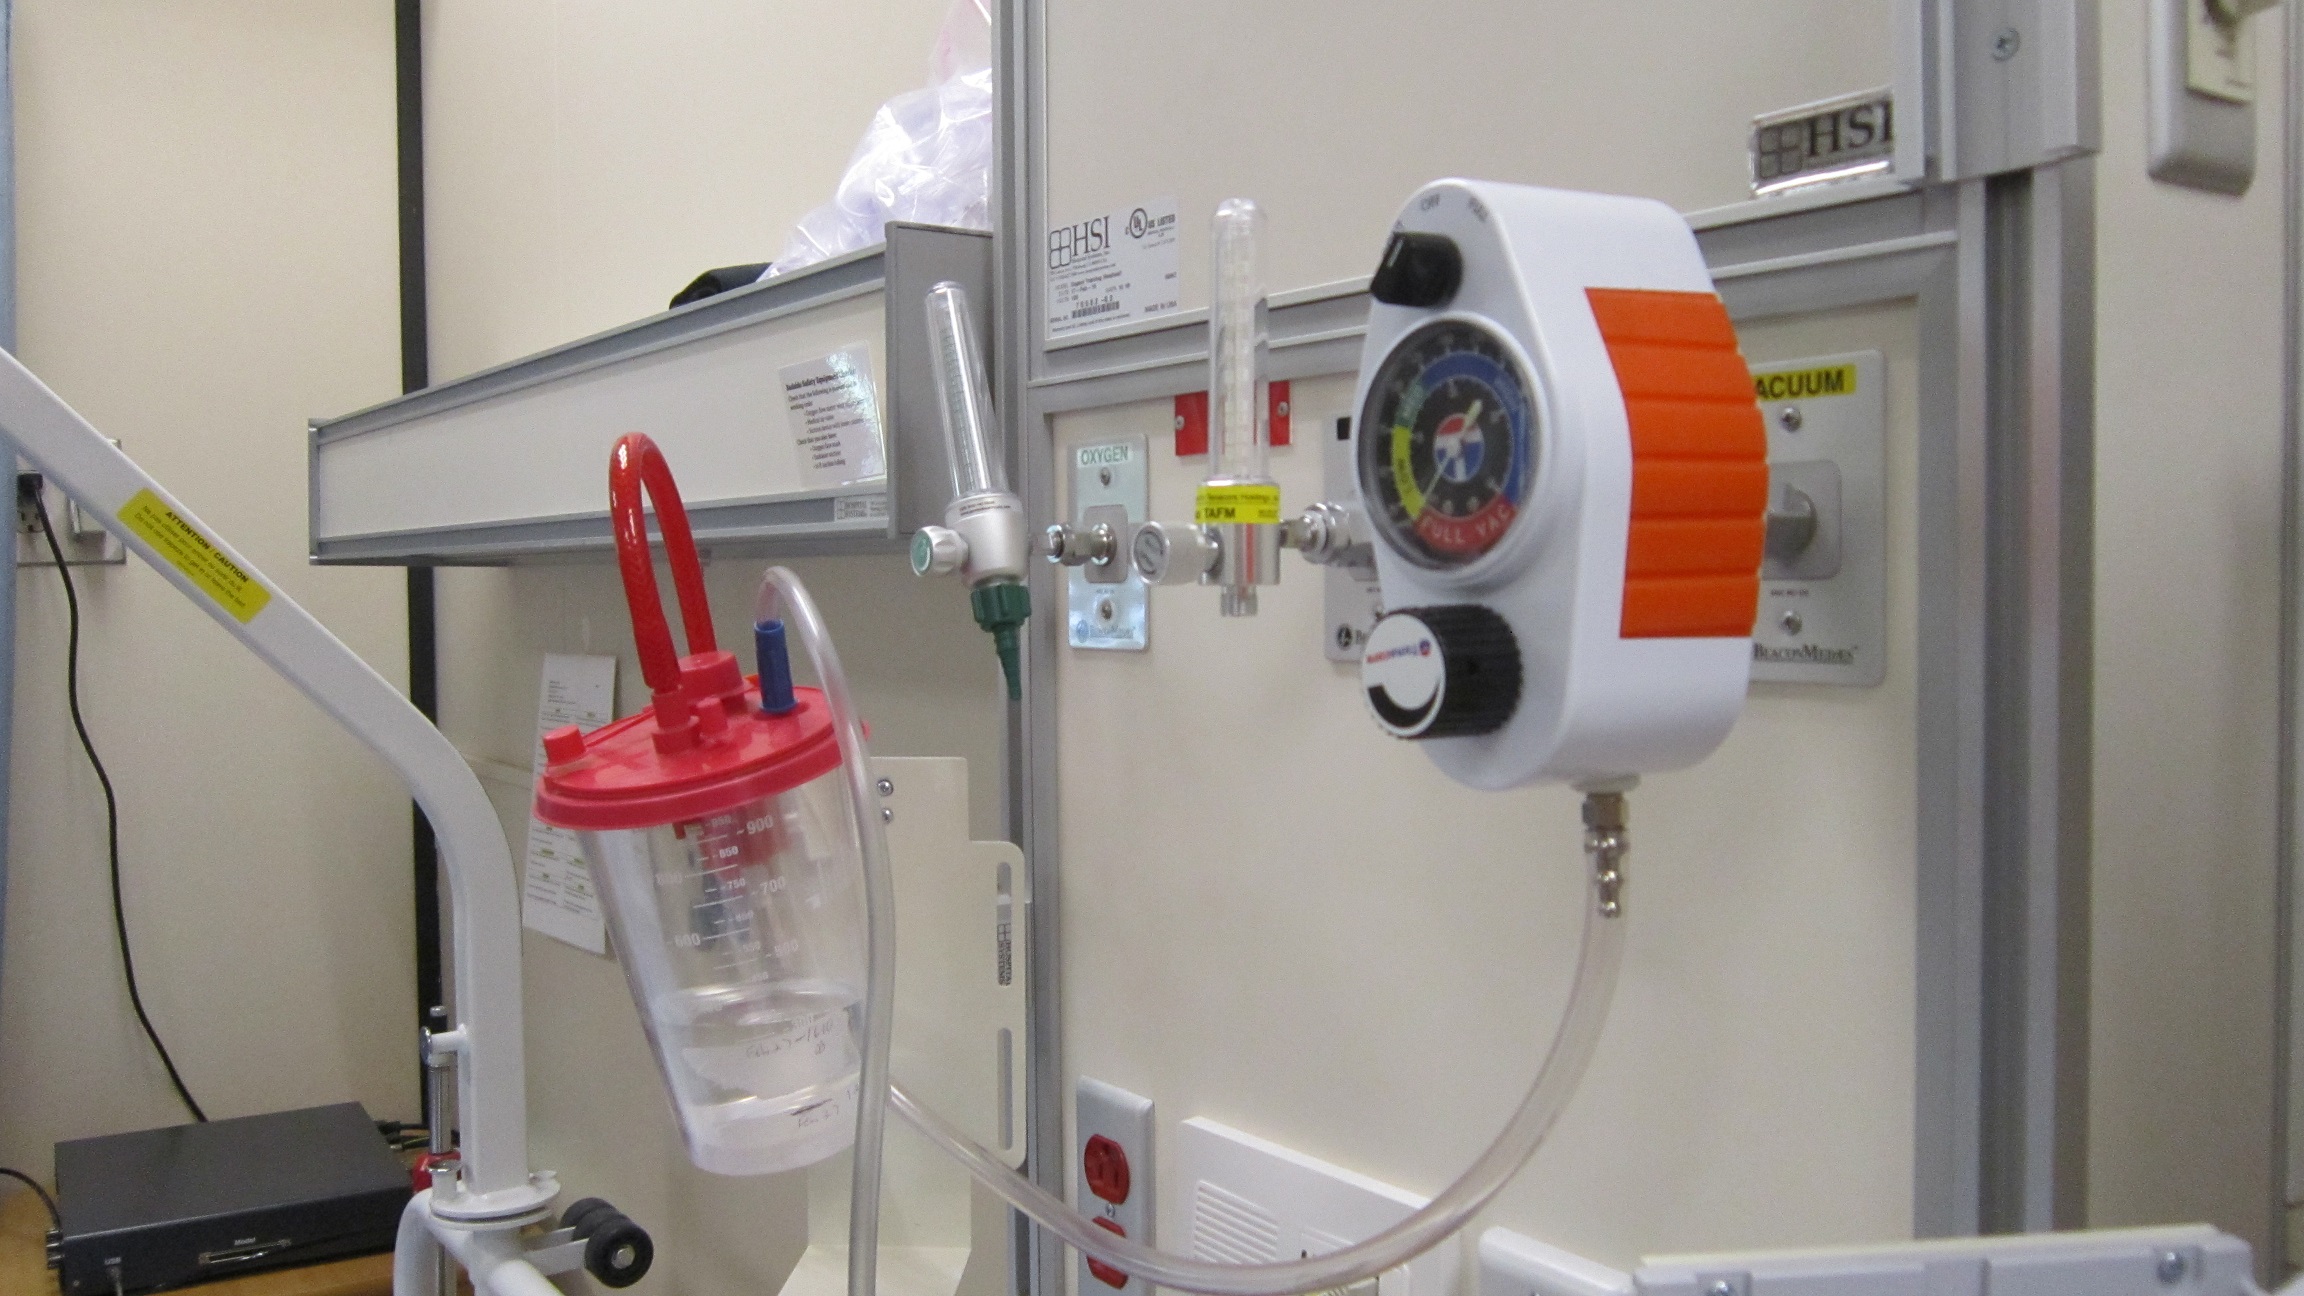
| 4. Perform hand hygiene. Gather equipment. Ensure suction set up is working. | Suction machine (portable or wall); canister & liner; connective tubing (2), suction catheter, lubricant, sterile saline or water (acts as lubricant), PPE (sterile gloves, face shield and / or gown), pulse oximeter. | ||
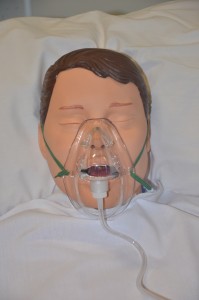
| 5. Administer oxygen if needed | Hyper-oxygenating might be necessary if the patient is hypoxic or at risk of hypoxia during procedure. | ||
| 6. Estimate the appropriate suctioning depth by measuring the catheter from the tip of the patient’s nose to the angle of the mandible or to the earlobe | This is done with the suction catheter still in the sterile package. Ensures that the catheter remains sterile and at minimum reaches the pharynx.
 |
||
| 7. Turn the suction device on, and set the vacuum regulator to the appropriate negative pressure. Set suction levels to medium / moderate.
Attach the suction catheter to the tubing whilst remaining in the sterile package. Open the sterile water / saline. If using lubricant, squeeze water soluble lubricant onto sterile surface. |
 It is the tip of the catheter that you try to keep sterile. Suction setting:
|
||
| 8. Hand hygiene & Donne PPE | At minimum PPE should include: sterile gloves & face shield.
Sterile gloves reduce risk of transmitting microorganisms into the lungs. |
||
| 9. Apply sterile gloves. With the non-dominant hand, pick up the packaged connecting tubing.
Expose the suction catheter enough to allow the dominant hand to grab the sterile catheter. Wrap the sterile catheter around the dominant hand. Suction a small amount of sterile NS / water. Apply lubricant if necessary (to 10 cm of catheter tip) |
You can also apply a non sterile glove to the non dominant hand and a sterile glove to the dominant hand.
There is more than one way to remove the sterile suction catheter from the package: the principle is keep the dominant hand & the suction catheter tip sterile. Suctioning sterile NS/ water ensures properly functioning equipment.
|
||
10. Insert suction catheter via route of choice (oral / nasal) until you feel that you are in the pharynx or until you feel resistance:
|
The route chosen will depend on the urgency of the situation and presence of tubes and the skill level of the nurse. Each route comes with inherit risks:
Important for this patient population is frequent and adequate mouth care and collaboration with respiratory therapy and physiotherapy Introduction of the catheter sometimes stimulates a cough response. Suction applied during insertion increases risk of mucosal damage and increases risk of hypoxia |
||
| 11. Apply intermittent suction as the catheter is withdrawn. This means occluding and releasing the catheter vent with the non-dominant thumb. Some sources suggest twisting catheter back and forth as the catheter is withdrawn. Always encourage the patient to cough. | Do not apply suction for longer than 10 to 15 seconds. Suction removes oxygen and increases risk of hypoxia as oxygen is sucked out.
The need to rotate the catheter is questioned in the literature because modern suction catheters have multiple eyes / holes (Moore, 2003). Encourage patient to cough to promote secretion clearance. |
||
| 12. Replace the oxygen delivery device, if applicable, and instruct the patient to take deep breaths to encourage oxygenation. |
 |
||
| 13. Clear secretions from the suction catheter by suctioning sterile water / saline to clear tubing of secretions. | Clears tubing of secretions to maintain patency | ||
| 14. Assess the need to repeat the procedure. | Observe for changes to cardiopulmonary status.
Can often be done through observation of breathing pattern including HR and SpO2. If stethoscope is needed, hand hygiene and reapplication of sterile gloves is necessary if you are going to repeat the procedure. When possible, provide recovery time (at least 1 minute) between suction passes to allow for ventilation and oxygenation to occur. |
||
| 15. Discard suction catheter, sterile saline / water, lubricant, sterile gloves. Turn off suction. Remove gloves. Perform hand hygiene. Ensure the patient is comfortable and the call bell within reach. | Open suctioning method requires new suction catheter after each round of suctioning. Reuse may introduce microorganisms into the patient’s respiratory tract increasing risk of infection | ||
| 16. Document the procedure in the patient’s record. | Sample narrative documentation:
date/time: Patient drowsy. Audibly moist respiration’s. Encourage to cough but unable to clear secretions . T 37.5 HR 87 RR 26 BP 148/86. SpO2 90%3L/prongs. Chest auscultated ++ course crackles and ↓air entry throughout. Oropharyngeal suctioning using #16 suction catheter for moderate thick white / yellow secretions. Some coughing noted through procedure. Resps now less audibly moist. Chest sounds / vital signs unchanged ————-P. Lescgh RN |
||
| Data sources: AARC, 2004 ; Moore, 2003; Strickland et al. 2013; Perry et al, 2018 | |||
- Adaptations for neonates / children may be necessary. Consult agency policy and procedure guidelines.
To better understand oropharyngeal and tracheal suctioning, watch the following video.
Critical Thinking Exercises
- Name four potential complications of oropharyngeal suctioning.
- Why is oropharyngeal suctioning treated as a sterile procedure?
Attributions
Figure 5.6. Structures of the mouth & pharynx by Blausen.com staff is used under a CC BY 3.0 license.
