Chapter 3. Safer Patient Handling, Positioning, Transfers and Ambulation
3.7 Types of Patient Transfers: Transfers without Mechanical Assistive Devices
Patient Transfer from Bed to Stretcher
A bed to stretcher transfer requires a minimum of three to four people, depending on the size of the patient and the size and strength of the healthcare providers. Patients who require this type of transfer are generally immobile or acutely ill, so they may be unable to assist with the transfer. Checklist 25 shows the steps for moving patients laterally from one surface to another.
Checklist 25: Moving a Patient from Bed to StretcherDisclaimer: Always review and follow your agency policy regarding this specific skill. |
|||
Safety considerations:
|
|||
Steps |
Additional Information |
||
|
1. Always predetermine the number of staff required to safely transfer a patient horizontally. |
Three to four healthcare providers are required for the transfer. | ||
|
2. Explain what will happen and how the patient can help (tucked-in chin, keep hands on chest). Collect supplies. |
This step provides the patient with an opportunity to ask questions and help with the transfer. 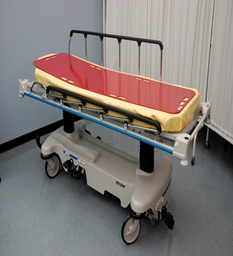  |
||
|
3. Raise bed to safe working height. Flatten the head of bed and side rails. Position the patient closest to the side of the bed where the stretcher will be placed. |
Safe working height is at waist level of the shortest healthcare provider.
The patient must be positioned correctly prior to the transfer to avoid straining and reaching. May need additional healthcare providers to move patient to the side of the bed. |
||
|
4. Position stretcher beside the bed on the side closest to the patient with stretcher slightly lower. Apply brakes. Caregiver #1 stands closest to the patient. Caregiver #2 and #3 stand on the other side of the bed: #2 is at the head and shoulders, and #3 is at the hips and legs. Caregiver #4 can be used to move feet or equipment, or help #2 and #3 with pulling.
|
The slider board will form a bridge between the bed and the stretcher.
The sheet must be between the patient and the slider board to decrease friction between patient and board.  Ensure all tubes and attachments are out of the way. |
||
|
5. Caregiver #1 uses a front-to-back weight shift to roll patient onto their side using the sliding sheet. Meanwhile, caregivers #2 and #3 climb onto and kneel on the bed to place the slider board halfway under the patient. The patient is returned to the supine position. Patient’s feet are positioned on the slider board.
|
Ensure proper body mechanics by keeping elbows close and backs tall.
The position of the healthcare providers keeps the heaviest part of the patient near the healthcare providers’ centre of gravity for stability. 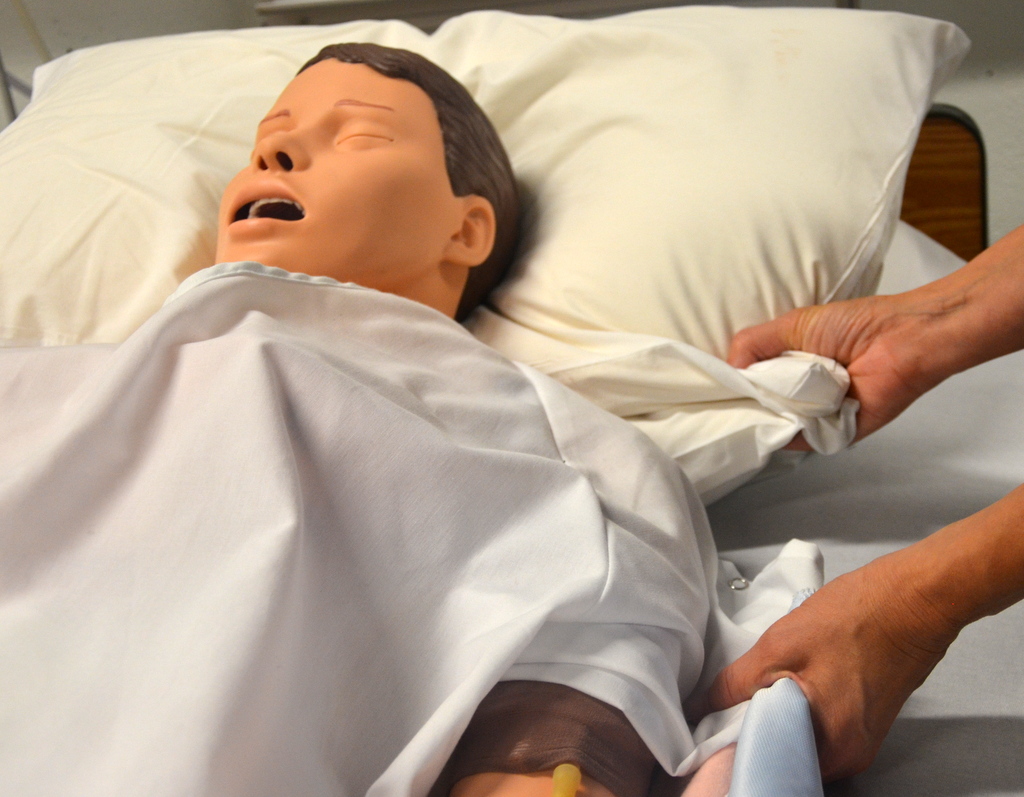 |
||
|
6. Caregivers #2 and #3 can remain on the stretcher. They grasp the draw sheet using a palms up technique, sitting-up tall, and keeping their elbows close to their body and backs straight. Caregiver #1 remains on the far side of the bed, between the chest and hips of the patient, with hands on hips and shoulders and forearms parallel to the bed.
|
Alternately, caregivers #2 and #3 can stand on the floor opposite to caregiver #1, grab the draw sheet using a palms up technique, and a front-to-back weight shift position.
|
||
|
7. The designated leader will count “1, 2, 3,” and start the move. Caregiver #1 will push patient just to arm’s length using a back-to-front weight shift. At the same time, caregivers #2 and #3 on the stretcher will move from a sitting-up-tall position to sitting on their heels, shifting their weight from the front leg to the back, bringing the patient with them using the sheet. |
Coordinating the move between healthcare providers prevents injury while transferring patients.
Using a weight shift from front-to-back uses the legs to minimize effort when moving a patient. |
||
|
8. Caregivers #2 and #3 will climb off the stretcher and stand at the side, and grasp the sheet keeping elbows tucked-in. On the count of three, with backs straight and knees bent, they use a front-to-back weight shift and slide the patient into the middle of the bed. |
The step allows the patient to be properly positioned in the bed and prevents back injury to healthcare providers. 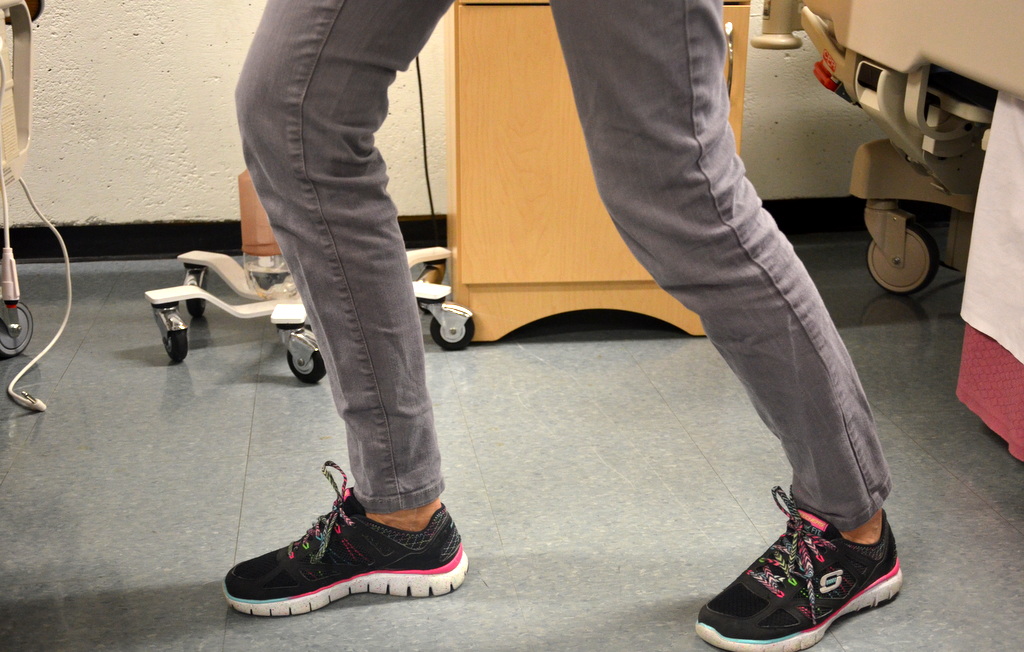  |
||
|
9. At the same time, caregiver #1 pulls the slider board out from under the patient. |
This step allows the patient to lie flat on the bed. | ||
|
10. Replace pillow under head, ensure patient is comfortable, and cover the patient with sheets. |
This promotes comfort and prevents harm to patient. | ||
|
11. Lower bed. Raise side rails as required, and ensure call bell is within reach. |
Placing bed and side rails in a safe position reduces the likelihood of injury to patient. Proper placement of call bell facilitates patient’s ability to ask for assistance.
 Hand hygiene reduces the spread of microorganisms. |
||
| Data sources: Perry et al., 2018; PHSA, 2010 | |||
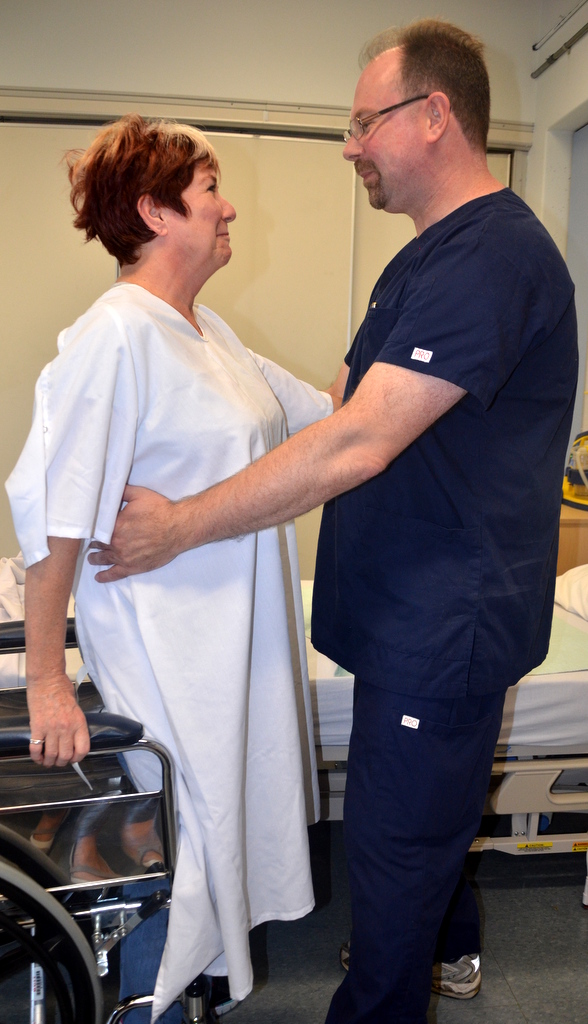
Transfer from Bed to Wheelchair
Patients often need assistance when moving from a bed to a wheelchair. A patient must be cooperative and predictable, and able to bear weight on both legs and take small steps. If any of these criteria are not met, a two-person transfer or mechanical lift is recommended. Always complete a patient risk assessment prior to all patient-handling activities. See Checklist 26 for the steps to transfer a patient from the bed to the wheelchair (PHSA, 2010).
Checklist 26: Bed to Wheelchair Transfer—One Person AssistDisclaimer: Always review and follow your agency policy regarding this specific skill. |
|||
Safety considerations:
|
|||
Steps |
Additional Information |
||
|
1. Perform hand hygiene. Explain what will happen during the transfer and how the patient can help. |
This step provides the patient with an opportunity to ask questions and help with the positioning.
Explain procedure to patient |
||
|
2. Apply proper footwear prior to ambulation. |
 |
||
|
3. Lower the bed and ensure that brakes are applied. Place the wheelchair next to the bed at a 45-degree angle and apply brakes. If a patient has weakness on one side, place the wheelchair on the stronger side. |
Ensure brakes are applied on the wheelchair.
 |
||
|
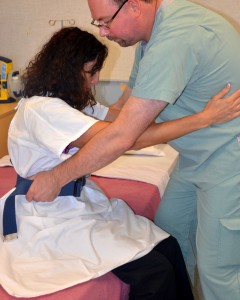
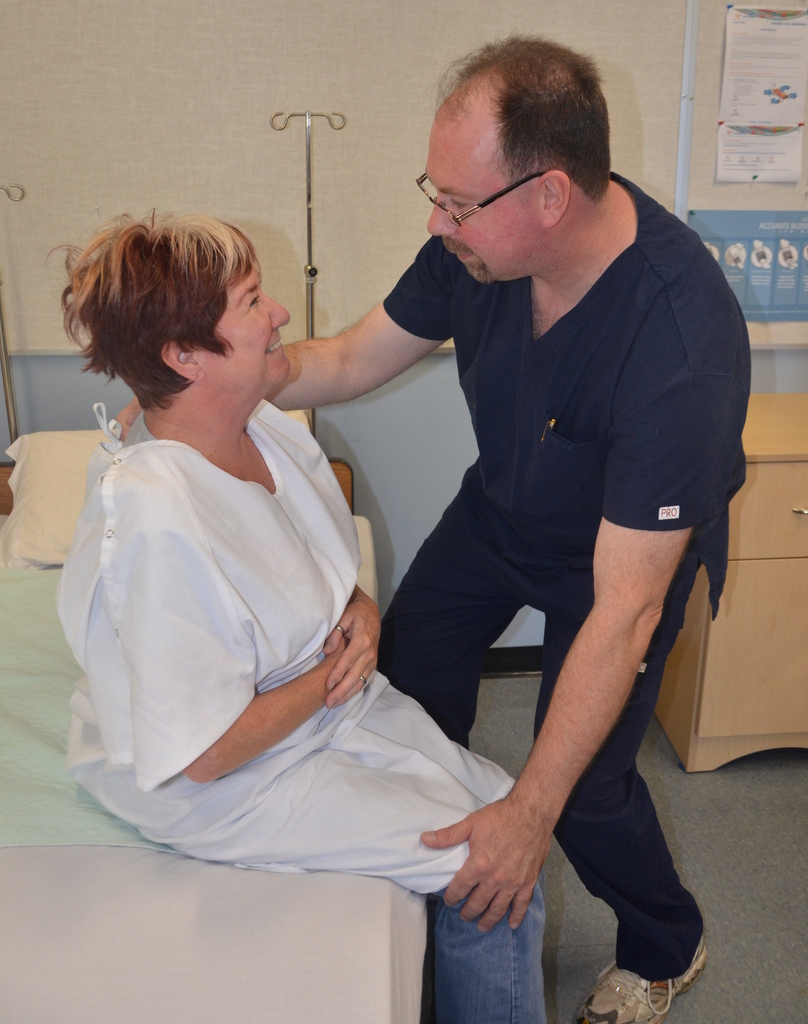
4. Sit patient on the side of the bed with his or her feet on the floor. Apply the gait belt snugly around the waist (if required). Place hands on waist to assist into a standing position. |
The patient’s feet should be in between the healthcare provider’s feet. |
||
|
5. As the patient leans forward, grasp the gait belt (if required) on the side of the patient, with your arms outside the patient’s arms. Position your legs on the outside of the patient’s legs. The patient’s feet should be flat on the floor. |
 |
||
|
6. Count to three and, using a rocking motion, help the patient stand by shifting weight from the front foot to the back foot, keeping elbows in and back straight. |
 |
||
|
7. Once standing, have the patient take a few steps to the side and back until they can feel the wheelchair on the back of their legs. Have patient grasp the arm of the wheelchair and lean forward slightly. |
Ensure the patient can feel the wheelchair on the back of the legs prior to sitting down.
 |
||
|
8. As the patient sits down, shift your weight from back to front with bent knees, with trunk straight and elbows slightly bent. Allow patient to sit in wheelchair slowly, using armrests for support. |
This allows the patient to be properly positioned in the chair and prevents back injury to healthcare providers. 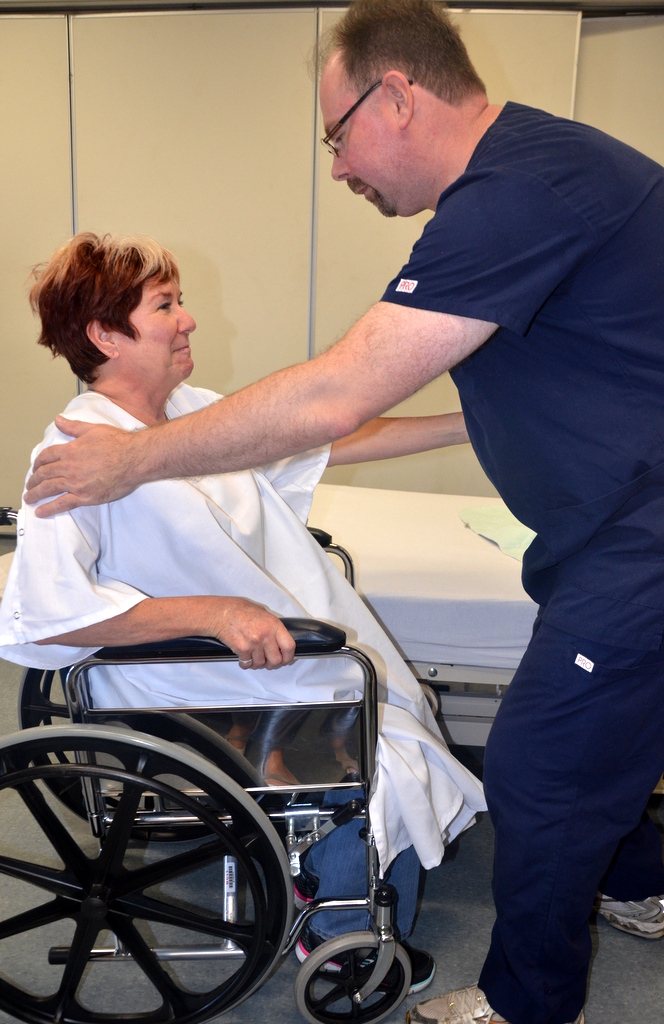 |
||
| Data sources: Perry et al., 2018; PHSA, 2010 | |||
Special considerations:
- Do not allow patients to place their arms around your neck. Have them place their arms around your hips.
- Avoid lifting patients. Let them stand using their own strength.
- Stay close to your patient during the transfer to keep the patient’s weight close to your centre of gravity
- If the patient has weakness on one side of the body (e.g., due to a cerebral vascular accident [CVA] or stroke), place the wheelchair on the stronger side.
2019 Update: some health authorities are no longer recommending the care giver be positioned directly in front of the patient being transferred. Instead, the care giver should stand to the side of the patient and use a gait belt or transfer belt to guide the patient.
See Interior Health (nd). Patient handling procedure: One person manual transfer https://www.interiorhealth.ca/sites/Partners/WHSresources/Documents/Manual%20Transfers%20-%20One%20Person%20SWP.pdf
Take PHSA’s Standing Step Around Transfer (2010) course to learn the method for a bed to wheelchair transfer.
Critical Thinking Exercises
- Prior to moving the patient from bed to a wheelchair, where should the patient’s feet be placed?
