Chapter 8. Intravenous Therapy
8.8 Flushing and Locking PVAD-Short, Midlines, CVADs (PICCs, Percutaneous Non Hemodialysis Lines)
In Chapter 7.6 we discussed flushing before and after administration of an IV direct medication. Recall that the rationale for the initial flush was to ensure IV patency so that the medication would be administered via the correct route. The flush following the medication administration was to clear the extension tubing and to maintain patency of the venous access device until the next time it required access.
In this section we discuss flushing and locking of PVAD-short catheters and CVADs (PICCs and percutaneus non hemodialysis catheters) as part of routine care and maintenance. Flushing and locking of IVADs, CVAD hemodialysis lines, and tunnelled catheters require additional education and training beyond the scope of this textbook.
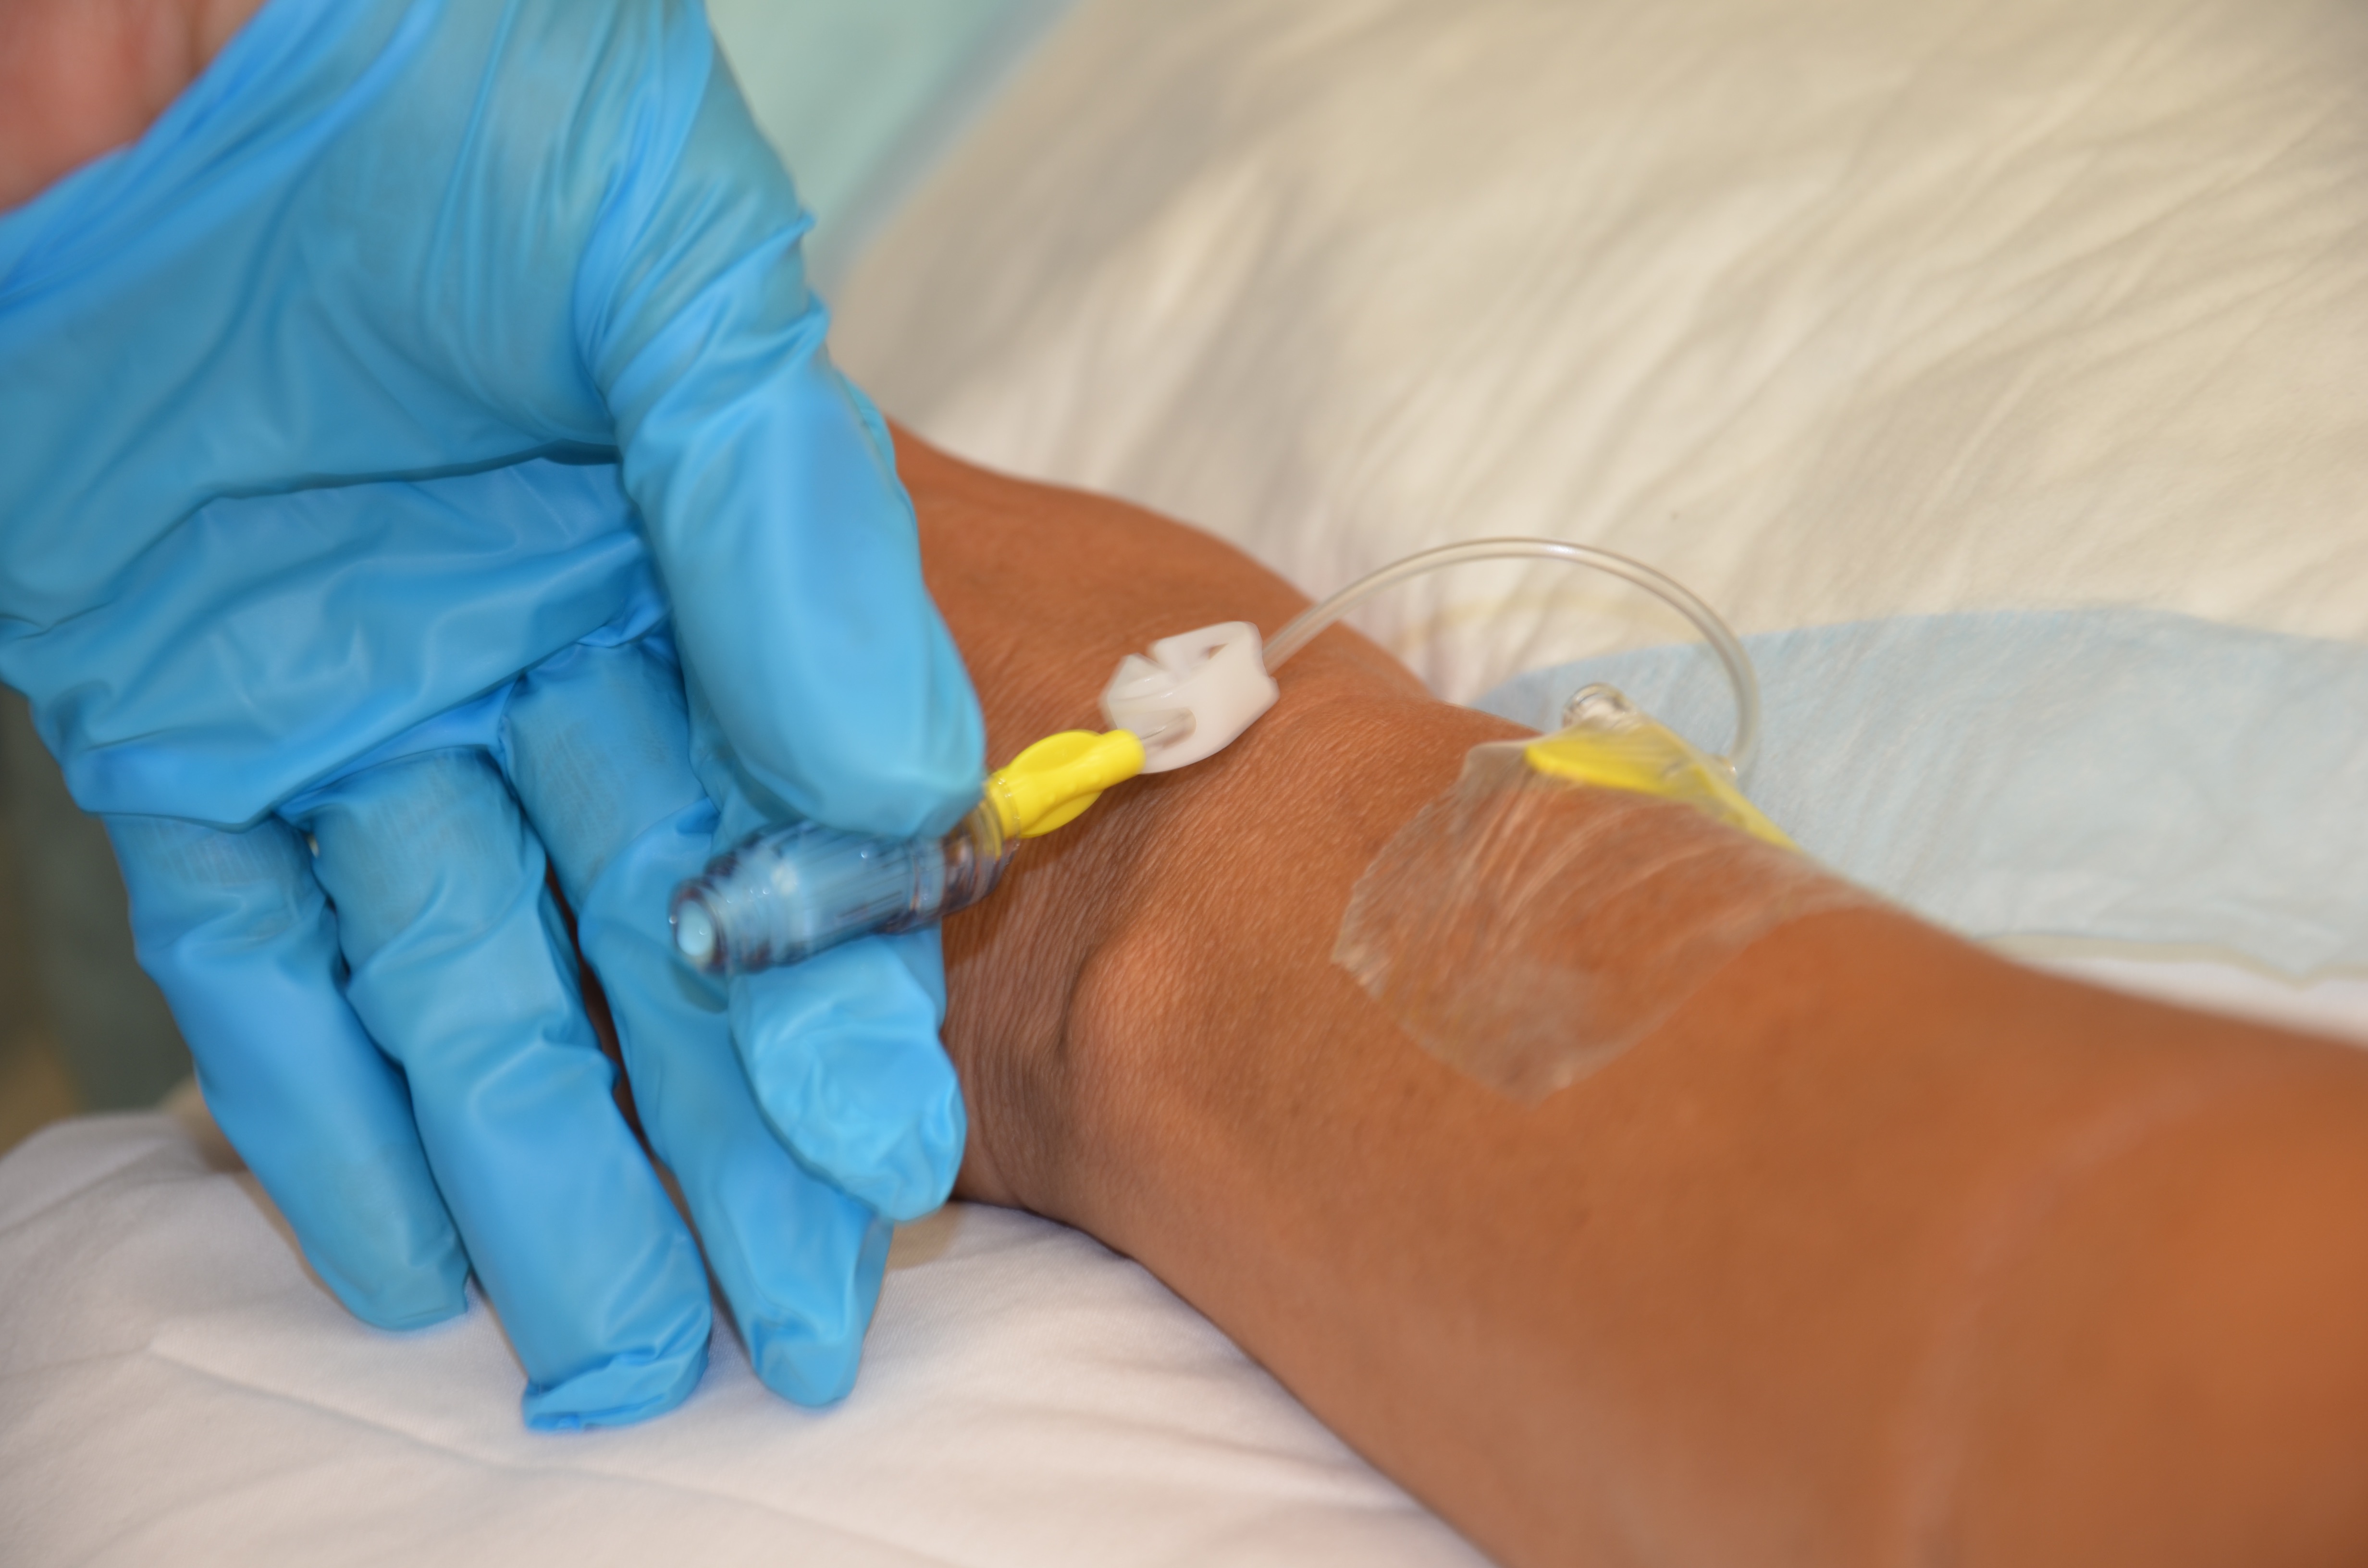
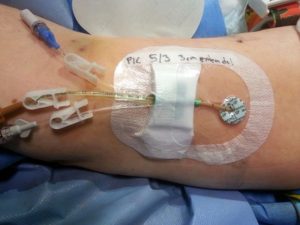
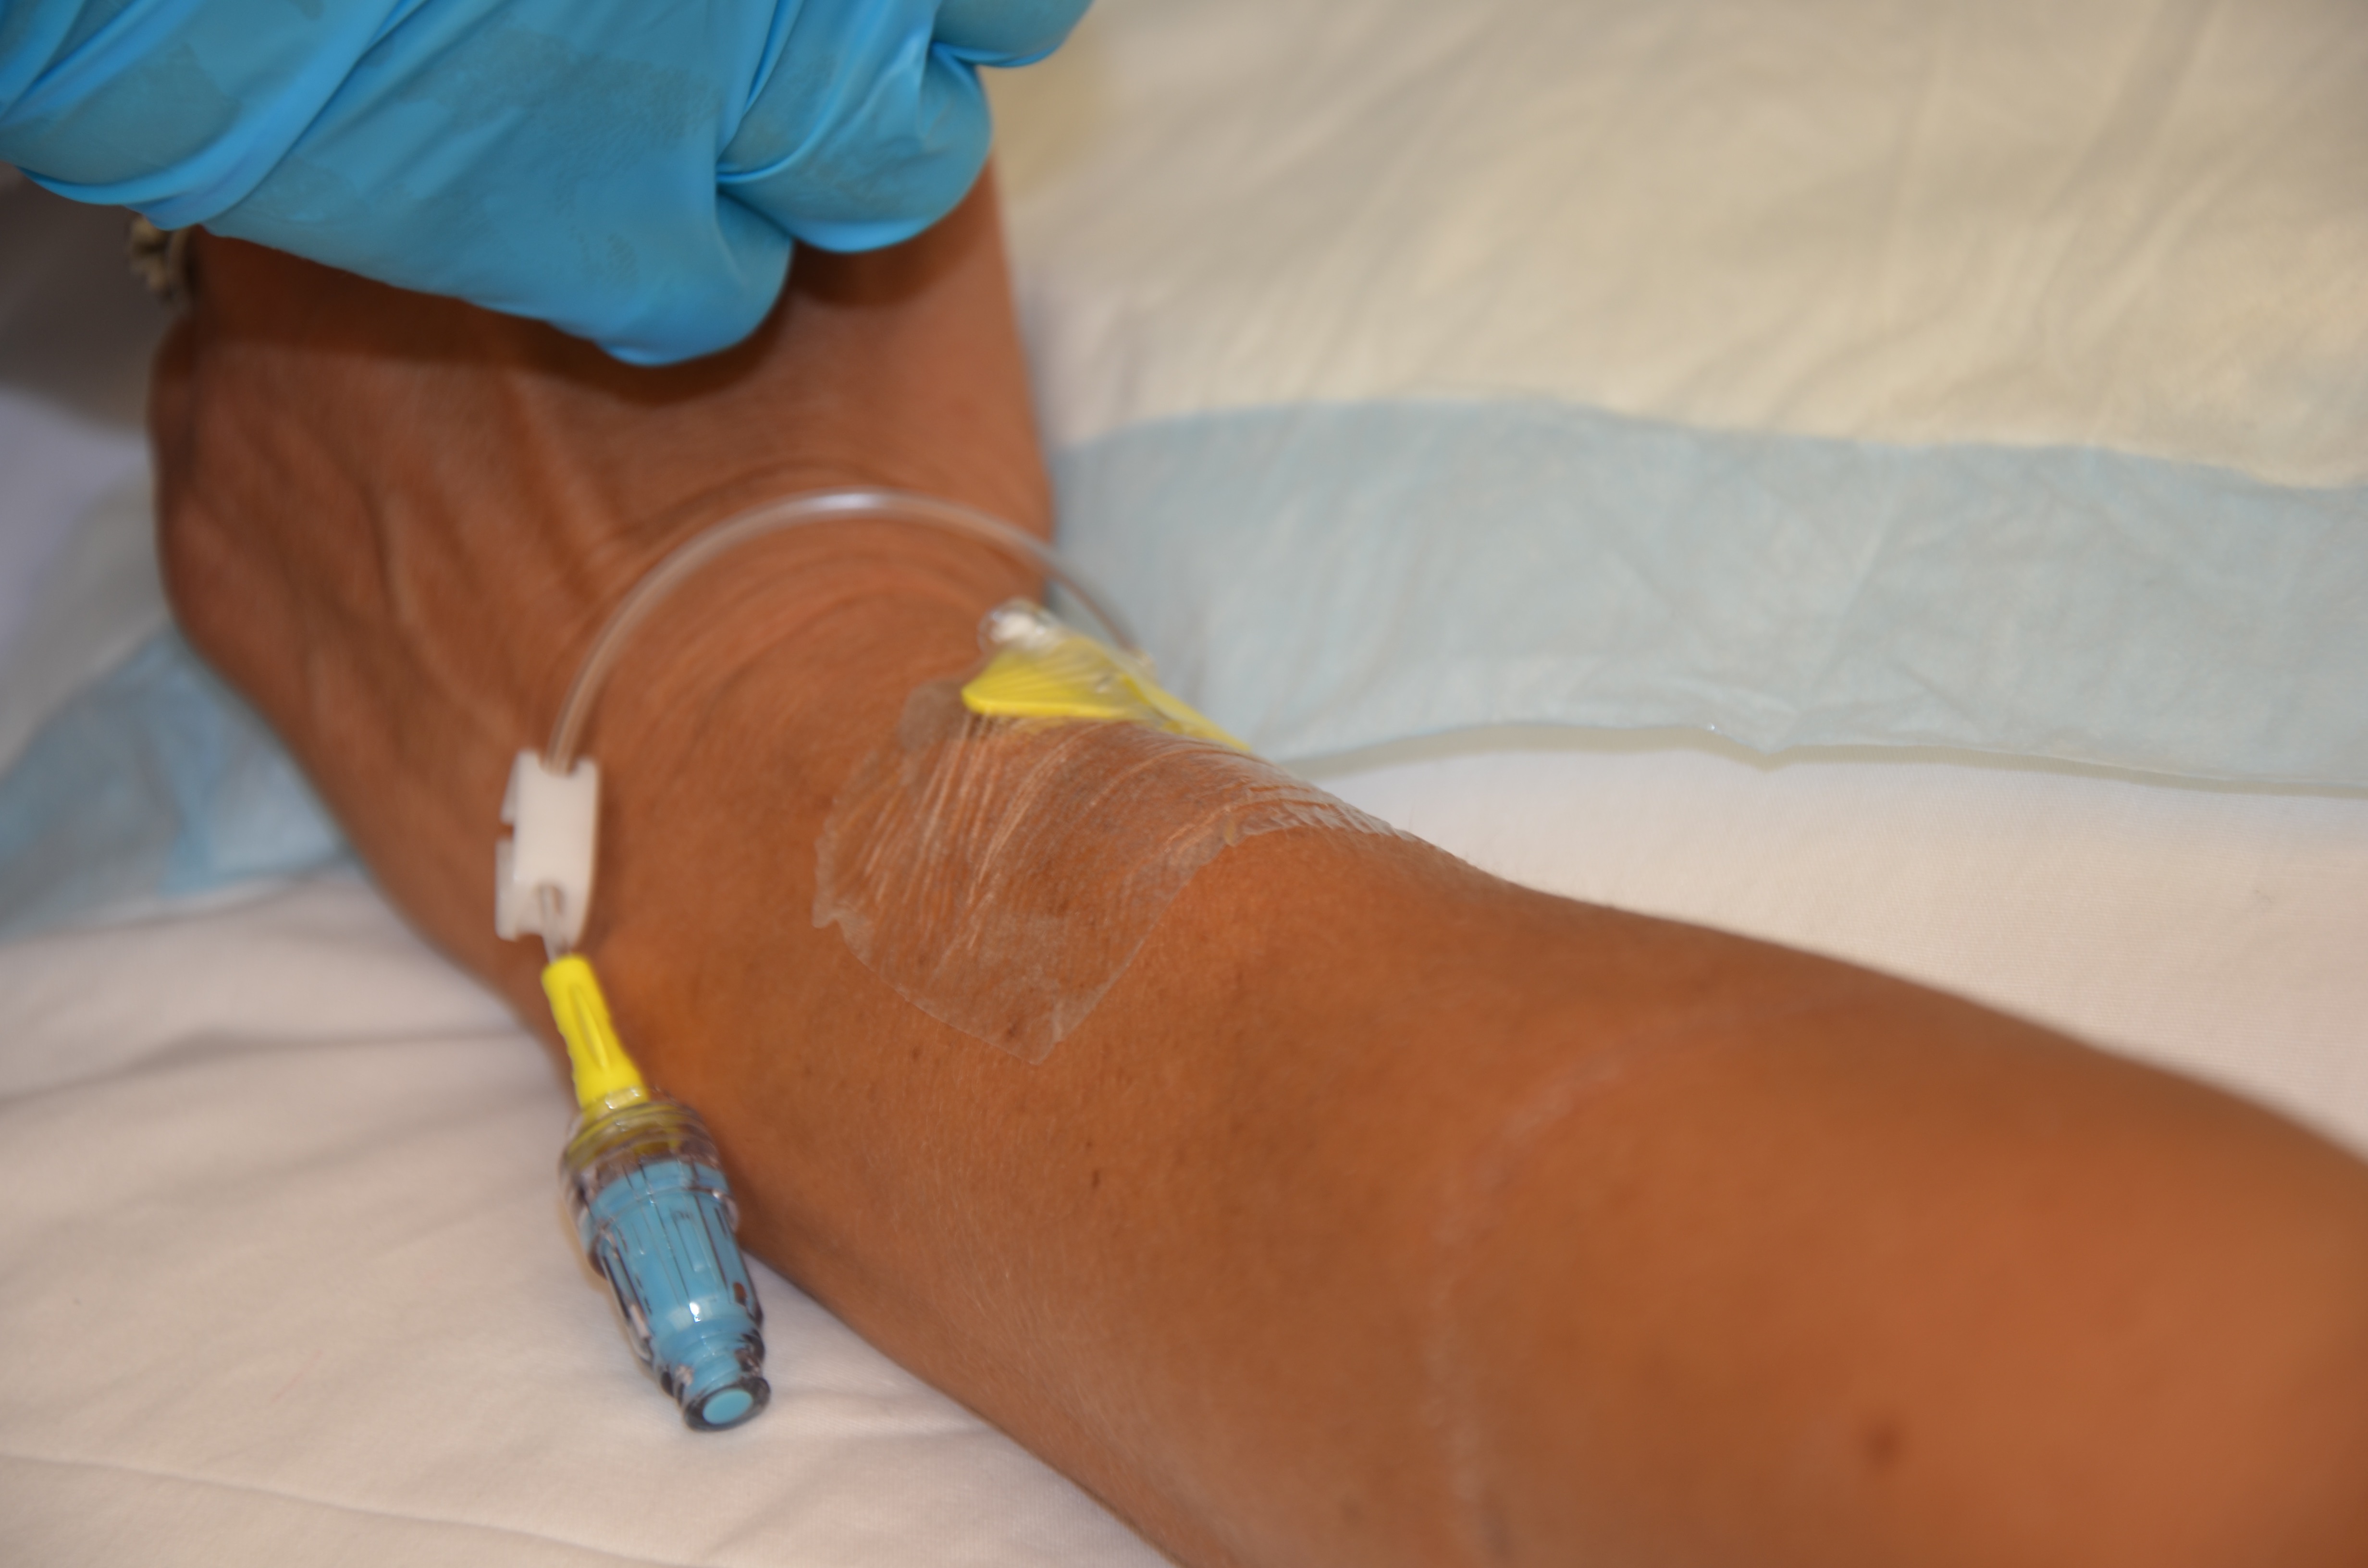
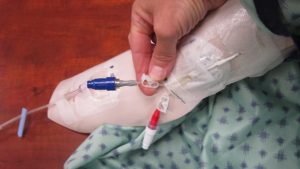
If IVs are not being infused, they are often locked. Locked lumens require care and maintenance to allow them to remain patent until the next time they are needed. PVAD-short cannulas that are locked are commonly referred to as a saline lock (Figure 8.21) . CVADs that are locked are referred to as being either capped or locked; for example “a locked PICC,” “a capped percutaneous non hemodialysis CVAD,” or “a PICC with one capped lumen and two accessed lumens.” (See Figure 8.6.)
Routine flushing and locking of IV catheters is meant to prevent catheter occlusion (Goossens, 2015). Besides mechanical reasons, IV catheter occlusion can result from blood clot (fibrin) in the lumen or at the catheter tip and/or build up of precipitates in the lumen from medications and parenteral nutrition. Flushing and locking protocols are meant to maintain patent lumens. In addition, proper flushing and locking might eliminate potential nesting material for microorganisms and as such reduce the risk of catheter related blood stream infections (Ferroni et al., 2014).
Historically a positive pressure technique was used to prevent back flow of blood into the IV catheter; thus posing a risk of occlusion. Manual ways of achieving positive pressure include disconnecting the syringe from the needleless cap while still exerting pressure on the plunger during the last 0.5 ml. Another technique involves clamping the catheter while injecting the last 0.5 ml. Fast forward to the present and we now have technology to help us. Neutral displacement and positive pressure valves (caps) can be used and some IV catheters have valves built into their structure to prevent back flow of blood into the lumen. In addition, some syringes are specifically designed and if used correctly (remove the syringe before bottoming out) create the necessary positive pressure to prevent blood reflux into the catheter (Goossens, 2015).
Understanding the available IV equipment will direct the nurse to the proper flushing and locking protocols. This includes knowing what kind of venous access device the patient has, what solutions are being infused and how often, if the device is peripheral or centrally located, the number of lumens, and if the lumens are open (non-valved) or closed (valved).
Flushing and locking protocols are developed based on knowledge of the IV catheters (the type, size, and structure) and the patient condition (prescribed IV medications). Check your agency guidelines for specifics, but know that some general guidelines do apply for PICC and percutaneous non hemodialysis CVAD flushing and locking procedures (Gorski et al., 2016):
- Follow principles of asepsis to reduce risk of infection.
- Before use, CVADs should be checked for patency using a 10 ml or larger syringe containing saline.
- Patency is checked by aspirating. On a PICC, midline, and percutaneous non hemodialysis CVAD aspirating should reveal blood flashback into the tubing.
- Aspirating on a PVAD-short often does not result in blood flashback due to small size of the veins. As such, patency will be assessed during the forward flush observing for resistance, leaking, and pain at the site.
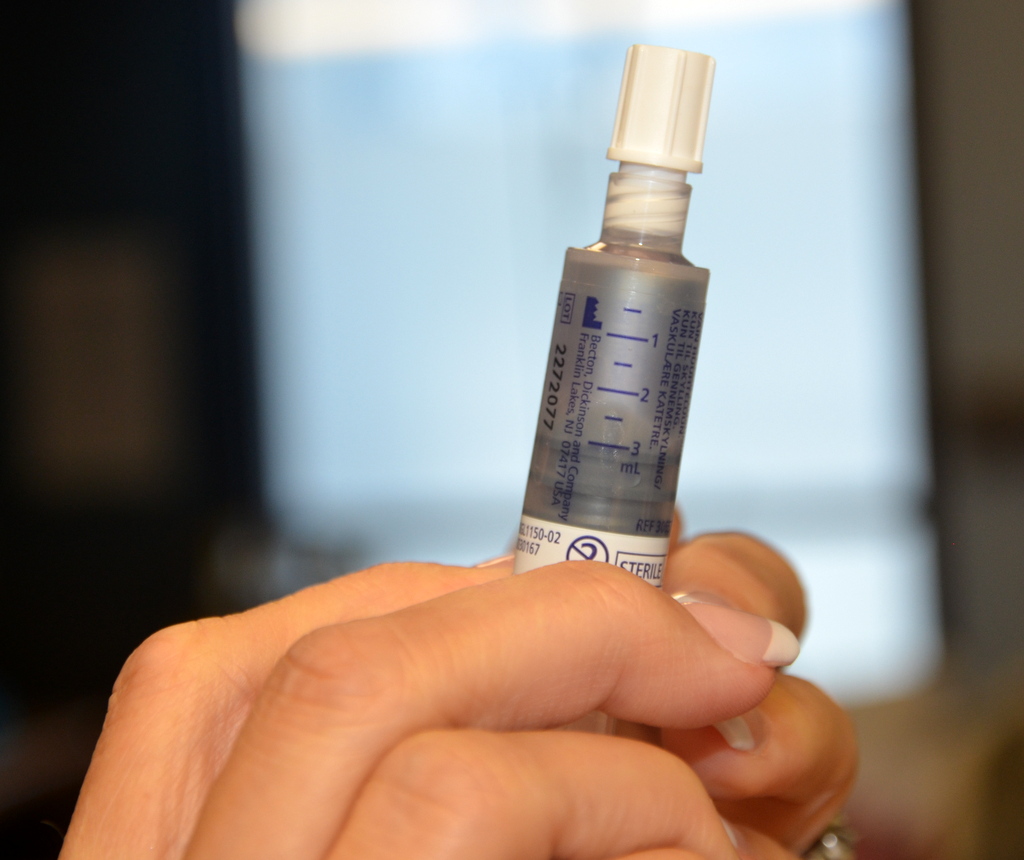
- 10 ml syinges of 0.9% NS should be used to flush CVADs to reduce the risk of catheter fracture.
- Always follow the manufacturer’s instructions when using needleless caps, as different techniques are required for different caps.
- The volume of the flush solution will depend on the volume of the catheter and any add on devices. The goal of locking an IV line is to fill the catheter entirely and preserve its integrity for future use (Goossens, 2014).
- The solution and frequency depends on whether the catheter is open-ended or valved, and what solution is being infused (i.e., blood, PN, etc.).
- Follow the agency guidelines. Recognize that guidelines for specific patient populations may vary.
- When using heparin, use the lowest possible dose that will maintain patency. Heparin always presents risk of bleeding. The goal is to heparinize the line not the patient.
- Some lines require the heparin locking solution to be removed prior to using the line.
- Turbulent flush is a rapid stop-start or push-pause technique that is meant to clear the catheter of blood or drugs that may adhere to the inner lumen of the catheter.
- Closed-ended or valved CVCs usually have no external clamps. Open-ended or non-valved CVCs usually have external clamps (non-removable) present. Check the patient chart.
- Cleanse the needleless cap before attaching and after detaching any syringe to reduce risk of infection.
Table 8.11 is a sample of a flushing and locking protocol. Your agency should have a protocol available for you to follow. It may not be exactly like this one, but the principles are still the same.
Table 8.11 Sample Flushing and Locking Protocol |
||
Vascular Access Device |
Flushing and Locking Solution, and Volume |
Frequency |
| PVAD-short | Flush and lock with 3 to 5 ml, 0.9% sodium chloride | After each access, or daily if not in use
When retrograde blood observed |
| Peripheral midline catheter (non-valved) | Flush: 5 to 10 ml, 0.9% sodium chloride followed by
Lock: Heparin 3 ml of 100 units/ml |
Flush before and after each med or access.
When retrograde blood observed Lock after each access, or weekly if not in use. |
| CVAD, non-valved (e.g., percutaneous, tunneled, PICC) | Flush: 10 to 20 ml, 0.9% sodium chloride followed by
Lock: Heparin 3 ml of 100 units/ml |
Flush before and after each IV medication or access.
When retrograde blood observed Lock after each access, or weekly if not in use. |
| CVAD valved (e.g., Groshong, PASV) | Flush and lock with 10 to 20 ml, 0.9% sodium chloride | Flush before and after each IV med or access.
When retrograde blood observed Lock after each access, or weekly if not in use. |
| Data sources: Interior Health, 2012; RNAO, 2005/2008 | ||
Checklist 69: Flushing a PVAD-Short Saline LockDisclaimer: Always review and follow your agency policy regarding this specific skill. |
||||
Safety considerations:
|
||||
Steps |
Additional Information |
|||
| 1. Perform hand hygiene; gather supplies. | You will need alcohol swabs and a 3 – 5 ml syringe with 0.9% normal saline. Some agencies have prefilled saline syringes. | |||
| 2. Compare MAR to patient’s wristband, identify patient using two identifiers, and explain procedure to patient. | Follow agency policy for proper patient identification.
|
|||
| 3. Sanitize work surface. Let dry. | This prevents the spread of microorganisms. | |||
| 4. Perform hand hygiene. | This prevents and minimizes the spread of microorganisms. | |||
| 5. Assess IV site for evidence of complications. See Checklist 65. | If IV site is red, tender, or swollen, the SL needs to be discontinued; do not flush.
 |
|||
| 6. Clean the top of the needleless cap for 15 to 30 seconds with alcohol and friction. Allow to dry. | Aseptic technique is required for all IV procedures. All access ports must be disinfected to decrease the bacterial load prior to use.
|
|||
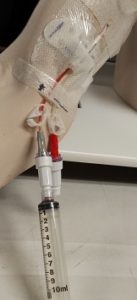
| 7. Open clamp on extension tubing. | 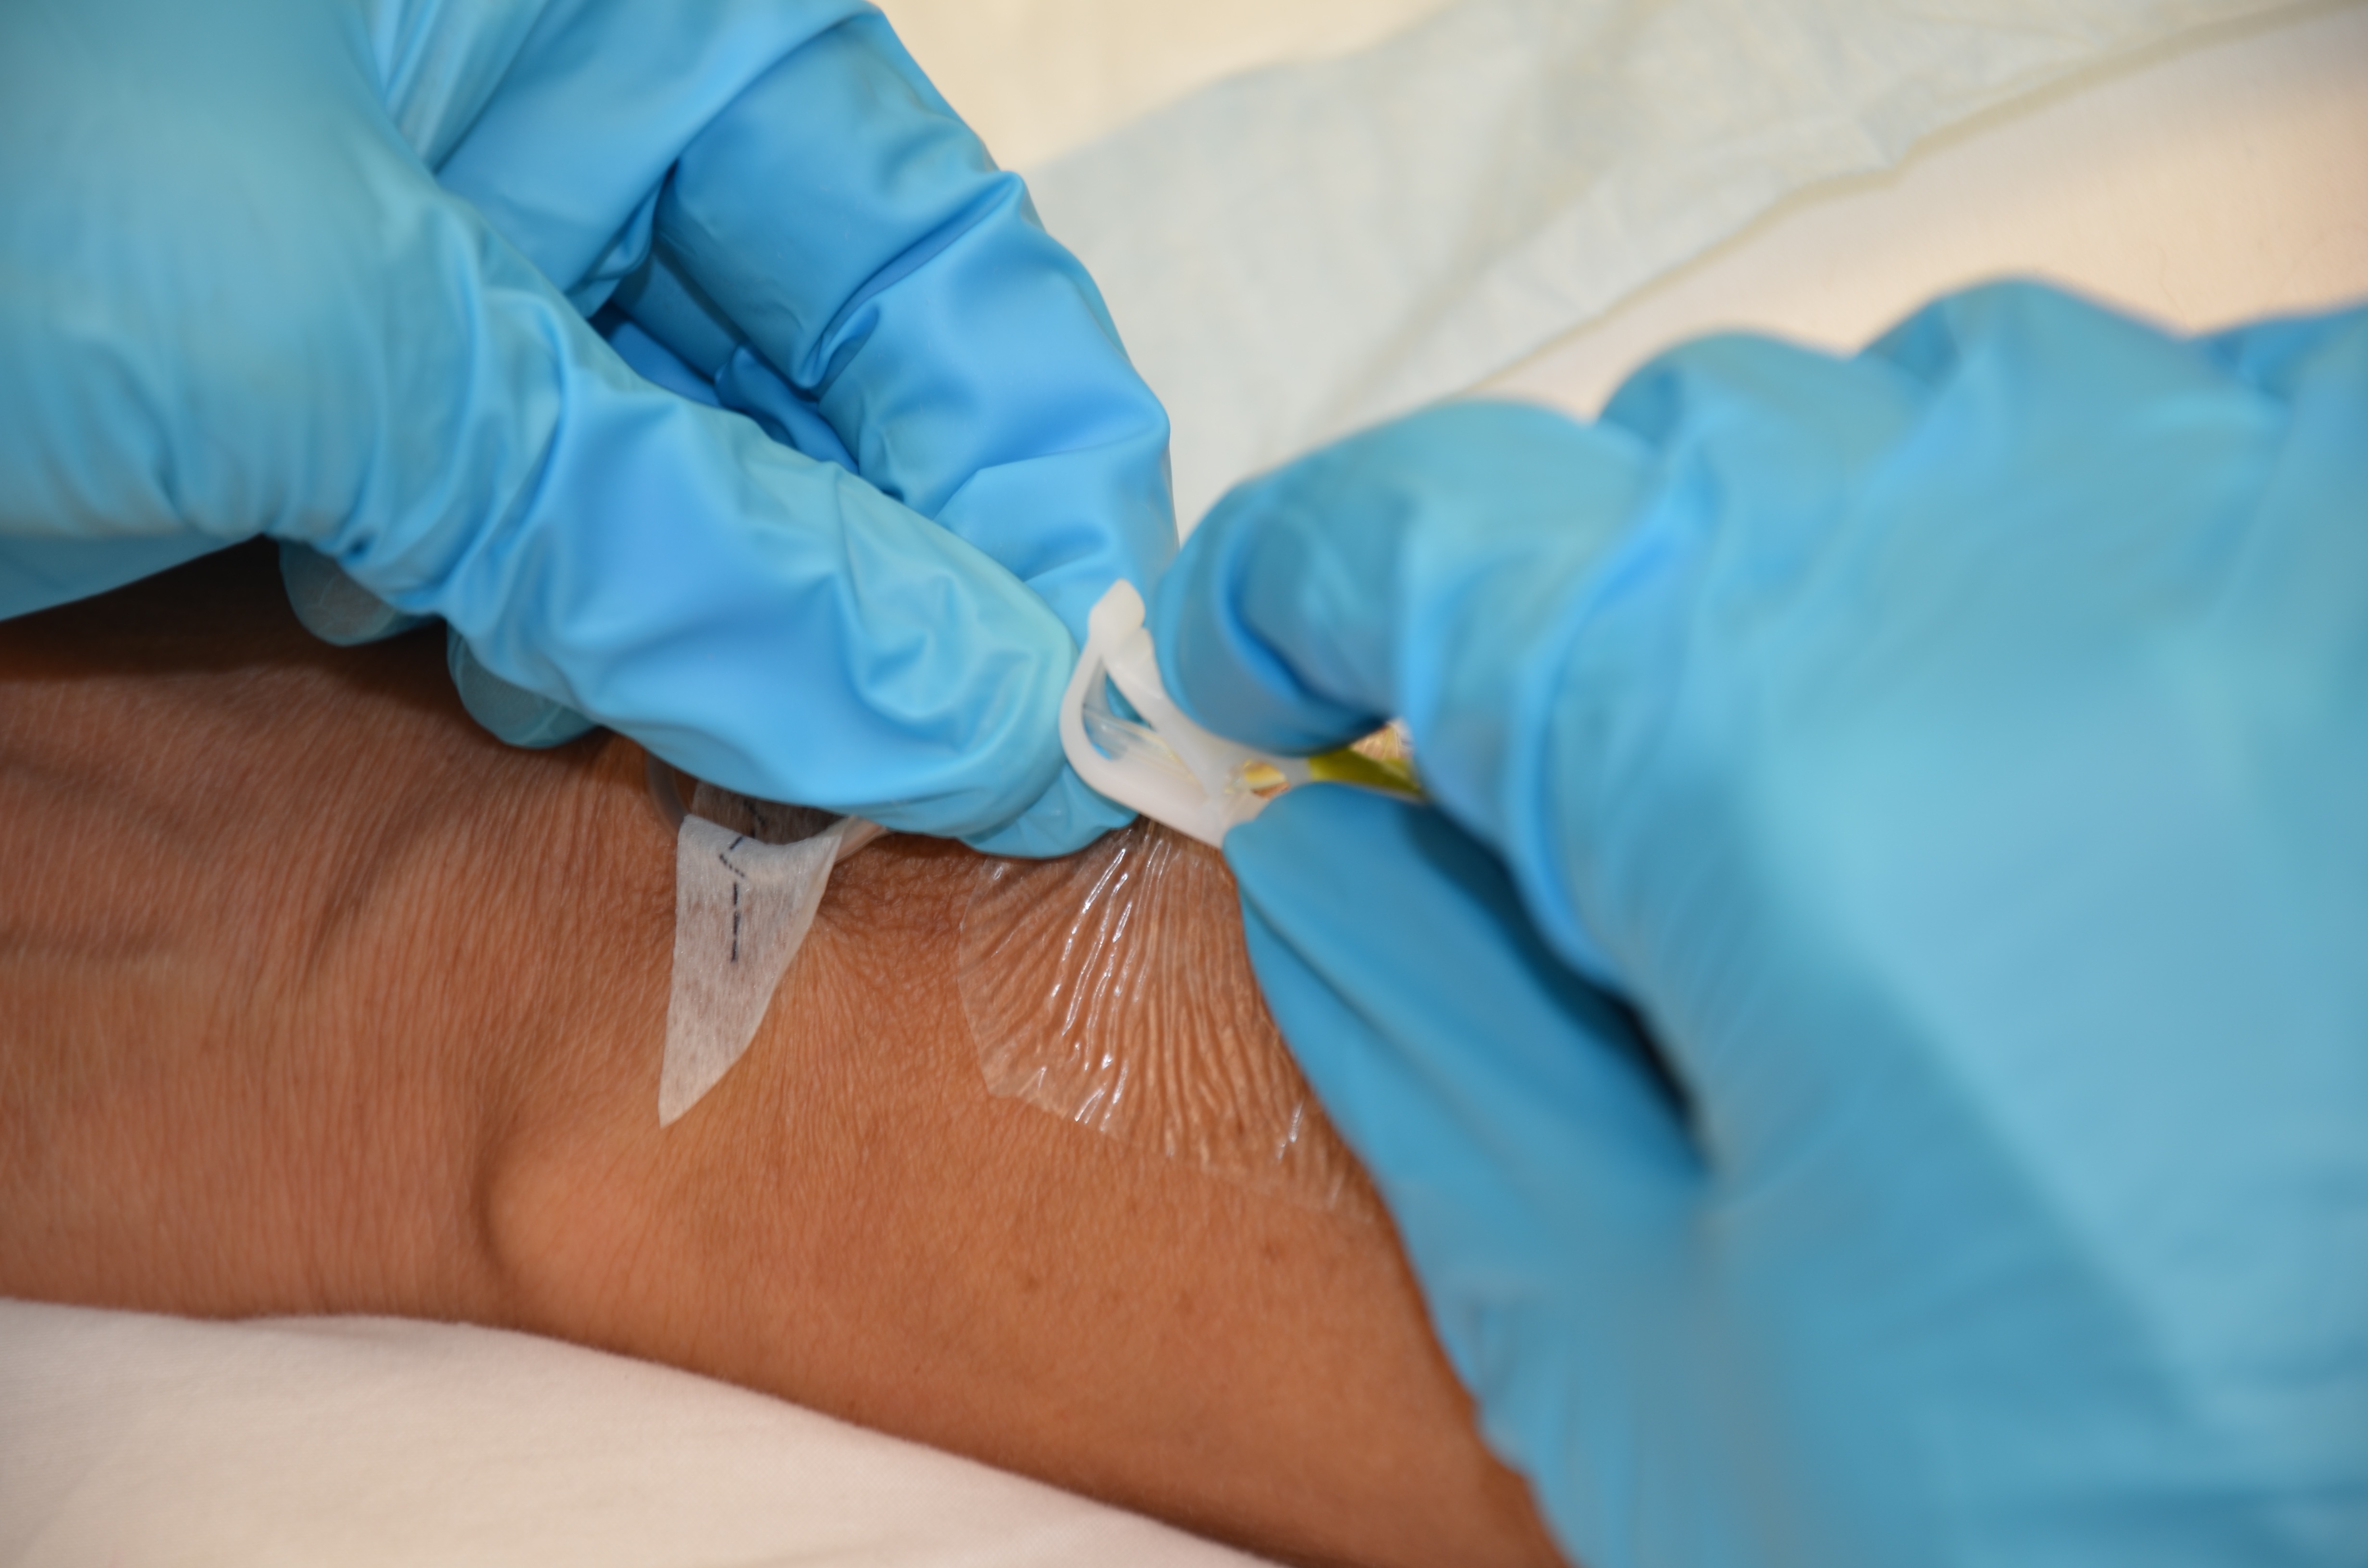 |
|||
| 8. If using a prefilled normal saline syringe for flushing, the air must be “purged” from the syringe.
To remove air from a syringe, loosen the cap. Apply gentle pressure to the syringe plunger until air is removed.
|
Purging the air prevents it from being injected into the patient.
|
|||
| 9. Luer lock syringe onto the needleless cap. Follow agency guidelines for volume of flush. Usually 3 to 5 ml of solution using turbulent stop-start technique. Flush until visibly clear.
Do not bottom-out syringe (leave 0.2 to 0.5 ml in the syringe). |
3 to 12 ml syringes can be used to flush a PVAD-short.
Turbulent stop-start flush exerts cleansing pressure on the catheter lumen. Observe the site for infiltration, leaking, pain, or resistance. If resistance is felt, do not force the flush. 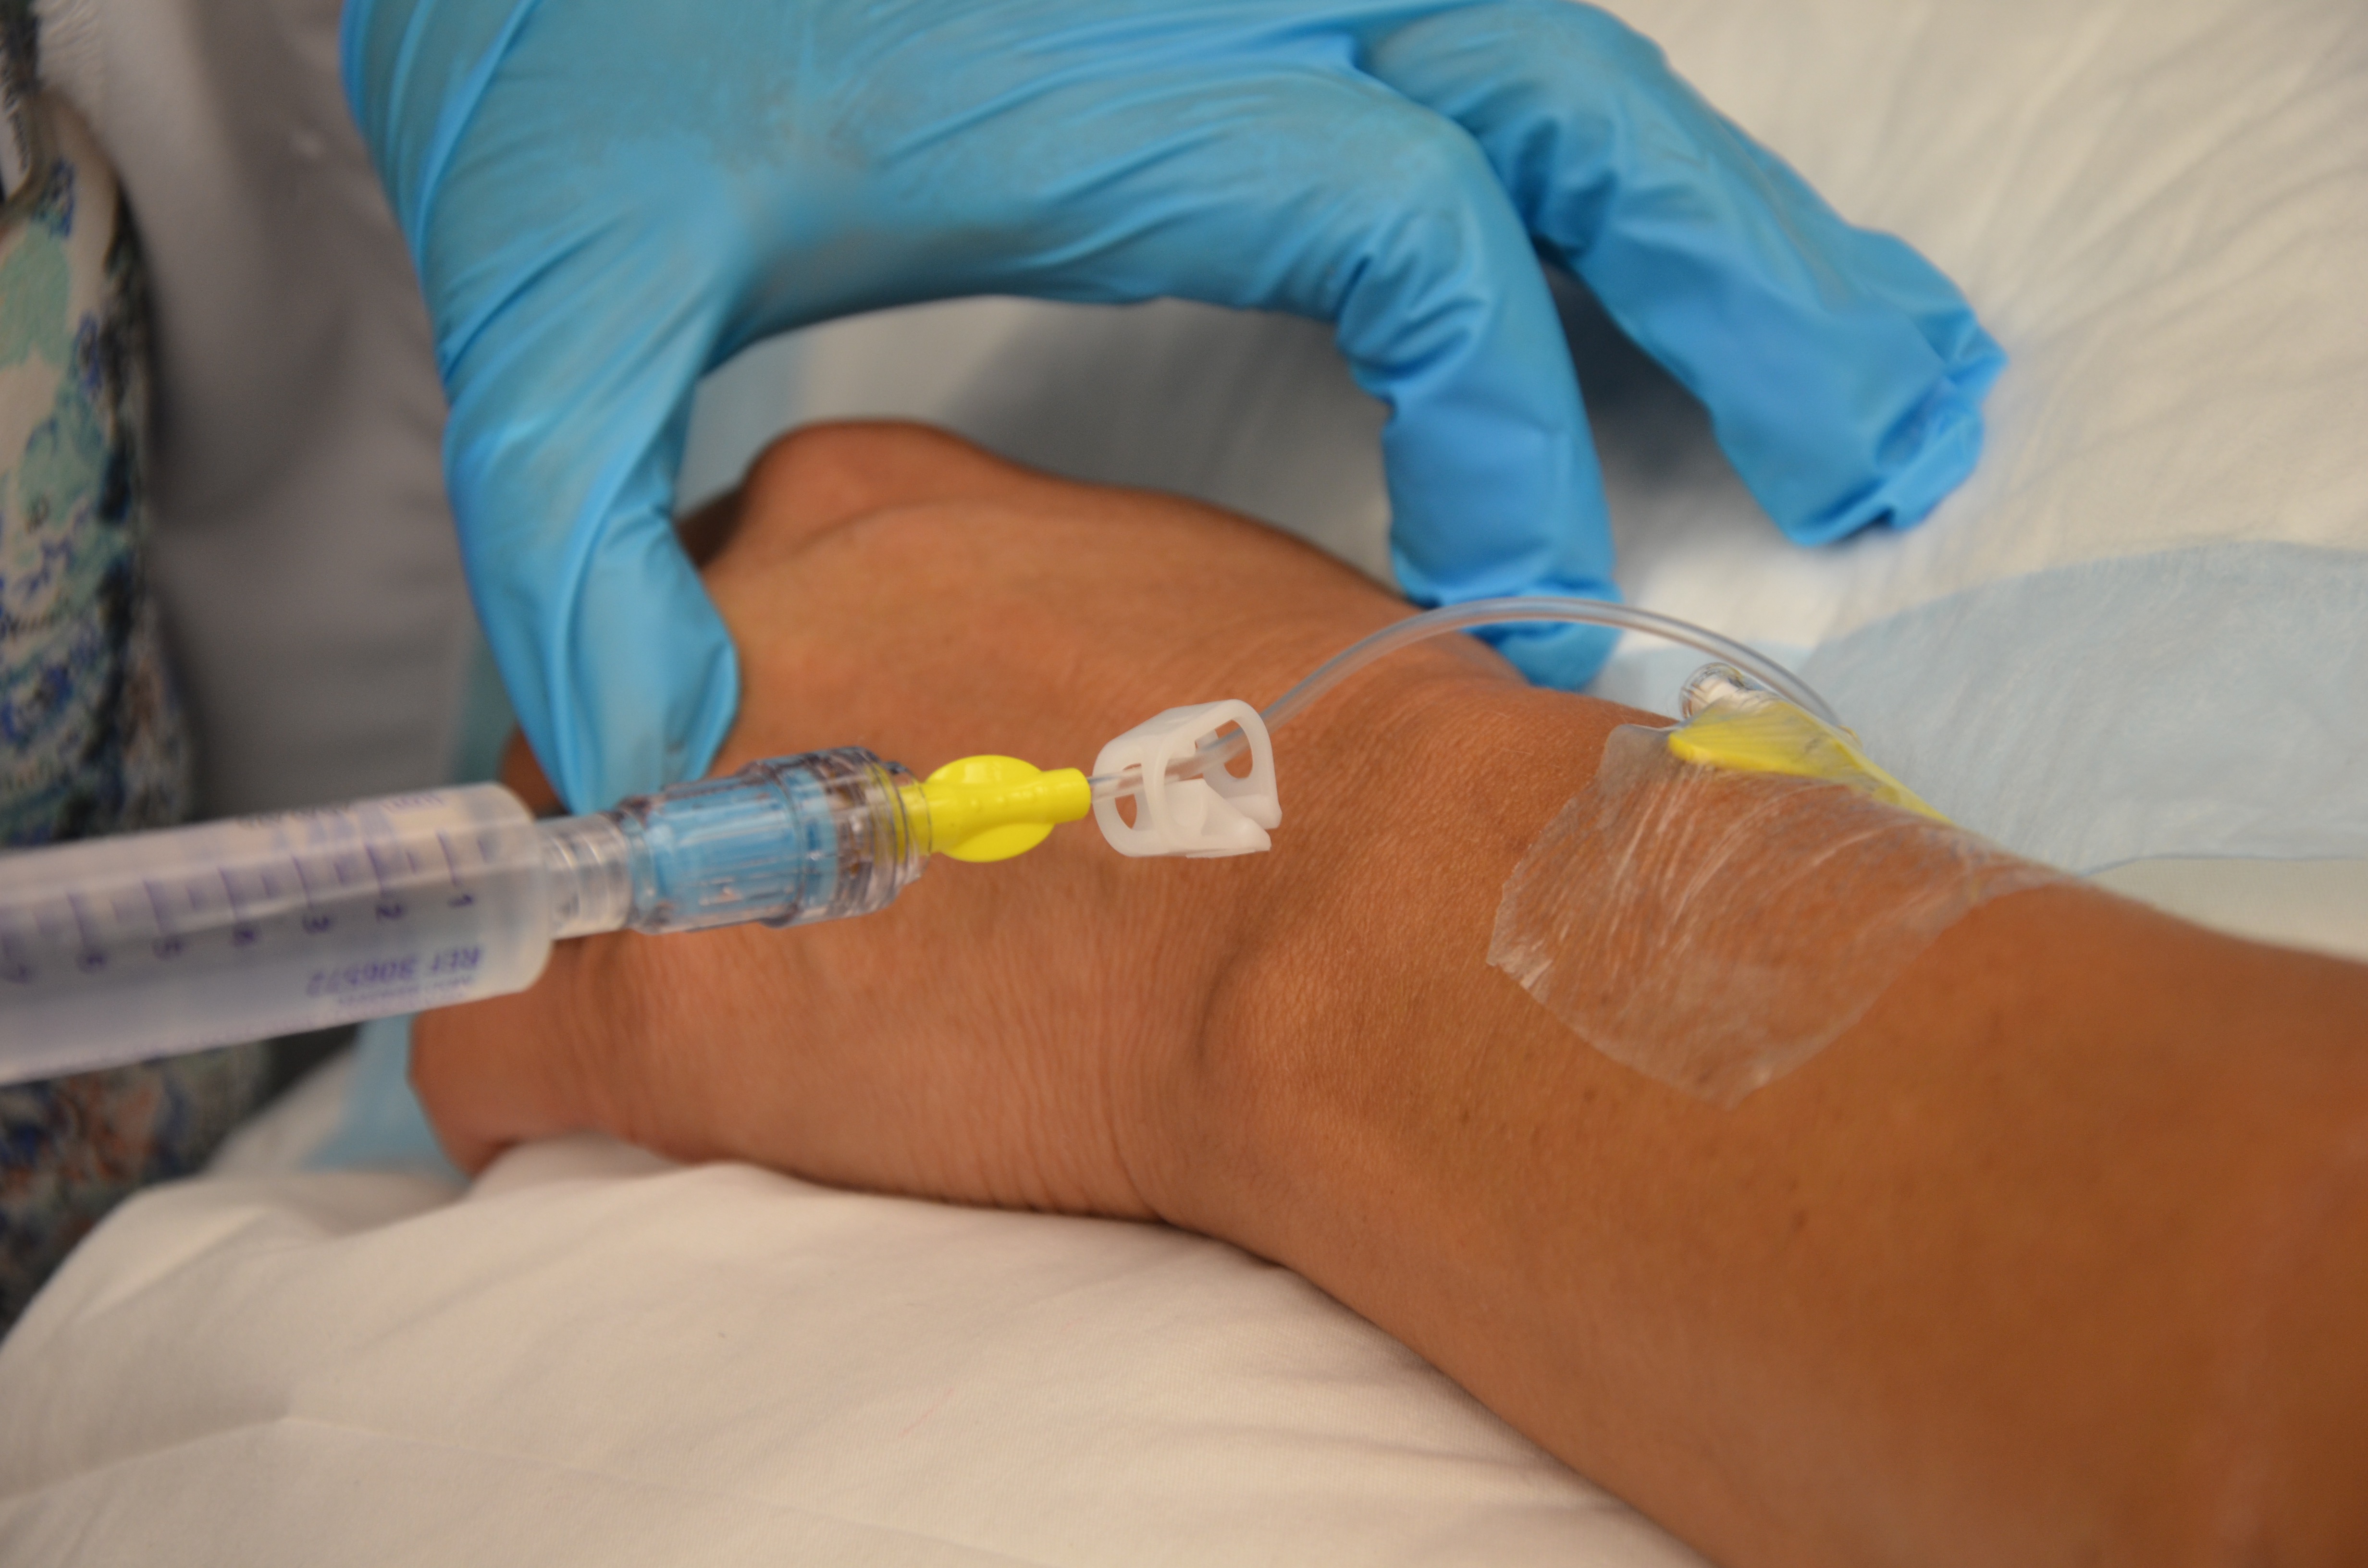 Bottoming-out the saline syringe with the plunger negates the positive pressure and can result in reflux of blood back into the catheter and plugging the catheter. |
|||
| 10. Remove syringe from needleless cap; THEN clamp the extension tubing. Wipe end of needleless cap with alcohol again. | Positive displacement occurs in a neutral displacement cap when the syringe is disconnected from the cap before the syringe is completely emptied and the line clamped following removal of the syringe
|
|||
| 11. Ensure dressing is dry and intact, and the extension tubing is properly secured with tape. | Properly secured extension tubing prevents accidental dislodgement and micro-movements of IV cannula.
 |
|||
| 12. Discard supplies and perform hand hygiene. | Proper disposal of equipment prevents the spread of microorganisms. | |||
| 13. Document procedure. | Document IV site assessment, location of PIV, procedure, date, and time. | |||
| Data sources: Perry et al., 2018; Vancouver Coastal Health, 2012 | ||||

Watch the video PVAD – short Flush (aka saline lock flush) by Renée Anderson & Wendy McKenzie Thompson Rivers University
Checklist 70: Flushing a CVAD (PICC and Percutaneous CVC Non Hemodialysis)Disclaimer: Always review and follow your agency policy regarding this specific skill. |
||||
Safety considerations:
|
||||
Steps |
Additional Information |
|||
| 1. Perform hand hygiene; gather supplies. | You will need alcohol swabs, 10 ml syringe prefilled with 0.9% normal saline. | |||
| 2. Compare MAR to patient’s wristband, identify patient using two identifiers, and explain procedure to patient. | Follow agency policy for proper patient identification.
|
|||
| 3. Sanitize work surface. Let dry. | This prevents the spread of microorganisms. | |||
| 4. Assess IV site for signs and symptoms of complications. | If IV site is red, tender, swollen, and/or leaking, the site needs to be discontinued; do not flush. Consult the IV team or PICC nurse if necessary.
|
|||
| 5. Scrub the top of the needleless cap(s) for 15 to 30 seconds using alcohol and friction. Allow to dry. | Aseptic technique is required for all IV procedures. All access ports must be disinfected to decrease the bacterial load prior to use.
All lumens require care and attention in relation to routine flushing to prevent occlusion and risk of infection. 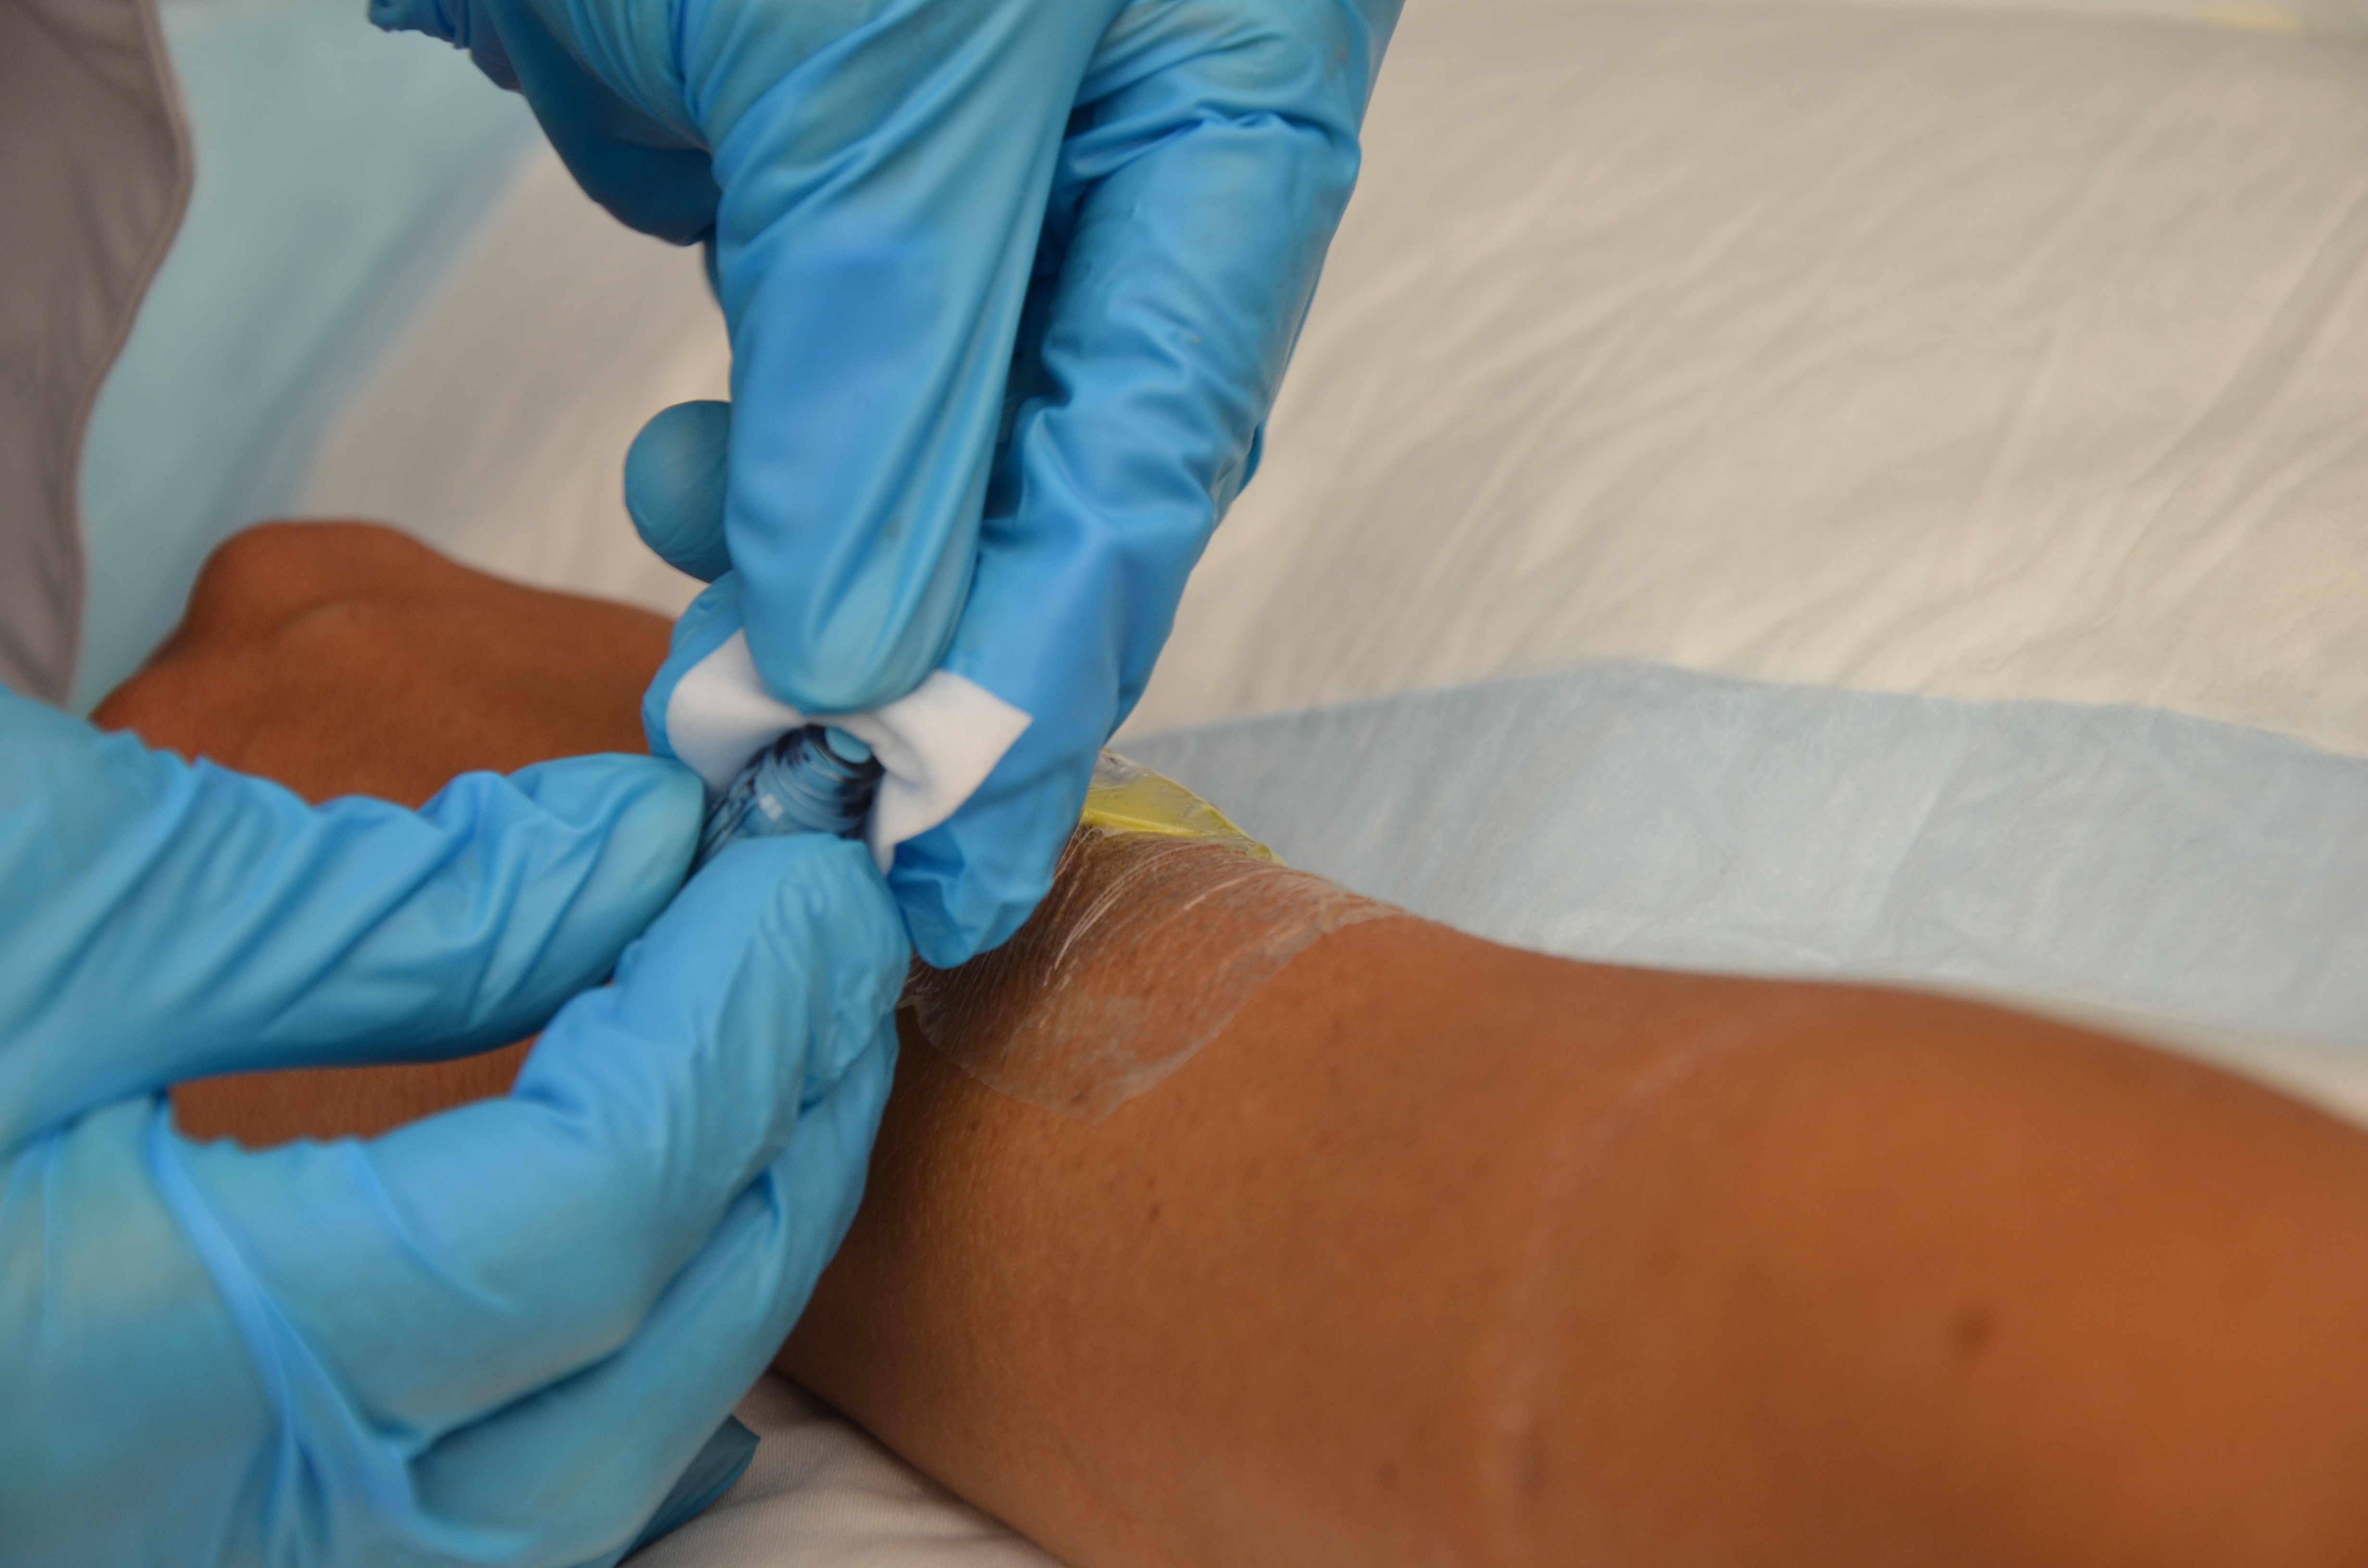 |
|||
| 6. Luer lock 10 ml saline filled syringe to the needleless port. Aspirate for blood.
Follow your agency’s trouble shooting guide but here are some tips that might help to establish patency of a CVC:
|
Try to aspirate blood only into the IV line (not syringe) to reduce risk of clotting in the event of poor flushing technique.
 |
|||
| 7. Follow agency guidelines for volume of flush (usually 10 to 20 ml).
Inject using turbulent stop-start technique. Flush until line is visibly clear. At the end of the procedure, do not bottom-out syringe (leave 0.2 to 0.5 ml in the syringe).
|
No less than 10 ml syringe should be used to flush a CVAD or PVAD midline in order to prevent catheter damage from excess pressure (PSI) while flushing.
Turbulent flush cleans the lumen of the catheter of fibrin and any medication particulate. Observe site for leaking, pain, resistance. Bottoming-out the saline syringe with the plunger can render the positive pressure ineffective and cause reflux of blood back into the catheter resulting in a plugged catheter. If resistance is felt, do not force flush. Doing so can fracture the catheter or introduce an emboli into the patient. If resistance is felt, consult the IV team / PICC nurse for declotting. |
|||
| 8. If necessary, inject 3 ml of 100 unit/ml heparin.
Do not bottom-out syringe. |
Non-valved CVADs require heparin to remain in the lumen to prevent clot formation.
Valved CVADs have technology to prevent reflux of blood into the lumen. Understand the different venous access devices and the associated technology. Check your agency’s flushing protocols. |
|||
| 9. Remove syringe from needleless cap; THEN if present, clamp the extension tubing. Cleanse the needleless cap again for 15 seconds. | Always clamp after removing syringe from the needleless cap. Positive displacement occurs in a neutral displacement cap when the syringe is disconnected from the cap before the syringe is completely emptied.
 Cleansing injection ports before and after access reduces risk of infection. |
|||
| 10. Ensure transparent semi-permeable dressing is dry and intact, and the extension tubing is properly secured with tape. | Properly secured extension tubing prevents accidental migration of CVAD and micromovement at the insertion site.
|
|||
| 11. Discard supplies and perform hand hygiene. | Proper disposal of equipment prevents the spread of microorganisms. | |||
| 12. Document procedure. | Document IV site assessment, location of PIV, procedure, date, and time. | |||
| Data sources: Interior Health, 2012; Perry et al., 2018; RNAO, 2005/2008 | ||||
Critical Thinking Exercises
- Describe your thought process as you determine what flushing protocol is necessary for a valved percutaneous CVAD non hemodialysis CVCs.
- What is the purpose of using heparin to lock a non-valved (open) CVC?
Attributions
Figure 8.21 PVAD short from BCIT is used under a CC BY-SA 4.0 international license.
Figure 8.6. Omläggning av PICC [Conversion of PICC] by Nurseirie is used under a CC BY-SA 3.0 unported license.
Figure 8.22 Aspirating for blood (PICC) by author is licensed under a CC BY-SA 4.0 international license.
Figure 8.23 Close clamps (PICC) by author is licensed under a CC BY-SA 4.0 international license.

![Omläggning av PICC [Conversion of PICC]](https://commons.wikimedia.org/wiki/File:PICC_oml%C3%A4ggning.jpg)